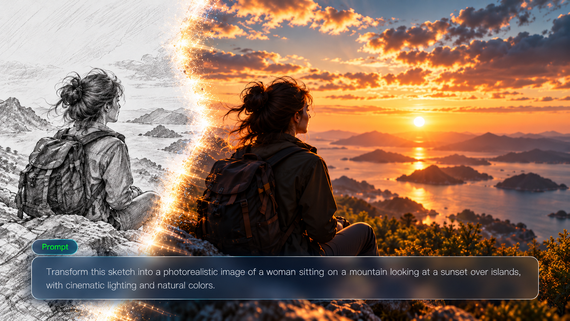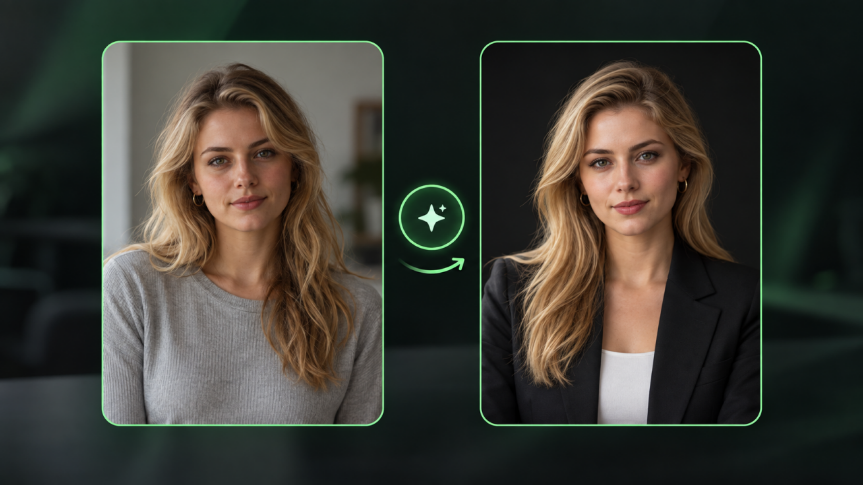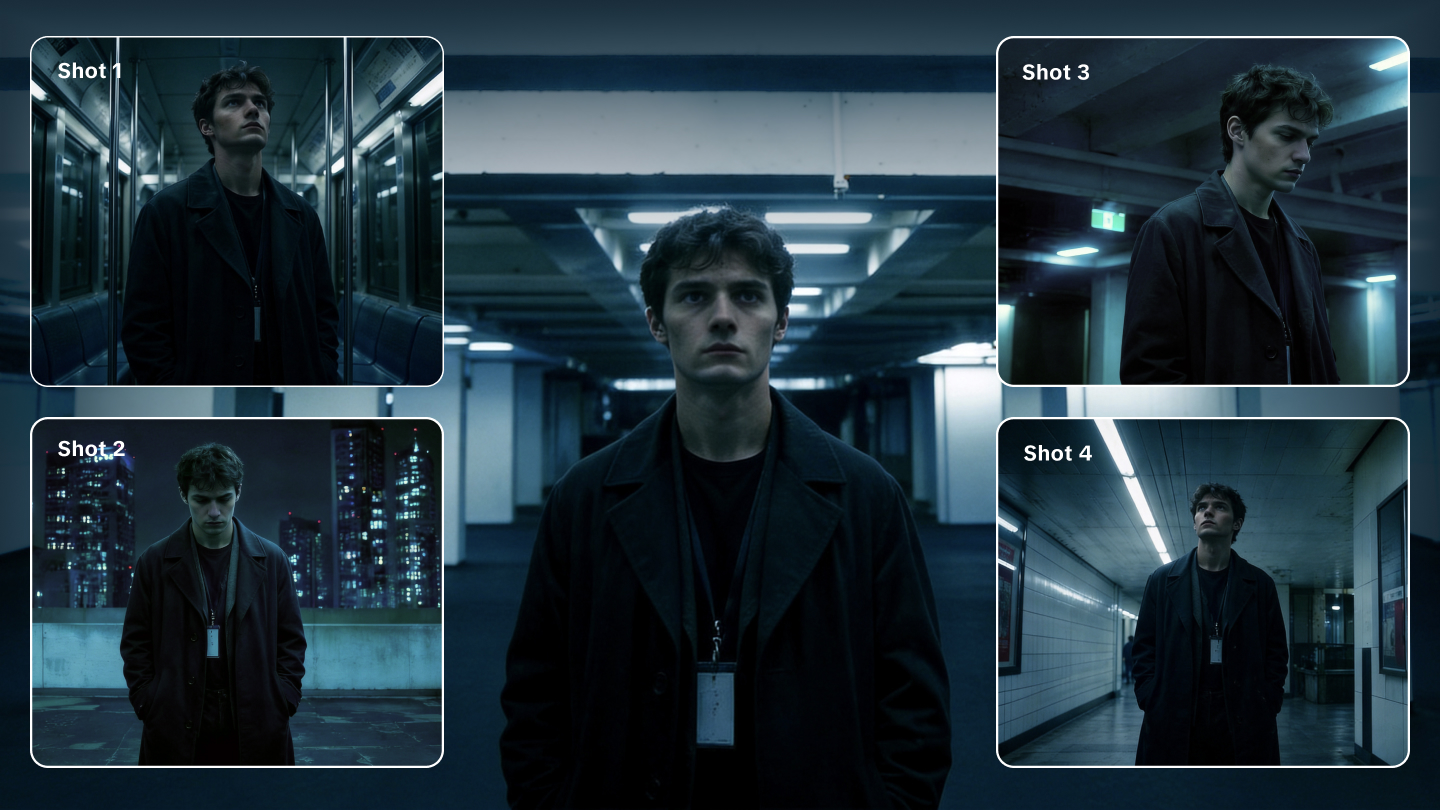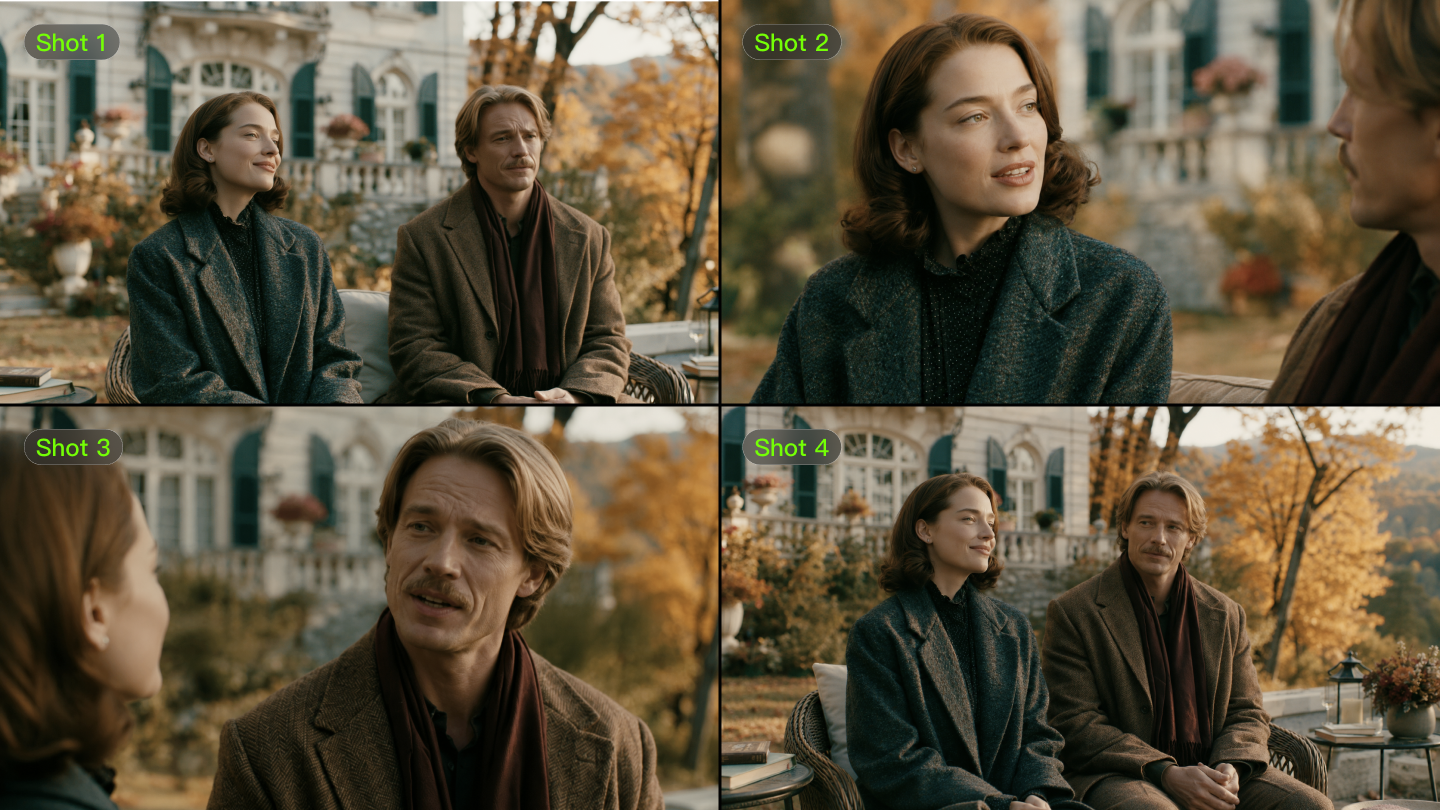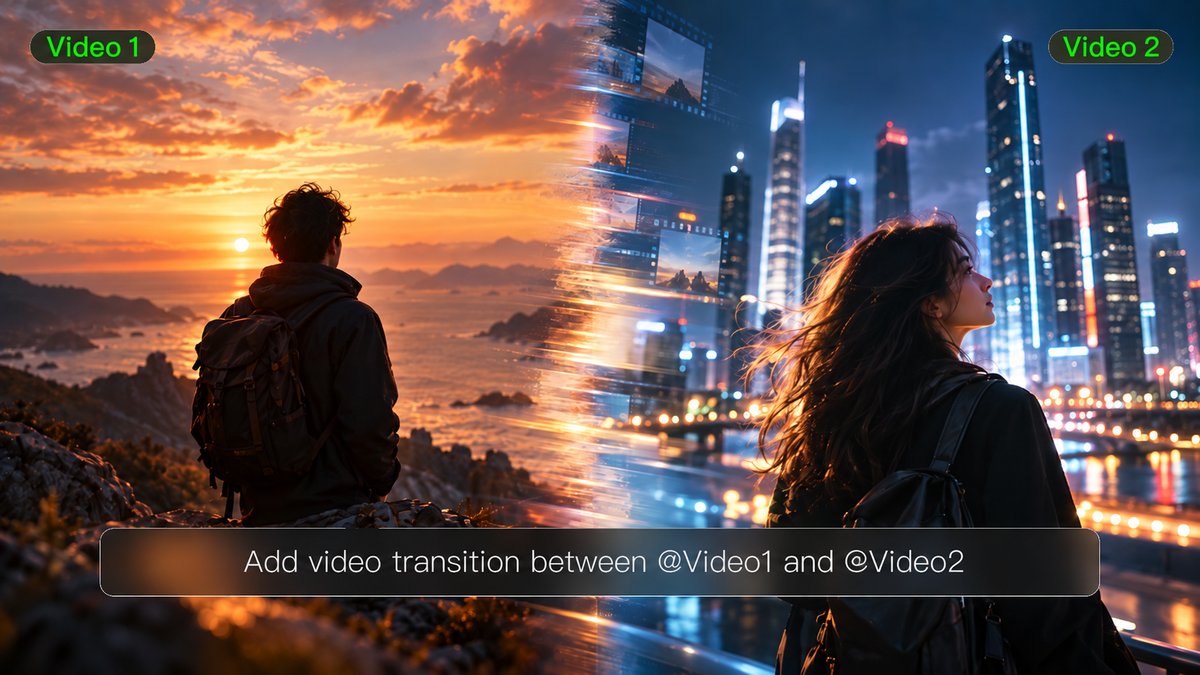
Two great shots can feel awkward together if the change between them is poorly timed. Proper video transitions help viewers follow a shift in place or time, or notice a moment you want to emphasize. Here are 10 techniques worth knowing, plus practical ways to use them in an edit or plan them with Kling 4.0.
What Are Video Transitions?
Video transitions connect one shot or scene with the next. Sometimes that means an instant cut. Sometimes one image fades into another, the camera sweeps across the frame, or the sound arrives before the picture changes. Your video transition choice affects how viewers experience a change in location, time, or mood. It can also affect how fast a scene seems to move and where the viewer’s attention goes next.
Cuts and Transitions
A cut is a basic transition. You don’t always need an animated effect every time the shot changes. A straight cut can do the job on its own. Changing the color or adding blur within a shot, however, is a different type of edit. Before adding effects, consider whether viewers need to notice the change.
10 Common Video Transition Effects and Techniques
These editing transitions can be used in normal storytelling and even more creative scene changes. Some are almost invisible, and others call attention to the edit. The trick is choosing one that fits what happens between the shots.
1. Straight Cuts
A straight cut goes straight from one shot to another. It has no overlap or animation and is appropriate for use in conversations, demonstrations, and continuous actions. For instance, you might imagine someone reaching for a coffee cup and then having a close-up of their hand picking it up. Matching the actions helps make the cut appear natural.
2. Jump Cuts
A jump cut involves jumping forward to a later point in the same shot. It looks like the subject springs forward in time or position. You can use it to omit pauses from a presentation or to shorten the duration of a repeated action. Someone building a model, for instance, could show a few stages of the build without showing every small movement.
3. Match Cuts
A match cut joins two shots through a shared shape, movement, composition, or idea. You might cut from a round watch face to a similarly framed wall clock. Line up the key visual details, and the connection becomes clear without an added effect.
4. Fades
A fade is a gradual reveal or disappearance of an image, usually with black. It works well at the start or end of a video, or when the story needs a definite pause. For example, fading out after a character leaves a room can be used to conclude one chapter before another part of the story begins.
5. Cross Dissolves
A cross dissolve requires blending the conclusion of one shot with the beginning of the next. It can indicate the passage of time or evoke a slight emotional shift. For example, dissolving from a landscape in daylight to the same view at dusk makes the change more obvious. The overlap should be kept short enough that viewers can still make out what they’re seeing.
6. Wipes
In a wipe, the scene transitions to the next shot with a moving line or shape. This change is more noticeable than a straight cut. Wipes are useful for separating out tutorial steps or adding a spirited visual style. Using the same horizontal wipe helps identify the chapters without changing the effects.
7. Whip Pan Transitions
Whip pan transitions hide the cut inside a fast camera move and its motion blur. To end one shot, move the camera quickly in a specific direction, and then repeat the same movement when starting the next shot. In this way, two travel scenes can be joined and the sense of momentum is maintained. However, the transition might appear jarring if the direction or speed changes too much.
| Prompt: Create a travel video opening featuring a crowded Tokyo street scene at night. The camera moves quickly to the right, and the motion blur looks natural. The blur fills the frame, revealing a sunny beach in Bali. Sustain the camera movement in the same direction and gradually slow down to reveal the new location. |
8. Zoom Transitions
A zoom transition effect is a fast zoom in or out between shots and works effectively when both shots have a well-defined focus point. For example, you might move toward a product detail and then show the product in use. It is important that the main subject stays centered and that the effect is smooth so viewers can keep up with it easily.
9. Masking and Occlusion Transitions
An occlusion transition uses something passing in front of the camera, such as a person or a closing door, to hide a cut. A mask can reveal the next shot as that object moves across the frame. Pay attention to the object’s edges and timing: a gap can give away the edit.
10. J Cuts and L Cuts
A J cut lets the next scene’s audio begin before its picture appears. With an L cut, the previous scene’s audio continues after the picture changes. In both cases, sound is used to connect the scenes. For example, hearing a train-station announcement before you see the platform prepares you for the new location.
How to Choose Transitions for Your Video?
Look at what changes between shots in your video: the action, location, time, or message. The transition should help viewers follow that change, not compete with it.
Cinematic Video Transitions for Narration
For dialogue and continuous action, straight cuts usually feel natural. J- and L-cuts can carry a conversation or ambient sound across the edit. Also, you can use a dissolve to suggest time passing or a match cut to link two related images. You rarely need a visible effect at every change.
Transitions for Reels and Social Media Short Videos
Social media short videos often build around a reveal. For example, when the action calls for a clothes change, try keeping the pose or movement the same in both shots. For travel Reels, use a whip pan or a passerby crossing the lens to jump between places. Moreover, cut on the movement or a musical beat, but leave enough time for the next image to register.
Transitions for Product Videos and Tutorials
When it comes to transitions for product videos, pick the ones that will guide the viewer from the product’s general presentation to a specific feature or demonstration. For example, you can keep the product in the same place across shots to help the viewer identify it in the next shot. As for tutorial videos, use straight cuts between connected actions and a consistent fade or wipe between major stages. In this case, make sure to keep the essential elements visible.
How to Create Smooth Video Transitions?
Smooth video transitions start with shots that connect naturally. Match movement direction, subject position, and lighting, then choose a transition that supports the scene change. Keep its timing appropriate to the action, and check that sound carries smoothly across the cut. Preview the sequence at normal speed to make sure viewers can follow the change and clearly register the next shot. With Kling 4.0, you can also plan these connections through prompts, video references, and keyframes.
How to Create Natural Video Transitions with Kling 4.0
Kling 4.0 helps you shape natural transitions when editing existing footage or generating a new video. Use prompts to describe how scenes connect, video references to guide transition style and camera movement, and keyframe images to define important visual moments. These inputs give you more control over how each scene develops and flows into the next.

Refine Existing Footage with Reference-Guided Transitions
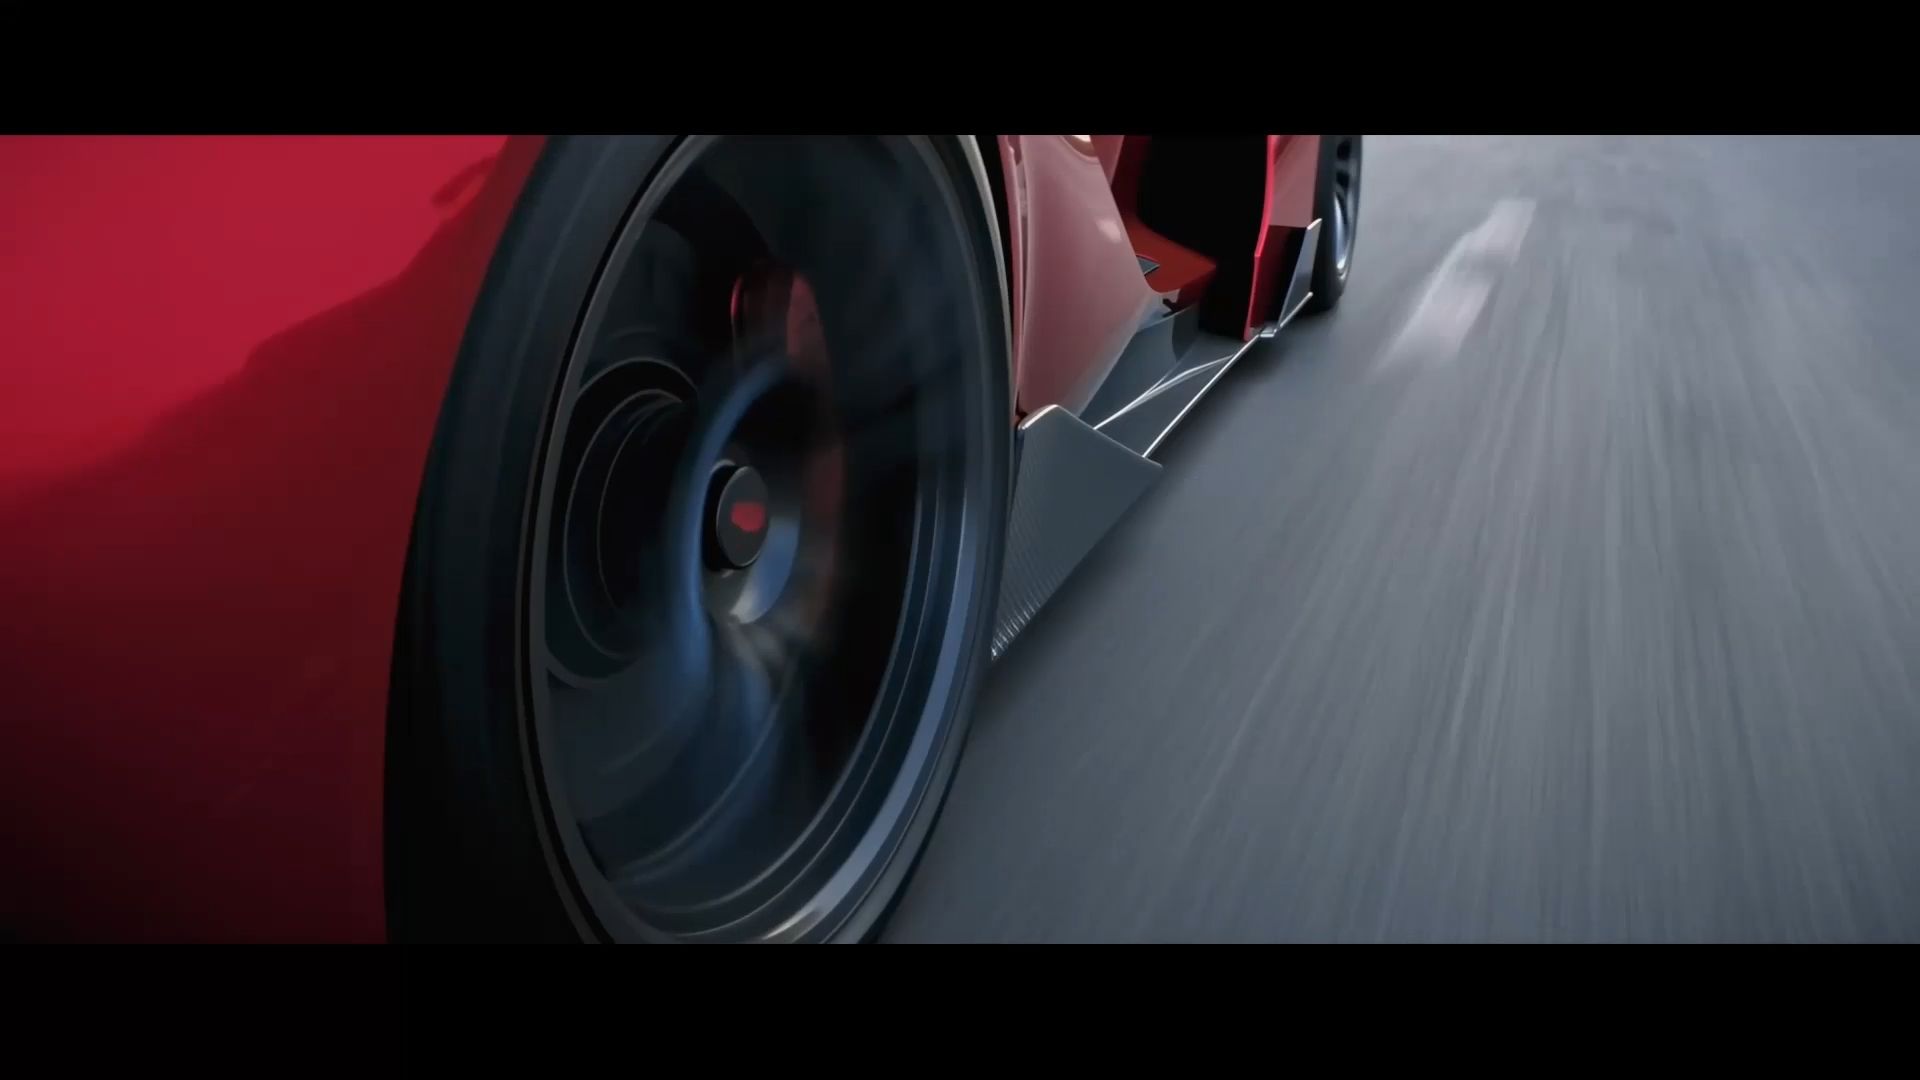
Kling 4.0 supports Omni Reference, allowing creators to combine up to 15 reference items, such as images, videos, and subjects. When it comes to visual transitions, video references are particularly useful for illustrating camera movement, pacing, and shot composition that you expect.
Start with the footage you want to edit and a reference clip that demonstrates the transition style you have in mind. In your prompt, describe how the scene should change, point out which elements of the reference clip you want to follow, and specify what elements should remain consistent. Choose references that suit your footage. For instance, if your reference clip uses a foreground object to mask a scene change, you can describe which details to preserve in the generated sequence.
Original Video | Reference Video | Generated Result |
 |  |  |
Prompt: Edit @Video 1 using @ Video 2 only as a reference for the burgundy silk wipe transition. Apply the reference’s right-to-left movement, full-frame coverage, and reveal timing to the perfume-to-lipstick cut around 2.5 seconds. Let softly blurred burgundy silk sweep close to the lens, completely covering the perfume shot. Switch to the lipstick scene while the frame is fully concealed, then continue the silk’s movement to the left to reveal the lipstick. Keep the transition approximately 0.5–0.7 seconds long. Preserve the products, backgrounds, warm golden lighting, and shot order from @Video 1. Show perfume first and lipstick second, never together. Do not introduce the cup or candle from @Video 2. Avoid product morphing, overlapping silhouettes, or split screens. Keep the total duration at 5 seconds and preserve the footage outside the transition. | ||
Generate New Videos with Planned Scene Transitions
With the image-to-video AI, you can start from reference images and use up to 10 keyframe images in Kling 4.0 to define important visual moments. Plan the composition before a transition, the moment of a reveal, and the scene that follows. A single generation supports 3–30 seconds, giving the setup, transition, and following action room to unfold naturally.
You can also upload a transition reference video to guide the camera movement, pacing, and scene-change style of your new video. Specify which elements to follow and how to adapt them to your own subjects and settings.
Reference Image/Keyframe | Generated Result |
.png?x-oss-process=image/resize,w_1872) | 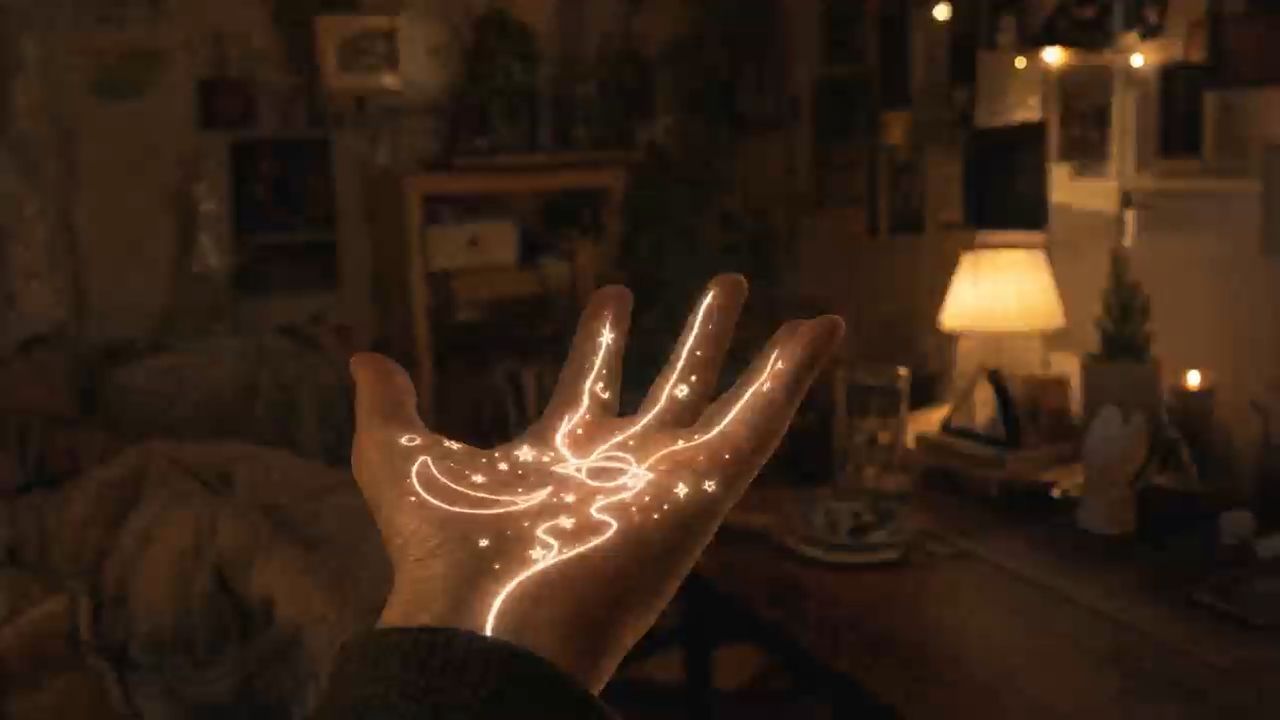 |
| Prompt: Use the uploaded keyframes to produce important moments in a video sequence. Maintain visual consistency among all the keyframes and create natural movement that connects each scene, with smooth pacing and coherent video transitions. | |
With the text-to-video AI, you can build a new sequence from a written description. Describe the opening scene, the action or camera move that connects it to the next, and what appears afterward.
Prompt | Generated Result |
A close-up of a matte black wireless earbud case on a dark reflective surface, cinematic rim lighting from the left, camera slowly pushing in. Suddenly, the lid snaps open and a massive burst of bright cool blue light explodes outward, completely filling the frame with glowing blue energy. The glowing blue light sweeps across the screen from left to right as a dynamic transition. As the blue light clears, it seamlessly transforms into a bright clean white desk studio setting showing a smartphone screen with an audio playback interface, camera pulling back slightly. | 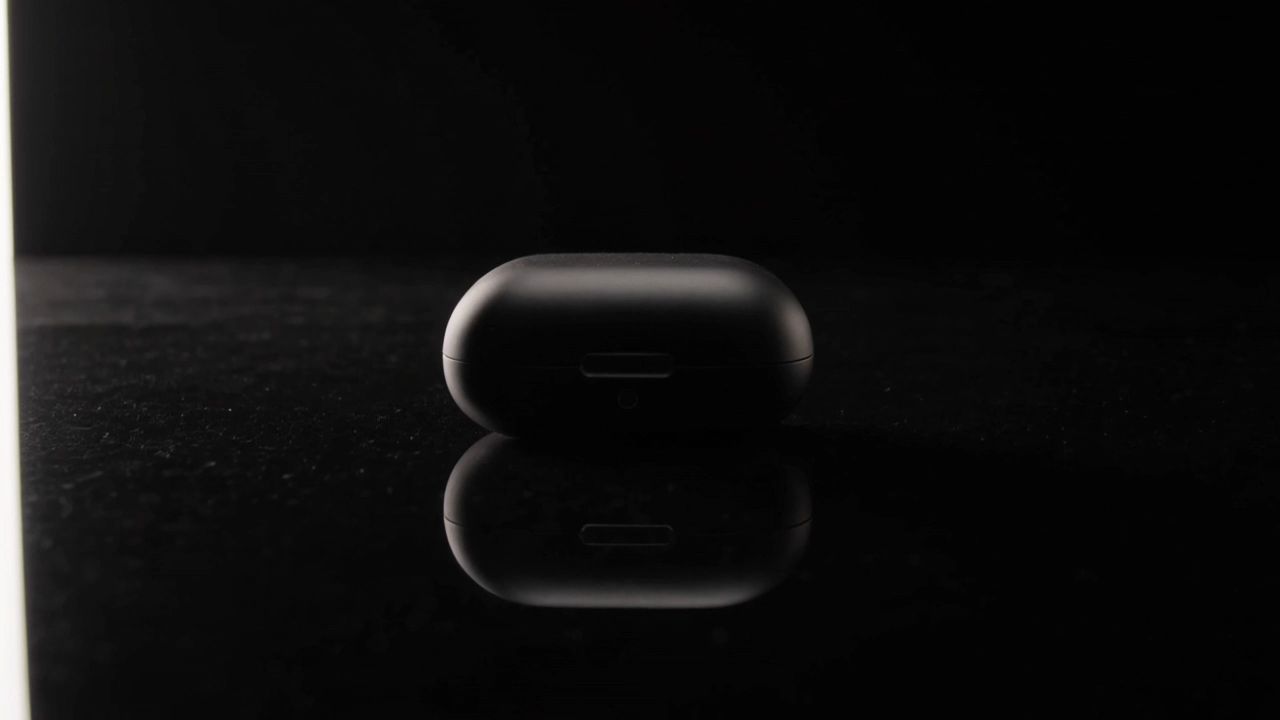 |
This works for outfit reveals, travel clips, product demonstrations, and short brand stories. After your video is generated, check that the subject stays consistent and recognizable and that shots are connected naturally and smoothly.
Kling 4.0 also improves stability during fast subject movement and complex camera moves. For whip pans, moving-subject reveals, and tracking shots, this helps keep motion and spatial relationships more coherent, supporting a more natural transition into the next scene.
The End
The best video transitions can make each scene change in your video seem intentional, whether you are connecting locations, showcasing a product, or moving the narrative forward. Match the transition to the action, keep visual continuity, and give each new shot sufficient time to register. Minor adjustments to movement, pacing, and sound can make the sequence appear smoother. With a precise understanding of prompts and reference materials, Kling 4.0 can craft transitions aligned with your creative vision and produce high-quality videos featuring scenes that are naturally connected.
FAQs
Which Video Transitions Are Used Most Often?
Straight cuts, fades, and cross dissolves are all common. Cuts keep conversations and actions moving. Fades often signal a beginning or ending, and dissolves can suggest time passing. If the action already links two shots, a plain cut may be all you need.
How Does a Cut Differ from a Transition Effect?
A cut switches shots instantly, without an added visual effect. A transition effect, such as a wipe or cross dissolve, creates a visible process between images. Both can work well, and the choice depends on whether you want viewers to notice the scene change.
When Should I Use a Visible Transition Effect?
A visible effect makes sense when it signals a new chapter, a time jump, a location change, or a playful reveal. Consider what viewers would understand without it. If viewers can already understand the connection through a straight cut, another effect may distract from the subject.
How Can I Make Video Transitions Smoother?
Start by checking where the cut happens. Sudden shifts in movement, mismatched directions, or too little footage for an overlap can all make the transition feel rough. Often, trimming a few frames or adjusting the audio fixes more than adding another effect.
How Many Transition Styles Should One Video Use?
There’s no fixed number. A tutorial might rely on straight cuts with one consistent effect between sections. A music video can handle more variety. Add a new style when it helps explain a change or adds something specific to the scene.
Which Transitions Work Well for Short Social Videos?
Straight cuts, match cuts, whip pans, and occlusion transitions all suit short videos when they fit the action. For outfit changes, travel clips, or product reveals, use a repeated movement or framing choice to connect the shots. Make sure the new image stays on screen long enough to read on a phone.
How Can Kling 4.0 Help Plan Scene Transitions?
With Kling 4.0, you can describe a transition in your prompt, upload a reference to guide camera movement, or place keyframes at important moments. You may still need to revise the result, but those choices give the generation a clearer direction.
What Are the Advantages of Kling 4.0 for AI Video Generation?
Kling 4.0 brings more stable dynamic motion, stronger character consistency, and greater creative control to cinematic AI video creation. Omni Reference supports up to 15 reference assets, while 30-second generation and up to 10 keyframes help shape connected scenes and fuller stories. Precise video editing, multilingual audio, and two-channel stereo further expand your creative options—from product advertising to films and social content. Explore the Kling 4.0 release notes for more features and upgrade details.