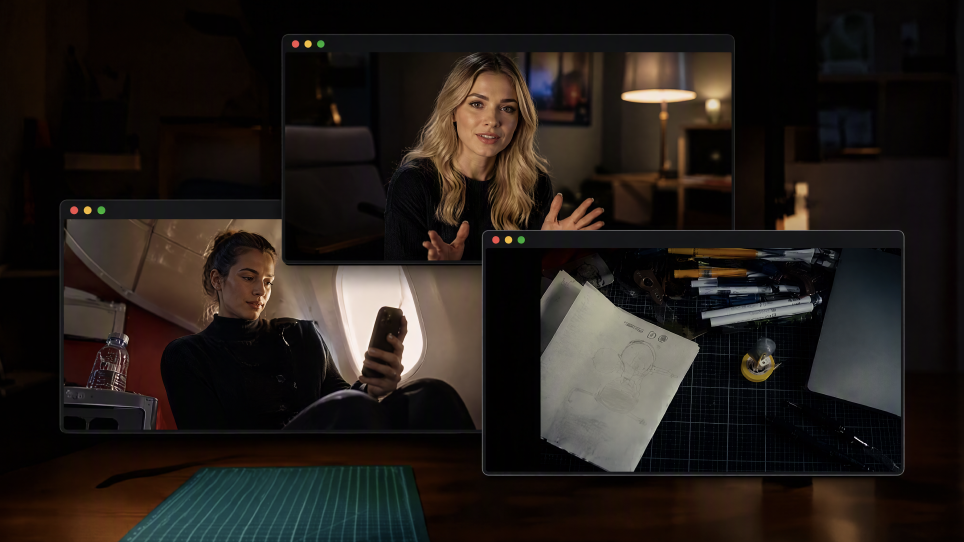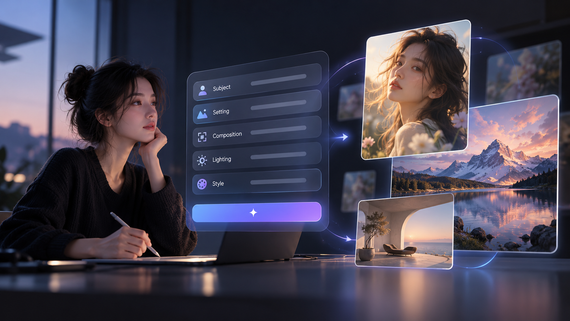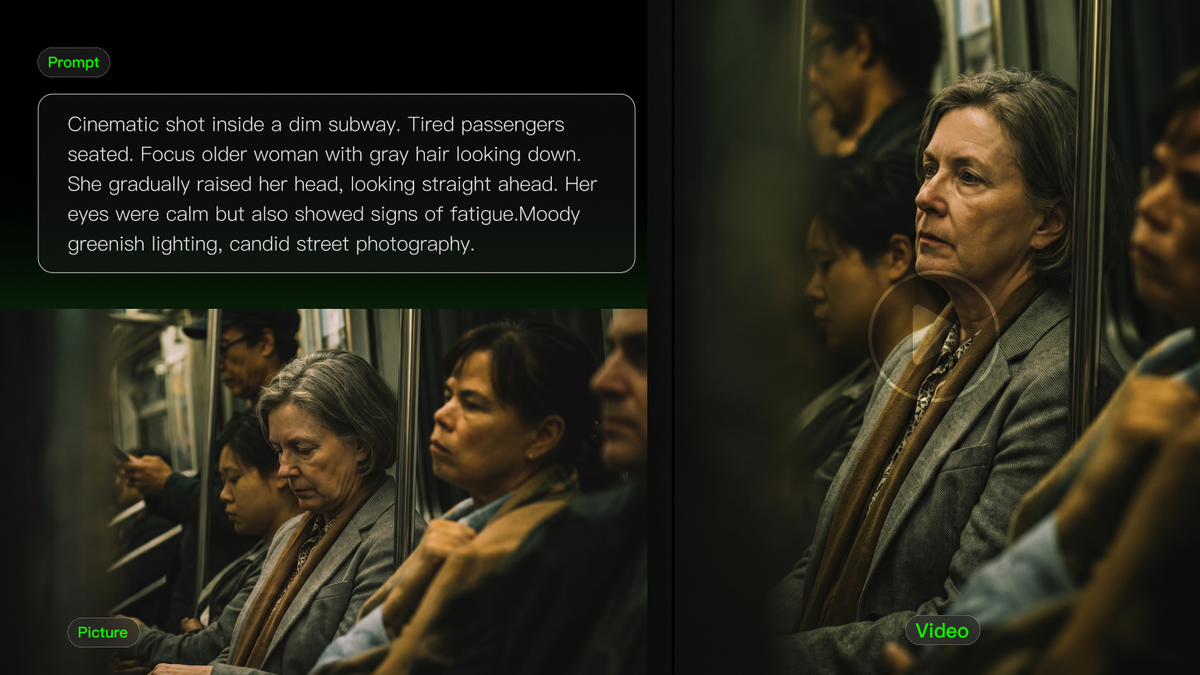
Even strong footage needs editing. You have to decide which shots to keep, where to cut, how the sound flows, and whether the visuals match from scene to scene. Sometimes a shot also needs a new background or a different camera treatment. This guide explains how to edit a video on a traditional timeline and how Kling AI video generator uses references to change existing footage. You'll also learn what to check before sharing the final cut.
How to Edit a Video With Traditional Tools
You can edit a video using traditional timeline-based tools or AI tools that use prompts and references to modify footage. For traditional editing, start by gathering your footage, audio, and graphics, along with a clear idea of what the finished video should communicate. This video editing tutorial walks you through four essential steps, from organizing your clips to exporting the final cut.
Step 1: Import and Organize Your Video Footage
Import your video clips, dialogue, music, and graphics into the editor. Group related files by scene or subject, and mark the strongest takes so you can find them quickly. Check the aspect ratio and audio quality of your source material before building the timeline. Good organization also helps you spot missing shots early.
Step 2: Cut Clips and Build Your Timeline
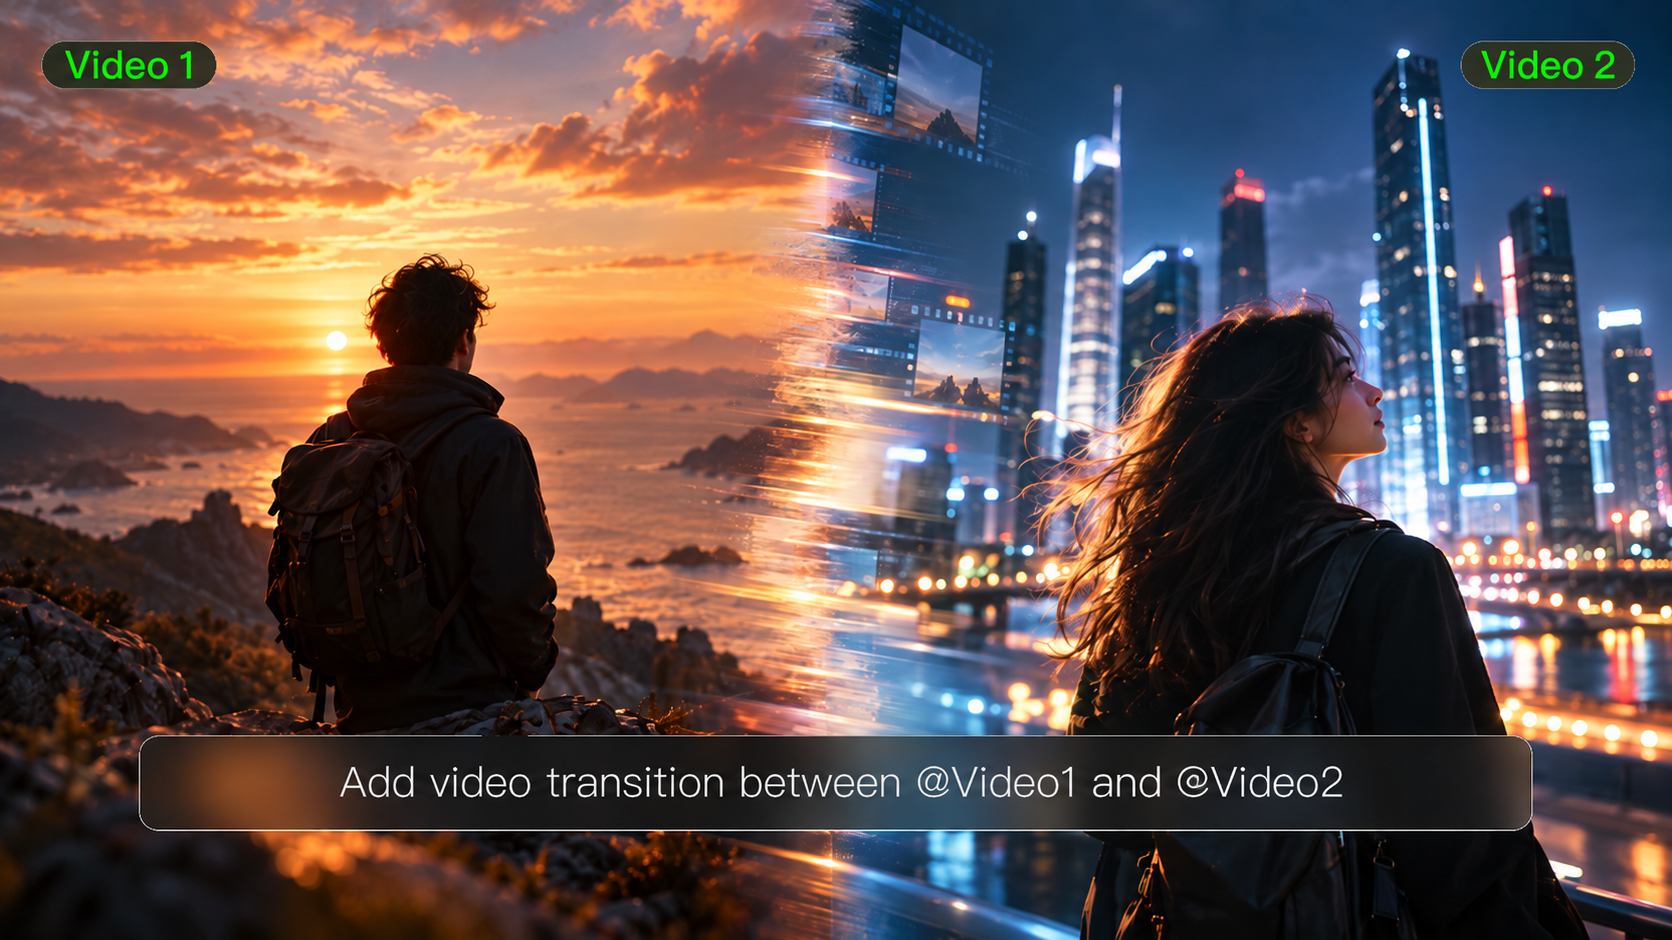
Place your strongest shots on the timeline in the order you want viewers to see them. Build a rough cut, then remove pauses, repeated moments, and footage that does not support the story. Adjust the length of each clip to control the pace, and use transitions where they help connect scenes or show a change in time or location.
Step 3: Adjust Audio, Color, and Visual Details
Once the rough cut feels right, focus on the finishing details:
- Audio: Balance dialogue and music, reduce distracting background noise, and smooth out changes in volume between clips.
- Visuals: Correct exposure and color, match the look of neighboring shots, and keep captions, titles, and logos easy to read.
Step 4: Export and Share Your Final Video
Watch the entire edit and check for awkward cuts, missing graphics, and sudden audio changes. Choose export settings that suit your destination, especially the resolution, aspect ratio, and caption requirements. Open the exported file for one final review before you publish or share it.
How to Edit a Video with AI
Traditional editing tools give you control over cuts, timing, and sound. When a shot needs a new subject, background, or camera angle, AI can simplify the process and reduce manual work. Kling 4.0 brings video creation and editing together in a connected multimodal workflow. It combines text, images, videos, subjects, and timing controls to guide the result. This helps you make targeted changes to existing footage, reduce repetitive manual work, and explore new versions more efficiently.
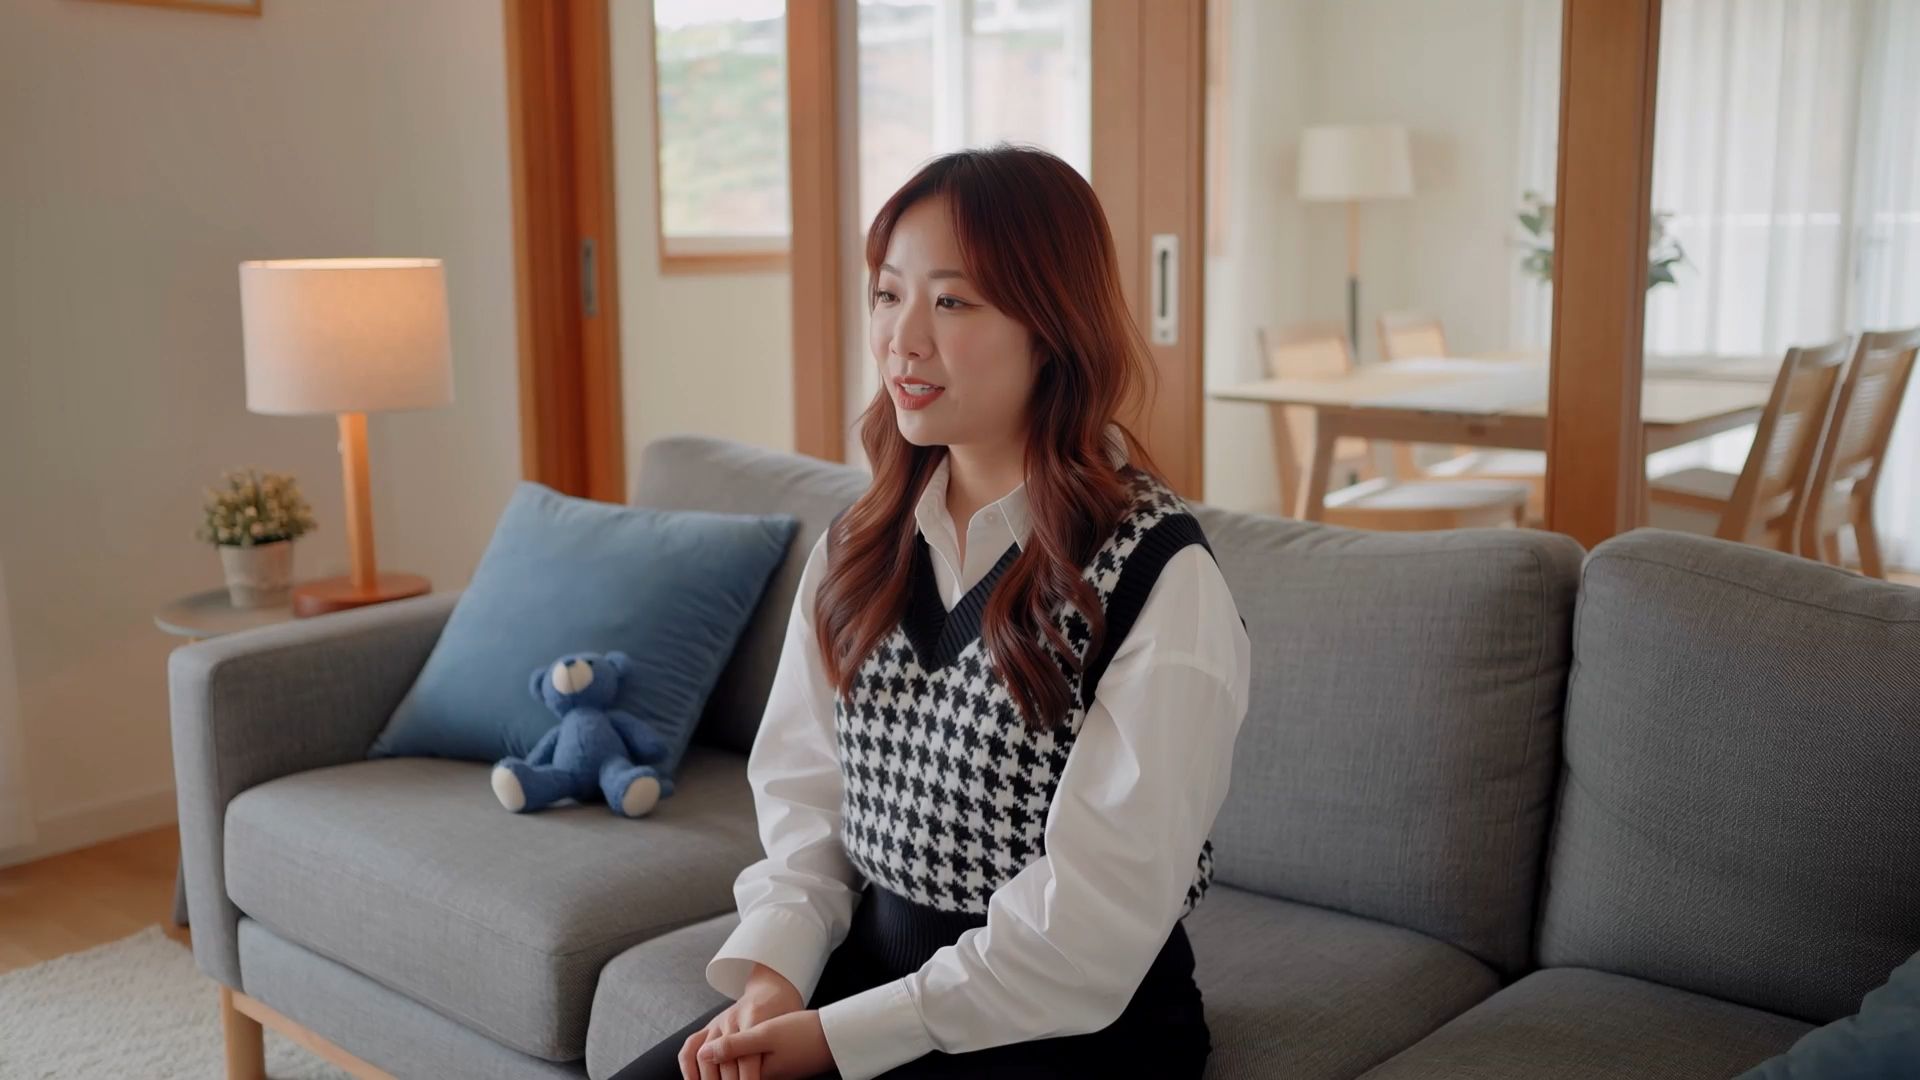

Step 1: Upload Your Video and Add Reference Assets
Start by uploading the video you want to edit as your primary clip, then add other video clips and reference assets that show the changes you have in mind. Kling 4.0 supports up to five input video clips per editing task, including one primary video. Each clip must be 3–30 seconds long, and the combined duration of all clips cannot exceed 30 seconds.
We recommend adding reference images to help guide your edits. With Omni Reference, Kling 4.0 supports up to 15 combined reference assets, including images, videos, subjects, and voice references. These can include keyframe images, and you can freely define up to 10 keyframes when creating a new sequence. These assets help guide character appearances, camera movements, and other visual details, giving Kling a clearer direction before you write your prompt.
Step 2: Describe the Changes You Want to Make
Once your references are ready, write a prompt explaining what you want to change and how each reference should guide the result. For example, you might use a reference video to guide camera movement in a particular part of the original clip or replace a character with a referenced subject. Specify which part of the video you want to edit and any details that should remain consistent, such as the surrounding environment, character appearance, or visual style.
Step 3: Generate, Review, and Refine Your Video
Generate your video and review the result against your original goal. Check whether the subject, object details, motion, camera direction, scene continuity, pacing, dialogue, and important text or brand elements match your expectations. If something still needs work, refine that part with more specific prompts or references before exporting.
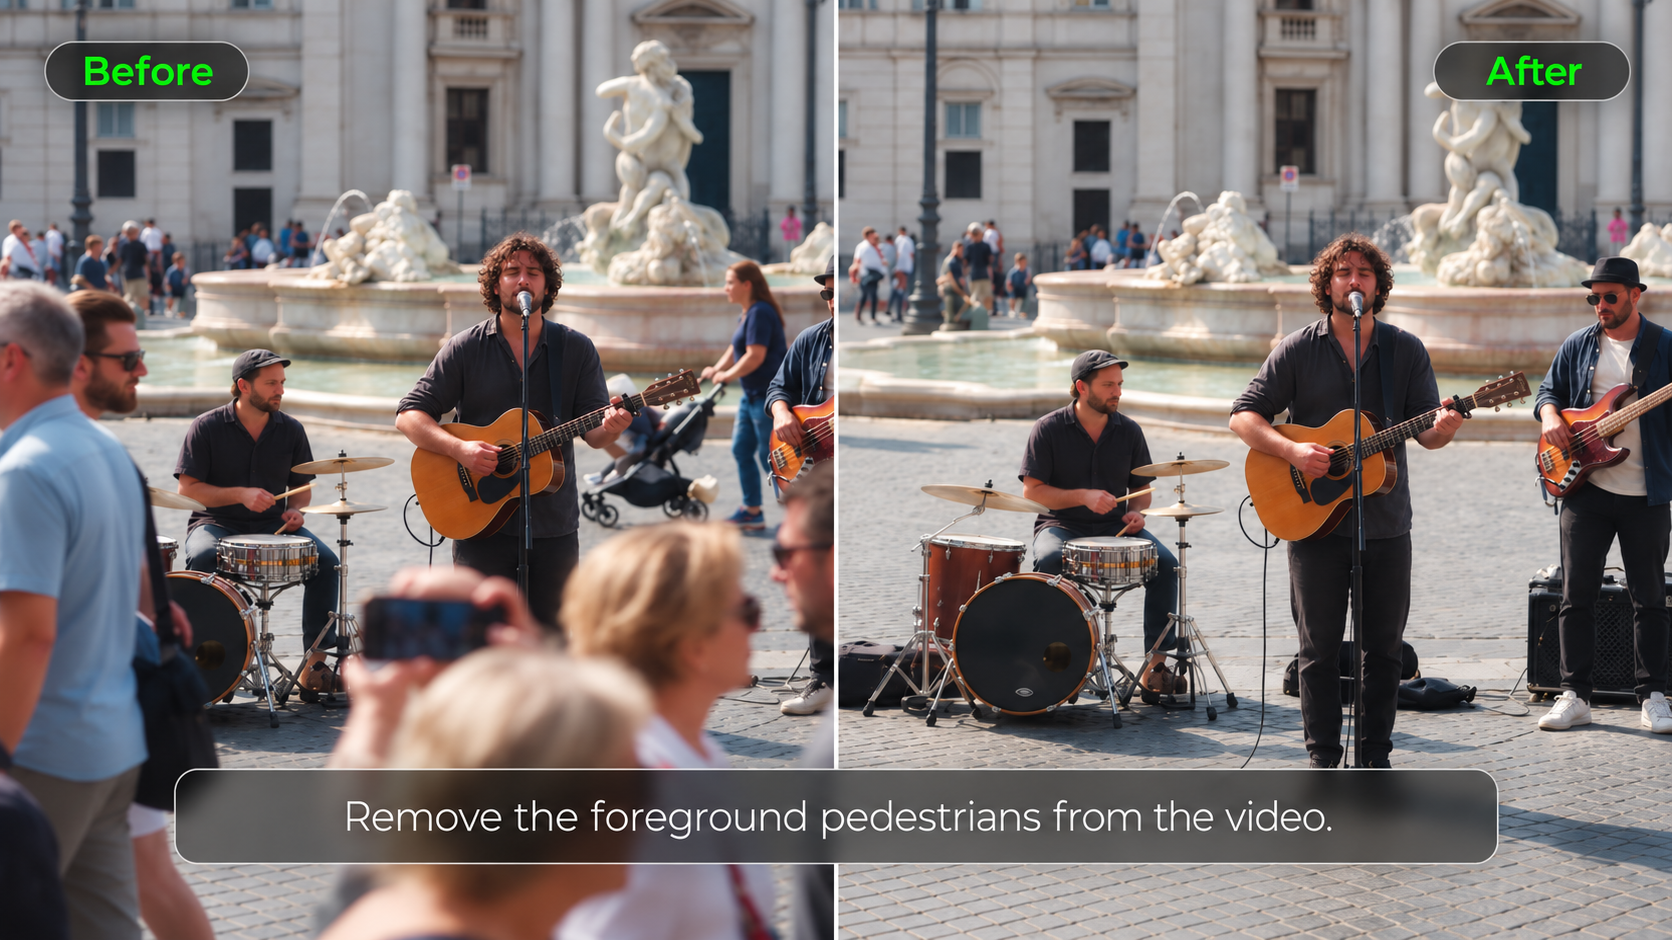
With Kling 4.0, you can combine text, images, subjects, and other supported inputs to make targeted changes to existing footage. Add, modify, or remove subjects, change or remove video backgrounds, or adjust details such as visual style, weather, color, materials, shot scale, and viewpoint. Precise Video Editing also lets you use reference images and prompts to introduce a new character or modify dialogue, helping keep the surrounding scene consistent.
Reference Image | Reference Video | Generated Result |
.png?x-oss-process=image/resize,w_1872) | 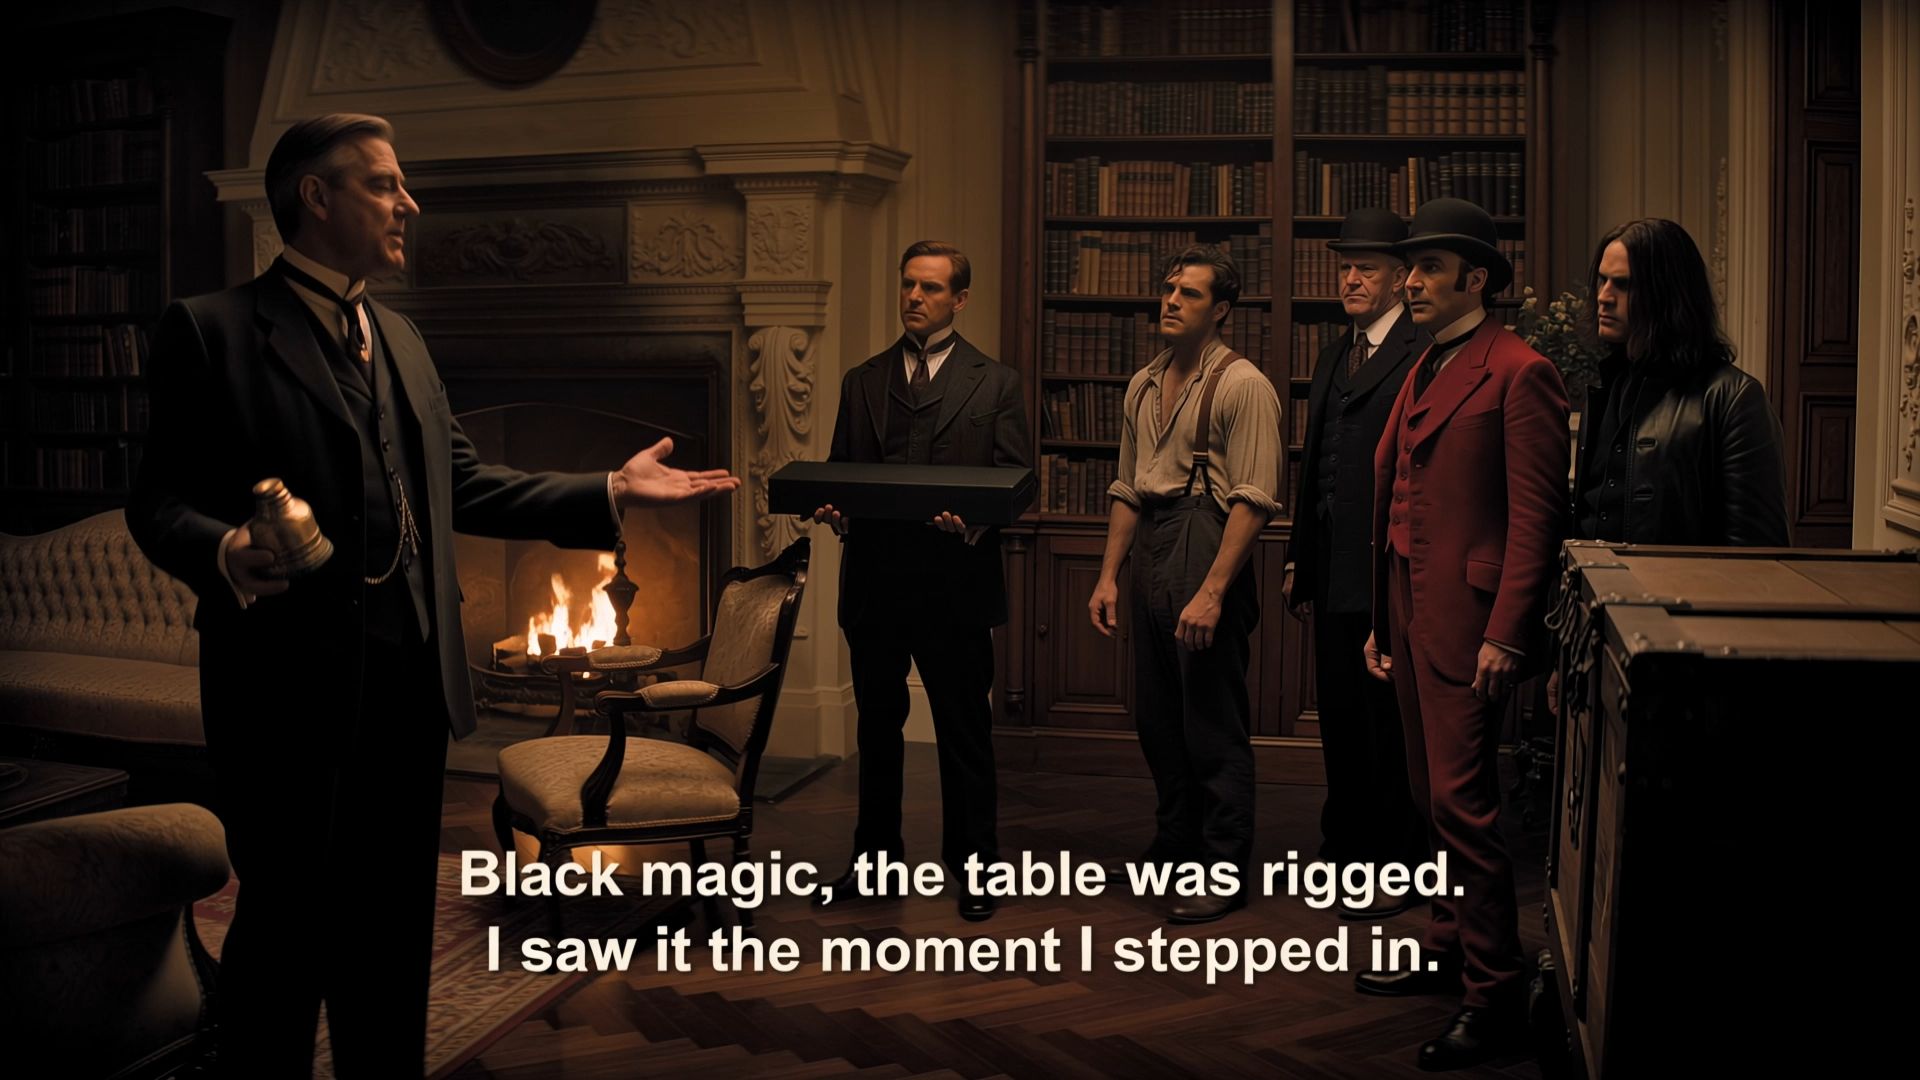 | 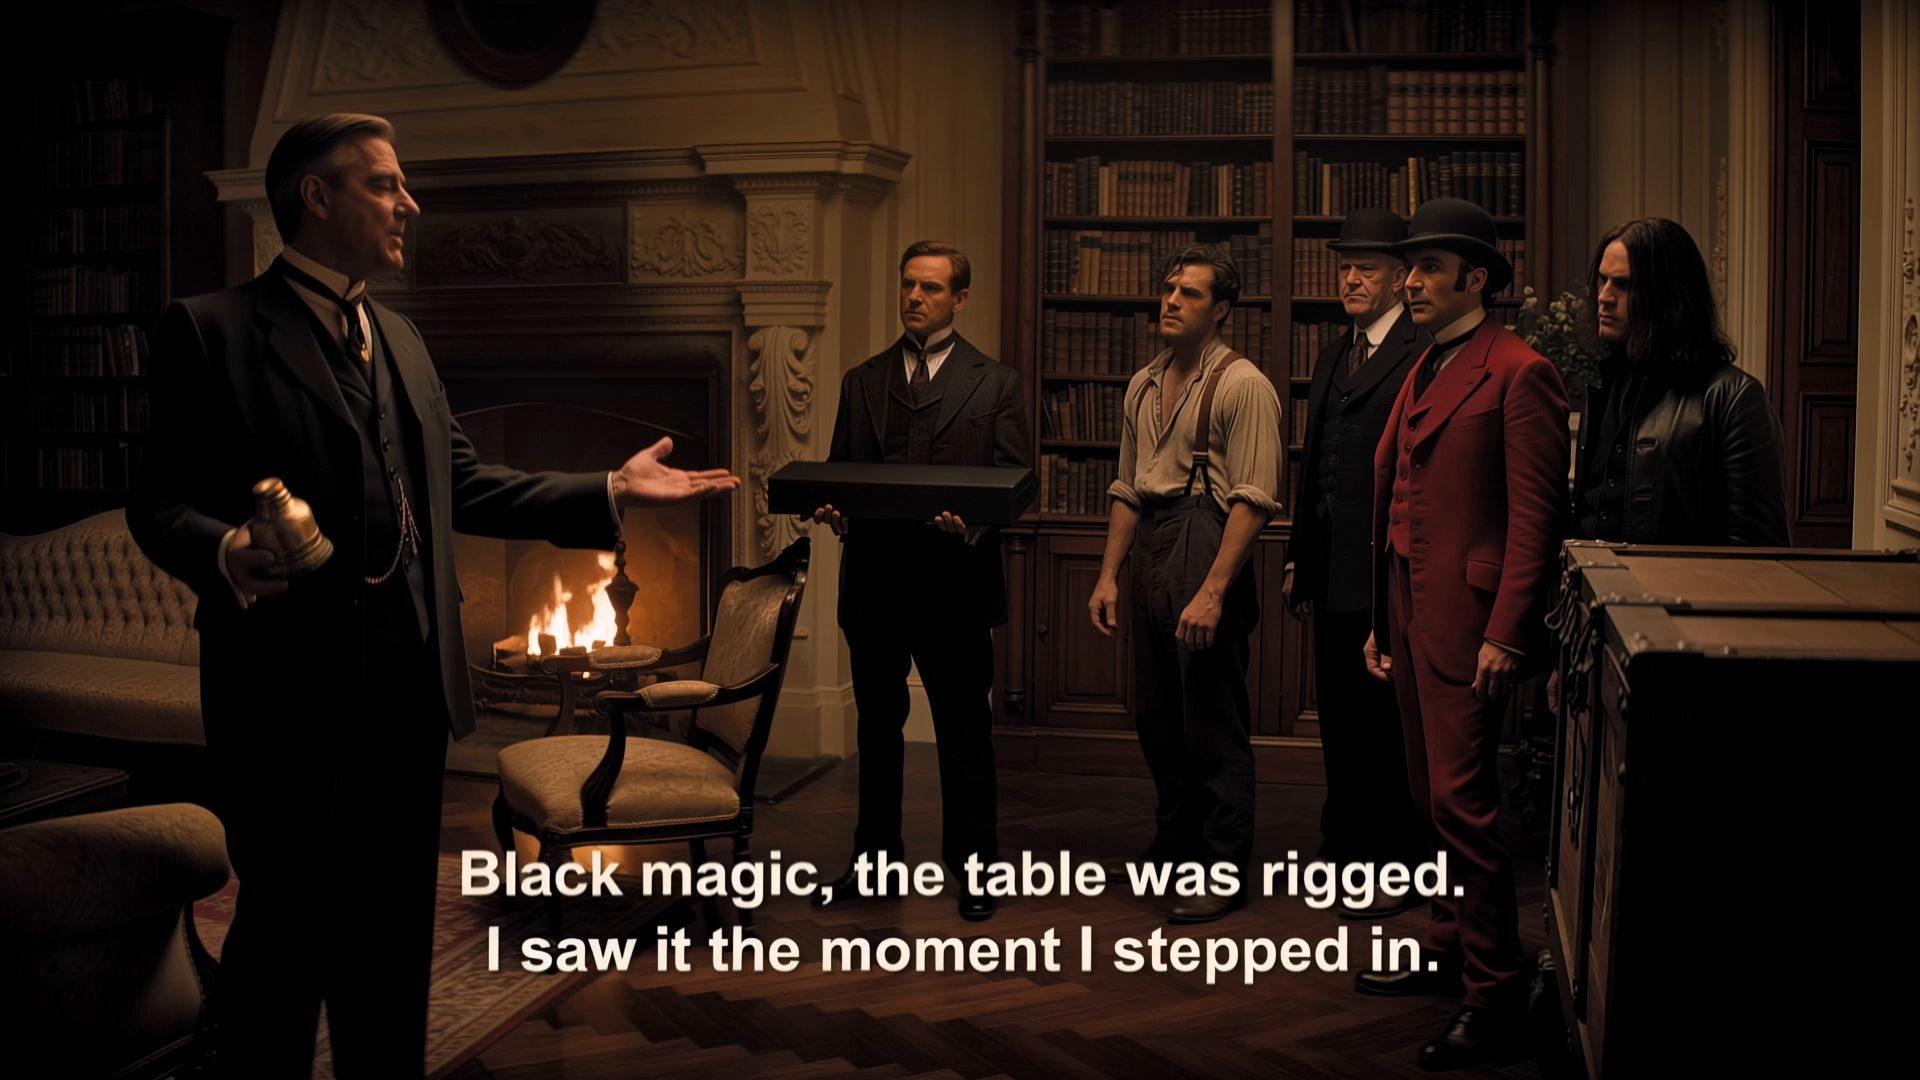 |
.png?x-oss-process=image/resize,w_1872) | ||
.png?x-oss-process=image/resize,w_1872) | ||
| Prompt: At the end of the video, when the box is opened again, @Subject1 is lying inside, asleep. Replace the final line, “Ah, it's all old stuff.” with “Why is there a pig here?” | ||
What Are the Benefits of AI Video Editing?
AI video editing can make complex scene changes more approachable, reduce repetitive manual work, and give you more freedom to reuse existing footage. For beginners, describing a change with prompts and references provides a practical starting point without first mastering advanced masking, tracking, or compositing techniques. Kling 4.0 helps you revise existing shots, explore alternative versions, and create missing scenes, while the Kling workspace lets you bring the resulting clips together.
Make Complex Edits More Approachable with Prompts
Changing a background, replacing a character, or removing an unwanted object can involve several editing operations in a traditional workflow. With AI video editing, you can describe what should change, add references to clarify the result, and identify the parts of the scene you want to preserve.
Kling 4.0’s precise video editing supports targeted changes to subjects, expressions, body movements, backgrounds, camera positions, camera movements, and visual style. You can also introduce a referenced character or modify dialogue. For example, change the setting around a presenter while asking to retain their appearance, clothing, and original performance.
For clearer instructions, separate your prompt into the change, the reference to follow, and the details to keep. This makes complex edits easier to approach and gives you a more focused way to refine the result after reviewing it.
Replace Multiple Characters Using Reference Images | ||
Reference Image | Reference Video | Generated Result |
.png?x-oss-process=image/resize,w_1872) .png?x-oss-process=image/resize,w_1872)
 | 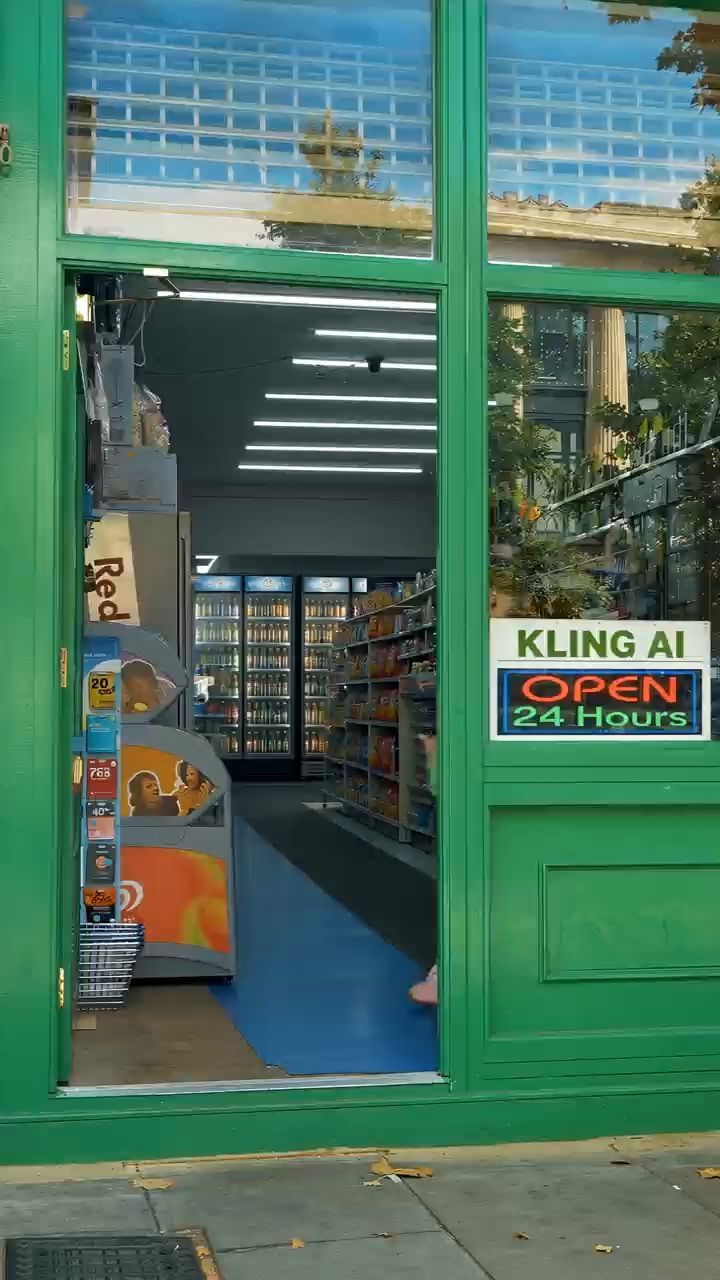 | 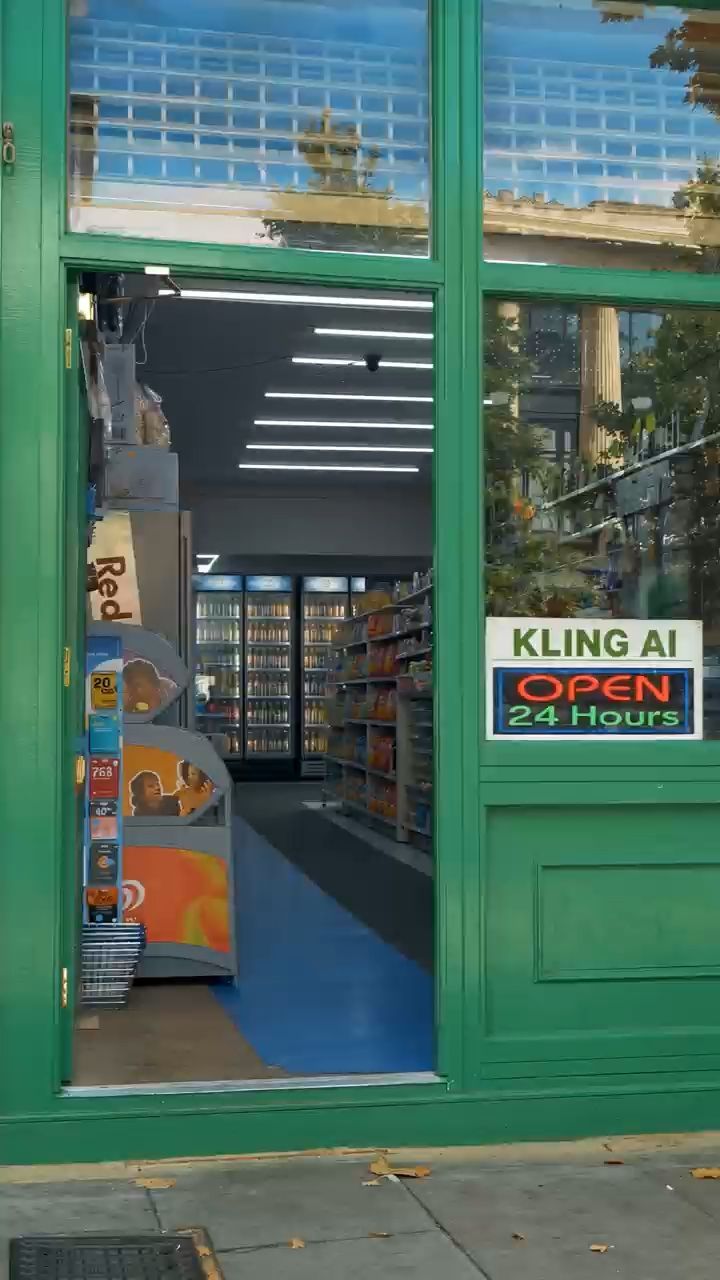 |
Create More Versions from the Footage You Already Have
A new product, setting, or campaign idea does not always require another full shoot. Reusing existing footage can reduce production work and help you explore different versions without rebuilding every scene from the beginning.
Kling 4.0 lets you replace products or characters and revise visual details through prompts and references. It also lets a reference video guide narrative pacing, shot composition, and visual expression while you introduce your own assets. Use an existing product advertisement as a creative reference, add your product images, and describe how the scene should reflect your brand.
This is useful when developing variations for product launches, seasonal campaigns, or social content. Give each version a clear purpose and change the relevant elements, such as the featured product, setting, or visual style, while using references to guide the creative details you want to carry forward.
Keep Characters and Visual Details More Consistent
When scenes change, a recognizable character or product should still feel like the same subject. AI references help communicate the details you want to preserve, reducing the need to describe every visual feature repeatedly.
Kling 4.0’s Omni Reference combines images, videos, and subjects within a total of up to 15 reference assets. It supports up to 10 image references, including subject photos, character turnarounds, image grids, storyboards, and wireframes. Video references can guide performance, movement, camera direction, and pacing, with up to five videos totaling no more than 30 seconds. Up to seven subject references can help define who appears, with supported voice references guiding a character’s vocal identity. These individual limits apply within the combined total.
For a recurring presenter or product, use clear references for defining features and assign each asset a specific role. Check whether faces, hairstyles, clothing, product shapes, materials, and colors remain consistent as framing, lighting, and scenes change.
Fill Story Gaps with Greater Creative Freedom
An edit may need a reaction that was never filmed, a clearer product demonstration, or a shot that connects two scenes. AI generation gives you a way to create that missing material and explore ideas beyond the original shoot.
Kling 4.0 supports 3–30 seconds per generation and up to 10 flexible keyframes. Define the important visual moments in a new sequence, such as a character entering, a product appearing, or a scene changing, then describe how the action and camera should connect them. Improved stability during running, dancing, fighting, and complex camera movements also helps you develop more ambitious additional shots.
For example, create a product sequence that moves from an establishing view to a demonstration and then a final reveal. Match its subject references and visual direction to the existing footage, so the new material has a clear purpose within the larger edit.
Keyframe | Generated Result |
.png?x-oss-process=image/resize,w_1872) .png?x-oss-process=image/resize,w_1872) | 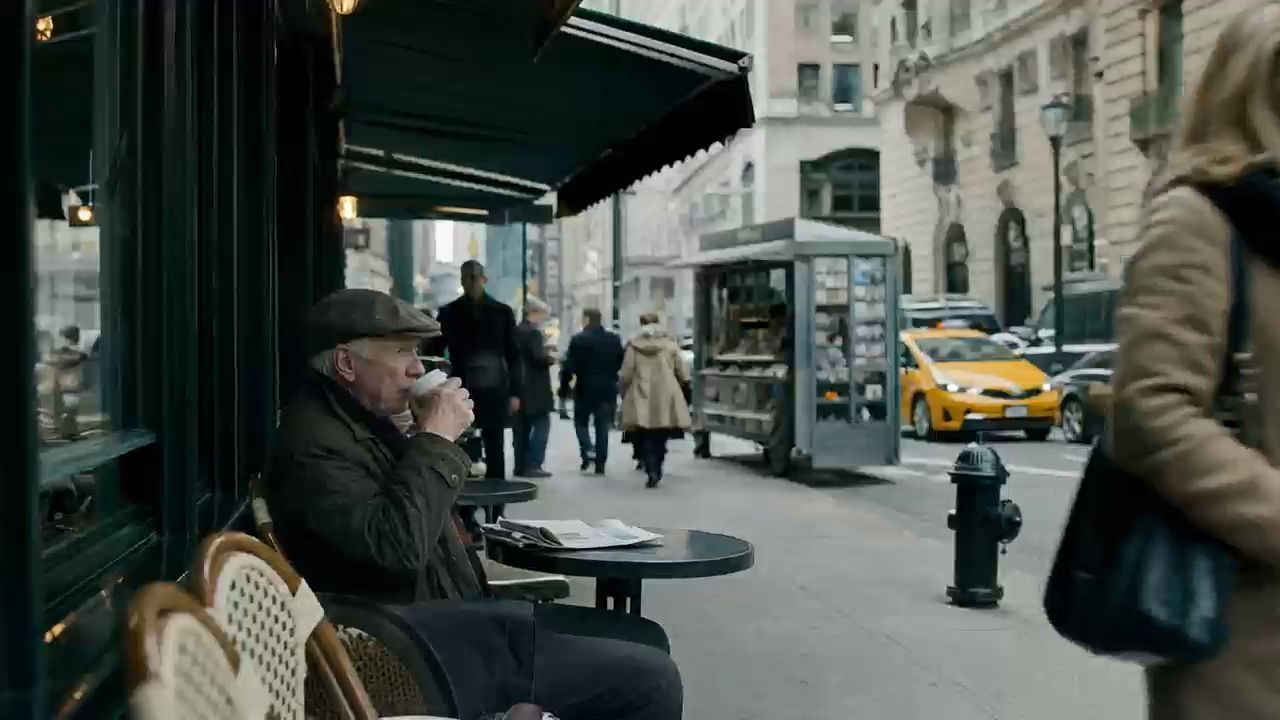 |
Assemble and Refine Clips in One Workspace
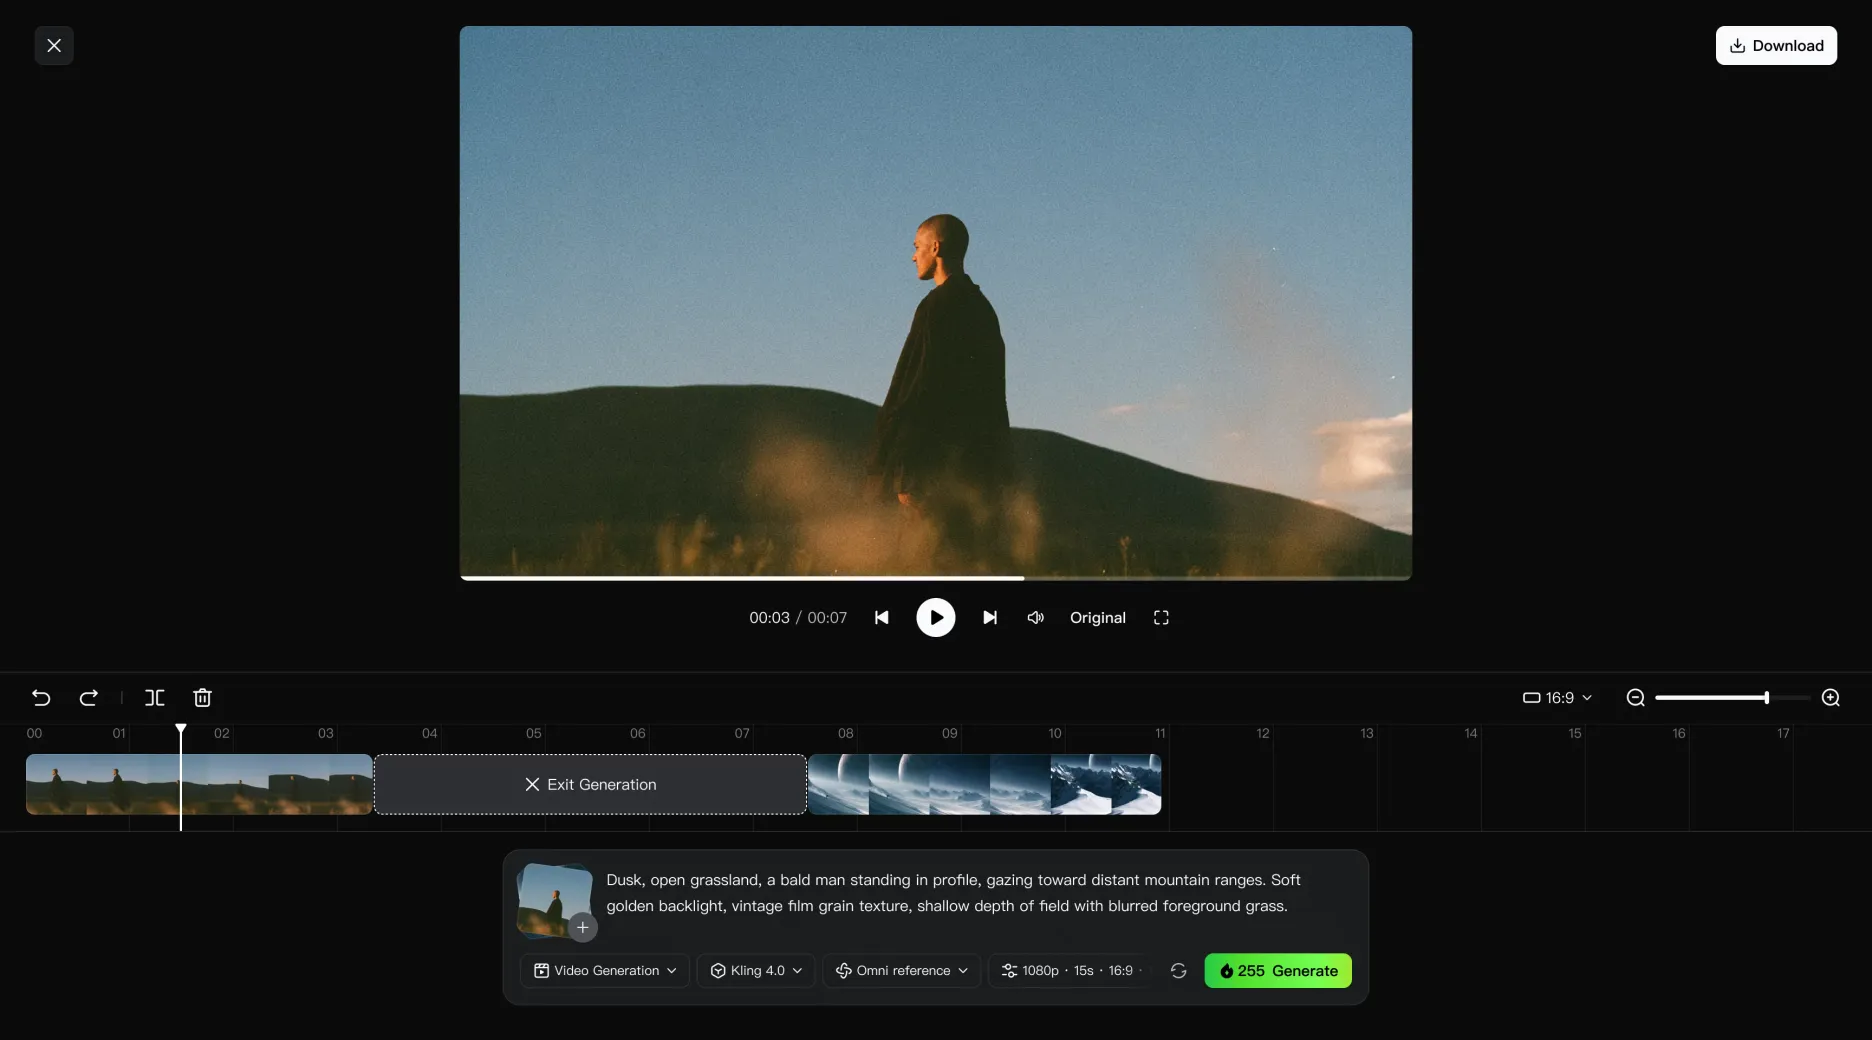
Once individual shots are ready, they still need to connect into a complete video. Continuous timeline creation lets you bring clips together in the Kling workspace, making basic assembly and ongoing revisions more convenient.
Add generated clips to the timeline and preview the sequence to check order, pacing, and continuity. Trim unwanted sections, replace individual clips, and insert uploaded footage or newly generated material where the story needs more detail. You can also edit or regenerate an asset at its timeline position, with the updated result replacing the previous version there.
For a product video, arrange the introduction, demonstration, and closing shot, then revise whichever section needs improvement. This lets you continue developing the sequence without rebuilding the entire assembly. Once the edit works, download the combined video directly from the workspace.
Keep Your Edited Video Looking Clear and Cinematic
Kling 4.0 supports 10-bit HDR output at both 1080p and 4K (Coming soon), bringing richer detail, smoother tonal transitions, and greater visual depth to the final video. These qualities are especially useful for footage with cinematic lighting, strong contrasts, nighttime settings, backlighting, or intricate visual details. When you change a background, replace a subject, or refine a shot, high-quality output helps keep the edited result clear, detailed, and cinematic.
Kling 4.0 also supports legible multilingual on-screen text for subtitles, titles, and other visual elements. Improved text stability helps keep important information clear and readable during camera movements and scene changes, supporting a more polished final video.
Professional Video Editing Tips and Common Mistakes to Avoid
Whether you're editing on a traditional timeline, working with an AI video editor, or combining both approaches, the same creative principles still matter. The following habits are worth keeping in mind throughout your project.
Plan Your Story Before Editing
Do not wait until the timeline is full to decide what the video is about. Define the audience, message, and desired action first. Then identify the essential story beats and the footage or references needed for each one. If you need to create a new shot from a written scene description, text-to-video generation can help. Planning ahead also makes it easier to decide which moments need keyframes and which details are best communicated through reference images or videos.
A common mistake is generating or collecting too much material without a clear role for it. More footage does not automatically create a stronger edit. A simple outline can save time by showing which scenes are necessary, which are optional, and where the video needs a clear transition or visual change.
Keep Visual Consistency Across Different Scenes
Check continuity across three areas as you move between shots:
- Subjects and Props: Character appearance, wardrobe, and product details.
- Lighting and Setting: Color, lighting direction, and surrounding environments.
- Framing and Camera: Screen position, camera angle, and movement.
AI-generated or edited footage can introduce small inconsistencies. Use references to maintain important details, review the full sequence, and target any unintended changes in your next edit.
Balance Visual Effects and Storytelling
Transitions, camera movements, visual effects, and stylized AI-generated shots can make a video more engaging when they contribute to the story. Adding too many effects, however, can disrupt the pacing and draw attention away from important moments. Before keeping an effect, consider what it adds to the scene. Does it clarify a change, highlight a product, reveal information, strengthen emotion, or direct the viewer's eye? If it serves none of these purposes, a simpler effect or a clean cut may work better.
Optimize Videos for Different Platforms
A finished master is not always the finished deliverable. Different platforms may require different aspect ratios, durations, safe areas, caption styles, opening hooks, or pacing. A horizontal brand film and a vertical social cut can share the same core story while using different framing and timing. Plan these variations early if the project will appear in several places. If a clip looks soft at the required delivery resolution, video upscaling can help improve its clarity before the final export.
Also consider how viewers encounter the content. Some may watch without sound, while others may see only the first few seconds before deciding whether to continue. Keep important visual information readable, use captions where appropriate, and make sure the opening communicates enough context to earn attention. Export and review each platform version rather than assuming one file will work equally well everywhere.
The End
Learning how to edit a video means making thoughtful choices about timing, sound, and visual consistency to bring your story together. Traditional editing tools help you assemble and polish footage, and Kling 4.0 lets you use prompts and references to make targeted changes or create new scenes. Review the final cut for pacing, continuity, and overall flow before sharing it.
FAQ
How do beginners edit videos?
Start with one short clip and a clear goal. Make a rough cut, watch it from beginning to end, and fix the parts that feel slow or unclear. Once the sequence works, spend time on audio and visual details. Finishing a simple project will help you build editing skills before tackling more complex videos.
What is the easiest way to edit a video online?
The easiest online workflow is one that matches the change you actually need. For basic assembly, use a timeline-based editor with simple trimming, text, audio, and export controls. For generative changes, an AI video editor can let you upload footage and describe modifications with prompts and references. Clear source material and specific instructions usually make the process easier than adding unnecessary effects or complex steps.
How can I edit a background in a video?
To change a video background, start with the original footage and identify the subject you want to keep. Traditional editors use masking and compositing tools for this task. With Kling 4.0, Precise Video Editing supports targeted background changes through prompts and references. Describe the new setting, specify which parts should stay consistent, and review the result for lighting and subject continuity.
What is an AI video editor?
An AI video editor uses artificial intelligence to help create, modify, or refine video content. Depending on the tool, it may generate footage, change subjects or backgrounds, restyle scenes, guide camera treatment, extend content, or use reference assets to direct results. Instead of performing every operation manually, you can communicate some changes through prompts, images, videos, subjects, keyframes, or other AI-assisted controls.
Can Kling 4.0 edit existing videos?
Yes. Kling 4.0 supports Precise Video Editing for changes to subjects, backgrounds, camera movement, and visual style. The full model supports up to five input video clips in an editing task, including one primary clip, with a combined duration of up to 30 seconds. You can provide additional references to guide the changes you want to make.
What makes Kling 4.0 different for video editing?
Kling 4.0 brings video editing into a broader multimodal creation workflow. Omni Reference lets you work with images, videos, and subjects, and Multiple Keyframes provides up to 10 keyframe inputs to guide important moments in a sequence. A single generation can run for up to 30 seconds, and Precise Video Editing lets you target specific elements within existing footage. These capabilities give you more control over visual identity, timing, scene progression, and storytelling throughout the creative process.