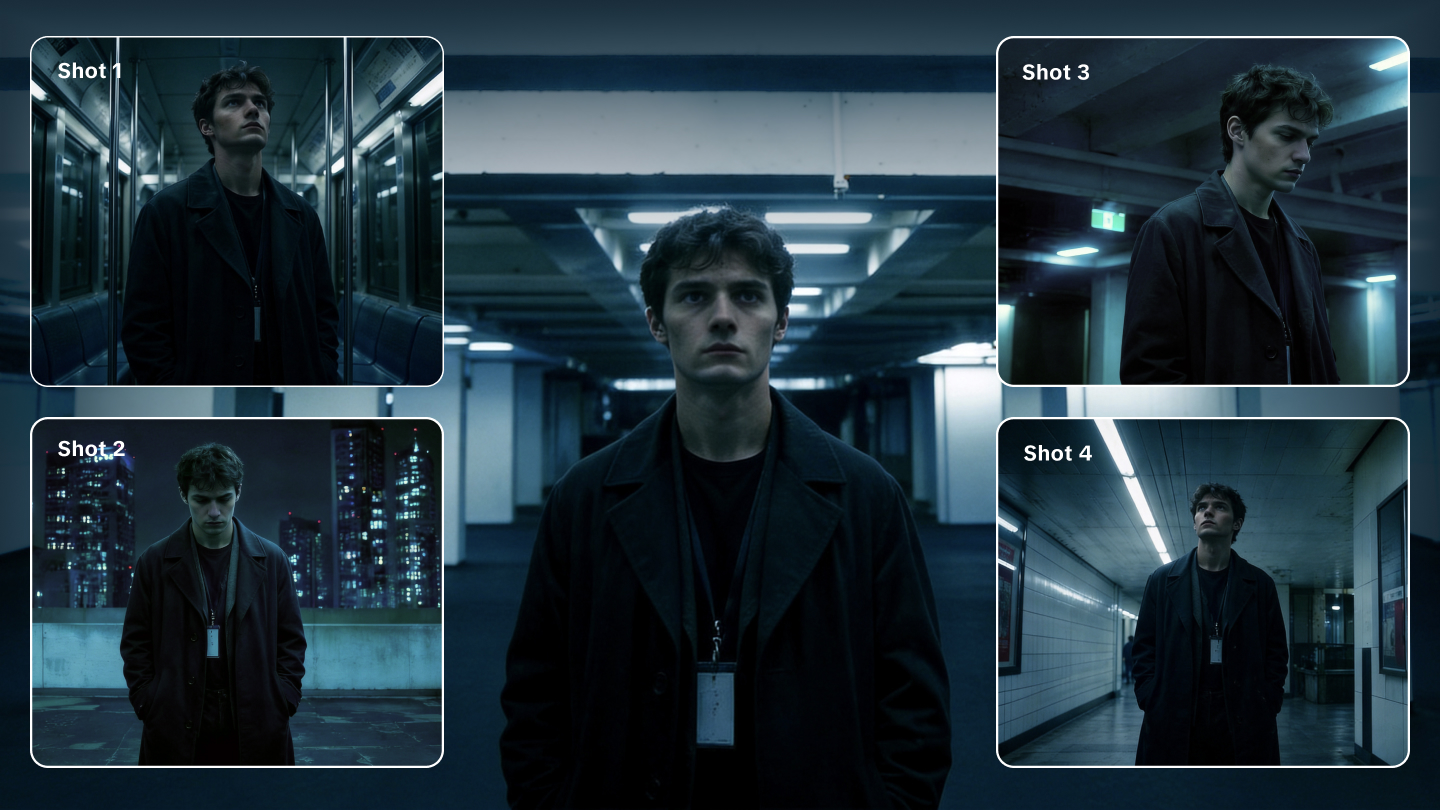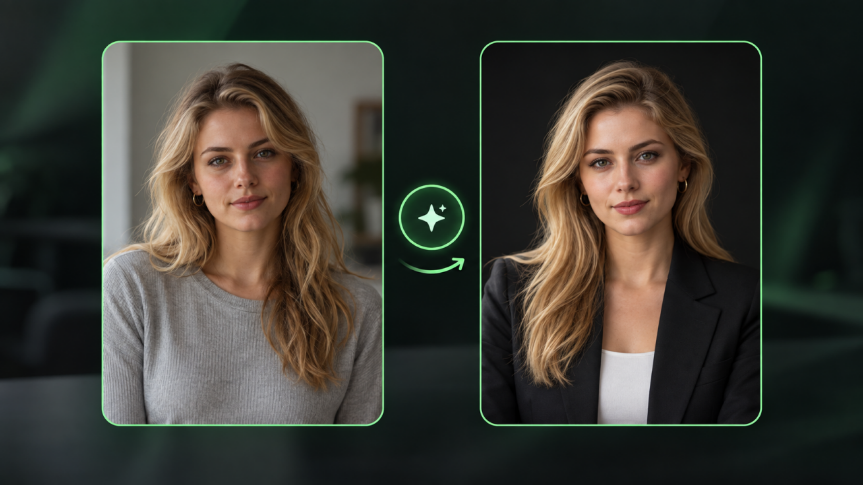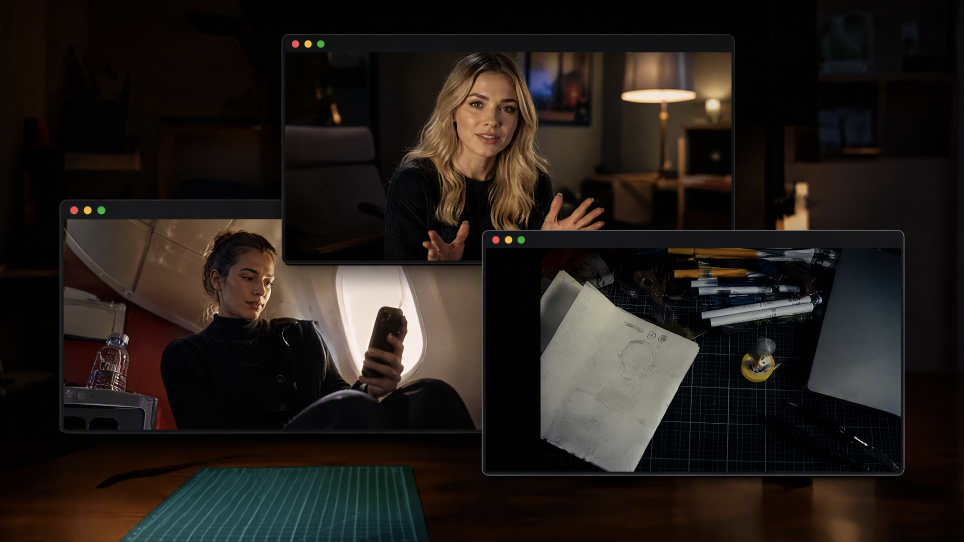
Video editing shapes how a story unfolds and how viewers respond to it. Choosing the right shots, pacing scenes, and maintaining visual consistency can transform a simple clip into a compelling video. As creative workflows evolve, new tools are helping creators overcome editing challenges and achieve more control over their final results.
What Is Video Editing and Why Does It Matter?
Video editing brings recorded clips together into a video that feels clear and complete. It helps creators decide which moments to keep, how scenes connect, and where to place important details that support the story.
Even small changes can affect the final result. Removing a long pause can make a tutorial easier to follow, rearranging clips can improve the flow of a story, and adjusting sound or visuals can draw attention to important moments.
How to Edit Videos: A Basic Workflow for Beginners
Video editing for beginners usually involves a few stages to turn a collection of clips into a finished video. Most projects start with reviewing footage, selecting useful moments, and arranging scenes into a sequence that matches the original idea.
Use AI Tools to Improve Your Video Editing Workflow
AI tools can help simplify parts of the editing process, especially when developing ideas, adjusting scenes, or creating additional visual elements. Kling 4.0 allows creators to use text prompts, images, and reference materials to explore new versions of a video, refine visual details, and experiment with creative changes more efficiently. By combining AI assistance with traditional editing steps, beginners can spend more time improving storytelling, pacing, and the overall viewing experience.
10 Essential Video Editing Tips and Techniques
The right editing choices can change the way a video feels. These practical tips cover story structure, shot selection, pacing, sound, and visual details to help you create videos that feel more polished and engaging.
1. Start With a Clear Story Structure
Think about the main idea you want your audience to remember before putting clips together. A product demo, for example, can start with a problem, show the product in action, and end with the result.
Keeping this flow in mind makes it easier to choose the shots that support your message and remove anything that distracts from the story.
2. Remove Unnecessary Footage
Most first cuts include clips that do not need to stay. Look for repeated information, slow openings, or moments that continue after the important action has already happened.
Removing these sections can make the video feel more focused and help viewers follow the main idea more easily.
3. Combine Wide, Medium, and Close-Up Shots
Different shot sizes can change how viewers experience a scene. Wide shots can show the environment, medium shots can bring attention to the subject, and close-ups can highlight important details.
Use each angle with a purpose. A change in perspective should add something new to the story rather than simply make the video look different.
4. Use Jump Cuts to Maintain Attention
Jump cuts remove unnecessary pauses and are especially useful for tutorials, interviews, and short-form videos. When used correctly, jump cuts create energy while keeping the audience focused on the important information.
5. Match Cuts Between Different Shots
Two unrelated scenes can connect through a shared movement or shape. Think of a spinning car wheel cutting to a rotating ceiling fan. The similar motion carries your eye from one shot to the next. Look for matching actions, compositions, or visual details in your footage when you want an intentional transition.
6. Keep Your Colors Consistent
Footage from different locations can look mismatched once you put the clips together. An indoor shot, for example, may appear warmer than one filmed near a window. Bring exposure and white balance into line first, then adjust contrast and color to suit the look you're after. Compare neighboring shots before applying a more stylized color grade.
7. Improve Audio Quality
Play a section where dialogue and music overlap. If a key phrase gets buried under the soundtrack, lower the music during that line instead of turning up every track. Listen for sudden volume changes between clips, too. A final check through headphones and phone speakers can reveal problems you missed while editing.
8.Use B-Roll to Make Videos More Engaging
When someone explains a process, showing the actual steps is often more useful than keeping the camera on the speaker. B-roll adds supporting visuals and can also help cover cuts in interviews, tutorials, or talking-head videos.
When you need supporting footage that was not captured during filming, an AI video generator can help create additional visuals from a creative idea or scene description. This gives creators more flexibility when building richer stories or adding visual variety to a video.
9. Choose Music That Matches the Mood
Music can influence how a scene feels before viewers notice the individual cuts. A steady beat might suit a quick montage, while a quieter track could work better for a reflective moment. Listen to how the music changes throughout the scene, and let important actions or pauses shape where you place your cuts.
10. Optimize Videos for Different Platforms
Before exporting, check how your video will appear on its intended platform. Standard YouTube videos commonly use a 16:9 frame, while Instagram Reels and YouTube Shorts typically use 9:16. Reframe important action where necessary, and keep captions away from areas covered by the platform's interface. Preview the result on a phone before publishing.
How AI Video Tools Can Improve the Editing Process
Video editing can become time-consuming when you need to fix an imperfect shot, add missing footage, or connect multiple scenes into a complete story. AI video editing tools make these tasks more approachable, especially for beginners, by allowing creators to work with simple text instructions and visual references, reducing the need for complex manual adjustments or additional filming.
With Kling 4.0, you can refine existing footage, generate matching shots, guide important story moments, and connect multiple clips within a more flexible creative workflow. This helps you spend less time on repetitive editing tasks and more time shaping the final video.
| Prompts | Reference Video | Generated Result |
| Edit @Video 1 to remove the foreground person. Keep everything else unchanged, including the background, other subjects, camera movement, lighting, composition, and video duration. Seamlessly reconstruct the areas previously obscured by the person, ensuring natural, consistent details with no visible artifacts. |   |  |
Make Video Editing Easier with Natural-Language Instructions
You don't need to master complicated editing techniques before bringing your creative ideas to life. Instead of figuring out every technical adjustment, you can focus on describing what you want the viewer to see and how the scene should feel.
As an AI video editor, Kling 4.0 makes video editing more accessible through natural-language instructions and multimodal references. Whether you want to refine a particular shot, shift the visual focus, or adjust a scene's atmosphere, simply describe your intended changes and provide references when needed. Kling AI helps turn those directions into updated footage, making it easier for beginners to experiment and experienced creators to spend less time on repetitive adjustments.
Replace Multiple Characters Using Reference Images | ||
Reference Image | Reference Video | Generated Result |
.png?x-oss-process=image/resize,w_1872) .png?x-oss-process=image/resize,w_1872) .png?x-oss-process=image/resize,w_1872) | 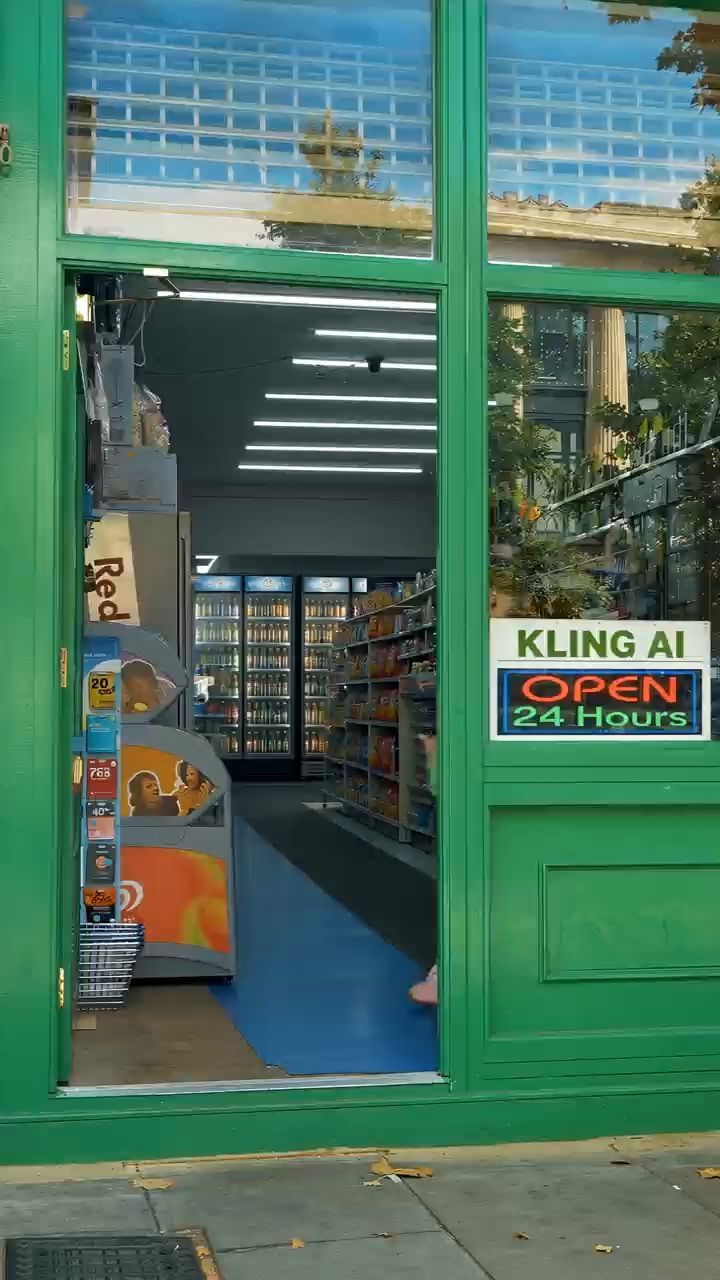 | 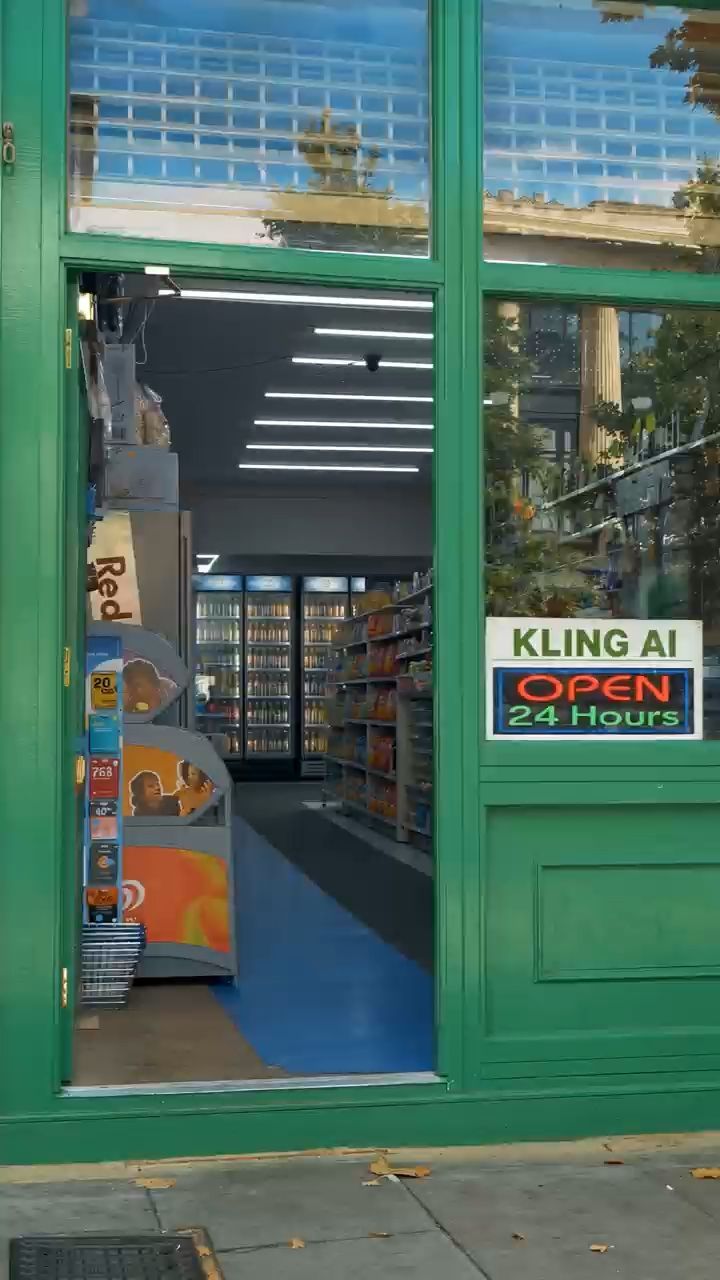 |
Maintain Visual Consistency and Direct Cinematic Camera Moves with Omni Reference
Maintaining visual consistency across different shots while creating professional camera movements can be challenging, especially without advanced editing or 3D camera skills.
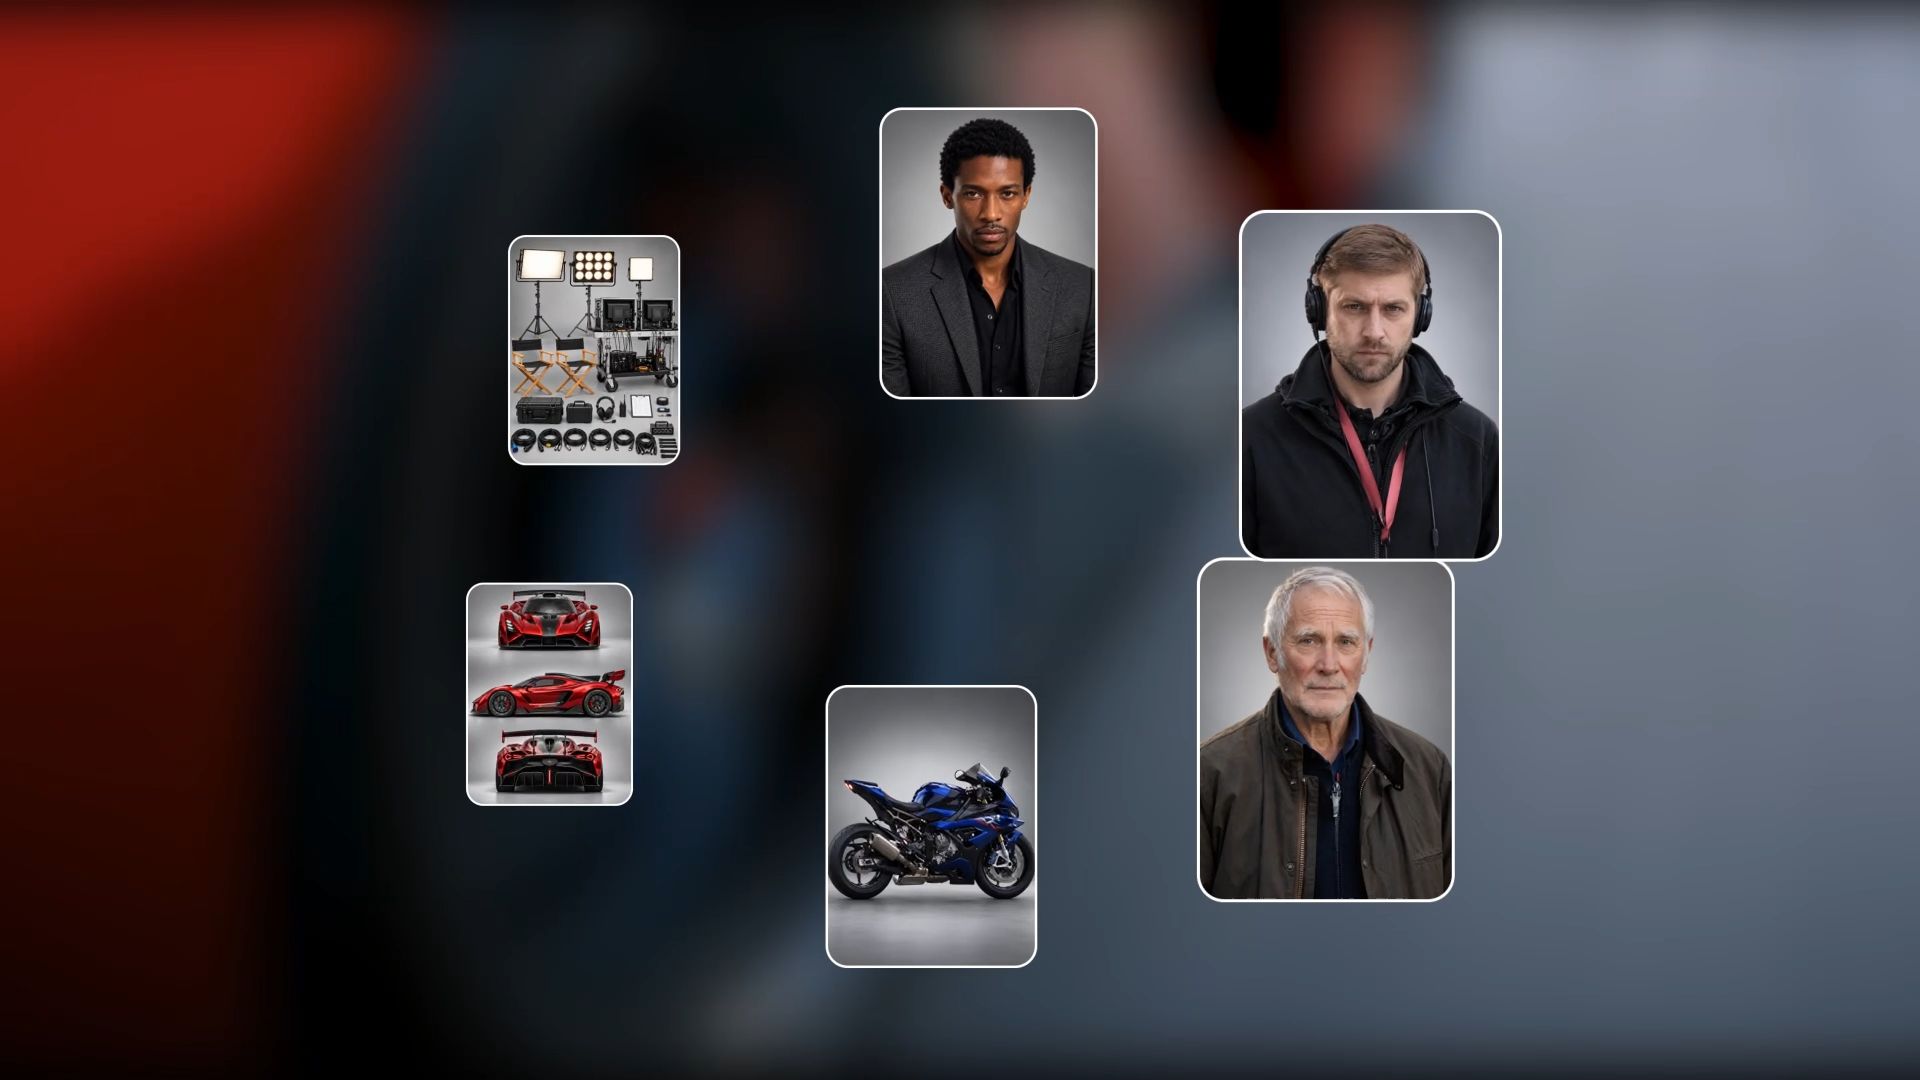
Kling 4.0's Omni Reference lets you combine up to 15 reference assets, including images, videos, and subjects, to guide both visual details and camera movements. Use images to maintain consistent characters, products, and scene styles, while reference videos help direct camera movements, such as smooth tracking shots, dramatic push-ins, or dynamic orbiting shots. You can also describe your intended camera movement through simple text instructions without adjusting complex 3D camera parameters.
Combined with Kling 4.0's improved motion stability, these capabilities help you create smoother, more cinematic shots that connect naturally with existing footage, reducing the need for complicated manual adjustments.
Guide Scene Progression Precisely with Multiple Keyframes
Sometimes a video moves too quickly between important moments, leaving the story feeling incomplete or disconnected. Creating additional footage can help, but you also need control over how the action develops between those moments.
Kling 4.0 supports native video generation from 3 to 30 seconds, with up to 10 keyframe images to define important visual points. You can guide character positions, actions, scene changes, and key story moments throughout a new sequence. For example, when an edit lacks a natural connection between two events, you can generate a more complete connecting shot with a clearer progression. This gives you greater control over narrative continuity and reduces the need to rely on awkward cuts.
Keyframe | Generated Result |
.png?x-oss-process=image/resize,w_1872) .png?x-oss-process=image/resize,w_1872) | 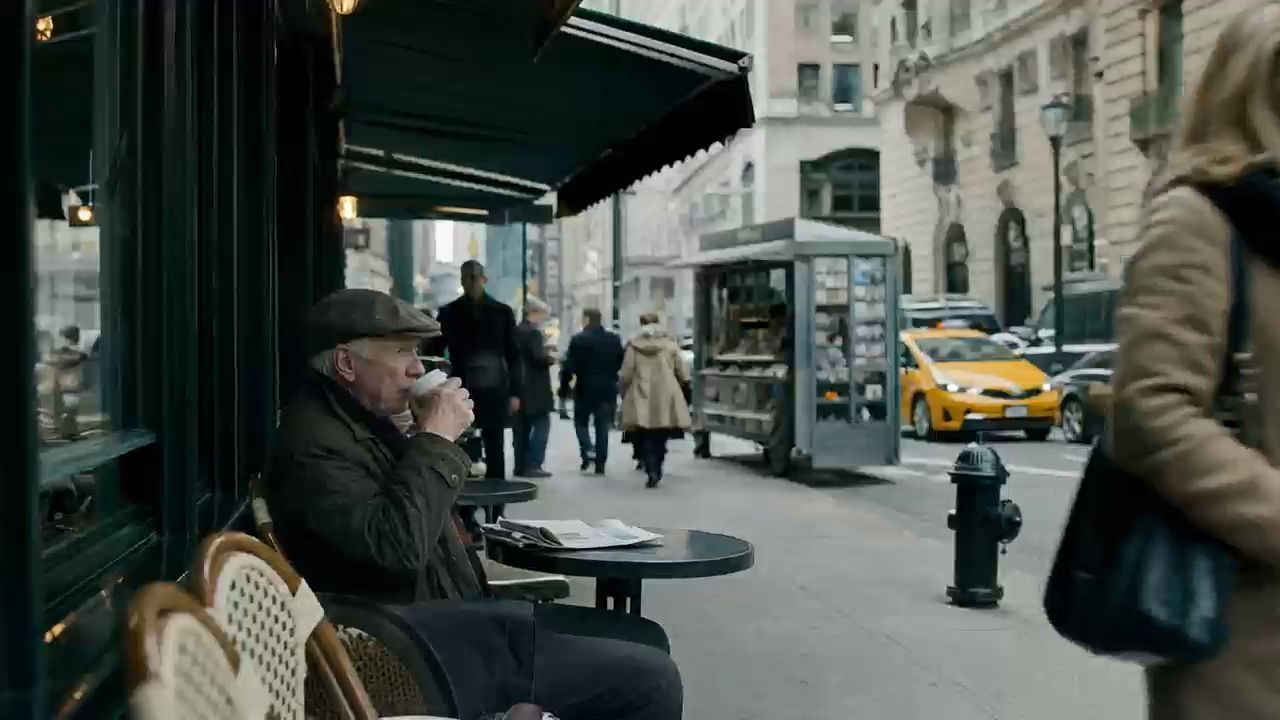 |
Preview, Refine, and Keep Creating on One Timeline
Video editing often involves repeated reviews and adjustments. A sequence may look good initially, but after watching it, you might discover that a scene needs more detail, a clip should be shorter, or an additional shot would improve the overall flow.
Kling AI's Continuous Timeline Creation brings previewing, editing, and adding new materials into one connected workspace. You can review how clips work together, trim unwanted sections, insert new footage, and modify or replace individual assets as your ideas develop. Instead of restarting the project whenever something needs changing, you can keep refining the sequence as you go and download the assembled video directly from Kling AI.
.webp?x-oss-process=image/resize,w_1872)
Video Editing Tips for Different Types of Content
Different types of videos call for different editing choices. A long-form video may need more space for storytelling and pacing, while short-form content often depends on quick visual changes and strong opening moments. AI tools can provide additional support by helping creators refine existing shots, fill missing visual details, and improve the overall flow of each video.
YouTube Video Editing Tips
Longer YouTube videos benefit from a clear structure that keeps viewers following the story from beginning to end. Organize sections carefully, remove moments that slow the pace, and use supporting visuals to maintain interest throughout the video.
For tutorials, explainers, or storytelling content, AI video tools can help improve an edit by generating missing demonstrations, adding relevant B-roll, or refining shots that feel inconsistent with the surrounding footage. Review these additions within the complete sequence to ensure they clarify the content and maintain a natural viewing rhythm.
Reels Video Editing Tips
Short-form videos often rely on the first few seconds to capture attention. Strong visual hooks, quick scene changes, and well-timed text can help create a more engaging experience on mobile platforms.
When a Reel needs a stronger opening or an eye-catching visual that is difficult to film, text-to-video AI can help generate alternative shots or short connecting scenes from creative descriptions. Experiment with different versions, then select the moments that best match your existing footage. Keep the pacing tight and check that important visual details remain clear in a vertical frame.
Marketing and Brand Video Editing Tips
Brand videos need a balance between creativity and consistency. Product details, visual style, and messaging should work together across every scene to create a recognizable experience.
For campaigns built from product images, image-to-video AI can help create additional product close-ups, demonstrations, or supporting visuals that enhance an existing edit. Reference-based workflows can also help maintain consistent product details and visual styles when updating footage or developing different campaign versions. Review each new shot alongside the original material to ensure a cohesive final video.
Short Films and Storytelling Video Editing Tips
Short films rely on pacing, character moments, and visual storytelling to create an emotional connection. The way scenes develop, characters interact, and key moments are revealed can shape the overall atmosphere of the story.
When a sequence lacks an important reaction, connecting shot, or narrative moment, script-to-video AI can help visualize missing scenes based on the original story direction. Creators can also combine references and keyframes to guide important visual moments in newly generated footage. Review how these additions fit the surrounding shots to maintain narrative continuity and emotional pacing.
Common Video Editing Mistakes to Avoid
AI tools can make video creation and editing more efficient, but the finished video still needs careful review. When working with AI-generated or edited clips, pay attention to visual continuity, audio quality, storytelling, and how different shots work together.
Using Effects to Cover Inconsistent Footage
Transitions and visual effects cannot always hide mismatched characters, lighting, or movements between clips. Before adding effects, compare adjacent shots and check whether they connect naturally. If an AI-generated scene feels inconsistent, refine its prompts or references rather than relying on extra effects to cover the problem.
Ignoring Audio and Lip-Sync Consistency
Clear dialogue and balanced sound remain essential for AI-edited videos. Check whether character voices, lip movements, background sounds, and volume levels stay consistent across different clips. Review the complete sequence to catch audio changes that may be less noticeable when watching individual shots.
Losing the Story Focus
AI makes it easier to generate additional footage and experiment with visual ideas, but more clips do not always improve the story. Keep each new shot focused on a clear purpose, and remove unnecessary material that slows the pace or distracts from the message.
Skipping Final Playback and Export Checks
Before publishing, review the assembled video for awkward cuts, inconsistent visuals, audio issues, and incorrect framing. Choose export settings that suit your target platform, and check the finished result on a mobile device to catch cropped subjects, hidden captions, or other problems.
The End
Before sharing your video, review it for unnecessary shots, awkward transitions, and moments that need more time to unfold. Applying these video editing tips can help you make final adjustments that keep your story clear and cohesive.
When a scene needs more than a simple cut, Kling 4.0 can help you create missing shots or refine existing footage, giving you more flexibility to bring your creative vision to life.
FAQs
How Do Beginners Start Editing?
Try editing a 30 to 60-second video using a few clips from your phone. Arrange them in order, trim unwanted footage, add background music, and export the result. Watch it back to spot awkward cuts or audio problems, then make another version. Short projects like this help you practice the full workflow without getting overwhelmed.
What Is the 3:2:1 Rule in Video Editing?
The 3-2-1 rule is a backup practice used to protect video projects. Keep three copies of your footage and project files, store them on two different types of storage, and keep at least one copy off-site or in the cloud. This approach helps reduce the risk of losing your work due to accidental deletion, hardware failure, or other unexpected problems.
How Do I Improve My Video Editing Skills?
Improving your editing skills comes from practicing with different types of projects and paying attention to how each choice affects the final video. Start with shorter videos, experiment with different cuts and pacing, and review your edits to understand what works well and what could be improved.
Studying videos you enjoy can also help you notice how creators use shot selection, transitions, sound, and storytelling techniques to keep viewers engaged.
Is AI replacing video editors?
AI is changing how creators approach video production, but it is not replacing the creative decisions behind editing. Editors still need to decide what story to tell, which moments matter, and how each scene should connect.
AI tools can help with tasks such as generating additional footage, exploring visual ideas, and making adjustments more efficiently. For creators using tools like Kling 4.0, AI can become part of the editing workflow while leaving creative direction in their hands.
How Long Does It Take to Learn Video Editing?
You can learn basic tasks like trimming clips, adding music, and creating simple transitions in a few hours. Getting comfortable editing short videos may take several weeks of regular practice, while advanced techniques often take months or longer to develop. Your progress depends on the software, project complexity, and the time you spend editing.
What Settings Should I Check Before Exporting a Video?
For a standard YouTube video, 16:9 is usually the right format. Instagram Reels and YouTube Shorts typically use 9:16, so you may need to reframe your footage to avoid cropping the subject. Keep the frame rate consistent with your original clips where possible, and choose a resolution your footage can support. Before uploading, play the exported file on your phone to check for cropped visuals, hidden captions, or audio problems.