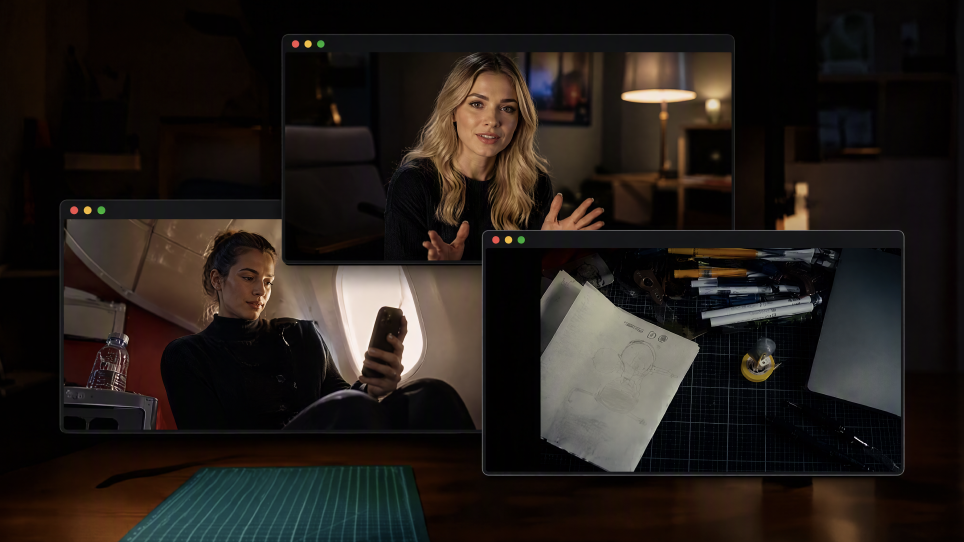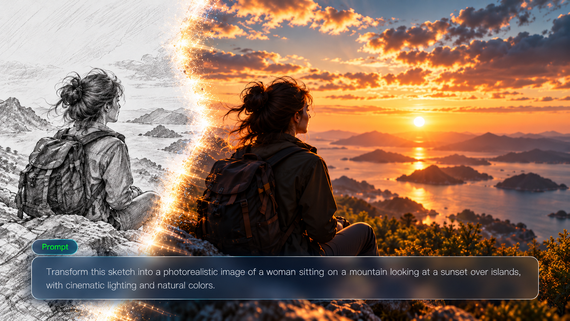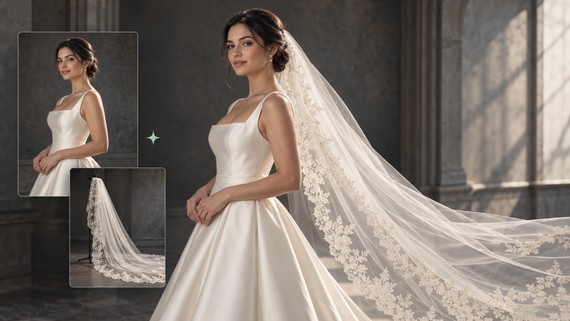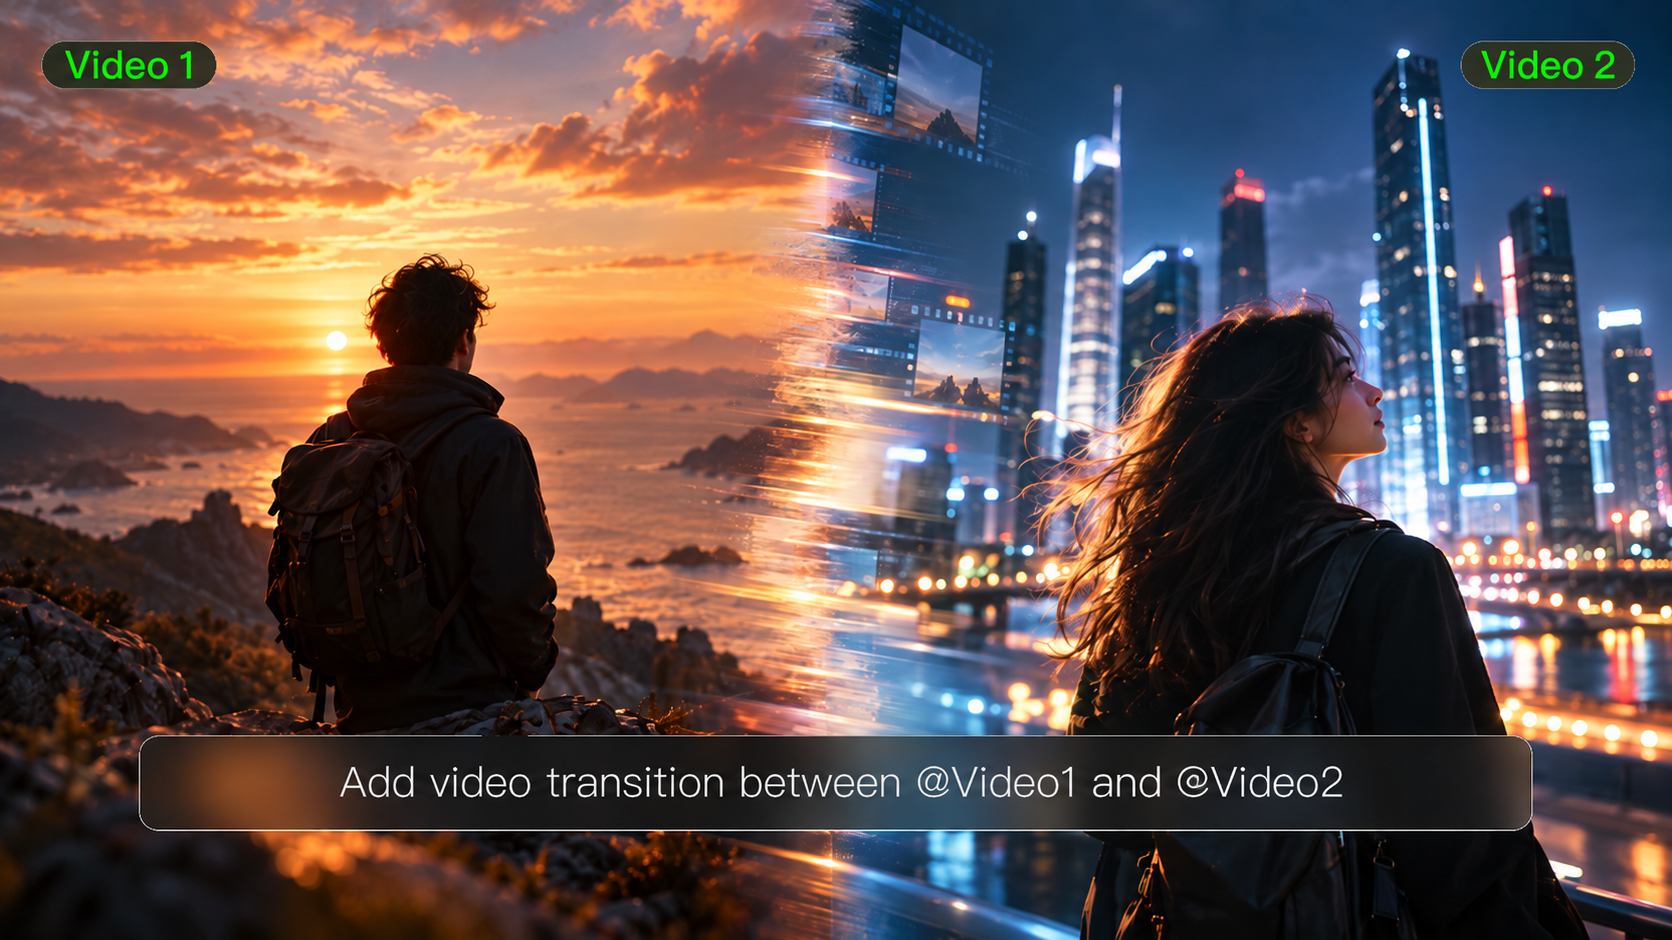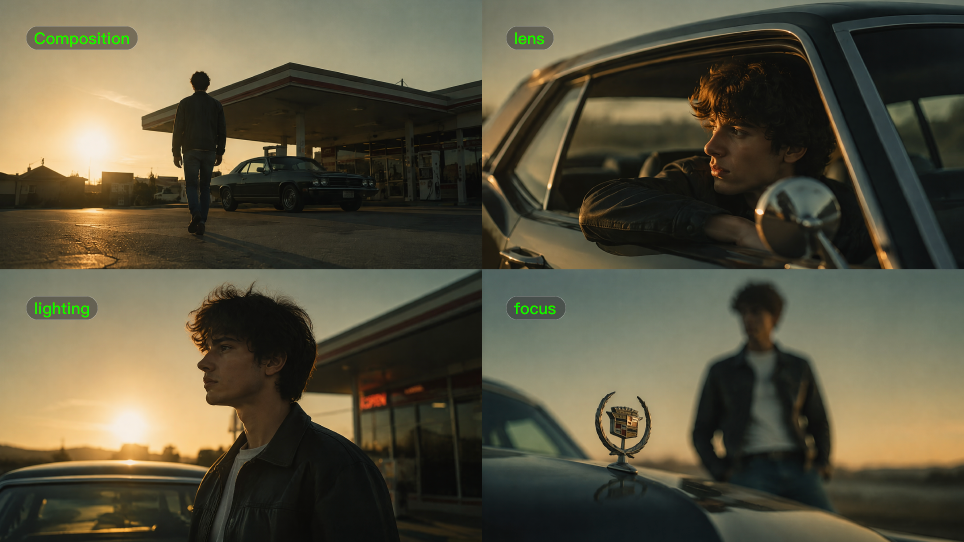
Good cinematography does more than make a shot look polished. It decides what viewers notice first, how close they feel to a subject, and whether a moment feels calm, uneasy, intimate, or overwhelming.
That is why the most useful cinematography techniques are less about expensive gear than deliberate choices. Framing, lenses, lighting, focus, movement, and exposure all change how the same scene is understood.
Start With the Story, Not the Camera
Before choosing a lens or placing a light, decide what the shot needs to communicate.
“The character feels trapped” already points toward tighter framing, limited headroom, or a frame crowded with foreground objects. “The product should feel clean and premium” may lead somewhere completely different: controlled reflections, deliberate negative space, and slower camera movement.
You do not need every choice to call attention to itself. Often, the most effective cinematography feels natural because the frame quietly leads viewers toward the part of the story that matters.
1. Compose the Frame to Guide Attention
Composition is where the viewer looks before anything moves.
The rule of thirds can create an open, slightly asymmetrical balance, while centered compositions and symmetry often feel more controlled. Leading lines, contrast, color, light, and focus can all pull attention toward a face, object, or area of the frame.
Depth matters too. A foreground object, a subject in the middle ground, and visible background detail can make a flat location feel layered. Look room and movement space can give a subject somewhere to look or travel, while reducing that space may make the frame feel more confined.
Composition also helps explain geography. In 12 Angry Men, Sidney Lumet gradually changes how the jury room is framed as tension builds. BFI notes that the film moves from wider, downward-looking compositions toward lower camera positions and more crowded framing, making the same room feel increasingly claustrophobic.
2. Use Shot Size and Camera Angle to Change Distance
How much of the subject you show changes the audience's relationship with them.
A wide shot can establish scale, environment, or isolation. Medium shots leave room for gestures and interaction. Move into a close-up and small changes in expression suddenly carry more weight. An extreme close-up can turn an eye, hand, photograph, or other detail into the center of the scene.
Camera height changes the feeling as well. Eye level tends to keep the viewer on similar ground with the subject. Moving lower can make someone feel larger in the frame; moving higher can reveal more of the environment or reduce a character's visual presence. ASC describes camera position and framing as fundamental parts of the visual language used to shape how the audience reads a character.
When a scene will be edited, give yourself useful coverage rather than simply collecting more angles. A wide or master view can establish the action, medium shots can carry interaction, close-ups can catch important reactions, and inserts can isolate details the story needs.
3. Choose a Lens for the Space You Want to See
Lens choice starts with a practical question: how much of the world should be visible?
Shorter focal lengths give a wider field of view; longer focal lengths narrow it and magnify a smaller part of the scene. But focal length should not be treated as a substitute for camera position.
Move physically closer to a subject and the perspective changes. Stay in the same position and switch lenses, and you mainly change how much of that view fills the frame. In practice, lens choice and camera placement work together.
A wide lens close to a performer can make the surrounding space feel more pronounced. Moving farther back and using a longer lens creates a different relationship between subject and background. Neither is automatically more “cinematic”; the useful choice is the one that fits the scene.
If you want to translate ideas such as focal length, lens character, and perspective into AI video directions, Kling’s photorealistic AI video guide includes examples built around lens choice, depth of field, and lighting.
Prompt | Output |
|---|---|
A smooth and deliberate 5-second dolly-in tracking shot approaching a classical marble statue of a graceful female figure standing on an elegant stone terrace. The camera starts from a medium-wide distance and slowly moves forward toward the statue with cinematic precision. As the dolly-in progresses, the camera simultaneously performs a subtle pan right and a gentle tilt upward, gradually revealing the statue’s intricate details, flowing drapery, serene facial expression, and elegant posture from a lower angle to a more heroic low-angle view. The movement is fluid, professional-grade, steady, and perfectly controlled, showcasing masterful camera work. Highly cinematic, realistic lighting with soft natural daylight, subtle god rays, and gentle atmospheric haze. Photorealistic, 8K detail, masterpiece cinematography. | 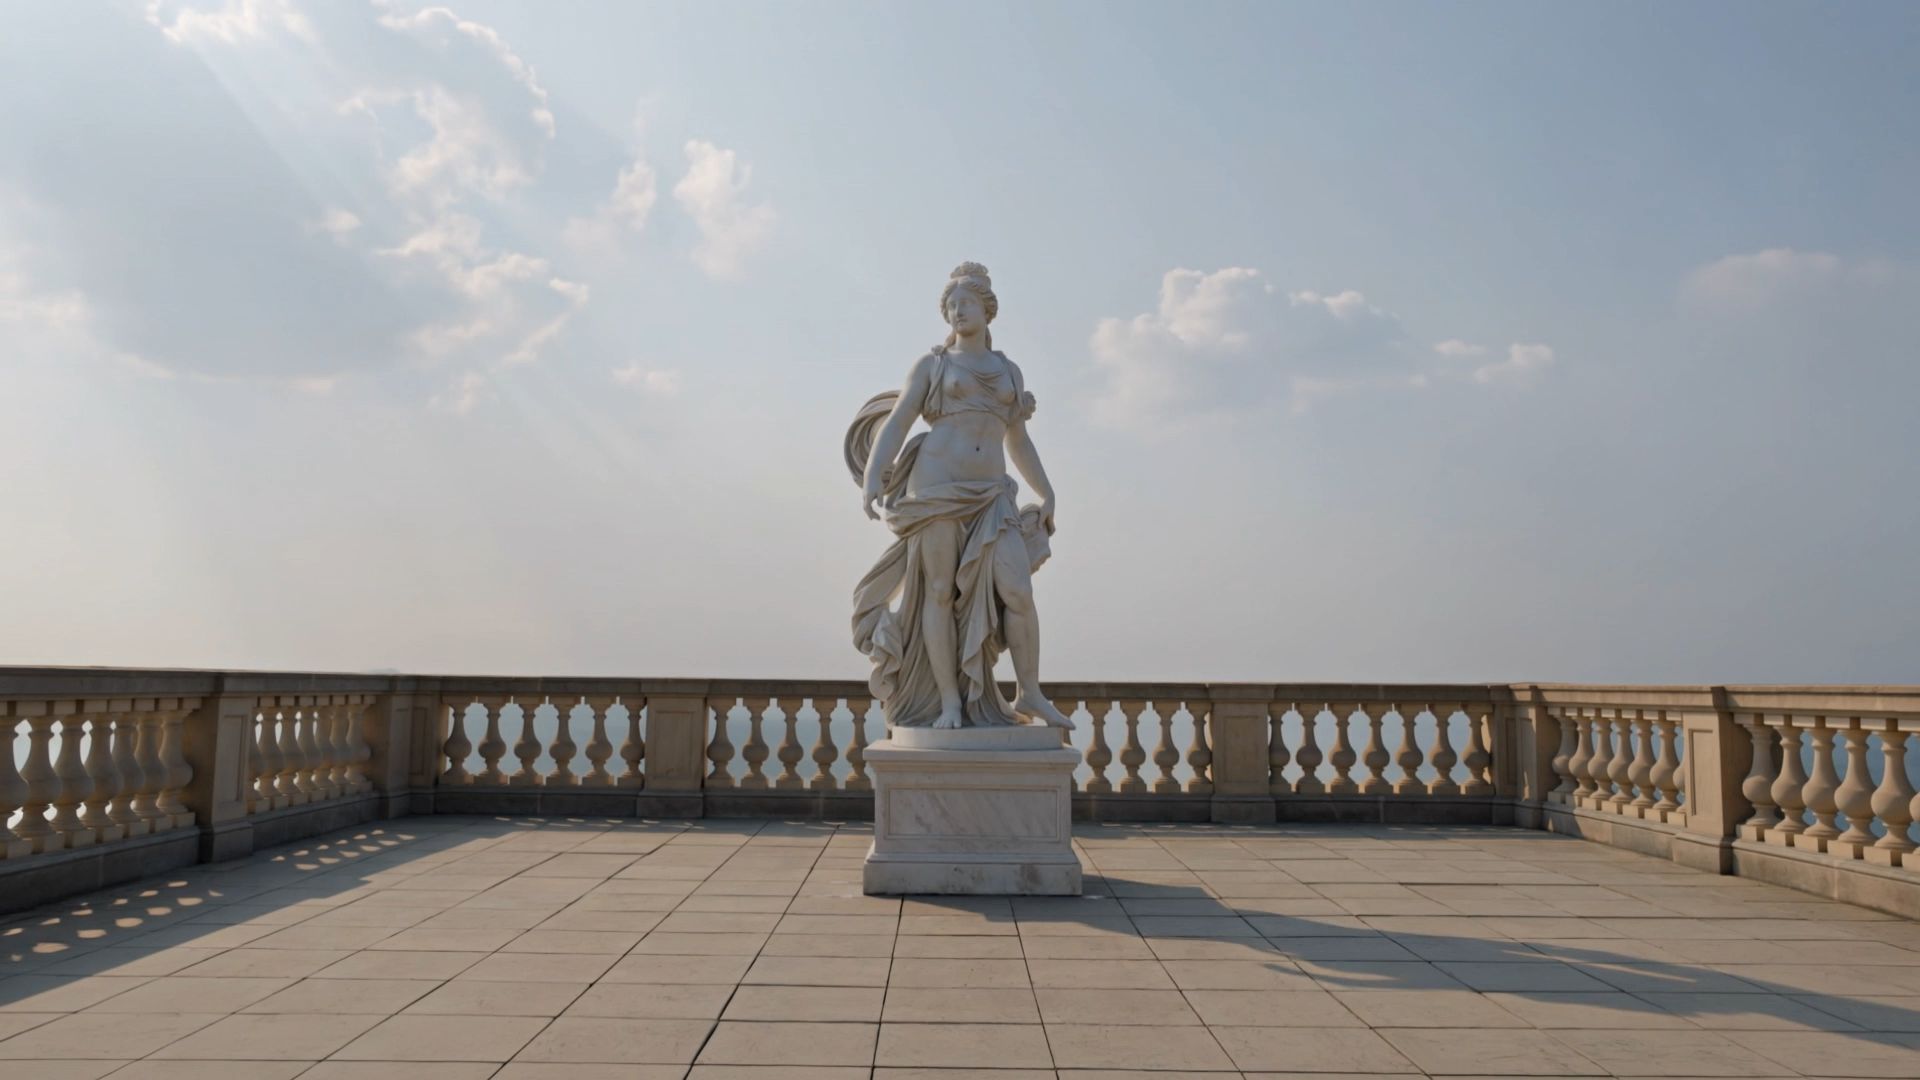  |
4. Use Focus and Depth of Field With a Reason
A blurred background is not a cinematography technique by itself. What matters is what stays sharp and why.
Depth of field describes the range of the scene that appears acceptably sharp. Aperture, focusing distance, focal length, and camera format can all influence it. Wider apertures and closer focusing distances, for example, can make that range shallower.
Shallow focus works well when the audience should concentrate on one face or object. Deeper focus can be more useful when action in different parts of the frame matters at the same time.
Focus can also change during the shot. A rack focus can shift attention from one character to another or reveal a background detail at exactly the right moment. The important part is the change in attention, not the technique itself.
5. Shape Light Instead of Simply Adding More
Lighting determines far more than whether a subject is visible. Its direction, softness, contrast, and color help create depth and establish the mood of a scene.
A key light establishes the main direction. Fill can open shadows when important detail is disappearing, while backlight can separate a person or object from the background. Harder sources create more defined shadows and texture; larger, softer sources produce more gradual transitions.
You can also let the location motivate the lighting. A window, table lamp, shop sign, phone screen, or fire can give the audience a believable reason for where light and color are coming from. The same ideas can be translated into generated scenes through clear descriptions of source, direction, softness, and contrast; the Kling guide to cinematic lighting prompts goes deeper into that workflow.
Consistency matters when a scene spans several shots. Record the placement and character of important sources, and keep white balance intentional so reverse angles still feel as though they belong in the same space.
6. Give Camera Movement a Purpose
A camera does not need to move simply because it can.
A pan can follow a subject or reveal something outside the original frame. A tilt can introduce height. Tracking beside someone keeps the audience moving with them. A slow push can bring viewers closer to a realization, while pulling away can reveal context that was previously hidden.
Handheld work can add immediacy. A completely locked frame can feel calm, formal, awkward, or threatening depending on what happens inside it.
Alfred Hitchcock described camera movement in terms of whether it helped tell the story more effectively, and the principle still holds: the dramatic reason should come before the equipment used to create the move.
Remember that a zoom and a physical camera move are not the same thing. A zoom changes focal length and framing. A dolly or tracking move changes the camera's position in space, which changes perspective.
The same distinction matters when directing generated footage. Kling’s camera control guide for push, pull, pan, and tilt shots shows how movement, framing, perspective, and narrative action can be planned together instead of treating motion as decoration.
7. Match Frame Rate and Shutter to the Motion
Frame rate affects how motion is recorded and later played back. Shutter controls how much motion blur appears within each frame.
For 24 fps footage, a 180-degree shutter corresponds to roughly 1/48 second, which many digital workflows approximate with 1/50. It is a familiar starting point rather than a rule that every shot must follow. A faster shutter produces crisper movement, while longer exposure per frame introduces more blur.
Change those settings because you want a different motion character, not simply because one number sounds more professional.
If you are shooting slow motion, also think about the playback frame rate before recording. A higher capture frame rate only becomes slow motion when those additional frames are played back at a lower rate.
8. Control Exposure and Color Consistently
A technically bright image is not necessarily a well-exposed one.
Pay attention to the parts of the frame you cannot easily recover later, especially important highlights, faces, bright windows, and practical lights. Waveforms, histograms, and false-color tools can be more dependable than judging exposure from a display whose brightness may change with viewing conditions.
Outdoors, neutral-density filtration can reduce incoming light without forcing you to change the shutter or the aperture you chose for motion and depth of field. Aperture, exposure time, sensitivity, and light level all work together in determining exposure.
Color decisions deserve the same consistency. Set white balance deliberately instead of letting it drift between takes, and think about whether warm and cool sources should feel natural, contrasting, or deliberately stylized.
When working with generated scenes, define the palette and color temperature just as deliberately. Kling’s guide to video color palettes and mood explores how palette, contrast, lighting, and temperature can be carried into AI video prompts.
9. Keep Screen Direction and Continuity Clear
Once several shots are cut together, viewers need to understand where people and objects are in relation to each other.
The 180-degree guideline helps by keeping cameras on one side of an imaginary action axis, which preserves screen direction and eyeline relationships. Crossing that line is perfectly possible, but the new geography should be clear rather than accidental.
Likewise, the often-cited 30-degree guideline is best treated as a practical editing convention rather than an absolute rule. If two consecutive views are almost identical, the cut may feel like an unintended jump. A clearer change in camera position, shot size, or moment usually gives the edit more purpose.
Continuity also lives in smaller details: the direction someone is looking, where their hands are, the position of a prop, the level of a drink, or which side of the frame they enter and leave.
These ideas have long been central to cinematography practice. Joseph V. Mascelli's The Five C's of Cinematography, for example, organizes its approach around camera angles, continuity, cutting, close-ups, and composition.
10. Block the Scene Before Chasing the Shot
Camera work becomes much easier once you know where people are going.
Let performers move through the scene first. Watch where they naturally stop, turn, cross each other, or handle an object. Then find a camera position that makes those actions readable.
Not every movement needs to be followed. Sometimes a person walking through a static frame is more interesting than a camera that follows every step.
When both the subject and camera move, give the audience something stable to read—a direction of travel, a recognizable background, or a clear destination. This keeps the shot active without moving feel arbitrary.
Blocking, framing, lens choice, and camera movement work best as one decision rather than four separate tricks. For generated character performances, Kling VIDEO 3.0 Motion Control offers another way to direct subject movement using a reference performance.
Apply the Same Cinematography Techniques in Kling AI
The same visual thinking can make an AI video prompt more useful.
Instead of asking for something simply to look “cinematic,” describe the choices that would create that look. In the Kling AI video generator, you can define the subject, action, environment, framing, viewpoint, camera behavior, lighting, and overall atmosphere.
Keep the direction readable. For a single shot, one clear subject action and one main camera idea are often easier to control than a prompt packed with unrelated movements.
For scenes that need more than one view, Kling VIDEO 3.0 supports Multi-Shot and Custom Multi-Shot generation. Custom Multi-Shot can define details such as shot duration, framing, viewpoint, narrative content, and camera movement for individual shots. The Kling VIDEO 3.0 Multi-Shot guide goes deeper into planning those sequences shot by shot.
Reference elements can also help keep recognizable subjects consistent as the viewpoint, framing, and action change. The VIDEO 3.0 model guide covers the current generation workflow and reference controls in more detail.
That makes traditional cinematography vocabulary useful even when there is no physical camera on set. “Medium close-up, eye level, slow push-in, soft side light” gives the model more visual direction than “make this cinematic.”
After each generation, review it the same way you would footage from a shoot. Where does the eye go first? Does the camera move for a reason? Does the light stay believable? Does the next shot preserve screen direction and subject identity?
Prompt | Kling Output |
|---|---|
Shot 1: Wide shot of an elegant woman walking at a relaxed pace across a sun-drenched city plaza during golden hour. Long dramatic shadows stretch across the stone pavement, warm golden sunlight bathes the scene. She wears a stylish summer outfit, hair gently moving in the breeze. Smooth subtle tracking shot following her gracefully from left to right. Shot 2: Seamless transition to a medium shot of the same woman standing still in front of a luxurious store window, thoughtfully looking at the items inside. Golden hour lighting and long shadows remain perfectly consistent with Shot 1 — warm sunlight illuminates her face with soft highlights and gentle rim light. Smooth, stable cinematic camera movement slowly dollies in slightly toward her face and upper body. Photorealistic, masterpiece cinematography, impeccable continuity in lighting and shadows. | 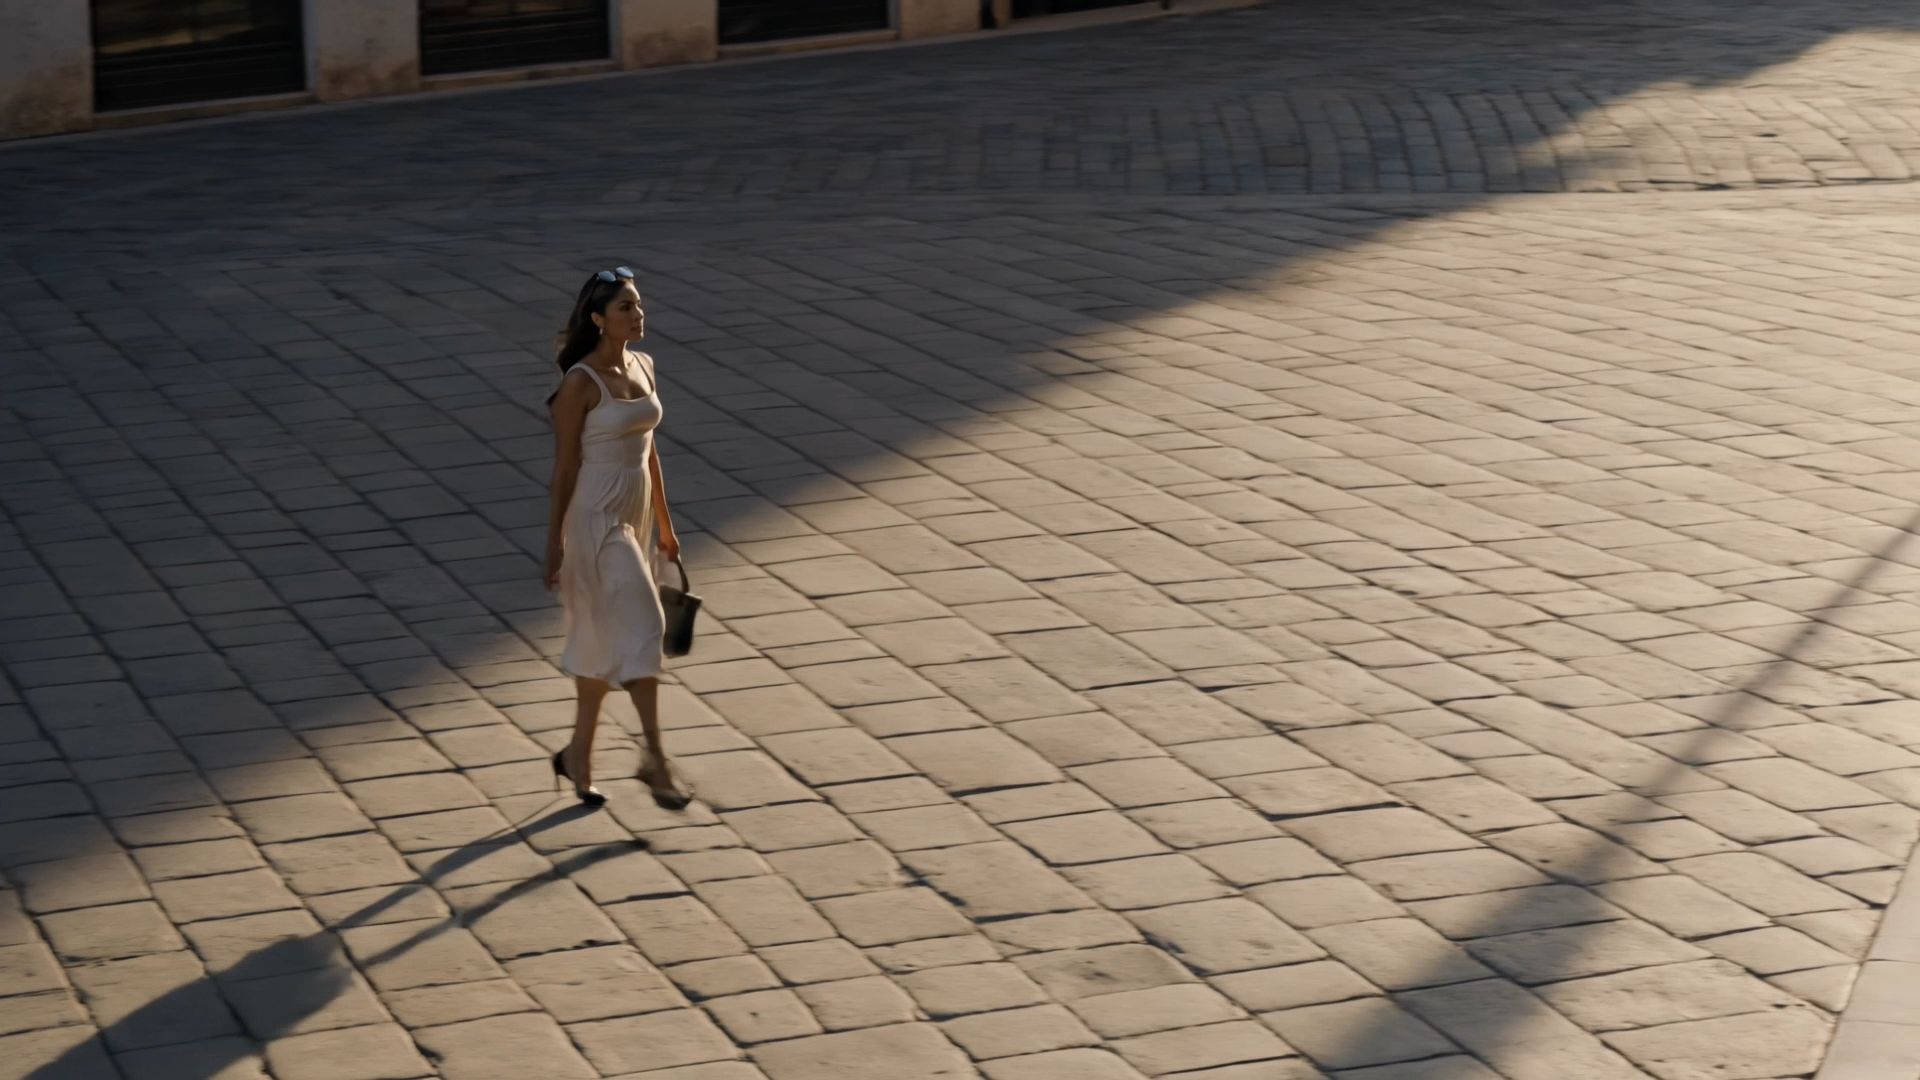 |
Make Every Visual Choice Earn Its Place
Strong cinematography is not about using every technique in every scene. It is knowing what to leave out.
A locked wide shot may tell the story better than an elaborate camera move. Deep focus may reveal more than a blurred background. Flat frontal light may be exactly what a particular moment needs.
The value of these cinematography techniques is the control they give you over attention, distance, mood, movement, and visual continuity—whether you are filming with a phone, working with a cinema camera, or directing a generated sequence.
Put those decisions into practice and start shaping your next scene with Kling AI.
FAQs
What Are the Basic Techniques Used in Cinematography?
The core techniques are composition, shot size, angle, lens choice, focus, lighting, movement, exposure, color, blocking, and continuity. Together, they guide attention and emotion.
What Are the Five Cs of Cinematography?
The Five Cs are camera angles, continuity, cutting, close ups, and composition, organized by Joseph V. Mascelli as a system for staging, photographing, and editing clear screen action.
What Are the Most Common Camera Movements?
Common movements include pan, tilt, tracking, pushing, pulling, rising, lowering, orbiting, and handheld work. A zoom changes framing without moving the camera, so choose movement for what viewers should notice or feel.
How Does Lighting Affect Cinematography?
Lighting controls visibility, mood, depth, texture, and attention because direction shapes subjects, softness changes shadow edges, color affects atmosphere, and contrast sets drama.
What Is the 180 Degree Rule in Film?
The 180 degree rule keeps cameras on one side of the action axis, preserving eyelines, screen direction, and clear scene geography.
How Can Beginners Make Footage Look More Cinematic?
Improve intention before buying gear. Choose one focal point, control the background, use directional light, lock exposure and white balance, stabilize movement, and capture coverage. In Kling AI, describe those choices directly.