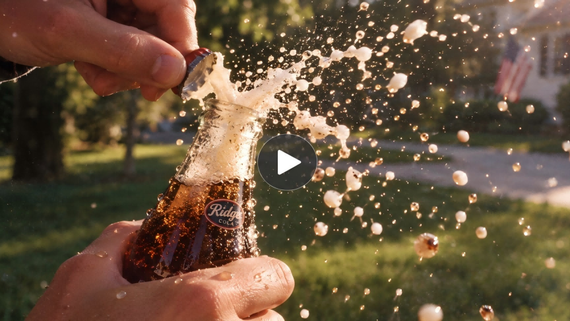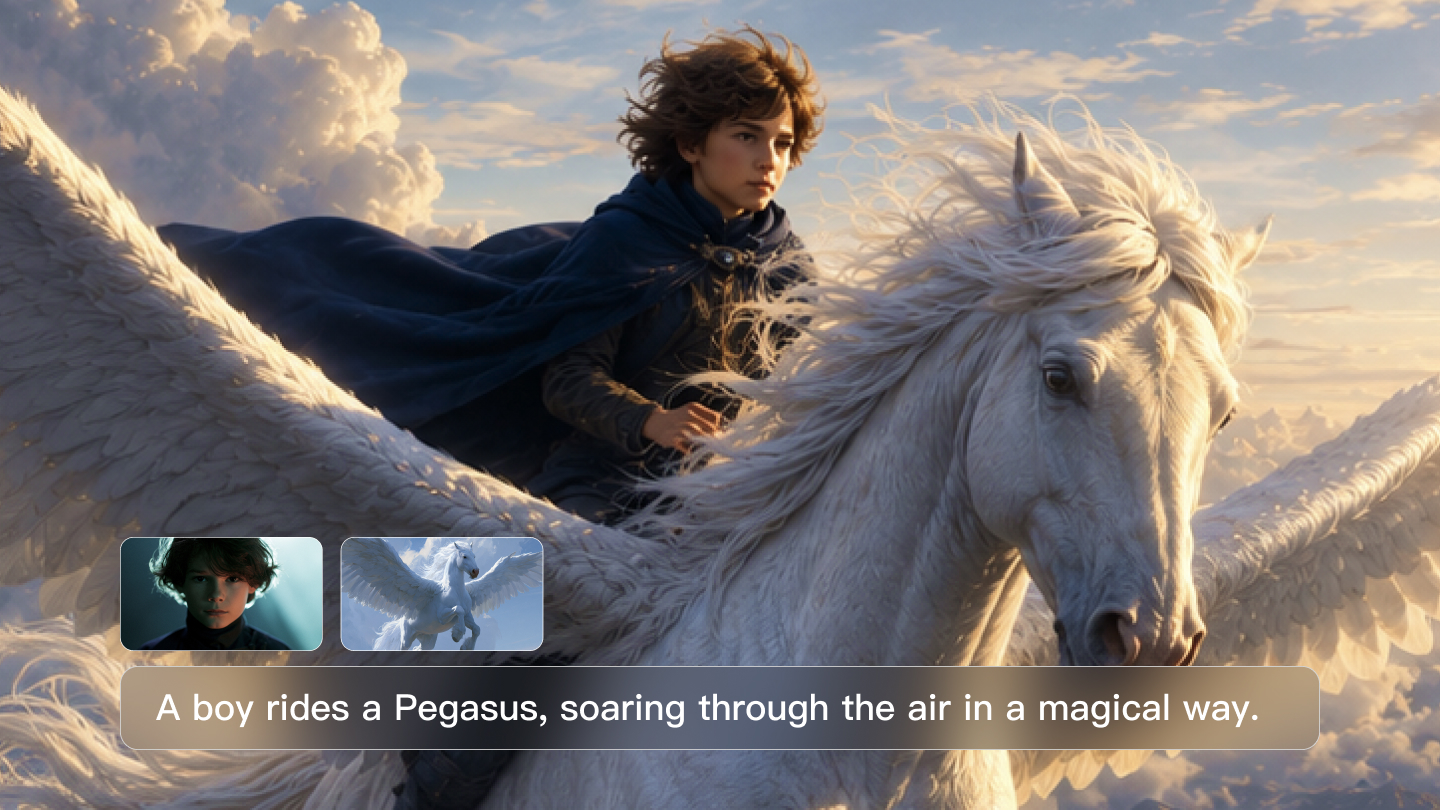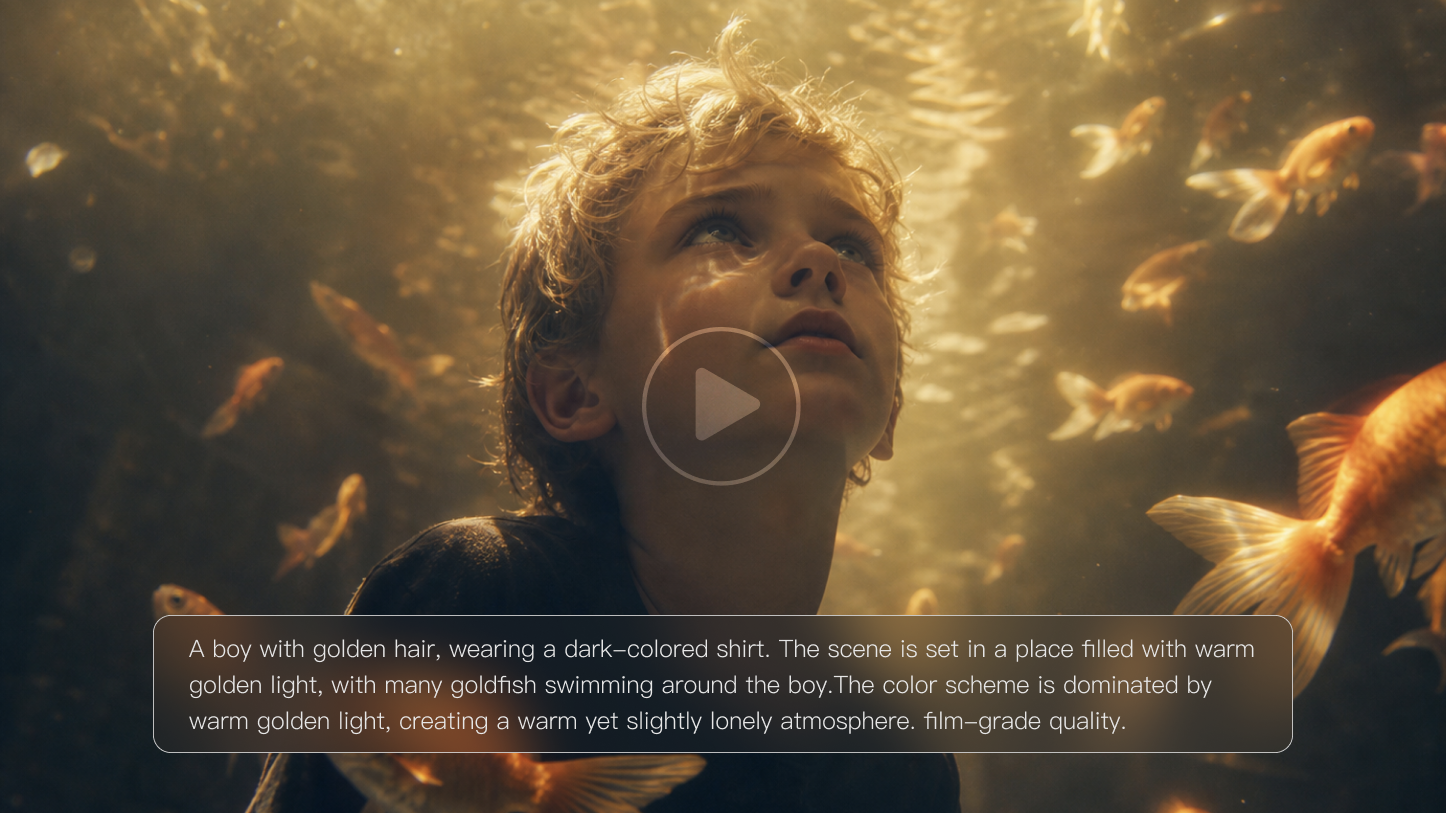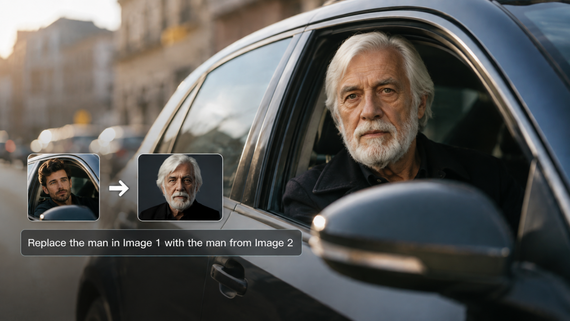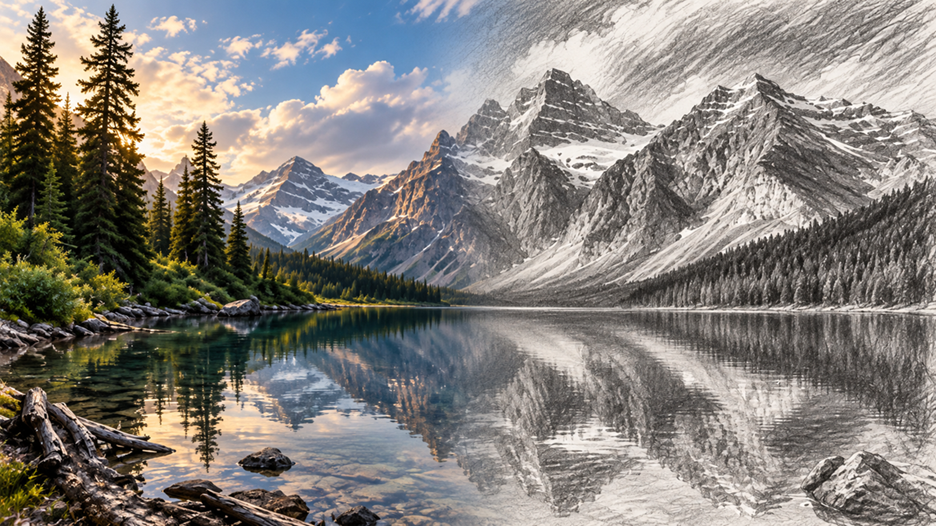
Turning a favorite photo into a pencil sketch, line drawing, or illustration sounds simple, but strong stylization can change the features that made the original image recognizable. A clear reference and specific visual instructions give the model a stronger direction. This guide explains how to convert a photo to a drawing in three steps, with Kling IMAGE 3.0 examples that show style changes, prompt control, and targeted refinements in practice.
How to Convert a Photo to a Drawing With AI
Turning a photo into a drawing mainly comes down to the reference image, the style you want, and the details you want the result to retain. An AI image generator can use the photo as visual context and follow your instructions to shape the final drawing.
Step 1: Upload Your Photo
Upload a clear photo with a recognizable subject and visible key details. Use the photo as a visual reference in Kling IMAGE 3.0 so the subject, pose, composition, and other important details can guide the generation. This gives your prompt more room to focus on the drawing style and the details you want to preserve.
If you only have an idea and no source photo, text to image starts from a written description and lets the prompt define the subject and composition.
Step 2: Choose a Drawing Style and Write a Clear Prompt
Now decide what kind of drawing you want to create and turn that direction into a specific image prompt. Different styles change the linework, texture, shading, and overall finish in different ways, so it helps to define the visual treatment before generating the image.
Here are several drawing styles you can name directly in your prompt:
Drawing style | Typical result |
Doodle / naive sketch | Loose lines and simplified details |
Sketch | Visible linework with lighter shading |
Colored pencil illustration | Layered color with pencil-like texture |
Crayon drawing | Broader marks and a rougher handmade look |
Watercolor illustration | Softer edges and fluid color transitions |
Retro comic | Stronger outlines and more graphic stylization |
Once you have chosen a style, turn that direction into a focused prompt. A useful prompt usually covers three or four points:
- Drawing style: Name the medium or visual direction, such as graphite sketch, clean line art, or colored pencil illustration.
- Details to preserve: Call out the face, hairstyle, expression, pose, clothing, object proportions, or composition if they matter to the result.
- Visual characteristics: Add details such as fine cross-hatching, rough charcoal texture, thin ink contours, visible pencil strokes, or soft watercolor edges.
- Background treatment: Mention it only when you want to simplify, remove, or restyle the existing background.
The same reference photo can take on very different drawing styles. Kling IMAGE 3.0 supports sketch, colored pencil, crayon, watercolor illustration, retro comic, and other stylized treatments, giving you room to decide how far the result should move from the original photo.
Reference Image | Doodle / Naive Sketch | Sketch | Colored Pencil Illustration | Crayon Drawing | Watercolor Illustration | Retro Comic |
.png?x-oss-process=image/resize,w_1872) | .png?x-oss-process=image/resize,w_1872) | .png?x-oss-process=image/resize,w_1872) | .png?x-oss-process=image/resize,w_1872) | .png?x-oss-process=image/resize,w_1872) |
 .png?x-oss-process=image/resize,w_1872) |
| Prompt: Convert image to style | ||||||
If likeness matters, avoid instructions that redefine the same facial features, proportions, clothing, or other details you asked the model to retain. Keep most of the changes focused on the drawing treatment.
Step 3: Generate, Review, and Refine
Generate the first version and compare it with the direction you set in your prompt. Do not judge the result only by whether it looks artistic. Check whether the drawing still communicates the parts of the source image that matter to you.
Check | What to look for |
Subject | Does the person, pet, object, or scene still read clearly? |
Style | Does the result actually look like the requested medium? |
Lines and shading | Do the marks, contours, and textures stay consistent across the image? |
Composition | Did important objects or spatial relationships shift? |
Background | Does it support the subject, or has it become too detailed or distracting? |
If most of the drawing already works, focus the next edit on the area that still needs attention. An AI photo editor can help with targeted changes such as simplifying a background, adjusting an object, or refining a specific visual detail.
Photo-to-Drawing Prompt Examples
Different drawing styles need different visual cues in the prompt, from graphite texture and line weight to color treatment and paper detail. An AI art generator can use those cues to move the same reference toward a sketch, line drawing, or illustration.
Photo to Pencil or Sketch Drawing Prompt
If you want to convert a photo to a pencil drawing or convert a picture to a sketch drawing, specify the pencil treatment, shading, and paper texture you want to see.
| Prompt: Convert this photo into a graphite pencil sketch. Keep the facial features, hairstyle, pose, and overall composition recognizable. Use fine pencil strokes, light cross-hatching, soft graphite shading, and subtle textured paper. |
For a looser sketch, ask for lighter shading and visible construction lines. For a more finished pencil drawing, use cleaner contours and more controlled tonal detail.
Photo to Line Drawing Prompt
To convert a photo to a line drawing, describe the contours and level of interior detail clearly. If you want a minimal result, reduce shading and keep the background simple.
| Prompt: Turn this photo into clean black-and-white line art. Preserve the subject’s proportions and overall composition. Use thin, consistent ink contours, minimal interior lines, no tonal shading, and a plain white background. |
Line art also shows how far a reference can move stylistically while the subject’s overall structure still reads clearly. IMAGE 3.0 includes an input-to-line-art example for this type of transformation.
Input Image | Line Art |
.png?x-oss-process=image/resize,w_1872) | .png?x-oss-process=image/resize,w_1872) |
| Prompt: Generate [] based on this image | |
Photo to Illustration Prompt
To turn a photo into an illustration, define the medium first, then add the texture and color treatment that give it a distinct drawn look. Colored pencil works well here because it combines visible linework with richer color.
| Prompt: Turn this photo into a colored pencil illustration. Keep the subject, pose, and composition recognizable. Use layered pencil strokes, soft color transitions, visible paper texture, and fine colored-pencil shading with slightly simplified background details. |
You can adapt the same structure for watercolor, crayon, or comic-inspired results by changing the medium-specific cues.
How to Get Better Photo-to-Drawing Results
If the first result misses the look you had in mind, check the source photo, style cues, and individual details before rewriting the entire prompt. Small, targeted changes usually make it easier to identify what improves the drawing and what still needs work.
Problem | What to Adjust | Practical Fix |
The face or subject changes too much | Reference quality and preservation instructions | Start with a clear, well-lit photo and name the facial features, hairstyle, pose, object shape, or other details that matter most. |
The drawing still looks too realistic | Medium-specific visual cues | Add visible characteristics such as cross-hatching, pencil strokes, ink contours, charcoal texture, paper grain, or watercolor edges. |
Important details disappear | Linework and level of simplification | Ask for finer lines or more controlled shading around the areas you want to retain. Strongly simplified styles may remove smaller features. |
The background draws too much attention | Background treatment | Ask for a plain, lighter, or simplified background that gives the main subject more visual space. |
The style feels inconsistent | Conflicting style instructions | Keep one main drawing direction in the prompt and remove visual cues that point toward a different medium. |
The result looks too smooth or digital | Surface texture | Add visible strokes, uneven line detail, paper texture, hatching, or other physical characteristics associated with the chosen medium. |
A revision changes too many things at once | Scope of each adjustment | Change one part of the instruction at a time, then compare the new result with the previous version before making another edit. |
The End
Learning how to convert a photo to a drawing starts with a reference that gives the model clear visual information and a style direction that defines the look you want. After the first generation, refine the linework, shading, texture, or subject details that still need attention. That same workflow works across different drawing treatments in Kling IMAGE 3.0, from loose sketches to more stylized illustrations, with room to refine specific details as the image develops.
FAQs
Can I Convert a Photo to a Drawing Online?
Yes. You can convert a photo to a drawing online by uploading the image as a reference and describing the drawing style you want, such as a pencil sketch, line art, or colored pencil illustration. Kling IMAGE 3.0 can use the reference photo to guide the subject and composition, while your prompt defines the new visual treatment.
How Can I Keep a Face Recognizable When Turning a Photo Into a Drawing?
Use a clear reference photo and tell the model which facial details matter most, such as the face shape, eyes, hairstyle, expression, or pose. Keep most of your prompt focused on the drawing style, linework, shading, and texture, and avoid instructions that also change the features you want to retain. Strong stylization can still alter small facial details, so review the result closely and refine specific areas if needed.
How Can I Make a Photo Look Hand-Drawn?
Describe the visible qualities of the medium rather than relying on “hand-drawn” alone. For a pencil look, you might ask for visible strokes, cross-hatching, uneven line weight, and paper grain. For ink, focus on contour weight and restrained shading. These details give the model a clearer picture of the marks and surface texture you want to see.
What Is the Difference Between a Photo Sketch and a Drawing?
A sketch usually suggests looser linework, lighter shading, and less finished detail. Drawing is a broader term that can cover polished pencil work, line art, colored pencil, charcoal, and other approaches. The two terms often overlap, so describe the line quality, shading, texture, and level of detail you want if the final finish matters.
What Is the Best Drawing Style for a Portrait Photo?
- There is no single drawing style that works best for every portrait. Pencil and colored pencil suit portraits where facial shading and finer detail matter, and line art creates a cleaner, more simplified result. Watercolor and comic treatments add stronger stylization and may reinterpret more of the original surface detail. If facial resemblance matters, review the eyes, mouth, face shape, hairstyle, and other defining features closely after generation