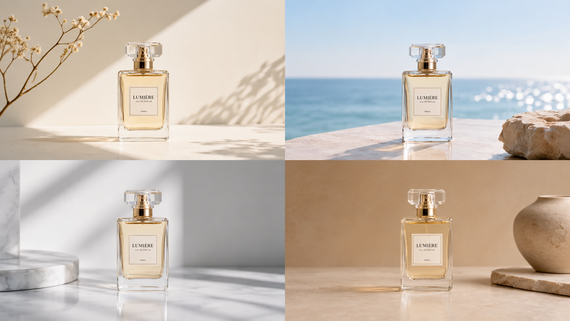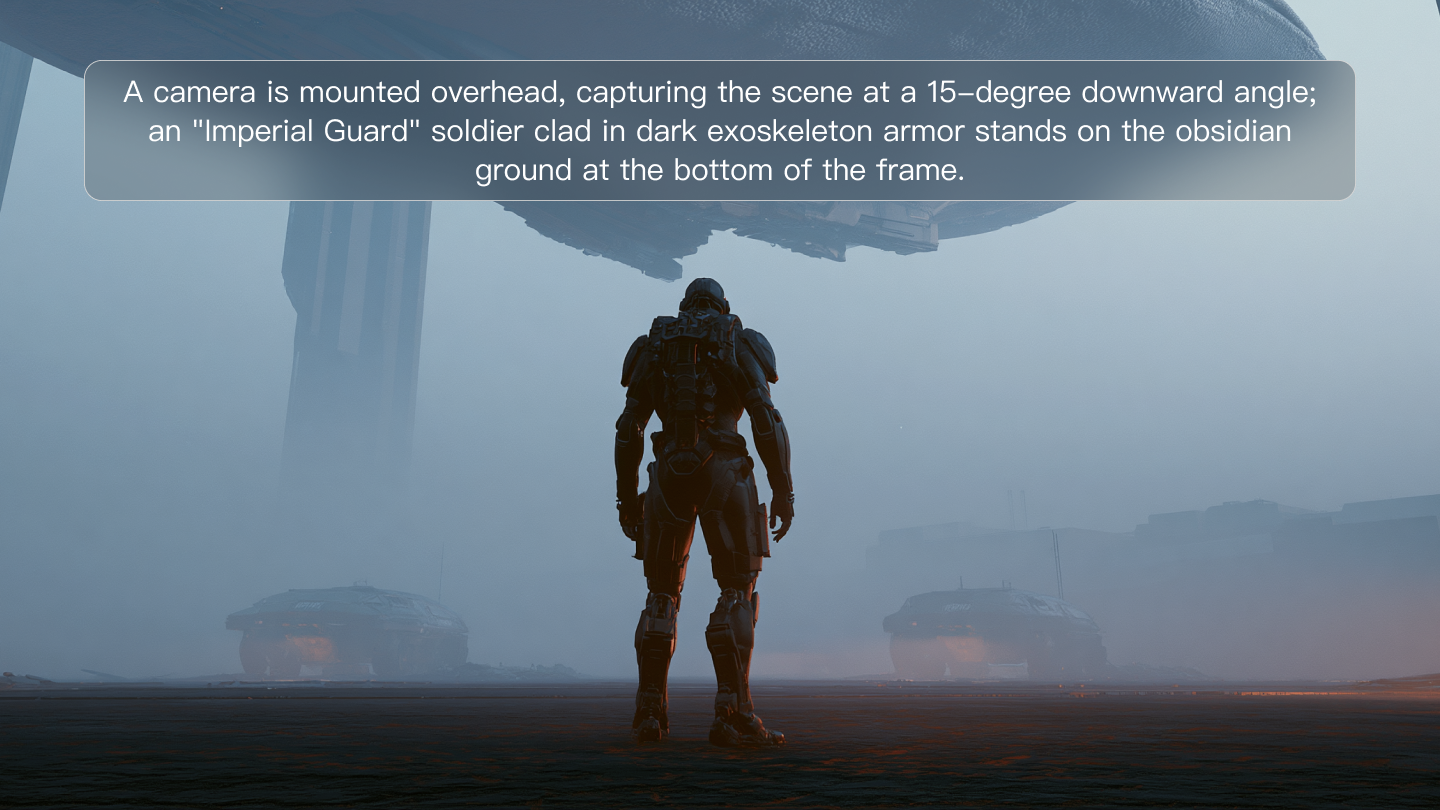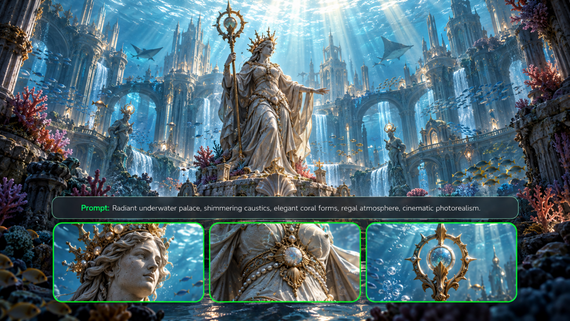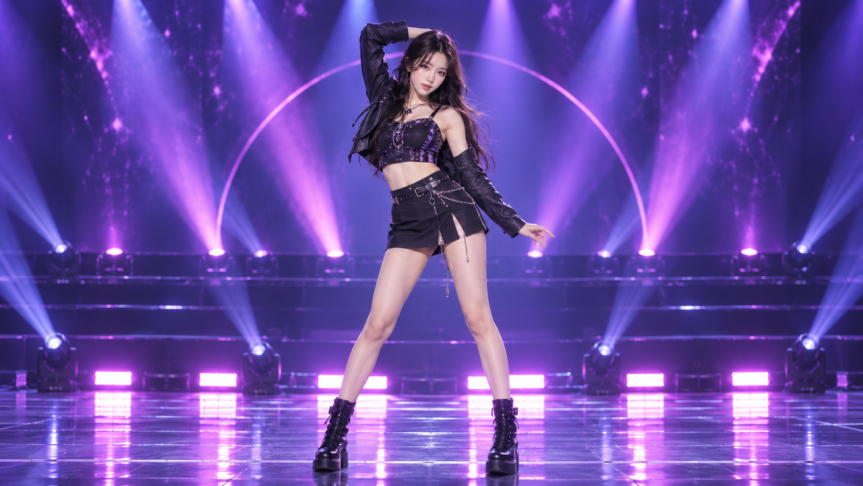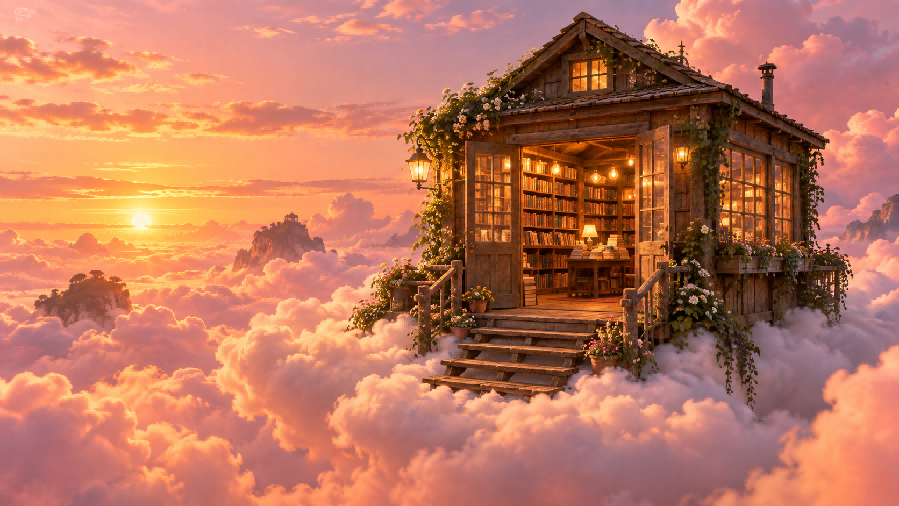
To learn how to create AI images, start with a written description or an image you want to transform. Describe the scene you have in mind, or specify what to keep and change in your reference image. This guide walks you through both approaches with Kling IMAGE 3.0, including sample prompts and practical ways to refine your results. You don’t need a design background to follow along.
What You Need Before You Start
A clear starting point can help you guide the image generation process more effectively. With Kling IMAGE 3.0, you can begin with a written idea or a reference image, then refine the result through prompts and adjustments. Consider these three elements before you start:
· Your AI image creation tool: Use Kling IMAGE 3.0 to explore text-based generation and reference-based creation. Choose whether you want to turn an idea into a new visual or transform an existing image with your instructions.
· Your creative direction: Think about what you want the image to express, such as a character concept, product visual, story scene, or unique artwork. A clear purpose helps you decide on the subject, style, composition, and details to include in your prompt.
· The details that define your idea: Identify the elements that make the image recognizable, such as the main subject, colors, setting, or mood. In the example below, the key details are the robot subjects and futuristic city setting. These visual cues help keep the result connected to the original reference.
How to Create AI Images Step by Step
Use Kling IMAGE 3.0 to create AI images from a written idea or an existing image. Choose your starting point, describe the result you want, then generate and refine it.
Step 1: Add a Reference Image If Needed
If you already have a photo, sketch, or illustration, upload it to use as a visual reference. With image-to-image generation, Kling IMAGE 3.0 can use the uploaded image as the foundation while applying your instructions.
A reference image can provide details such as the subject, composition, or visual style you want to maintain. Your prompt should explain the changes you want to make, such as adjusting the camera angle, background, or overall look.
This step is optional. If you want to create an image entirely from text, skip the upload and move to the prompt stage.
Step 2: Write a Clear Prompt
Start by describing the image you want to create. A clear prompt can include the main subject, setting, action, composition, camera angle, lighting, color, visual style, and overall mood.
Prioritize the details that have the greatest impact on the result, and keep your instructions clear and consistent. Avoid adding unnecessary or conflicting descriptions that may make the intended image less clear.
Step 3: Generate, Review, and Make Adjustments
Choose an aspect ratio based on how you plan to use the image, then generate the result. Review the output against your original prompt or reference image, paying attention to the subject, composition, and details you wanted to keep.
Reference image | Generated image |
.webp?x-oss-process=image/resize,w_1872)
| .png?x-oss-process=image/resize,w_1872)
|
| Prompt: Over the shoulder shot of the shield-bearing robot, filming the robot holding the black robot. | |
Image-to-image example:
For the robot example, check whether the camera angle matches the intended over-the-shoulder view. If the composition needs adjustment, make the instruction more specific, such as: “Show more of the shield-bearing robot’s shoulder in the foreground.” Continue refining the image until the result better matches your direction.
Text-to-image example:
| Prompt: The man melts into misty deep-blue backdrop. Floating star-like particles spill out of his form, wrapping him in ethereal peace. |
.png?x-oss-process=image/resize,w_1872) |
Why Create AI Images with Kling IMAGE 3.0?
Kling IMAGE 3.0 brings image creation and refinement into one flexible workflow. You can start with a written idea or visual references, then continue shaping the result with natural-language instructions as your creative direction develops.
Keep Important Visual Details Consistent
Bring in references for a character, product, composition, color, or visual style when certain details need to stay recognizable. IMAGE 3.0 can draw visual features from up to 10 reference images, helping you keep important subject details consistent while exploring new scenes, poses, or creative directions.
Make Focused Changes Without Starting Over
When an image is close to what you want, you can continue refining it with natural-language instructions. Adjust individual elements, backgrounds, materials, lighting, or other visual details while keeping the parts that already work, making it easier to develop an idea step by step.
Take More Control of the Final Look
IMAGE 3.0 gives you control beyond the basic subject and style. You can refine composition, viewing angle, shot size, lighting, and other visual choices to guide the image toward a more specific creative direction.
Common Issues and Tips for Better AI Images
Even with a clear idea, the first generated image may not always match your expectations. When the result needs improvement, identify the specific issue and adjust your approach instead of changing everything at once.
Common issue | What to adjust |
The image does not match your idea | Add more specific visual details |
Important elements are missing | Highlight key subjects and details |
Characters or objects look inconsistent | Keep important features consistent across images |
The result looks too generic | Add a more distinctive visual direction |
Small edits change too much | Make focused adjustments step by step |
The Image Looks Different From Your Idea
If the generated image does not capture the concept you imagined, add more visual details about the subject, environment, style, or mood. For example, instead of describing a “fantasy castle,” include details such as the architectural style, surrounding landscape, lighting, and atmosphere to create a clearer visual direction.
Important Details Are Missing
Sometimes key elements may not appear as expected, especially when multiple objects or actions are included in one image. Focus on the most important elements first and describe their position, appearance, or relationship with other objects. Keeping the main subject clear can help the generated image stay closer to your original idea.
The Subject Changes Between Images
When creating multiple images with the same character, product, or visual concept, consistency becomes important. Use clear reference images and keep essential details consistent, such as appearance, colors, shape, or style. This helps maintain a more connected look across different generations.
The Image Looks Too Generic
If the result feels similar to common AI-generated visuals, add more specific creative direction. Details such as unique materials, camera perspective, artistic influences, or lighting choices can help create a more distinctive result. For example, instead of requesting “a futuristic city,” describe the architectural style, atmosphere, time of day, and visual mood you want to explore.
Refine Your Image With Focused Changes
When an image is already close to your goal, make adjustments gradually instead of changing multiple elements at once. Focus on one detail, review the result, and continue refining based on what needs improvement. This approach makes it easier to guide the image in the right direction while keeping the elements that already match your original idea.
The End
Now that you know how to create AI images, try your own idea in Kling IMAGE 3.0, starting with text or a reference image. Before generating, decide which details matter most, such as the subject’s appearance or space for a headline. Use those priorities to review the result and guide your next edit.
FAQs
How Do I Create AI Images?
Choose an AI image generator to create a picture from a written prompt, or use an image-to-image workflow to transform a photo you already have. Describe the subject, style, composition, and lighting clearly; add reference images if you need a consistent subject; then generate and refine the result with natural-language instructions.
How to Make AI Pictures of Yourself?
Upload a clear photo with your face visible and describe the type of image you want to create, such as a professional portrait or illustrated avatar. You can guide the result by specifying changes to the style, background, clothing, or overall look while keeping important facial features recognizable. Review the generated image carefully, as changes in pose, lighting, or style may affect how closely it matches the original photo.
How Do I Create an AI Image from a Photo?
Upload the photo as a reference and explain how you want to transform it. For example, ask for a new background while keeping the main subject’s shape and colors. Review the generated result to make sure the preserved details and requested changes both appear as intended.
Do I Need Design Skills to Make Pictures With AI?
No. You don’t need design skills to learn how to make pictures with AI. You can describe your idea in everyday language and request edits without learning drawing tools or layers. You’ll still need to review the image for unwanted details and decide what to adjust, especially if you plan to publish it.
How Do I Keep a Character Consistent Across Images?
Use reference images to guide the character or subject you want to create. IMAGE 3.0 supports up to 10 reference images, helping maintain important visual features such as appearance, style, and key details across related generations. Choose clear references and keep the main character description consistent. When creating new images, focus your prompt on the changes you want to make, such as the scene or pose, while keeping core visual elements consistent.
What Makes a Good AI Image Prompt?
A good AI image prompt gives clear visual direction. Describe the main subject, setting, style, composition, lighting, and mood you want to create. Avoid adding conflicting instructions, and focus on the details that matter most. When editing an existing image, explain both what you want to change and which elements should remain consistent.