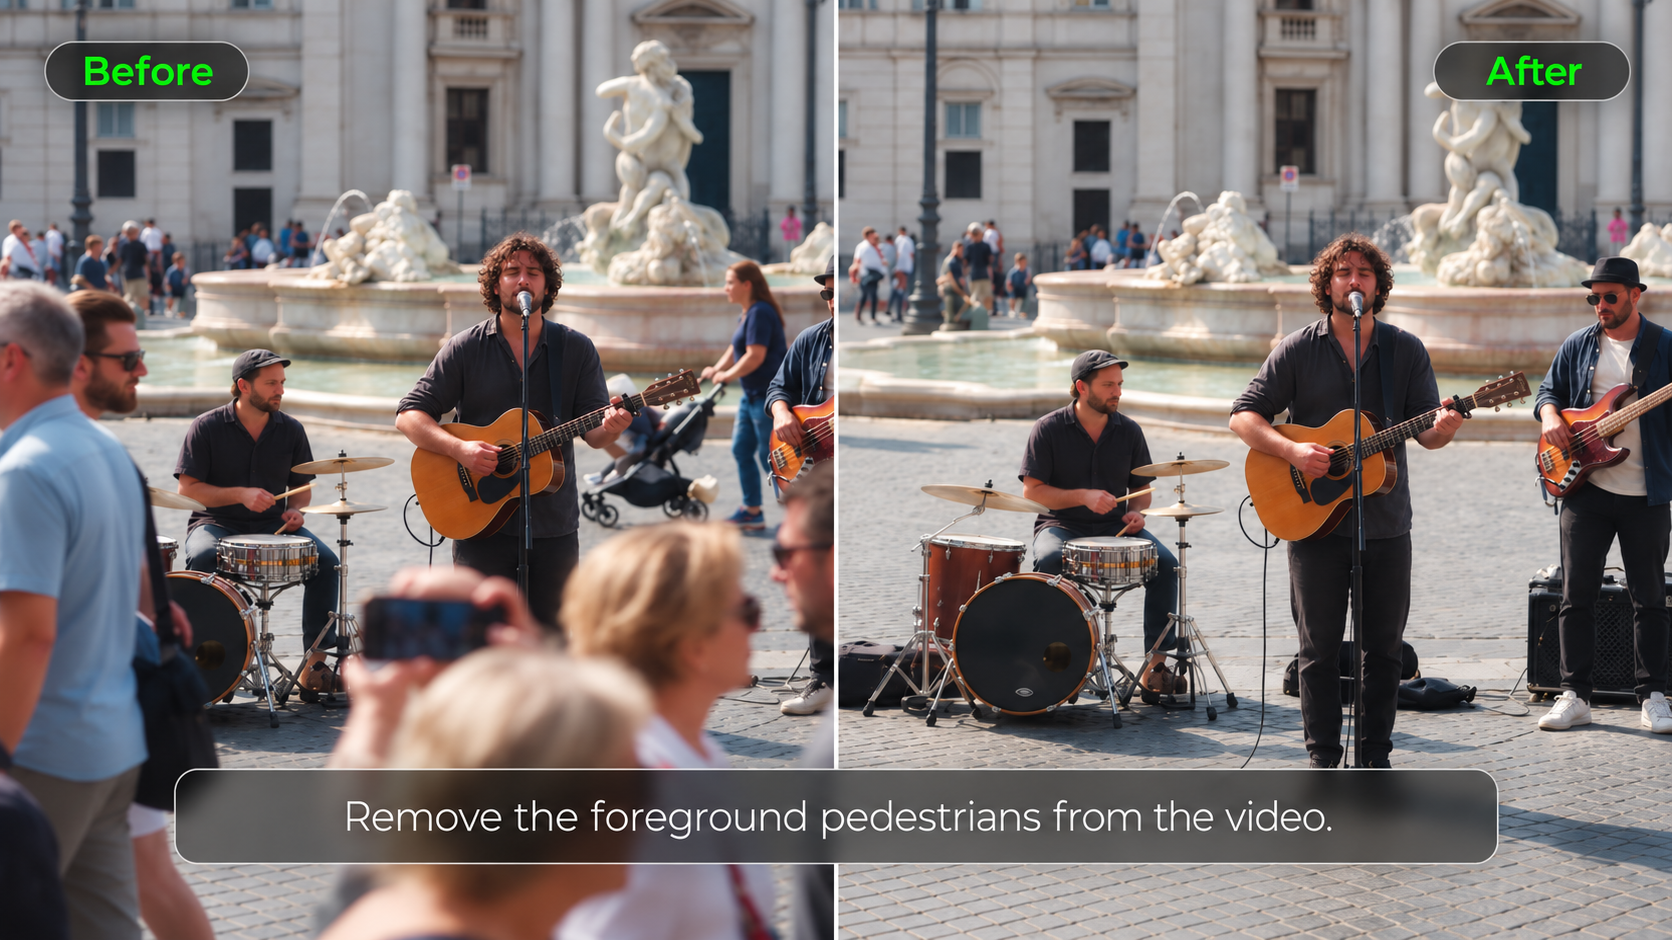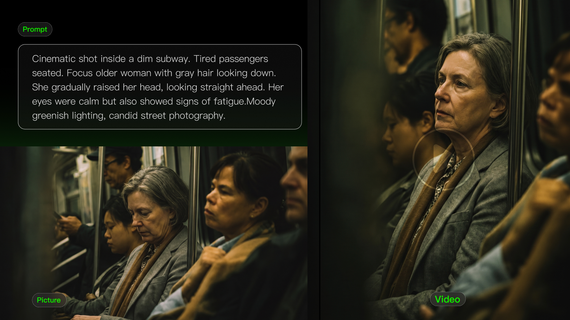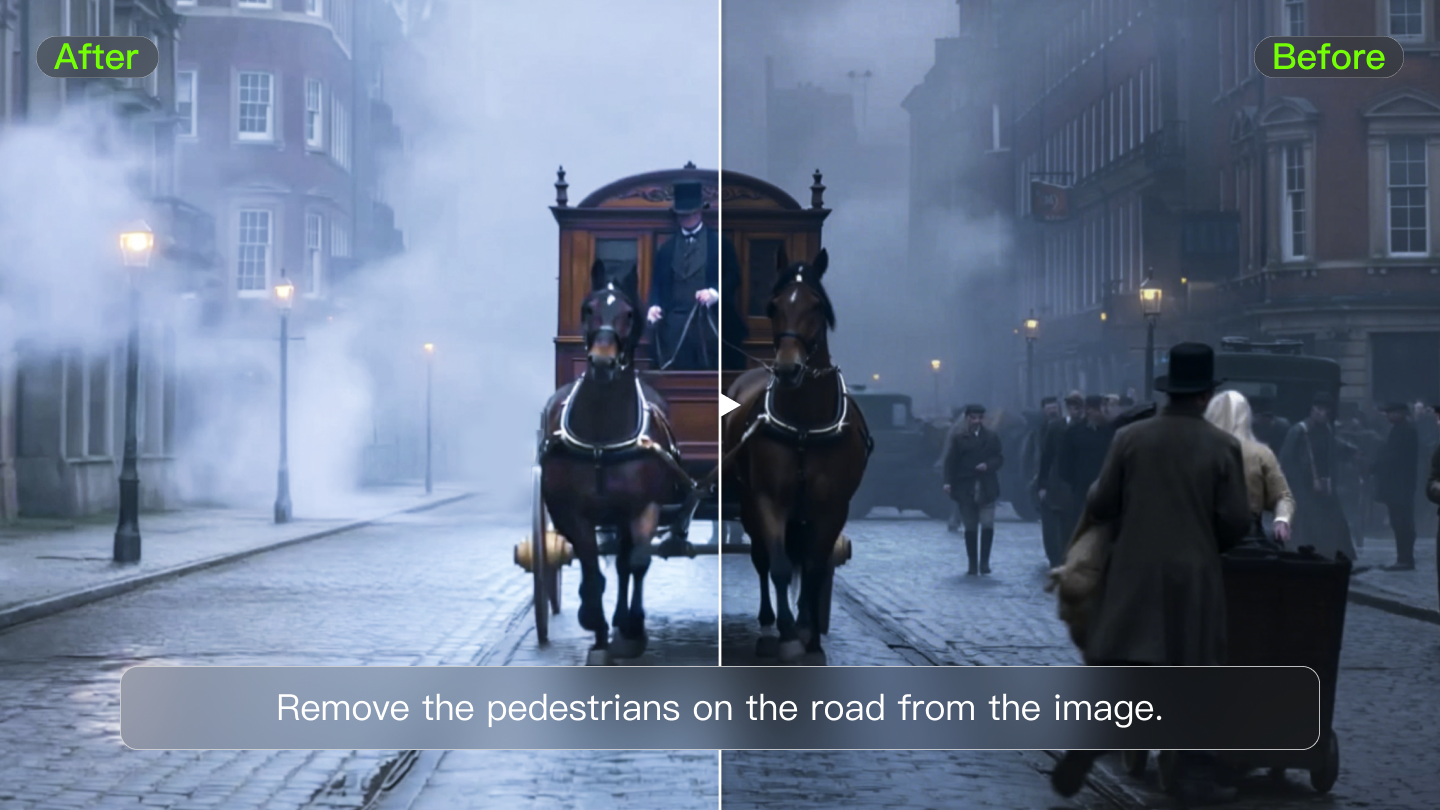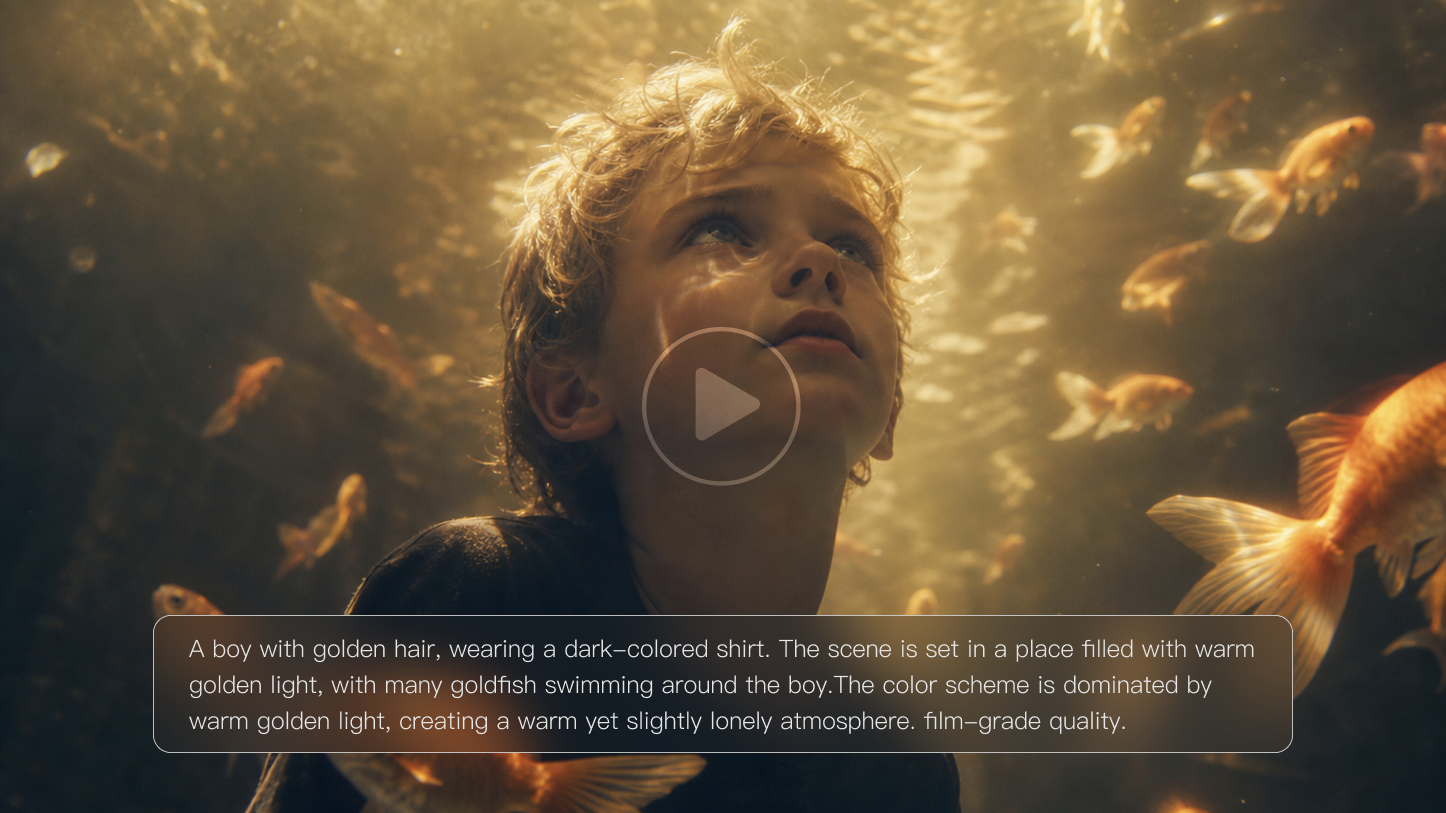
AI video tools can get an idea on screen quickly, but newcomers may need some practice to describe movement, keep subjects consistent, and pace the action clearly. A little planning before generation gives the creative process more direction. If you want to learn how to create AI videos from text or images, start with a simple workflow. With Kling Video 3.0, you can take an idea through generation, review, and refinement.
How to Make AI Videos Step by Step
A good first render starts before you hit Generate. Decide what the viewer should notice first and what should change over the next few seconds. In Kling Video 3.0, you can start from a written idea or a reference image, then shape the rest of the clip around that shot.
Step 1: Plan Your Scene and Choose Your Starting Point
Choose text-to-video when you only have an idea or script. If you already have a product photo, illustration, character reference, or other visual, an image-to-video tool gives you a visual base for the scene.
Then define the shot itself:
- Who or what is the main subject? Pick one clear focal point, such as a leather backpack for an e-commerce ad, an animated character, or a classic car.
- What should happen? Focus on one main action, such as a chef sprinkling salt over a dish or a runner crossing a finish line.
- Where does the scene take place? Give the action a specific setting, such as a sunlit studio in Austin or a rainy city street at night.
- How should the shot look and move? Set the framing, camera movement, and lighting, such as a close-up with a slow push-in or a wide shot under warm overhead light.
- What should the viewer hear? Add dialogue, ambient noise, or sound effects only when they support the scene.
Step 2: Write Clear AI Video Prompts
Once your scene is planned, give your AI video generator enough detail to understand both the visuals and the sound. A practical prompt formula is:
- Scene + Subject + Movement + Audio + Style / Emotion / Camera
- Keep each part specific:
- Scene and subject: Set the location, main subject, and the visual details that matter.
- Movement: Describe the subject action first, then add camera movement or framing.
- Dialogue: Use "Sentence" + Emotion + Speech Speed + Tone + Character Label. For example, [Rider, calmly] says, "The coast looks different at sunset."
- Sound effects and ambience: Name the sound source and action, such as [Motorcycle] accelerates + [Sound Effect: engine rumble]. For background sound, add the scene, sound elements, and spatial feel, such as coastal wind, distant waves, or traffic echo.
- Music or vocals: If the scene needs them, specify the genre, instrument or singing style, and emotion.
For text-to-video, include enough detail to establish the full scene. For image-to-video, the reference image already supplies much of the appearance and composition, so you can focus more on movement, camera behavior, and audio.
A complete prompt might look like this:
“Golden-hour ride along the Pacific Coast Highway. [Rider] travels on a vintage motorcycle as the camera tracks backward in a frontal medium shot. Warm sunlight reflects across the road. [Rider, relaxed, slow tone] says, "Nothing beats this stretch of coast." [Motorcycle] accelerates + [Sound Effect: deeper engine rumble]. Coastal wind and distant ocean waves fill the background with a soft open-air feel. Cinematic, relaxed mood.”
This format keeps the visual direction clear and gives dialogue, sound effects, and ambience their own cues, which helps the audio feel more connected to what happens on screen.
Step 3: Set Motion, Timing, and Audio
Think about how much screen time the action actually needs. If a rider only turns toward the camera, one shot may be enough. If you also want a wheel close-up, a rider POV, and a wider reveal, give those moments their own shots so each one has time to register.
With Kling VIDEO 3.0, turning on Multi-Shot lets the model plan shot transitions, framing, and camera-angle changes from your prompt. If you want more control over the sequence, select Custom Multi-Shot, which allows you to precisely control the content and duration of each shot.
Example: Build a Short Sequence With Custom Multi-Shot
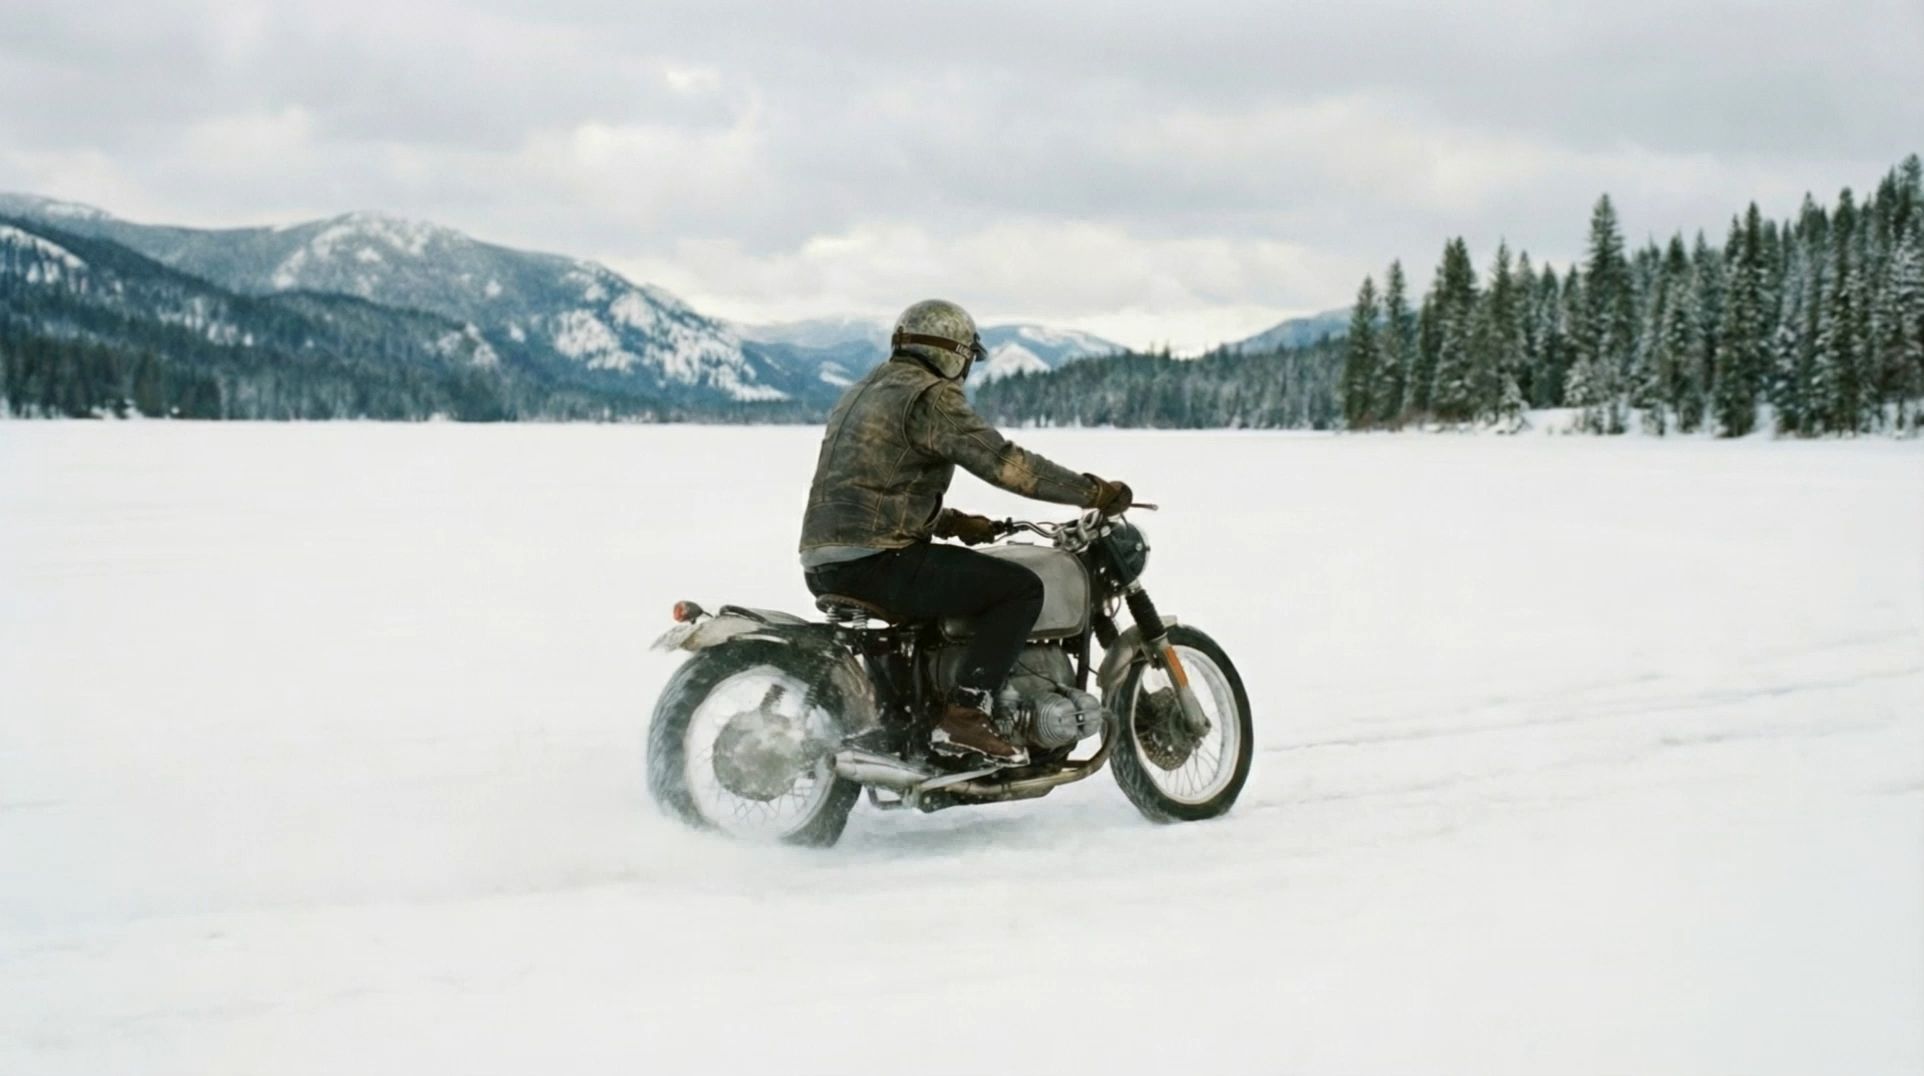
Suppose you want to create a short motorcycle sequence for a social campaign. After turning on Multi-Shot, open Custom Multi-Shot and break the idea into a few distinct shots:
Shot Direction | |
Shot 1 | Low-angle rear wide shot, tracking behind the rider as they move forward. |
Shot 2 | Low-angle side close-up, a detailed shot of the motorcycle wheel. |
Shot 3 | First-person POV from the rider, with the handlebars and instrument panel visible ahead. |
Shot 4 | Frontal medium shot, tracking backward in front of the motorcycle, the rider’s helmet facing the camera. |
Shot 5 | Side-on eye-level tracking shot with slight lateral movement. |
Shot 6 | High-angle wide shot with a gentle downward tilt. The camera rises as the motorcycle rides deeper into the snowfield, leaving winding tracks across the pristine white snow, with snow-covered forests on both sides. |
Image | |
.png?x-oss-process=image/resize,w_1872)
| |
Video | |
  | |
Keep each shot focused on one visual idea, then adjust its duration to match the amount of action. This approach works well for short brand videos, travel clips, and social ads that need several visual beats within one sequence.
If your scene includes dialogue or environmental sound, add those instructions before generation. Native Audio supports character-specific dialogue and multiple languages. Kling VIDEO 3.0 also supports authentic dialects and accents.
Step 4: Generate and Review Your AI Video
Now generate your first clip. The examples below pair each input with its result, so you can compare what you asked for with what appears on screen.
Text to Video:
Prompt |
Outdoor terrace of a European villa, by a dining table with a blue and white checkered tablecloth, a young white woman in a blue and white striped short-sleeve shirt and khaki shorts, with a brown belt, sits barefoot, opposite a young white man in a white T-shirt. The camera zooms in, the woman swirls the juice in a glass, her eyes looking at the distant woods, and says "These trees will turn yellow in a month, won't they?". Close-up of the man, he lowers his head and says, "but they'll be green again next summer.". Then the woman turns her head, smiles at the man opposite, and says, "Are you always this optimistic? Or just about summer?". Then the man lifts his head, looks at the woman and says, “Only about summers with you.” |
Video |
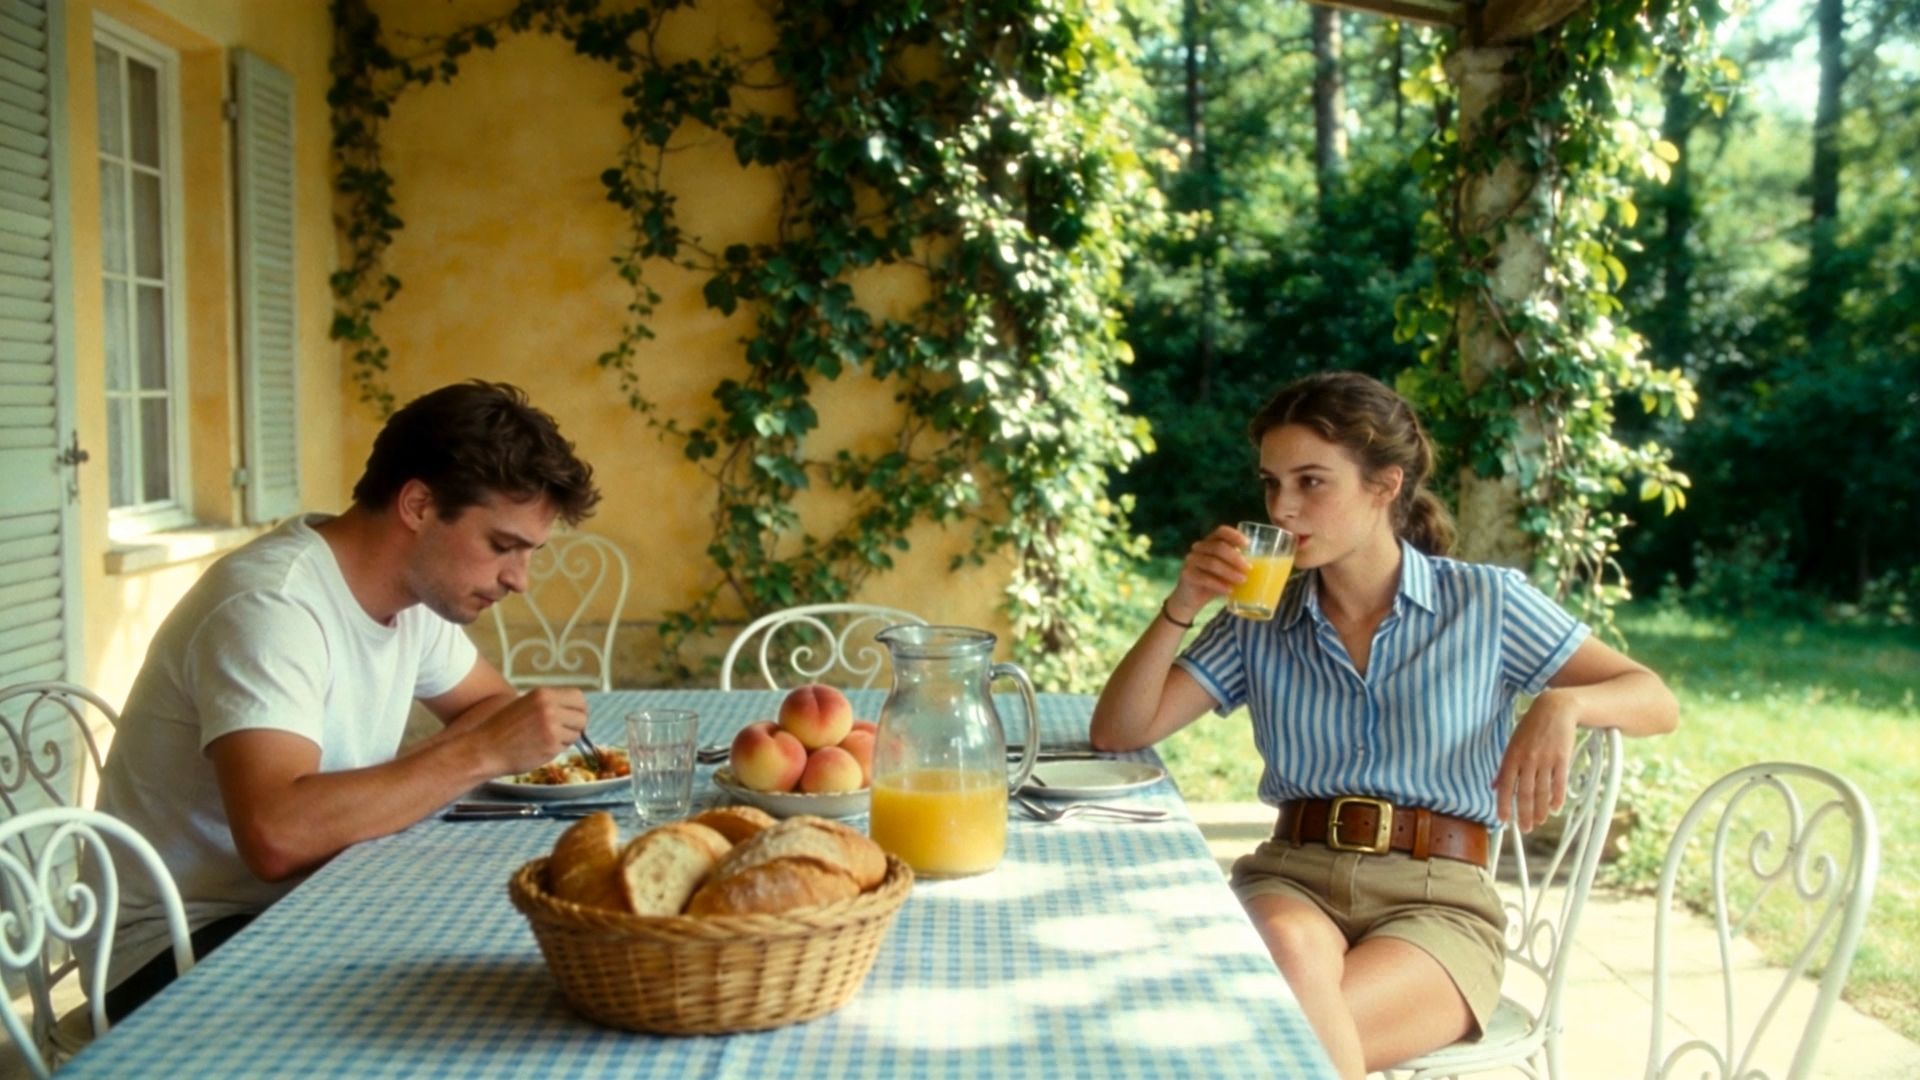 |
Image to Video:
Prompt | ||
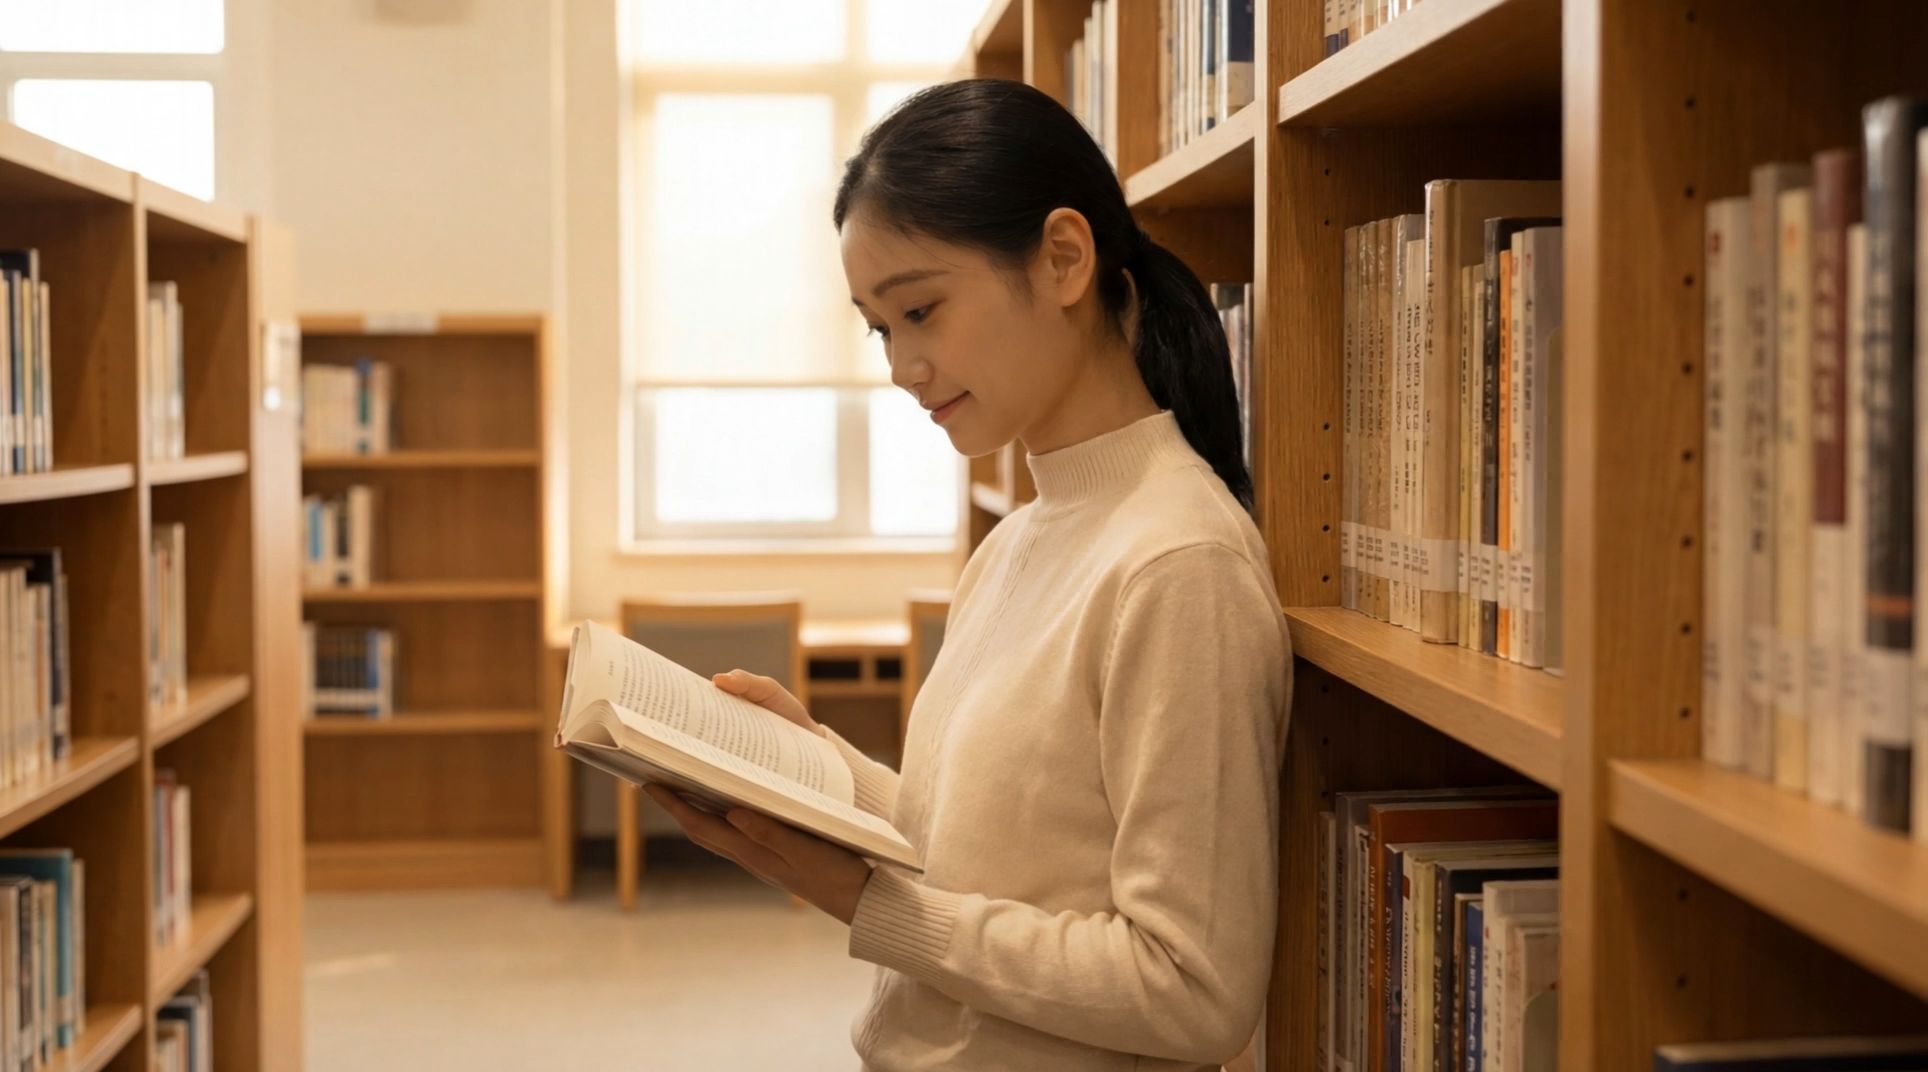
The camera gradually moves around to the front of the girl, who then lifts her head and smiles warmly at the camera, as if seeing an old friend after many years. | ||
Start Frame | ||
.png?x-oss-process=image/resize,w_1872) | ||
Character Reference | ||
.png?x-oss-process=image/resize,w_1872) | .png?x-oss-process=image/resize,w_1872) | .png?x-oss-process=image/resize,w_1872) |
Video | ||
 | ||
Once you have a result on screen, watch it again with a few details in mind:
- Main Action: Does the subject perform the intended movement clearly?
- Subject Consistency: Do key facial features, clothing, or product details stay consistent?
- Camera Movement: Does the camera move smoothly in the direction you described?
- Visual Changes: Do lighting, background motion, and other scene changes feel natural?
- Audio Timing: Do dialogue and sound cues match the action on screen?
- Overall Pacing: Does the action have enough time to develop within the clip?
Step 5: Refine and Export Your Video
The first result gives you a clear starting point for refinement. Change the weakest part first, such as the action, camera direction, timing, or reference, then generate another version and compare the difference. Once the clip works as intended, export the final version for your editing or publishing workflow.
How to Get Better Results From AI Video Generation
Small changes in shot design can make the next generation easier to control. Focus on the action, the details that need to stay consistent, and the way the camera moves through the scene.
Keep Each Shot Focused
Build each shot around one main subject and one clear action. A short product clip, for example, may only need a slow reveal and a single camera move. If the idea includes several actions or story beats, break it into shorter shots so each moment has enough space to read clearly.
Keep Characters and Visual Elements Consistent
Decide which details cannot drift before you generate the next shot. For a recurring character, that might mean the face, hairstyle, and jacket. For a product, pay closer attention to the logo, package color, and label shape. Reusing the same reference image can help those details carry into a new camera angle or background.
Control Motion and Camera Direction
Treat the subject and the camera as two separate parts of the shot. Write the action first, such as “the car pulls away from the curb,” then add one camera move, such as “track beside the car.” If you ask for a push-in, pan, and tracking move within the same few seconds, the shot can quickly feel busy or lose its intended direction.
Add Audio Only When It Supports the Scene
Add sound when the scene has something worth hearing. A café shot may only need cups clinking and low room chatter. A product close-up may need no generated sound at all if you plan to add music later in the edit. For dialogue, keep the line short enough to fit the action and the length of the clip.
What Should You Know About AI Video Copyright?
When you create AI videos, copyright usually comes down to one question: which parts came from your own creative work, and which parts came directly from the AI system? That distinction matters if you plan to publish, license, or reuse the final video.
- AI-generated footage does not automatically become your copyrighted work: You can write a detailed prompt and guide the scene closely, but the AI still creates the final visual expression. Prompts alone usually do not give you enough creative control to claim copyright over those generated portions. Copyright rules may vary by region and platform. Always check applicable laws before commercial use.
- Your own creative work can still receive protection: If you add original footage, graphics, narration, editing, sequencing, or other creative choices, copyright may cover those human-created parts. This becomes especially relevant when you combine several AI clips into a larger video and shape the final structure yourself.
- Copyrighted source material keeps its original protection: If you use someone else’s photo, illustration, music, or video as part of your AI workflow, generating a new clip does not erase the rights attached to that source material. A license, permission, public-domain status, or another legal basis may still apply.
- AI-generated material also matters during registration: If your finished video includes a meaningful amount of AI-generated content, the copyright claim should focus on the parts you created yourself and identify the AI-generated portions separately.
The End
Once you know how to create AI videos, it becomes easier to shape each step around the result you want. Clear prompts, strong references, and a few targeted refinements can help you bring the scene closer to your original idea. Kling Video 3.0 brings Multi-Shot, Native Audio, and reference-based consistency into the same workflow, giving you practical ways to carry an idea from the first prompt through the final generation.
FAQs
How Can I Make AI Videos with My Face?
You can start with a clear, well-lit portrait and use it as a visual reference for the character you want to animate. If you want to replace a face in an existing photo or video, a face swap workflow gives you a more focused option. For a newly generated scene, keep the reference clear and describe the movement, camera direction, and setting in the prompt.
Do AI-Generated Videos Need Disclosure Labels?
Some platforms require disclosure when AI creates or meaningfully alters realistic content. YouTube, for example, asks creators to disclose photorealistic AI-generated or altered videos through its AI use setting. Minor visual edits and clearly unrealistic content generally follow different rules, so check the platform policy before publishing.
How Do I Make AI Videos for Free?
Some AI video platforms offer limited free access or starter credits, which can be enough to test prompts and compare text-to-video with image-to-video. Check the current plan before a larger project, since credit limits, video length, and output options can change.
Why Does My AI Video Look Inconsistent?
Visual inconsistencies often appear when a scene asks the model to handle too many changes at once. Complex movement, several competing actions, or a weak reference can make details such as clothing, backgrounds, or facial features drift between moments. Simplifying the action and using a clearer visual reference usually gives the model a more stable direction.