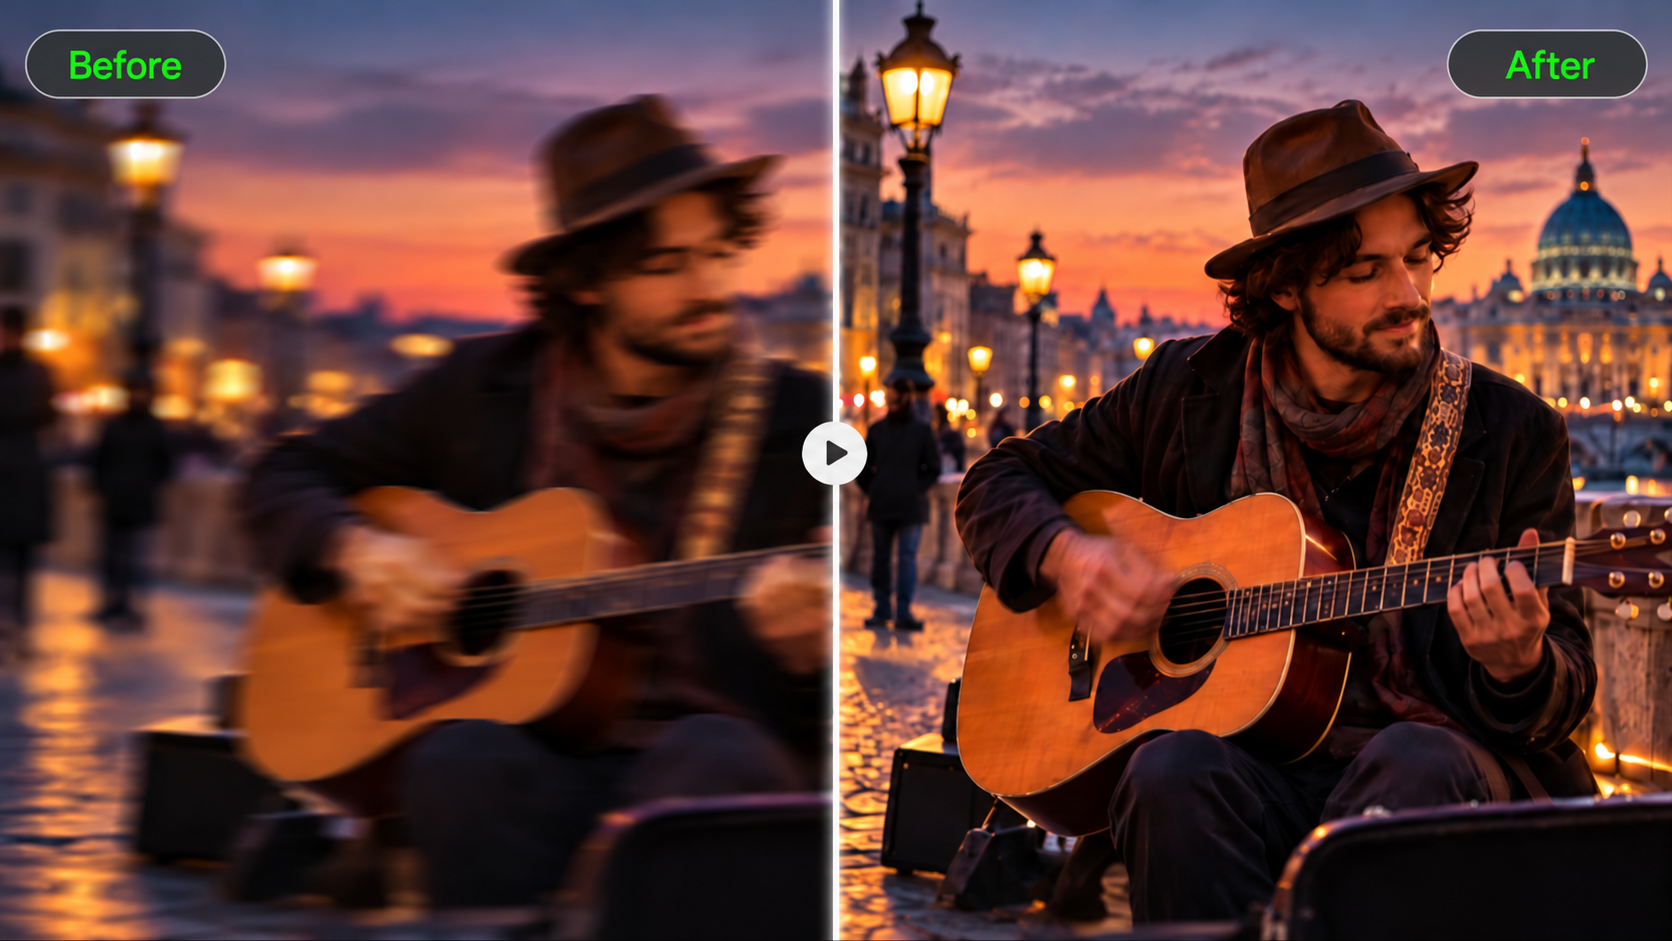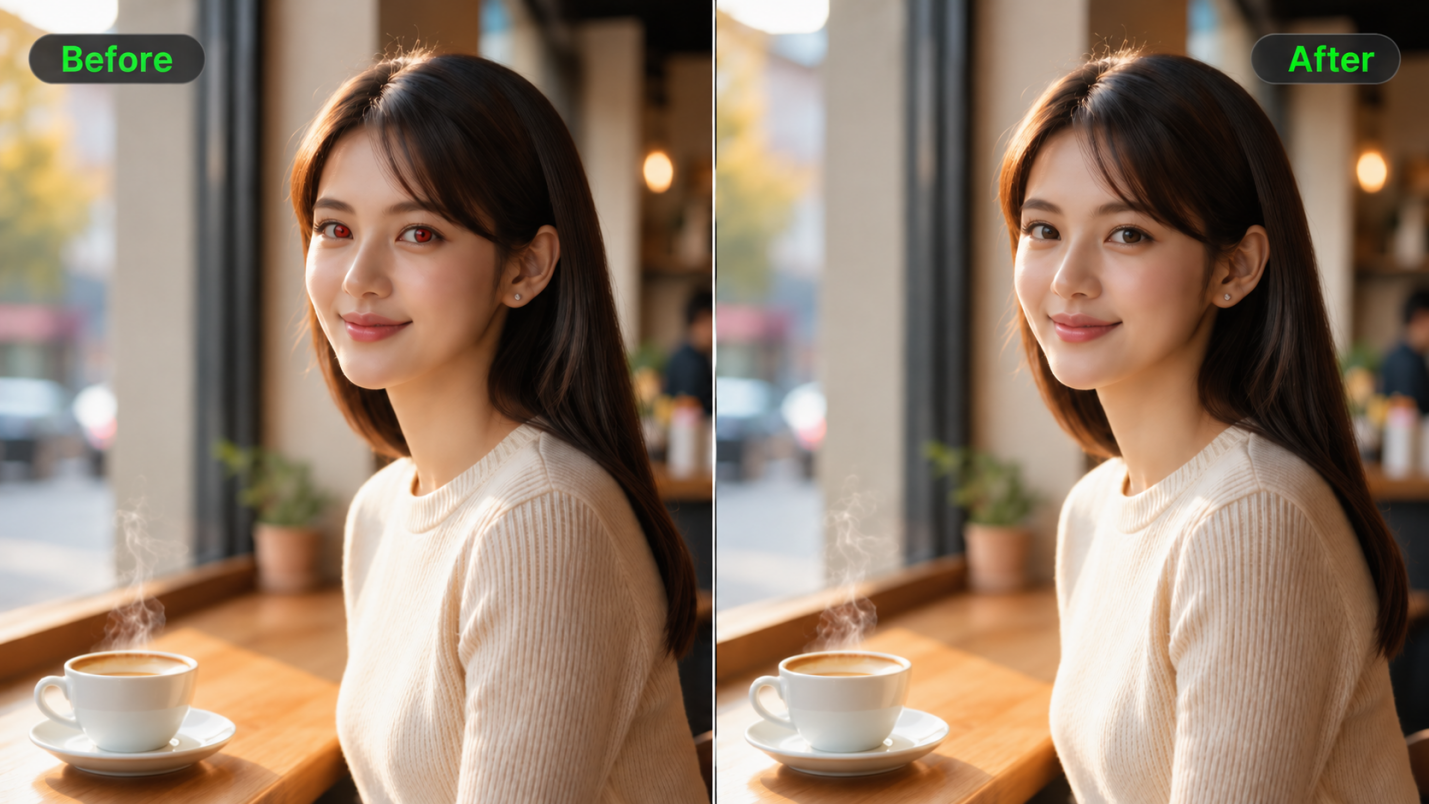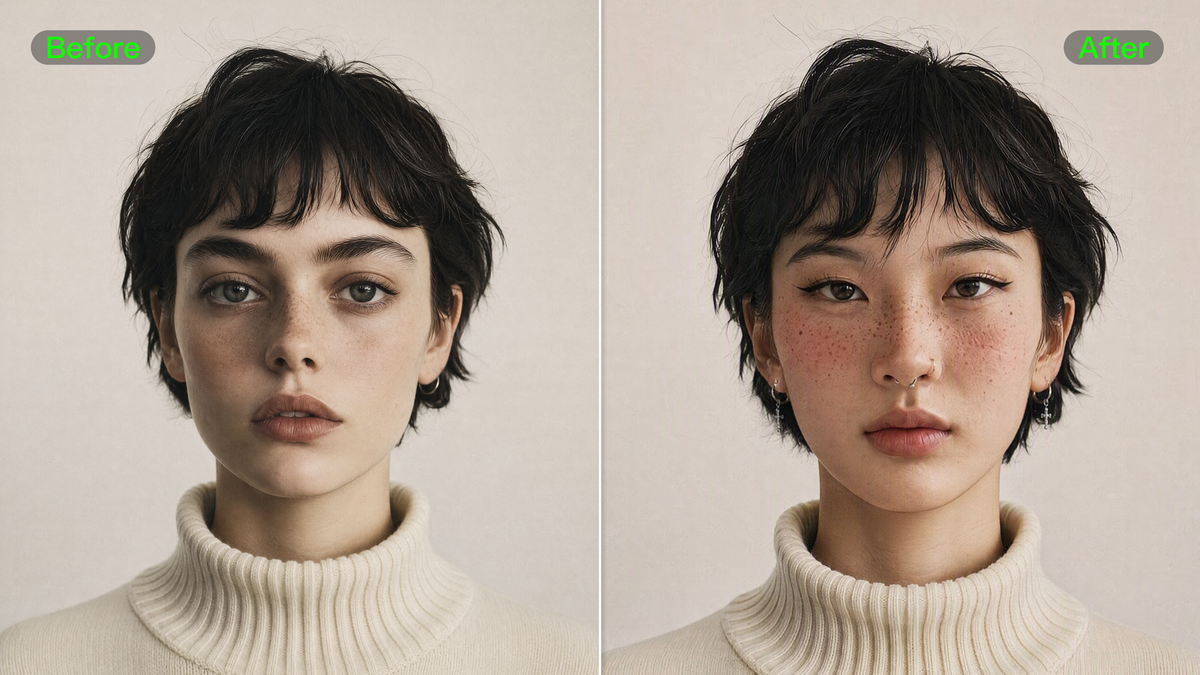
If you’re wondering “how to put my face to an AI character,” Kling AI gives you a few ways to make it happen without rebuilding the character from scratch.
This guide walks you through creating face-swapped character images and videos, as well as turning your own portrait into an AI character.
How to Swap Faces in AI Character Photos and Videos With Kling AI
Begin with whatever character content you already have. A still image is best handled in Kling IMAGE 3.0, while an existing character video can go straight into Kling VIDEO 3.0 Omni.
Put Your Face on an AI Character Image With Kling IMAGE 3.0
A face swap works best when the two source images have clear roles. One is the character image you want to keep. The other is a portrait that provides the face you want to bring into that character.
Step 1: Add the Character Image and Your Portrait
Start with the character image you want to edit, then add a clear portrait of yourself. The character image gives you the overall look, pose, and setting, while your portrait guides the new face.
Choose a photo where your face is easy to see and not heavily covered. If the character is shown from the side or at a stronger angle, a portrait from a similar angle can help the new face fit more naturally.
Step 2: Describe the Face Swap Clearly
In your prompt, make it clear which image is the character and which one contains your face. Then say what you want to change and what should stay the same.
For example, if Image 1 is the character image and Image 2 is your portrait:
Character Image | Face Reference | Output |
.png?x-oss-process=image/resize,w_1872) | .png?x-oss-process=image/resize,w_1872) | .png?x-oss-process=image/resize,w_1872) |
| Prompt: Replace the character’s face in Image 1 with the face of the person in Image 2. Keep the hairstyle, outfit, pose, background, and overall style of Image 1. Preserve the person’s recognizable facial features and blend the face naturally with the character’s lighting and design. | ||
If there is more than one character in the image, identify the one you want to edit by position, clothing, or another visible detail.
Step 3: Generate and Review the Character Image
Generate the new version and compare it with both source images. The face should still resemble you while fitting naturally into the character’s original look.
Check details such as the hairline, jawline, lighting, and any areas you asked to preserve. If something looks off, try a clearer portrait or adjust the prompt. Once you get a version you like, you can continue refining it in Kling IMAGE 3.0.
For more on reference-based image editing, see the Kling IMAGE 3.0 guide.
Put Your Face on an AI Character in a Video With Kling VIDEO 3.0 Omni
Already have a character video you want to use? With Kling VIDEO 3.0 Omni, you can work from the existing footage and bring your own face into the character without recreating the scene or performance.
Step 1: Upload the Video and Add Face References
Choose the character clip you want to edit and add photos that clearly show your face. For a clip with head turns or changing camera angles, include views that match those moments as closely as possible. This gives VIDEO 3.0 Omni more facial information to follow as the character moves through the shot.
For face replacement, use a source clip between 3 and 10 seconds. For better results, choose footage where the target character’s face remains clearly visible through most of the shot.
Step 2: Tell VIDEO 3.0 Omni Which Character to Replace
Your prompt can stay focused on the person in the footage rather than describing the whole scene again. Identify the target character clearly, then specify that your face should take their place while the original action and shot remain intact.
For group scenes, use details such as clothing, position in the frame, or another visible feature to make the target easy to identify.
Step 3: Watch the Full Clip for Face Consistency
Once the edited video is ready, play it through rather than checking only a single frame. Look at how the face carries through head turns, expressions, close-ups, and brief occlusions. These are the moments where inconsistencies tend to be most noticeable.
If one section does not hold the identity well, a reference that better matches that angle can help. You can also tighten the instruction around the specific character or moment before trying another version. Learn more in the Kling VIDEO 3.0 Omni guide.
Original Video | ||
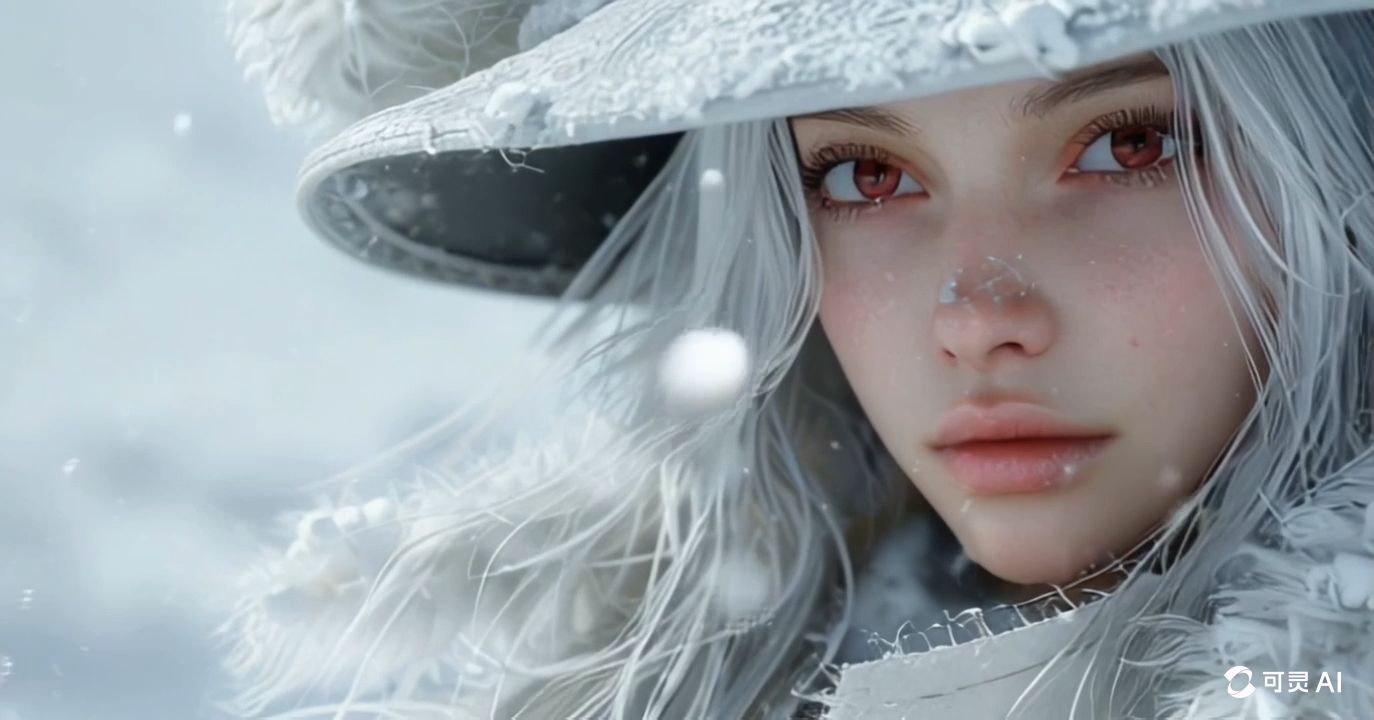  | ||
Face Reference | ||
.png?x-oss-process=image/resize,w_1872) | .png?x-oss-process=image/resize,w_1872) | .png?x-oss-process=image/resize,w_1872) |
OutPut Video | ||
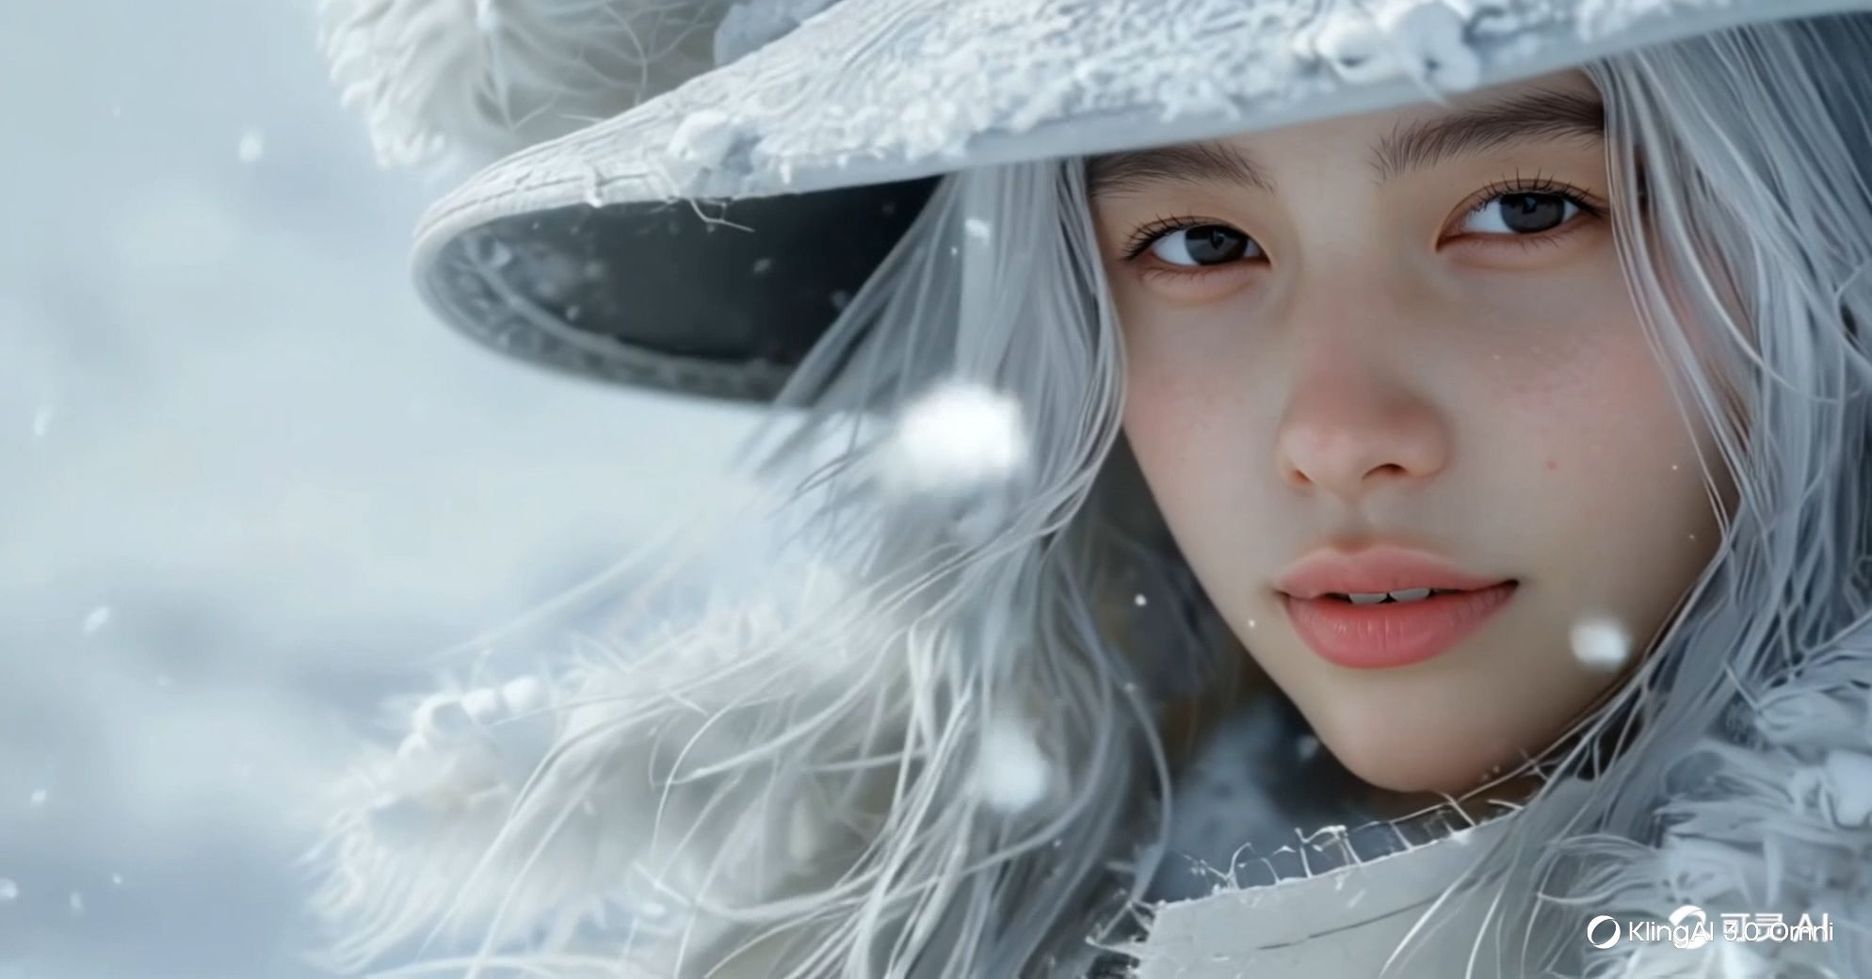 | ||
| Prompt: Replace the faces in the @Video with the provided face @Image1@Image2@Image3 .Keep the original clothing, expression, movements, camera motion, background, and lighting unchanged. Ensure that the facial features of the person in the image match naturally with every head turn and angle, while maintaining consistent identity throughout the entire video. | ||
Why Choose Kling AI for Your AI Character Face Swaps?
When you want to see yourself as an AI character, matching the face is only part of the result. Kling AI can carry your identity into different character styles and moving shots while letting the rest of the creative work remain coherent.
- Fit your face into different character styles: Whether the character is realistic, cinematic, or highly stylized, Kling AI can adapt facial details to the surrounding lighting, texture, and visual treatment so the edit feels more cohesive.
- Stay recognizable from more than one angle: Multi-angle references or a Character Element give the model more information about your identity. That becomes especially useful when the character turns, changes expression, or appears across several shots.
- Edit the character without reworking everything around them: The face can be changed while the wardrobe, environment, framing, and overall composition continue to follow the source material. You can focus on the part you want to personalize instead of recreating the whole piece.
- Keep Your Face Consistent Through Expressions and Movement: When your footage comes to life, Kling VIDEO 3.0 Omni uses face references to keep characters looking like themselves—even when smiling, talking, or turning around. The new face moves fluidly with the original motion, avoiding any fake, sticker-like feel.
Best Practices for More Natural AI Character Face Swaps
If you want a more natural and convincing AI face swap, a few choices before you generate can make a real difference.
- Start with a clear, representative portrait: Choose a photo that shows your natural features accurately, without heavy filters, harsh shadows, or anything blocking key areas. This gives Kling AI a dependable identity source to work from.
- Match the viewing angle: If the subject is turned sideways or shown in three-quarter view, use a photo taken from a similar direction. A closer angle gives the model more relevant detail for that pose.
- Make the role of each input obvious: Use the main image or clip for the content you want to edit, and your portrait for the identity you want to introduce. If you add a separate style image, make sure its purpose is easy to distinguish.
- Tell Kling what should remain untouched: When you only want to change the person’s appearance, mention details such as the hairstyle, clothing, pose, lighting, setting, or motion that should stay as they are. This helps prevent unnecessary changes elsewhere.
- Allow for some interpretation in stylized designs: Anime and other highly stylized looks may simplify or reshape certain features. Focus on whether the finished character still feels recognizably like you within that visual style, rather than expecting a photorealistic match.
- Watch the entire clip before judging the edit: A single frame can look convincing while the identity shifts during motion. Check head turns, changing expressions, close-ups, and moments where part of the face is briefly hidden.
Can You Create an AI Character Image or Video From Your Own Portrait?
If you do not already have a character to work with, your own portrait can become the starting point. Rather than swapping your face into an existing design, you build the new character around your appearance.
Create Your Character With IMAGE 3.0
Upload a clear portrait to Kling IMAGE 3.0, then define the kind of character you want to become. Focus the prompt on the visual direction, such as the style, outfit, setting, and mood, while making it clear that your key facial features should remain recognizable.
| Prompt example: Transform the person in the reference photo into an anime-style character wearing a dark futuristic jacket, with soft cinematic lighting and a clean urban background. Keep the facial features recognizable. |
This is a direct way to turn your photo into an AI character without needing a separate character reference first. If the result drifts too far from your appearance, reduce unnecessary styling details or strengthen the instruction around facial resemblance.
Turn the Finished Character Into a Video
Once you are happy with the design, bring the finished image into Kling VIDEO 3.0 as the opening visual. At that point, the look is already established, so the video prompt can concentrate on what the character does next, including movement, expression, and camera direction.
| Prompt example: The character turns toward the camera, gives a slight smile, then walks toward the doorway as the camera slowly pulls back. |
For an initial clip, one clear action is usually easier to control than several movements at once. Review the full shot afterward and refine the motion or camera behavior where needed.
See the Kling VIDEO 3.0 guide for more on creating videos from a starting image.
Finished Character | Output |
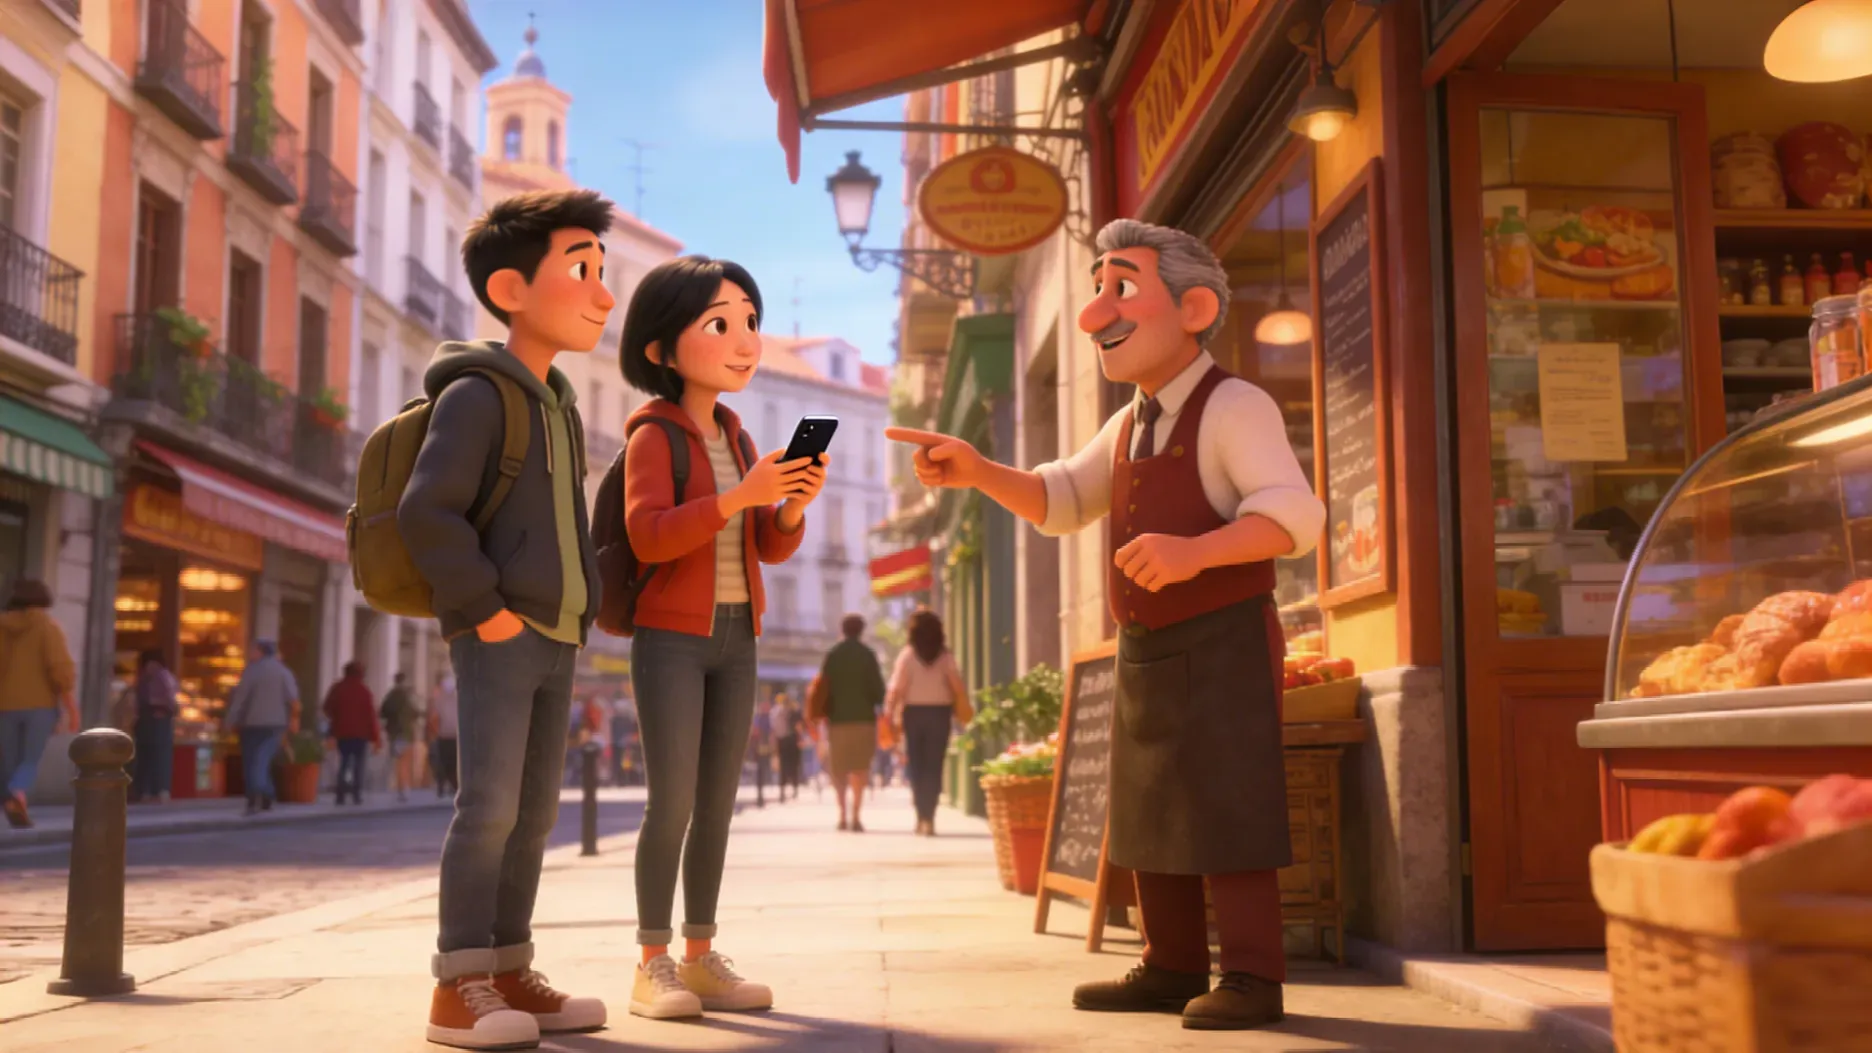 | 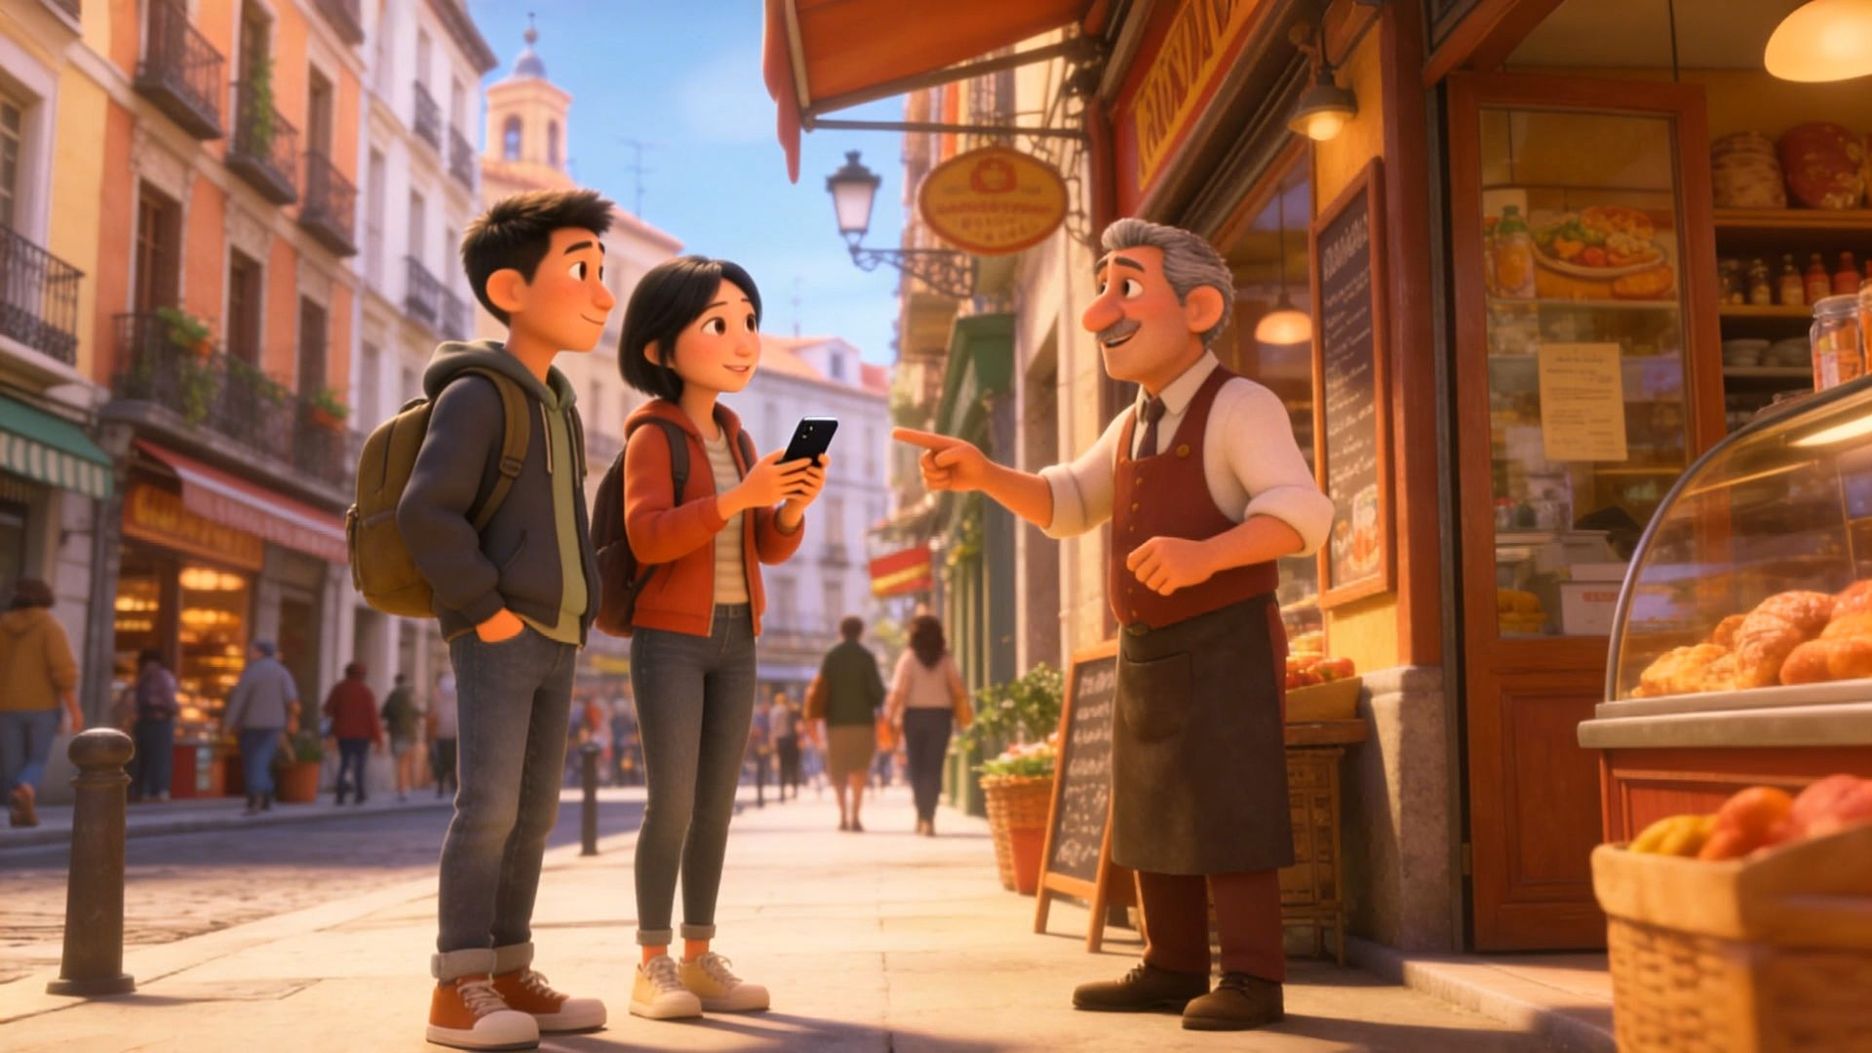 |
Prompt: Sunlight fills the old streets of Madrid. In front of a street-side bakery, a Chinese female tourist and a male tourist wearing a gray hoodie walk toward the shop clerk, both wearing polite smiles. Female tourist (speaking slightly slowly, with an awkward accent, in Spanish):Disculpe, ¿dónde está la plaza mayor? A white-haired Spanish shop clerk (turning slightly and pointing forward, with a light and cheerful tone, in Spanish):Por allí, a dos calles. Muy cerca. The female tourist nods to express her thanks. The male tourist also nods in agreement and says (in Spanish): Muchas gracias. The shop clerk smiles and nods in response. The two tourists then turn and walk in the indicated direction. | |
The End
The question “how to put my face to an AI character” depends on what you already have. Kling IMAGE 3.0 can work from an existing character image or your own portrait, while Kling VIDEO 3.0 Omni is suited to character footage that is already in motion.
Whichever path fits your project, clear source material and focused instructions can help your identity stay recognizable while the character still feels natural within its style and setting.
FAQs
Is It Safe to Use My Own Face in AI Videos?
Yes, using your own face is generally the simplest case because you control the likeness you are uploading. For anyone else, use a face only when you have clear permission to do so, especially for public or commercial content. It is also worth reviewing the final video carefully before publishing if the edit could be mistaken for real footage.
Can I Make My AI Character Talk?
Yes! With Kling VIDEO 3.0 and 3.0 Omni, you can generate dialogue and sound effects right along with your video using Native Audio. If you already have a video, use Lip Sync to add speech via text or audio upload—keeping your character’s lip movements and facial expressions perfectly in sync.
What Photo Works Best for a Face Swap?
Use a clear, high-quality portrait where the full face is visible and evenly lit. Front-facing or lightly angled images are the easiest starting point; avoid hair, hands, hats, deep shadows, or extreme angles covering key features. If the target character appears from several viewpoints, additional face references from different angles can give Kling more facial information to work with.
Will the Character Stay Consistent Across Shots?
Kling VIDEO 3.0 Omni can use multiple image references, Character Elements, and video-based character references to provide stronger identity information across changing angles and shots. Clear, consistent references still matter, especially when the character turns, changes expression, or appears across multiple shots.
Why Does My Face Swap Not Look Like Me?
A face swap may look less like you when the reference photo is blurry, heavily filtered, poorly lit, or taken from an angle that does not match the character. Strong stylization can also simplify some facial details.
Try using a clearer portrait, match the head angle more closely, and add another view of your face if needed. In Kling IMAGE 3.0 or VIDEO 3.0 Omni, clearer references usually give the model more identity detail to follow.