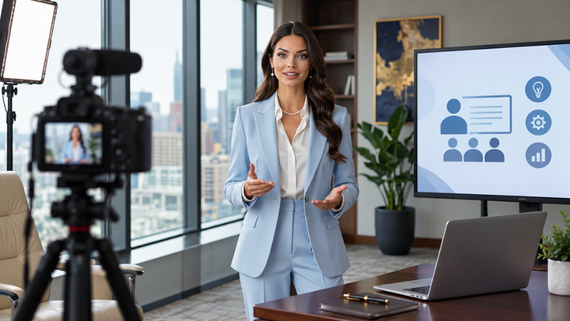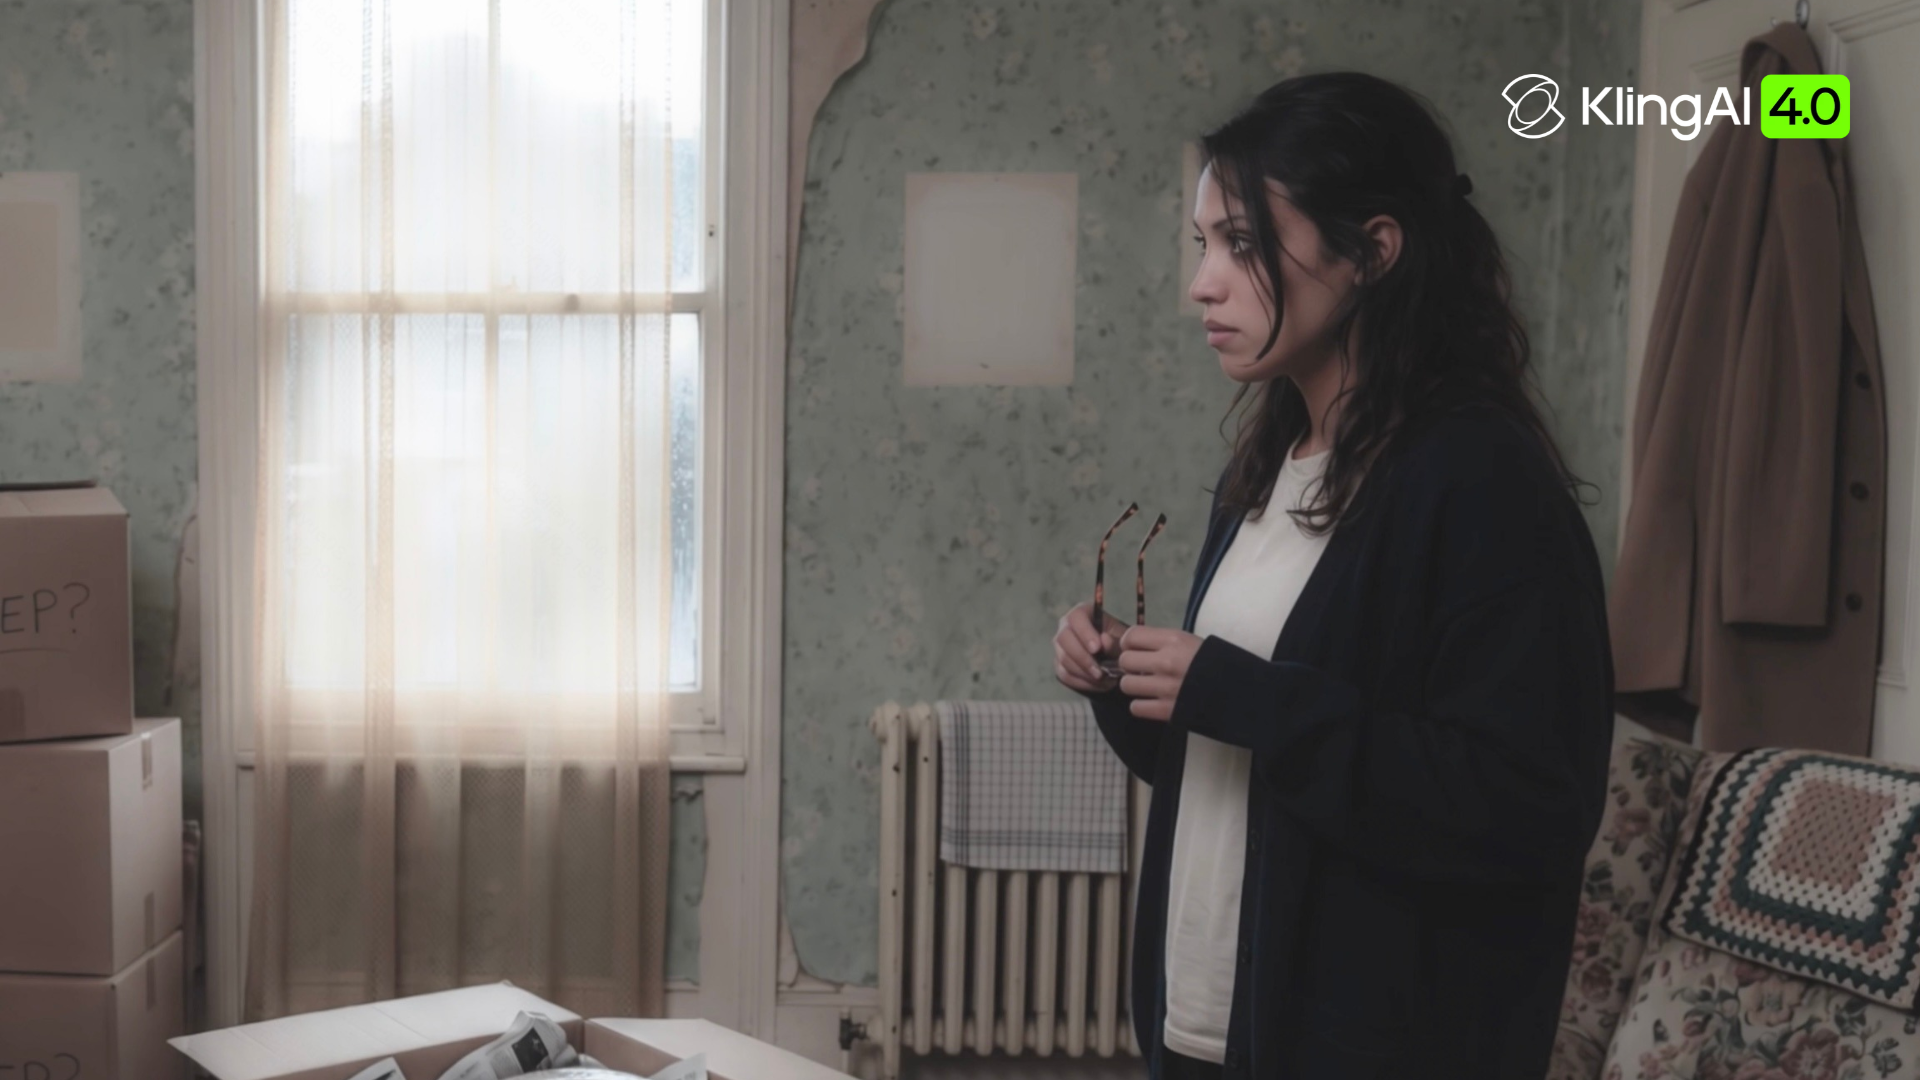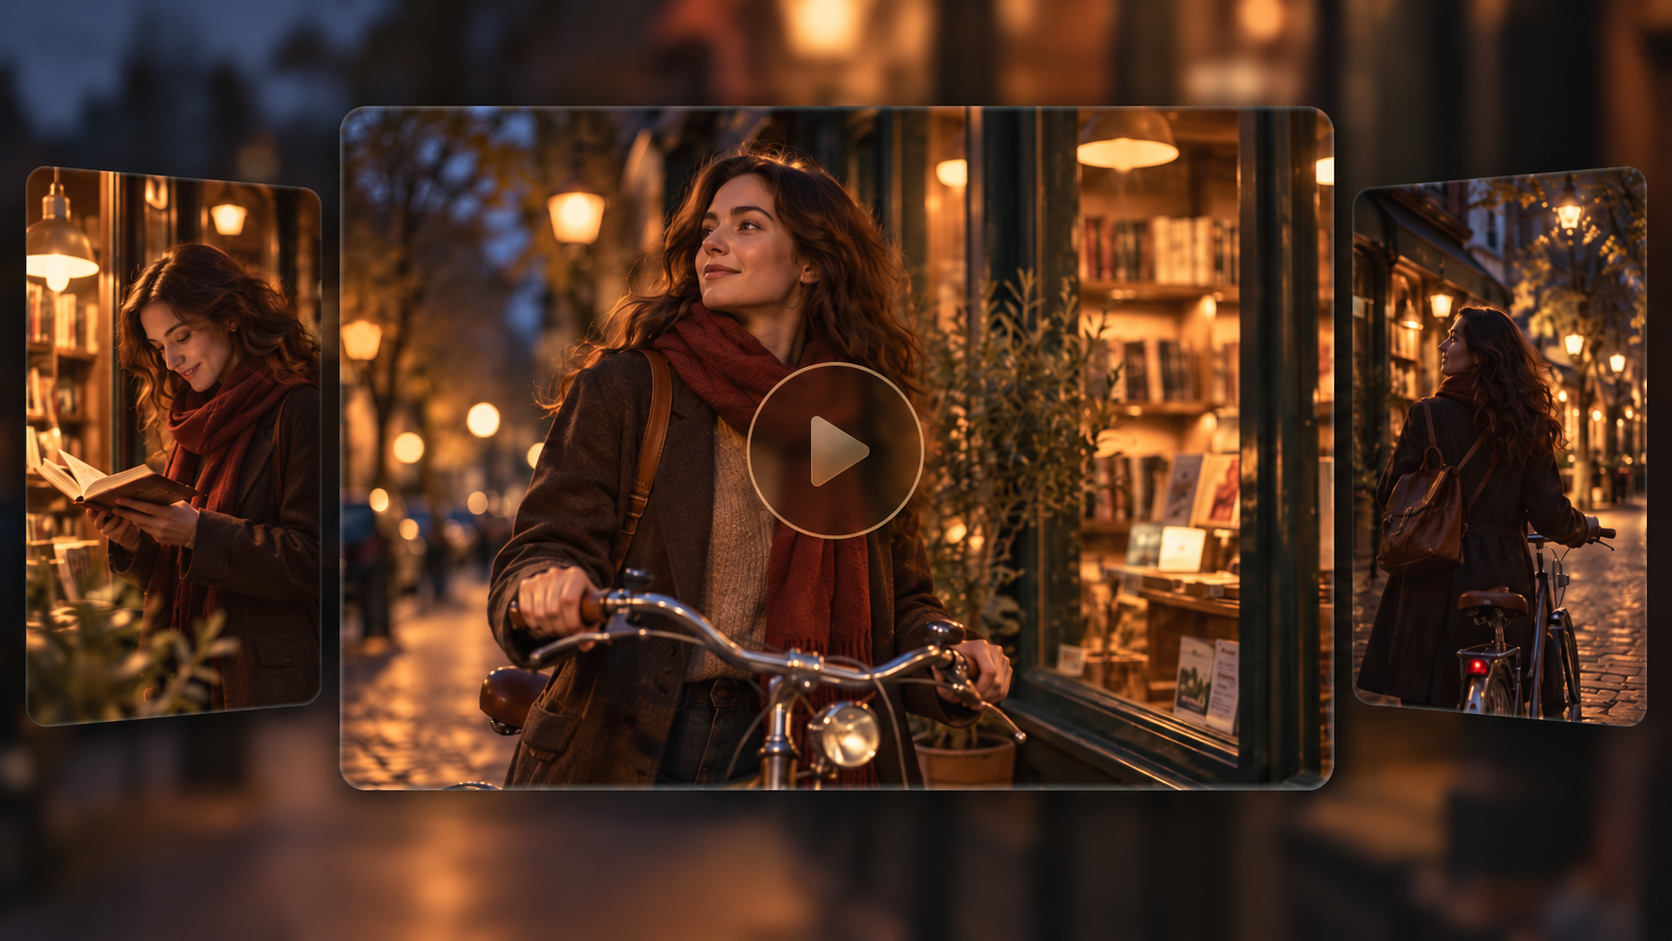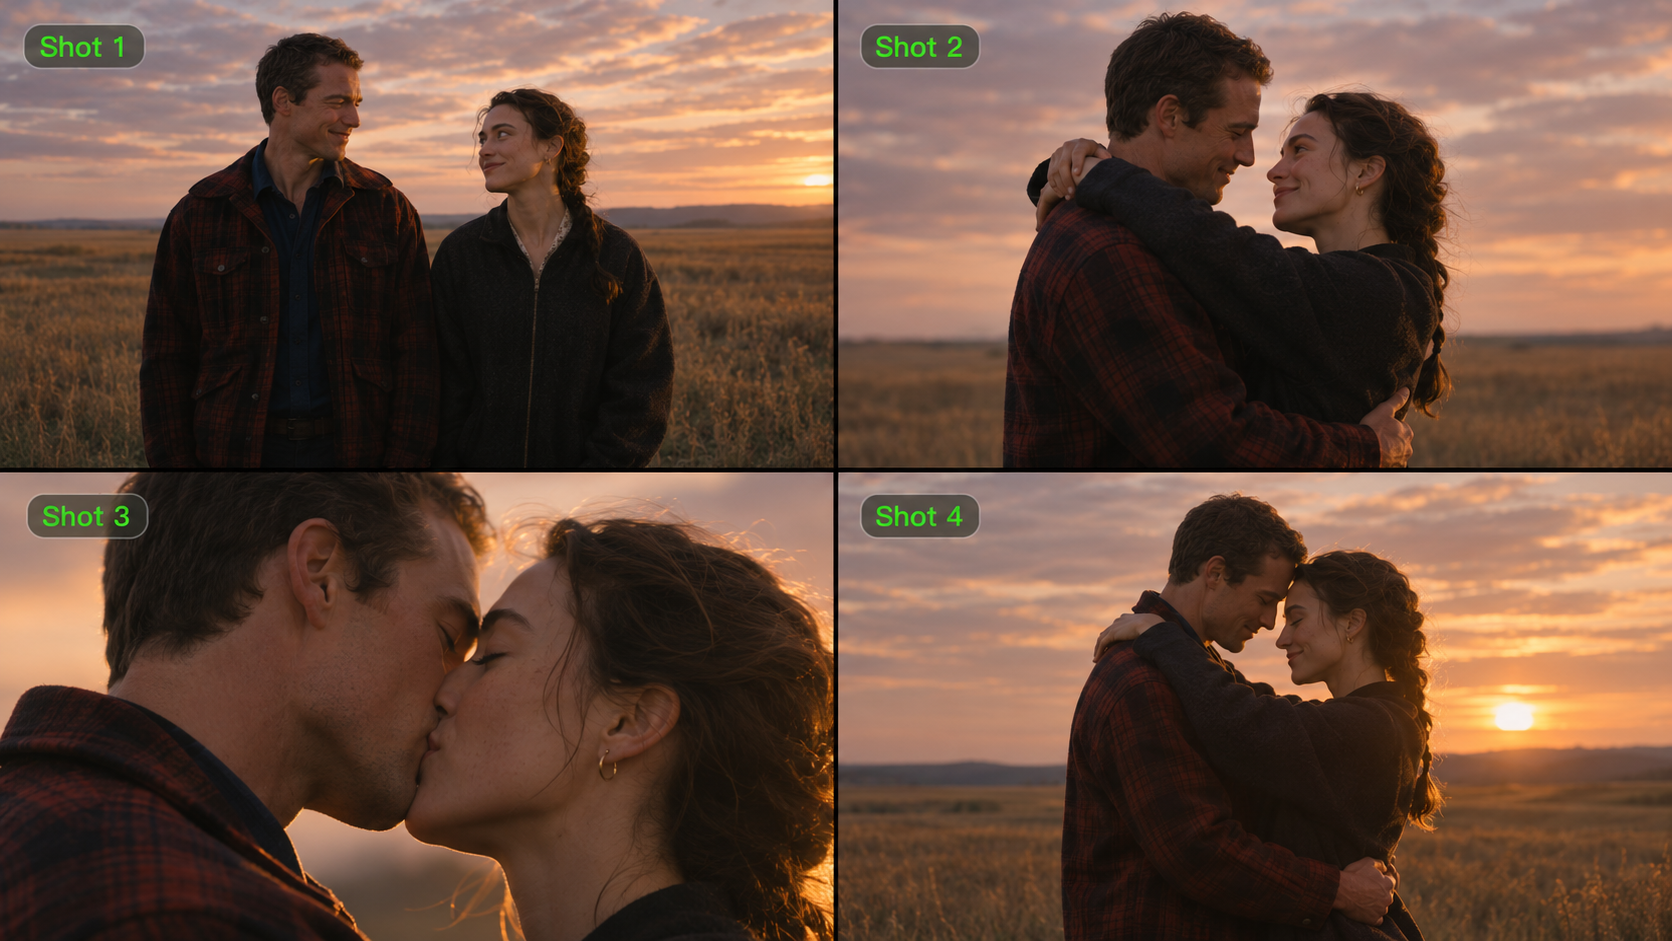
The video production process has three core phases: pre-production, production, and post-production. You plan the story, create the footage, then shape it into a finished video. Each phase gives the next one something clear to work with. From the first idea to the final cut, a little structure leaves more room for creativity. This guide walks through each stage and shows how AI video generation tools can help make video production more efficient.
Pre-Production: Plan Your Video Production Process
Pre-production gives your video its direction before filming or generation begins. Settle the creative choices and practical details now, so you can spend production bringing the story to life.
Define the Goal, Audience, and Deliverable
Choose who the video is for, its main message, and where it will appear. Agree on the intended length and format so everyone is working toward the same finished piece. For a corporate video production process, clarify whether the goal is to introduce a product, explain a service, or share a company update.
Turn the Message into a Script and Shot Plan
Write the script, then map it into storyboard panels and a shot list. Give each shot a purpose, whether it introduces an idea, shows a detail, or connects two moments.
Prepare References and Agree on Review Points
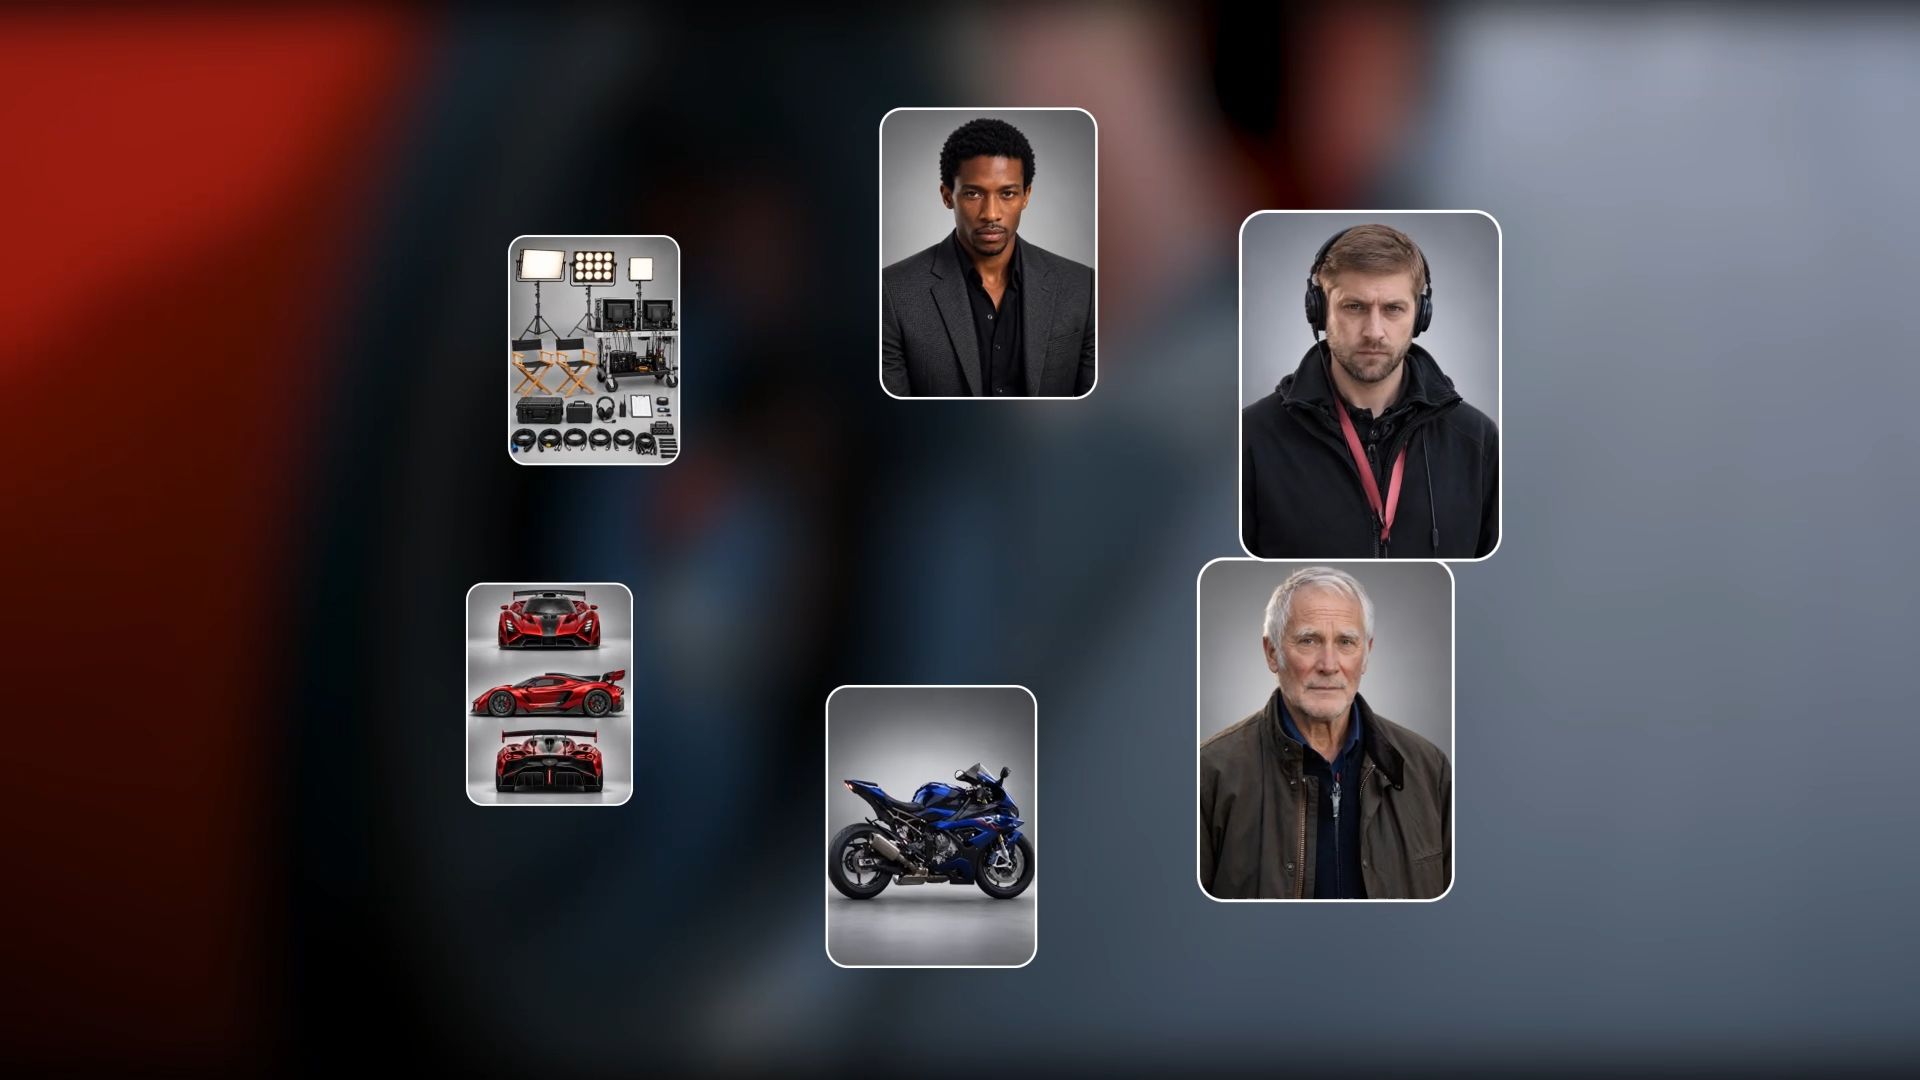
Gather character, product, location, and style references. For traditional filming, coordinate people, equipment, locations, and schedules. For AI-assisted production, prepare clear visual references that show the subjects and details you want to preserve. Confirm who approves the script and visuals. Your brief, shot plan, and organized references are ready for production.
Production: Create Footage More Efficiently
Production turns your video plan into the footage your story needs. Traditionally, this involves setting up cameras, lighting, and sound equipment, directing performers, and filming planned shots on location or in a studio. This approach remains essential when capturing real people, products, or events.
Today, AI video production offers another way to create or test scenes without filming every shot. At Kling AI, our AI video production platform helps creators generate new footage and edit existing videos with AI. Our latest video generation and editing model, Kling 4.0, supports Omni Reference with up to 15 combined reference assets to guide subject consistency, actions, and camera movement. More stable complex motion and 3–30-second video generation help turn your production plan into footage you can review and refine.
Turn Text and References Into Moving Scenes
When the scene begins as an idea, text to video AI lets you describe it directly. Name the subject, what happens, where it happens, and how the camera sees it. A wide view can establish the setting; a close-up can make a small product detail easy to understand. Give each request a clear visual job.
When you already know the look, an image to video AI workflow carries a prepared visual into motion. Kling 4.0’s Omni Reference also combines images, videos, and subject references to guide appearance, movement, camera work, and style. It accepts up to 15 combined reference assets, subject to individual input limits. Give each asset a role, such as preserving the product’s shape or following a reference video’s camera path.

Direct the Action and Camera Movement
Movement should help viewers notice what matters. A gentle push-in can draw attention to a hand opening a package. A tracking shot can follow someone through a workspace, revealing the environment as they move. Describe the subject’s action and the camera’s response together so they work toward the same idea.
Kling 4.0 delivers more stable dynamic motion during large movements, rapid actions, and complex physical interactions. Stronger camera direction supports tracking, orbiting, and changes in shot scale with better continuity. Give the action a physical progression: the person reaches, makes contact, lifts, and settles the object. These visible details give the model clearer direction than an instruction such as “make it cinematic.”
References Image | References Video | Generated Video |
| 
| 
|
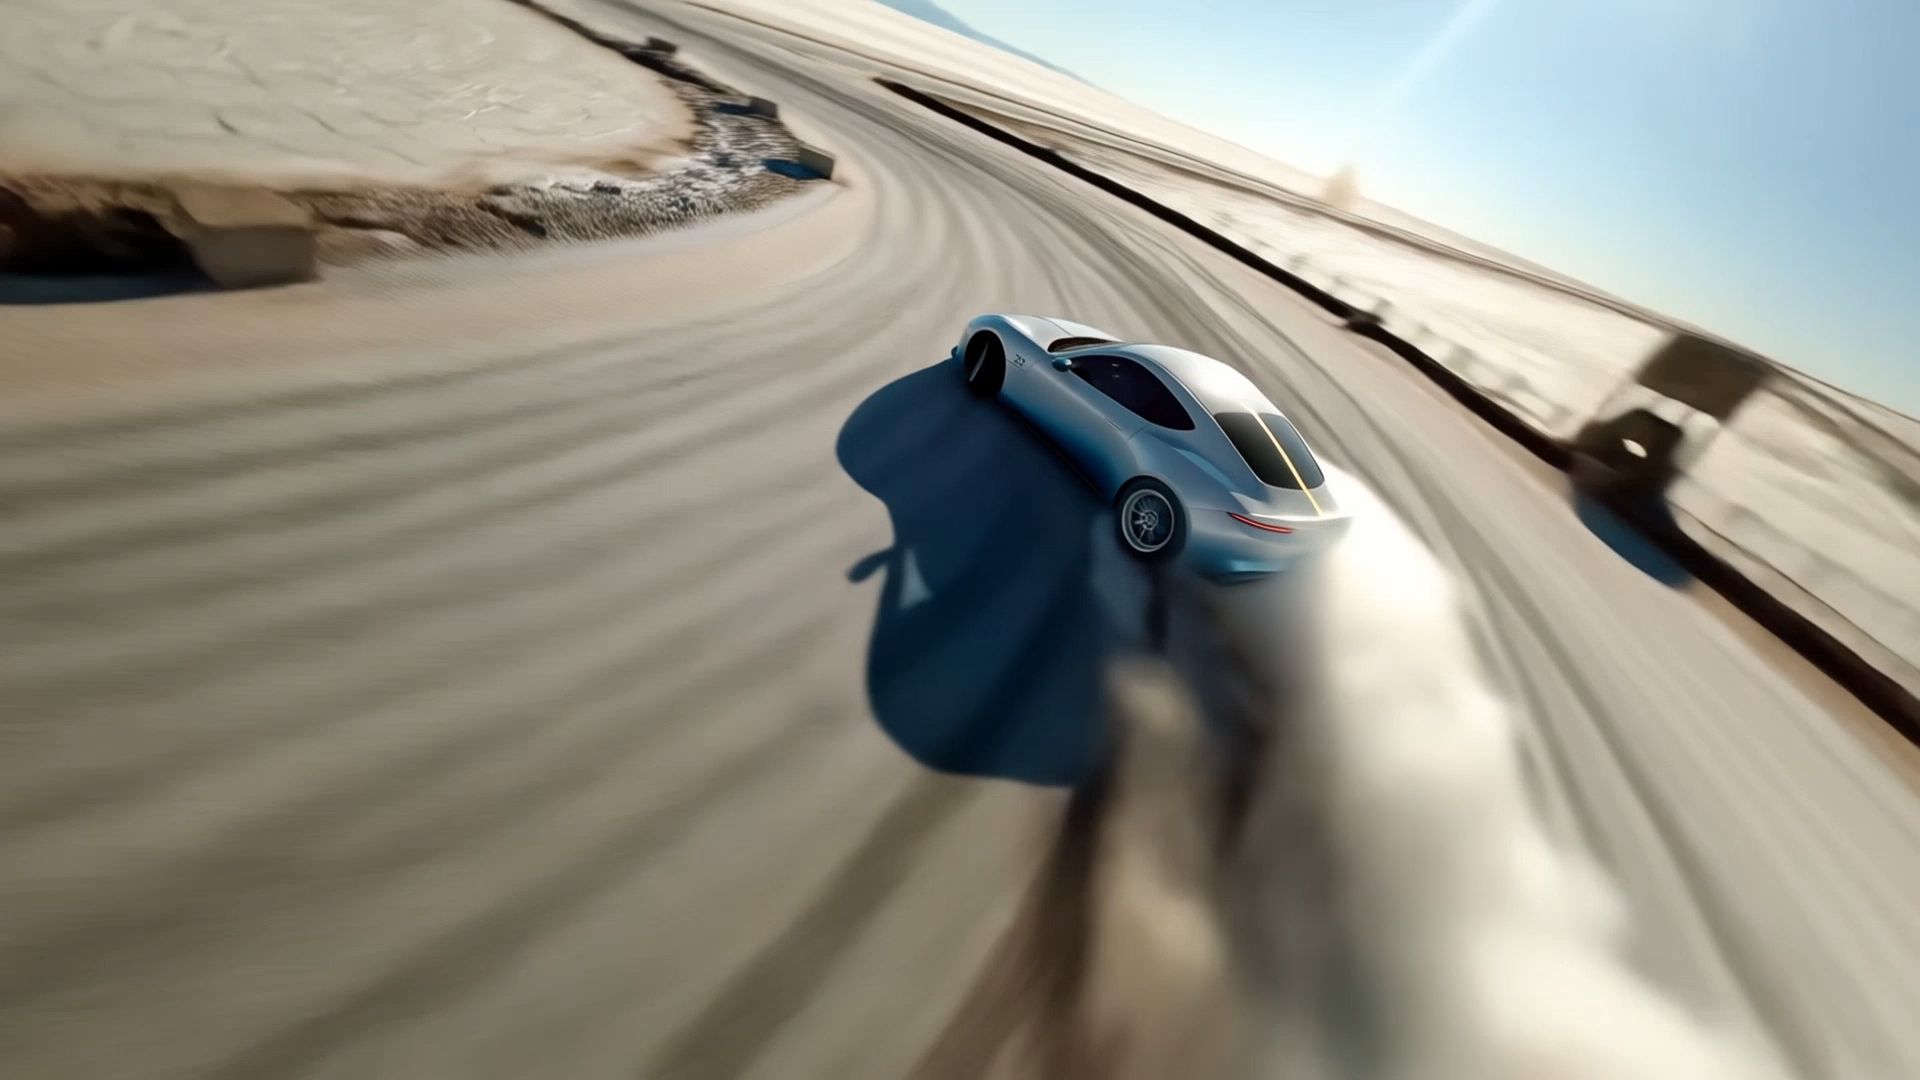
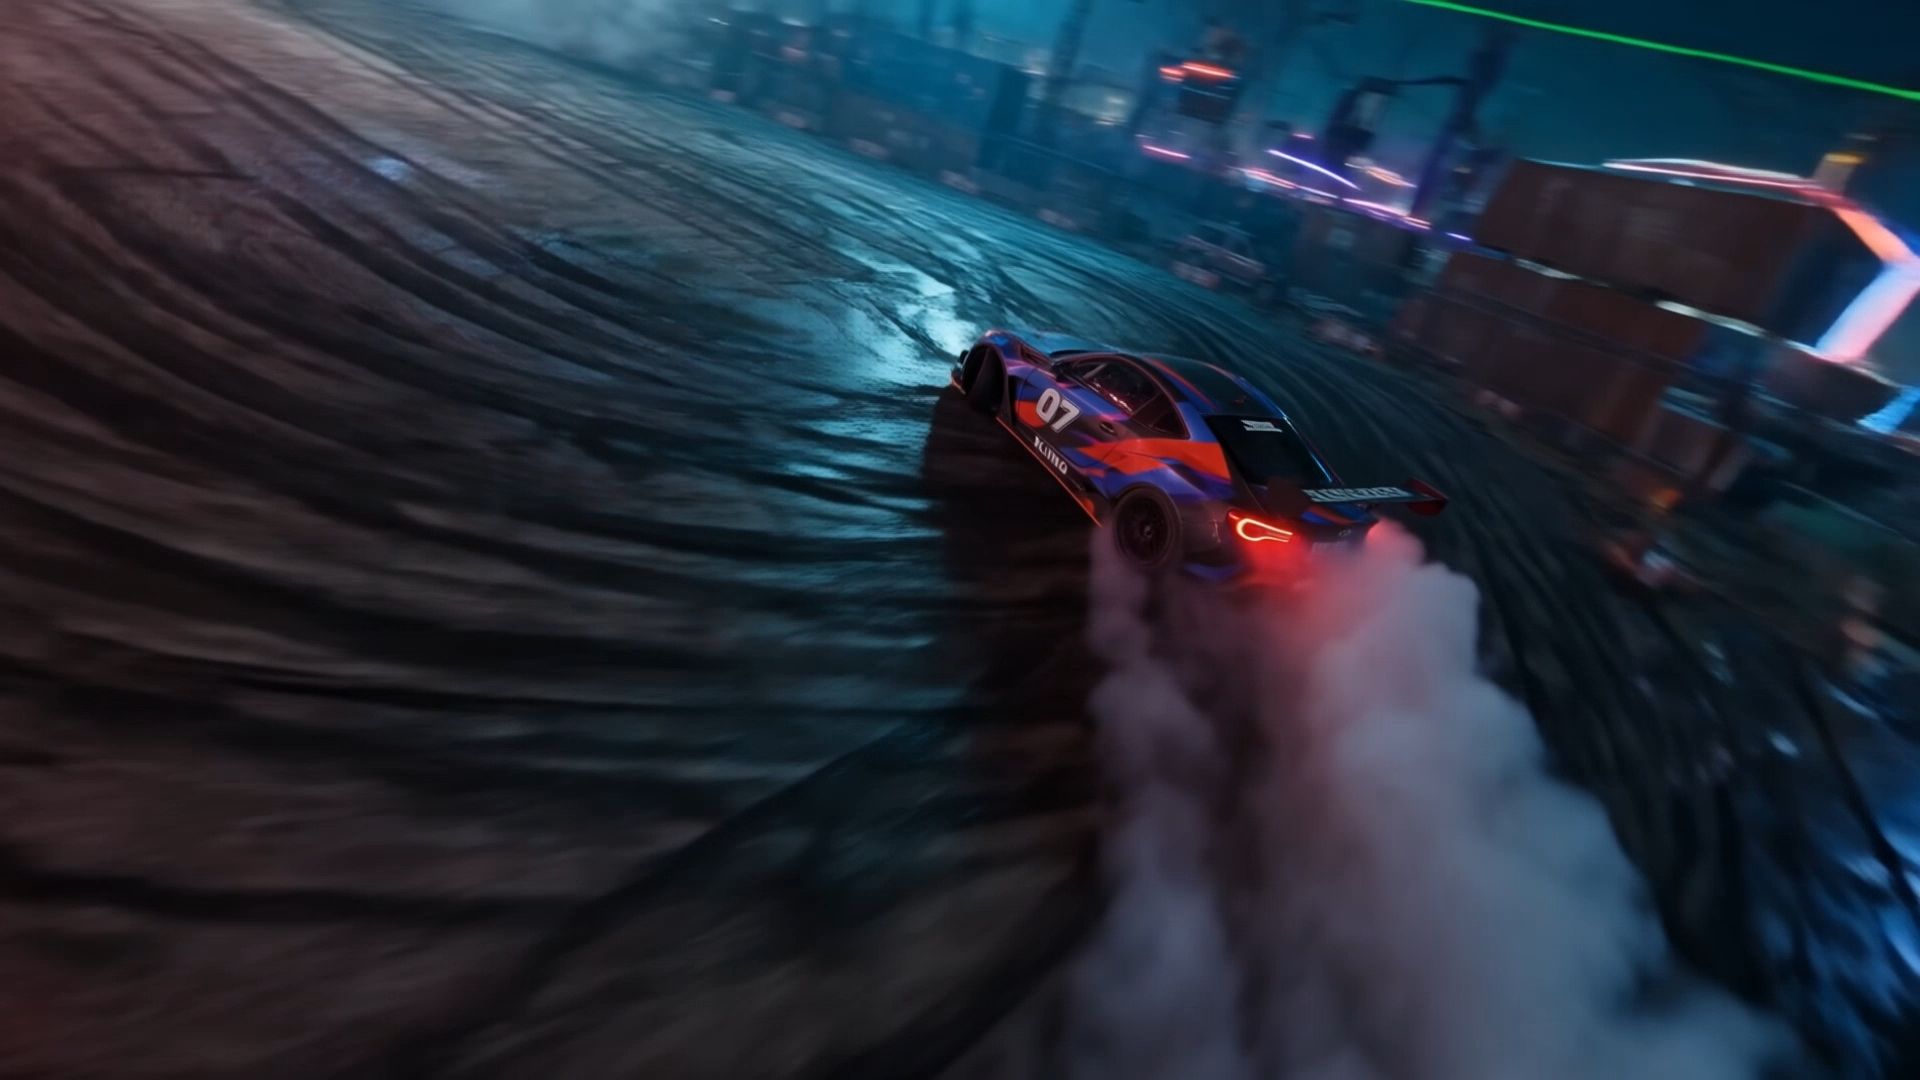
| Prompt: Use @Video 1 as the reference for camera movements and shot pacing. Replace the Element with the car from @Image 1 and the background with @Image 2. | ||

Give Each Story Beat Room to Develop
Kling 4.0 supports 3–30 seconds per generation, giving each action room to unfold. A product reveal may need a brief pause before a close-up, while a continuous walkthrough needs time for the camera to move. Within Omni Reference, up to 10 images can serve as keyframes to guide important story moments. Multi-shot generation is enabled by default, helping organize shots and pacing; you can also specify shot order, framing, transitions, and details that should remain consistent across cuts.
Before moving into post-production, compare each take with your shot list. Does it capture the main action, supporting details, and a clear beginning and ending?
Post-Production: Shape the Footage Into a Finished Video
Post-production brings the selected footage into a coherent sequence. This is where you check the story’s rhythm, refine visual details, and prepare the version your audience will see. Good individual clips become more useful when they connect clearly.
Refine Visual Details Through Prompts
To refine a distracting background, an incorrect product, or a mismatched style, describe the change and the details to preserve. Kling 4.0 uses prompts and visual references to generate an updated version. Review the new take beside neighboring shots, checking recurring subjects, lighting, and color mood so the revised shot still belongs in the sequence.
Reference Video | Generated Video |
 | 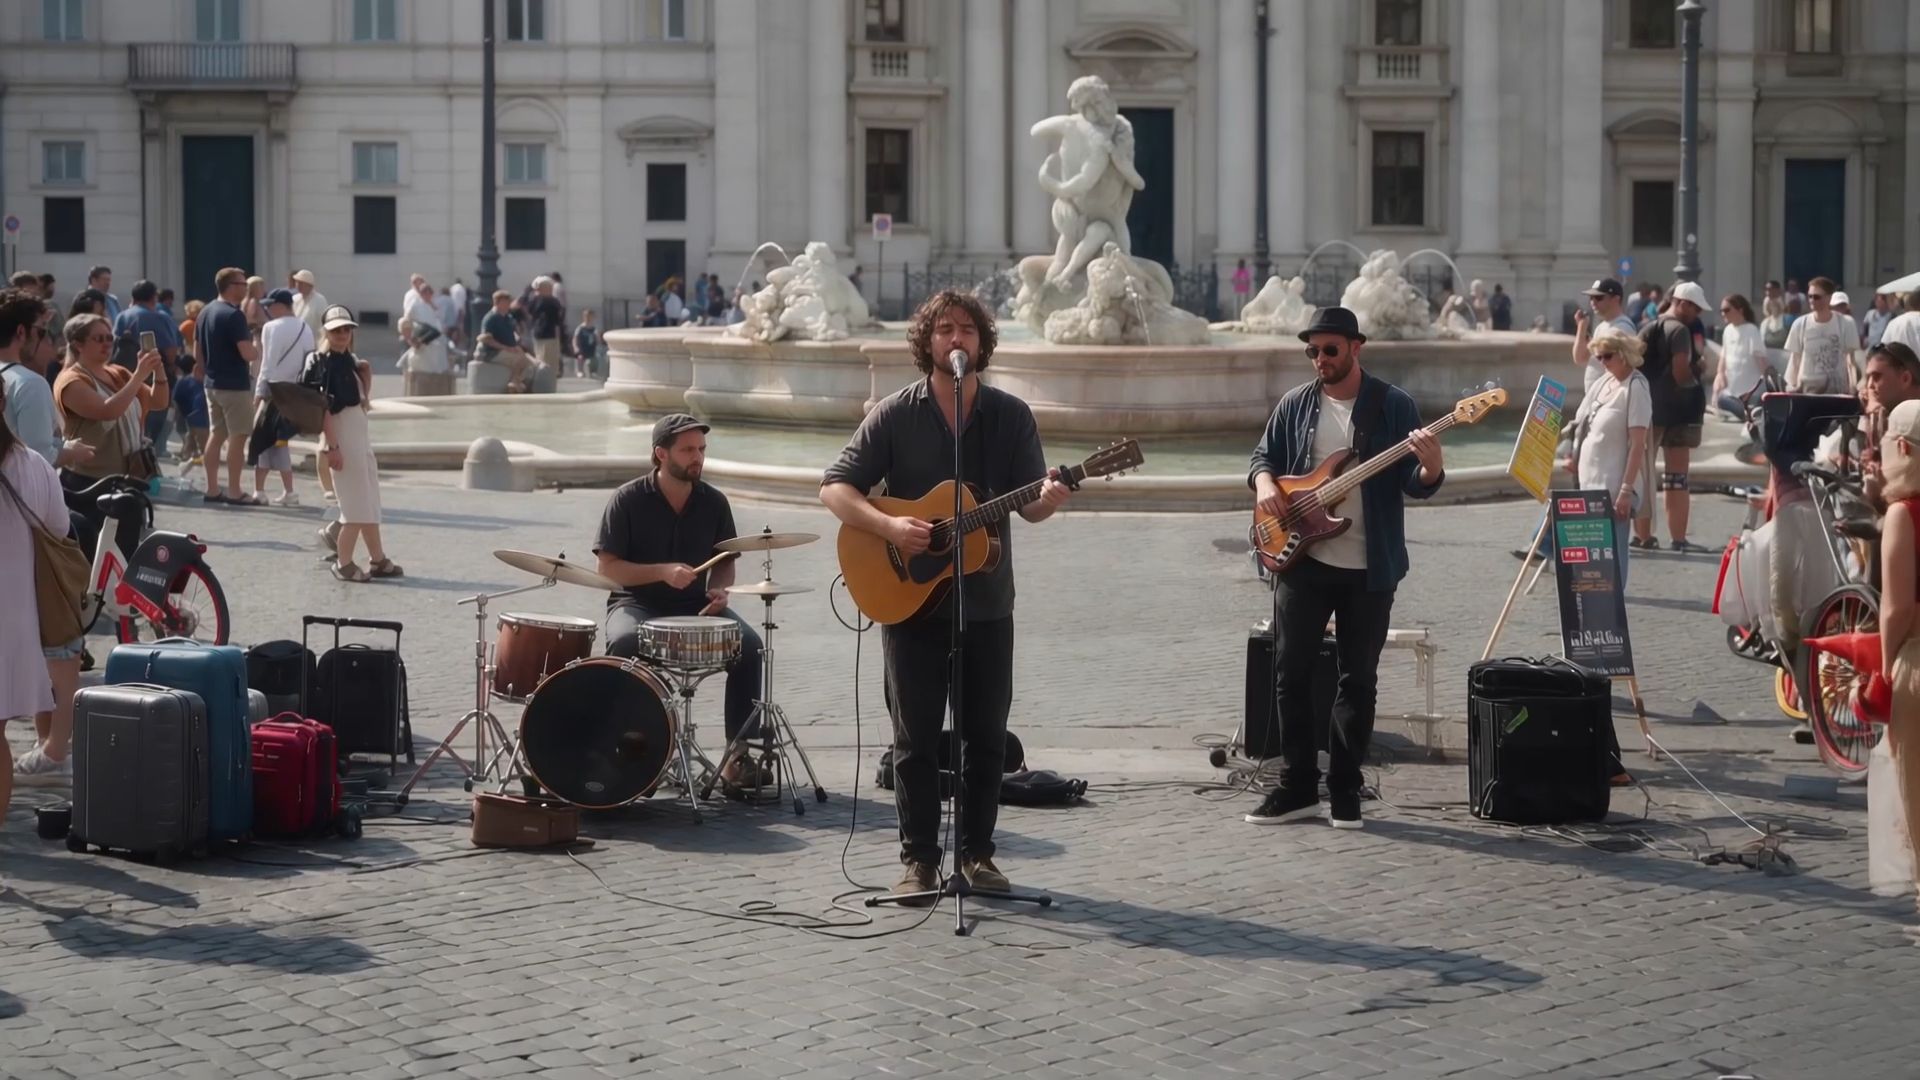 |
| Prompt: Edit @Video 1 to remove the foreground person. Keep everything else unchanged, including the background, other subjects, camera movement, lighting, composition, and video duration. Seamlessly reconstruct the areas previously obscured by the person, ensuring natural, consistent details with no visible artifacts. | |
Select the Takes and Build the Sequence
Start with the script and choose the take that best serves each moment. Watch the sequence for repeated information, missing connections, or a shot that ends before its action is clear. A quieter take may fit the surrounding footage better than a more dramatic one.
Kling’s Continuous Timeline Creation lets you preview, edit, add materials, and insert new content at different points on the same timeline. Use it to bring selected clips together and continue developing the sequence. The 30-second limit applies to an individual Kling 4.0 generation, not to the entire story you can build from multiple clips.
Check On-Screen Text and Prepare Delivery
Review the words the audience needs to read, including titles, product names, and closing messages. Kling 4.0 supports multilingual on-screen text generation. Specify the wording, placement, and timing for its appearance, then inspect spelling and readability in every language version. For an explainer video production process, a label that arrives at the right moment can make an unfamiliar idea easier to follow.
How to Create a Video with Kling AI
Once your brief and references are ready, keep the hands-on workflow simple. These three steps take you from prepared materials to a result you can review and develop further.
Step 1: Choose Kling 4.0 and Add Your Materials
Open Video Generation and choose Kling 4.0. In Omni Reference, upload the character, product, scene, or movement references your shot needs. Use clear materials that show the details you want to preserve. If you have no reference assets, you can start directly from text and continue to the prompt.
Step 2: Write a Prompt That Matches Your References
Explain each uploaded asset’s role, then describe the subject, action, setting, camera movement, lighting, and pacing. Match the prompt to your references. For multiple shots, specify the order, transitions, and details that should stay consistent.
Step 3: Generate, Review, and Finish
Choose the duration, aspect ratio, and available resolution, then generate. Check the result against the shot plan and refine the reference or instruction responsible for anything that feels out of place. Once the shot works as intended, export the version you want to share.
Conclusion
A clear video production process connects decisions from the first brief to the final review. Pre-production gives the project direction, production creates the footage, and post-production brings the pieces together. Kling AI helps you carry that plan into moving images with references, shot direction, and room to refine. Start with a message you care about, give each shot a purpose, and let the sequence take shape. The same workflow can support different content formats, from video ads and animated videos to engaging short videos for social platforms.
FAQs
What Are the Three Stages of Video Production?
The three core stages are pre-production, production, and post-production. Pre-production establishes the goal, script, shot plan, and materials. Production creates the footage through filming or generation. Post-production selects and organizes the takes, refines the visuals, and prepares delivery. Some workflows list distribution separately, but the three stages remain a useful foundation for planning the work.
What Should Be Included in Pre-Production?
Pre-production should include the video’s goal, audience, key message, script, storyboard or shot list, references, schedule, and approval responsibilities. Live shoots also require coordination of people, equipment, and locations. For AI generation, prepare clear assets and decide which details must stay consistent. The aim is to give production an agreed direction and usable materials.
How Does AI Fit Into Video Production?
AI in video production can help turn a script and references into footage, explore visual directions, and revise generated scenes. Kling 4.0 supports text-based creation, Omni Reference, more stable dynamic motion, and clips up to 30 seconds. People still choose the message, approve the materials, and review whether the finished sequence communicates what they intended.
How Is an AI Video Generator Different From an AI Video Editor?
An AI video generator creates new footage, while an AI video editor works with existing footage to make changes. In Kling 4.0, video revisions use prompts and visual references to generate an updated version of a shot. Describe the subject, background, or style to change, along with the details you want to preserve.
Can I Make a Video Longer Than 30 Seconds with Kling AI?
Yes. You can build a longer video from multiple clips using Kling’s Continuous Timeline Creation; 30 seconds is the maximum duration of one Kling 4.0 generation. This is different from continuing an existing clip with an AI video extender.