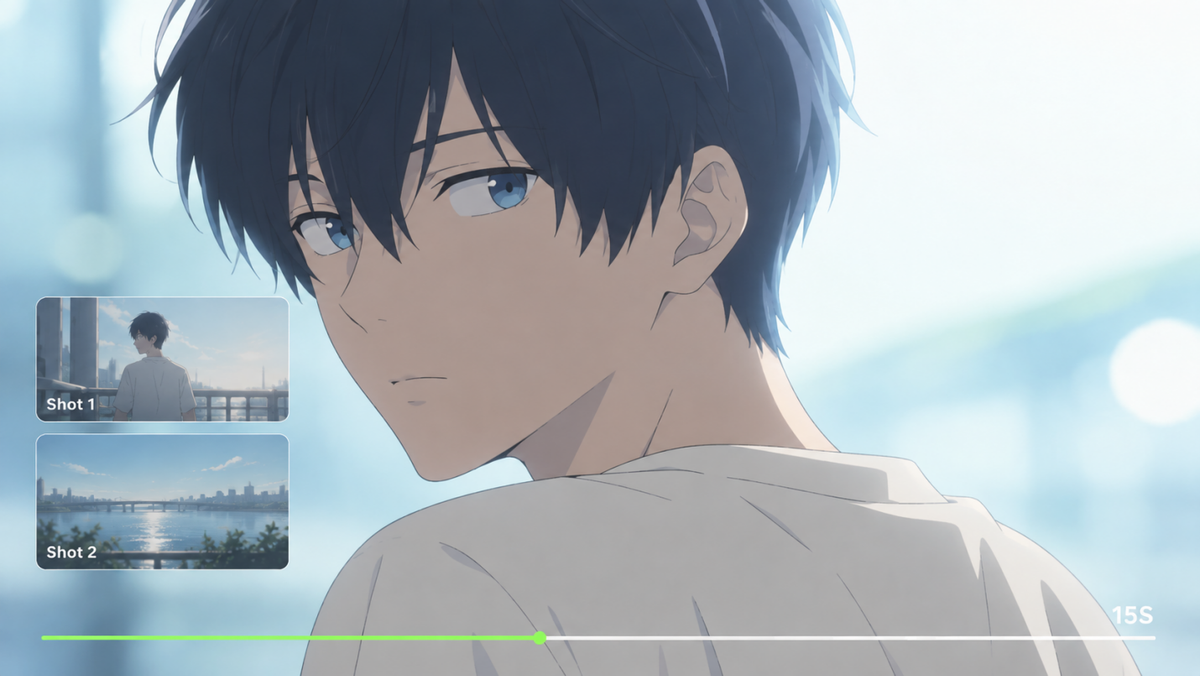
The best AI animation generator depends on what your scene needs: a recognizable character, an expressive performance, or a new look for existing footage. This guide compares six tools for those creative tasks, then shows how to build an animated scene with Kling AI and refine its movement, dialogue, and camera direction.
6 Best AI Animation Generators Compared
Every animated story begins with a spark. These six leading AI video generators offer different ways to bring yours to life. Start with a quick comparison, then explore each tool’s creative strengths and the kinds of projects it suits.
Tool | Best For | Starting Material | Relevant Capabilities |
Kling VIDEO 3.0 Omni | Original character stories with dialogue | Text, images, character elements | Text-to-video, image-to-video, character references, voice binding, and native audio |
Runway | Performance-driven character animation | Character references and performance footage | Performance transfer and video production tools |
Vidu | Animating established character designs | Character, object, and scene images | Reference-to-video and image-to-video generation |
Luma Dream Machine | Reimagining existing footage | Source footage and visual references | Video modification guided by an existing performance |
PixVerse | Short social animations and visual effects | Text, images, and effect inputs | Video generation, transitions, and effects |
Adobe Firefly | Animation within a broader design workflow | Text prompts and still images | Animated clip generation and creative production tools |
Kling AI: Character Animation with Dialogue
Give your character a story to step into. Kling AI’s ai video generator turns text and images into animated scenes, from a curious mascot’s first adventure to a quiet exchange between illustrated friends.
With Kling VIDEO 3.0 Omni, you can upload character references, build reusable Elements, and bind a voice to a character. Reference inputs help preserve a character’s visual identity, while a voice bound to a character Element can keep that character sounding familiar across scenes. Native Audio can then generate dialogue, sound effects, and atmosphere together with the visuals.
For more structured storytelling, Multi-Shot can organize multiple shots within one generation, while Custom Multi-Shot gives creators shot-level control over duration, framing, viewpoint, action, and camera movement. VIDEO 3.0 Omni supports 3-15 second generation, giving animated performances, conversations, and scene transitions more room to develop without building every moment as a separate clip
Runway: Performance-Driven Character Animation
A raised eyebrow. A hesitant wave. Runway suits animation that begins with a performance. Its Act-Two workflow uses a character reference and recorded footage to transfer movement, speech, and expression.
This gives creators a direct way to shape an animated reaction or dialogue moment: act out the feeling, then use that performance to guide the character’s timing and gestures.
Vidu: Reference-Based Character Animation
Your character is drawn. Now, imagine what happens next. Vidu’s Reference-to-Video workflow uses character, object, and scene images to guide generation, while Image-to-Video adds movement to a still.
This makes it relevant to illustrators and teams working with established artwork. A consistent set of references gives the animation a clear visual starting point, ready for a new gesture, setting, or scene.
Luma Dream Machine: Creative Video Restyling
Keep the performance. Reimagine the world around it. Luma Dream Machine’s Modify workflow uses existing footage as the foundation for a new visual treatment.
A filmed gesture can become the starting point for a different character or setting. This approach suits creators who already have the movement they want and would like to explore how that moment could look in another visual world.
PixVerse: Social Animations and Visual Effects
A playful transformation or an unexpected reveal can give a short animation its whole story. PixVerse combines text- and image-based video generation with effects and transitions for these visually driven moments.
It suits social clips built around one clear idea. Begin with a recognizable subject, give it a surprising change, and let the final image leave an impression.
Adobe Firefly: Animation Within a Design Workflow
Let an illustration move or a product drift into view. Adobe Firefly turns prompts and still images into animated clips, making motion part of a broader visual design process.
It suits designers extending campaign concepts, product imagery, or presentation assets into animation. Start with an established look, then explore movement that complements its composition, mood, and creative direction.
Which AI Animation Generator Is Best for Your Use Case?
Let your starting point guide the choice. A performance you have filmed calls for motion transfer. Footage with the right action but the wrong look calls for restyling. A campaign built around finished artwork benefits from a design-focused workflow.
If you have a character and a story still waiting to happen, start with Kling VIDEO 3.0 Omni. It is our recommended choice for developing original animated scenes from text, images, or character references, especially when you want connected shots, dialogue, and recurring characters. Begin with one small moment, explore how it plays, and build the next scene from there.
How to Make AI Animation with Kling VIDEO 3.0 Omni
Build your first scene in three stages: prepare its inputs, describe the performance, and refine the generated result.
Step 1. Add Your Images and Character References
Open Kling AI and select VIDEO 3.0 Omni. If you already have character artwork, use image to video ai as your starting point. Add the relevant reference images and any character Elements you intend to reuse.
If your character needs a familiar voice, bind a voice to its character Element during setup, ready to use in scenes with dialogue.
If you are starting with an idea alone, use text to video ai. You can describe the scene without uploading an image.
Step 2. Write the Action, Camera, and Dialogue
Describe what the audience should see and hear. Include the character’s main action, the setting, the visual style, the camera behavior, and any short dialogue.
For a multi-shot scene, use Multi-Shot or Custom Multi-Shot to organize the sequence. With Custom Multi-Shot, you can define each shot’s duration, framing, angle, action, and camera movement while keeping character references consistent across the sequence.
Step 3. Generate, Review, Refine, and Export
Generate the animation and watch the available results from beginning to end. Choose the version that most closely matches your intended performance, then check the character, movement, dialogue, and ending.
If a local visual detail needs work, use a targeted edit where supported. For example, adjust a distracting background or remove an unwanted object. If the main action is wrong, revise that instruction and generate another version. Review the change before making further adjustments.
Once you are satisfied, finish the clip and download the final video.
Element/Reference Image | ||
.png?x-oss-process=image/resize,w_1872) | .png?x-oss-process=image/resize,w_1872) | .png?x-oss-process=image/resize,w_1872) |
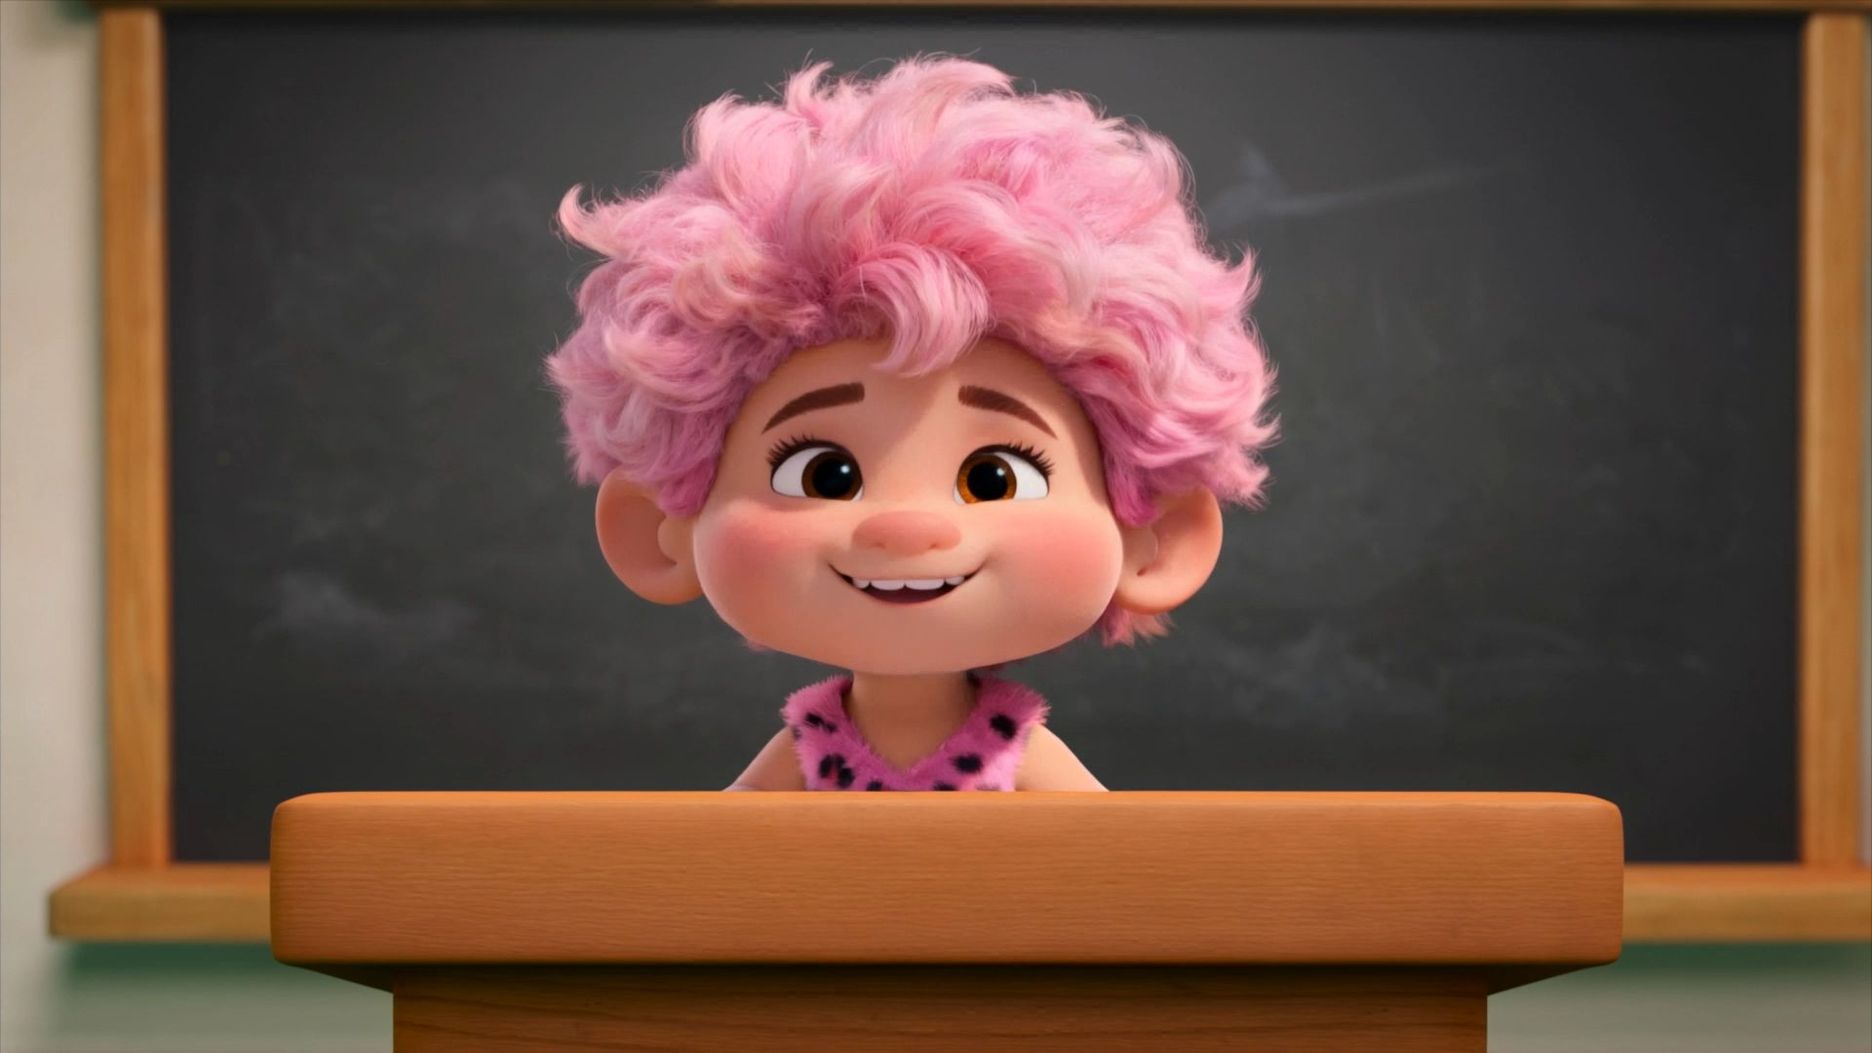
| Prompt: @Explorer is live, welcoming everyone to her world. She says, "Do you know what the most interesting thing in the world is? It's going on an adventure with me! The next stop is the Atlantic Ocean!" Cut to a panoramic view of the Atlantic, where @Explorer is steering through a storm. | ||
Generated Video | ||
  | ||
Tips for More Expressive AI Animation
A small gesture can tell a whole story. Give your scene a clear focus, let the movement breathe, and use the camera to draw attention to what matters.
Give Each Shot One Clear Action
Start with a moment the audience can easily follow: a character notices a light, reaches for a letter, or turns toward a friend. Let that action finish before adding another.
Describe visible behavior rather than an abstract feeling. “She looks up with surprise, smiles, then rushes forward and grabs the vine” gives the scene more direction than “she feels excited.”
Video |
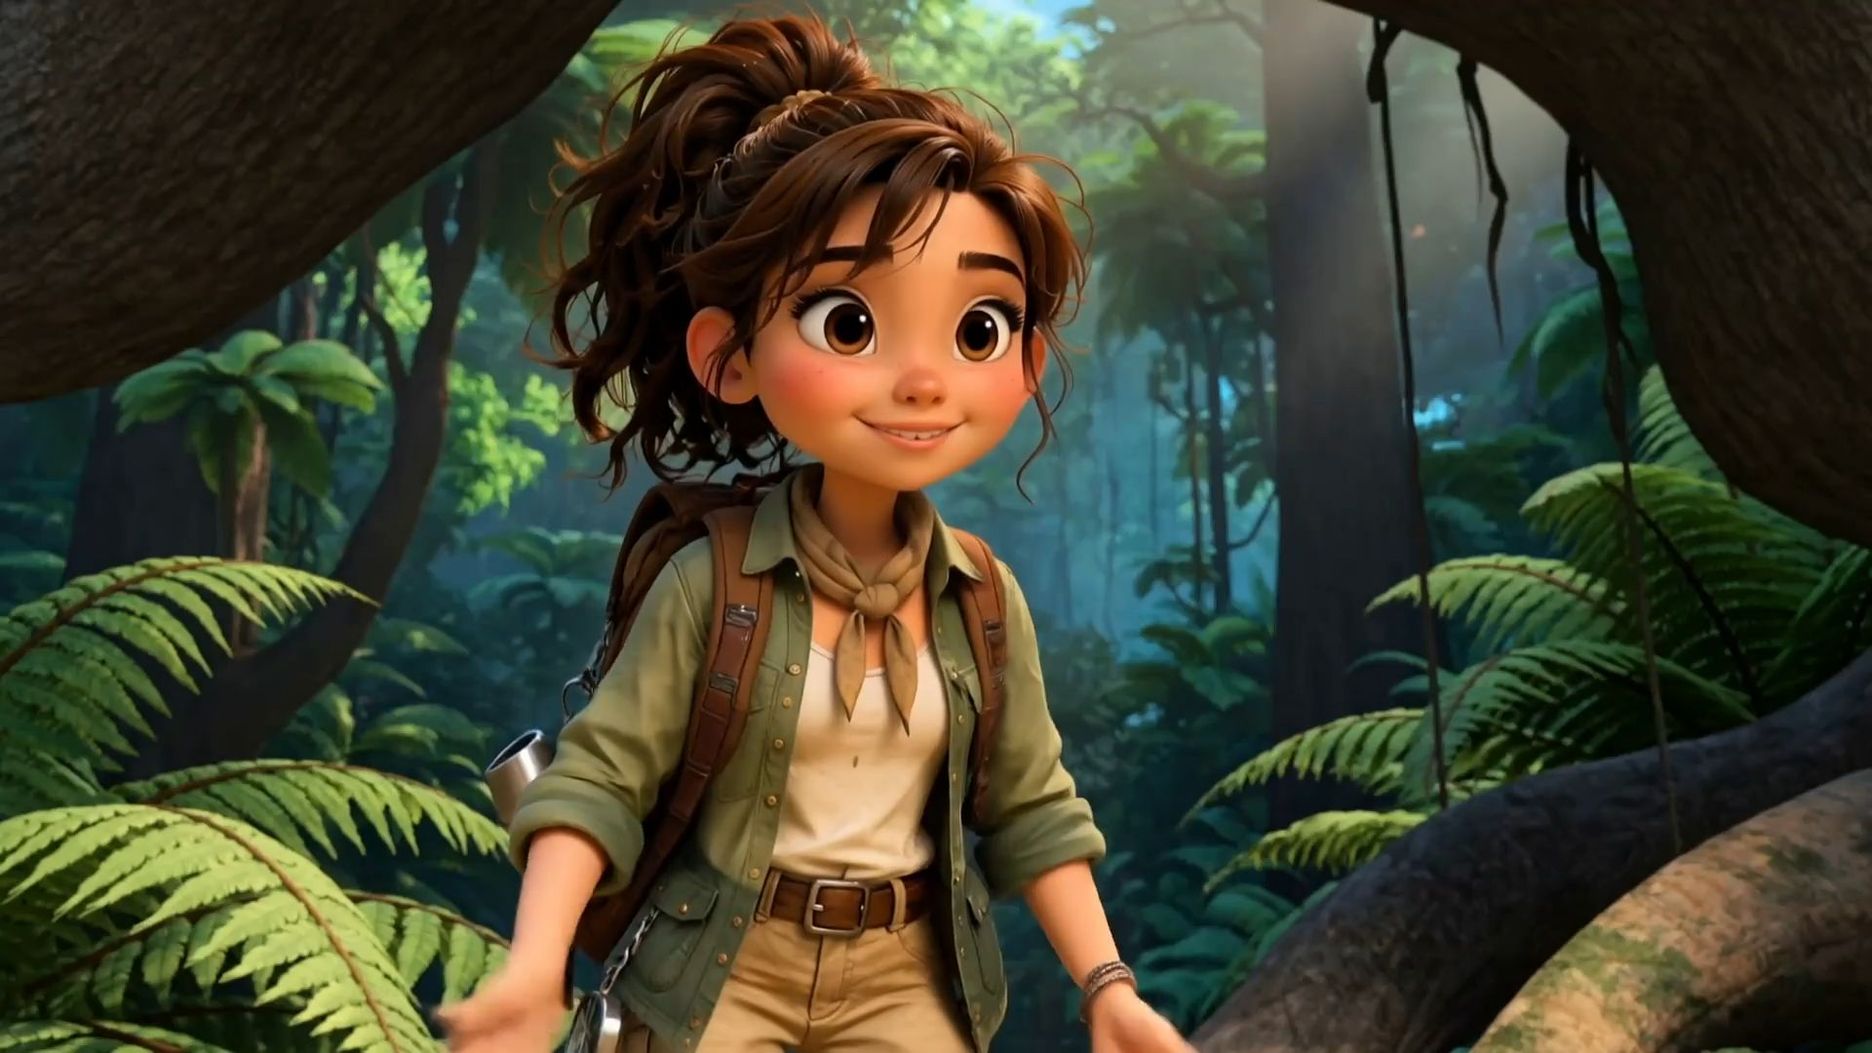 |
Prompt: Create a cinematic 3D animated adventure scene set in a lush tropical jungle. Shot 1: Begin with a medium close-up of a young female explorer standing beneath huge tree branches and surrounded by dense green ferns. She has messy brown hair tied loosely back and wears a practical khaki adventure outfit. Keep the camera mostly steady as she reacts expressively to something off-screen: she smiles with curiosity, briefly looks surprised, lowers her gaze, then looks up again with growing excitement. Her facial expressions and subtle head movements should feel lively and natural. Near the end of the shot, she straightens her posture and places her hands confidently on her hips. Shot 2: She suddenly rushes forward toward the camera, creating a fast burst of motion blur. Cut to a dynamic action shot above a rushing jungle river, where she grabs a hanging vine with both hands and swings across the foaming water. Her body arcs naturally with the momentum, legs trailing behind as the camera follows her movement. A large waterfall and rocky jungle landscape fill the background, with strong depth and energetic water motion. Shot 3: As she swings out of frame, transition into a wide establishing shot of the jungle waterfall. Hold briefly on the empty landscape: cascading water, mist, rocks, dense tropical foliage, and warm sunlight filtering through the trees. End on this calm scenic view. Smooth character animation, expressive body language, adventurous family-animation tone, cinematic depth of field, natural motion blur, detailed tropical environment, consistent character appearance throughout. |
Let the Camera Follow the Story
Choose the framing around what the viewer needs to see. A wide shot gives an action room to unfold. A close-up draws attention to a glance or a quiet reaction.
Add camera movement with a purpose. Try a slow push-in as a character discovers something, or hold the camera still while a gesture takes center stage. One clear camera instruction is a useful starting point.
Give Movement Time to Breathe
Include a little anticipation before the main action and a moment of stillness afterward. A character might lean forward before taking a step, then settle into a relaxed pose.
For anime-style scenes, a held expression or a gently moving sleeve can carry the mood. Let the most meaningful movement lead, with smaller details supporting it.
Keep Your Character References Consistent
Choose reference images that agree on clothing, proportions, colors, and defining features. If you reuse a character Element, keep that asset consistent as you explore new settings and actions.
Check the small details when reviewing a result. A familiar silhouette or a distinctive accessory can matter as much as the face when making a character recognizable.
Use a Performance Reference When Words Fall Short
Some gestures are easier to demonstrate. If a wave, head turn, or reaction needs more specific direction, explore motion control as a separate workflow using a character image and a reference performance video.
Choose clear footage with the movement visible and a pose compatible with your character image. Keep this focused on the performance you want to guide.
Refine One Detail at a Time
Watch the first result for the main action and emotional beat. Then identify one adjustment: a slower gesture, a closer view, or a quieter background.
If the performance works but a visual detail needs changing, consider a targeted adjustment with the ai video editor. Review each change before moving on, giving the parts you already love room to stay.
Conclusion
The best AI animation generator gives your imagination room to move. With Kling VIDEO 3.0 Omni, start with a character, shape a gesture, and give a moment its voice. Build your first scene, refine the details that matter, and see where the story takes you.
FAQs
What Is the Best AI Animation Generator?
For original character scenes with dialogue, Kling VIDEO 3.0 Omni is our recommended starting point. The right choice still depends on your source material and intended workflow. Compare whether you need to generate a new scene, animate existing artwork, transfer a recorded performance, or modify footage before choosing a tool.
What Is the Difference Between an AI Anime Video Generator and an AI Anime Art Generator?
A best AI anime art generator search usually focuses on creating still character artwork, while an AI anime video generator focuses on movement, camera direction, timing, and animated storytelling. You can create or prepare character artwork first, then bring it into Kling’s image-to-video workflow for animation.
Can AI Animate a Still Image?
Yes. Image-to-video tools can turn a still image into a moving clip guided by a prompt. Start with a clear subject and describe a specific action, such as a head turn or a gentle wave. Keep the first attempt simple so you can assess movement and character stability before introducing more complex camera direction.
Can I Create AI Animation Without Drawing Skills?
Yes. You can begin with a written scene description or use existing visual assets that you have permission to use. Drawing skills are not required for text-to-video generation. You will still make creative decisions about character appearance, staging, movement, and timing, and may need several iterations to achieve the intended result.
Can AI-Generated Characters Speak?
Yes. Models with native audio capabilities can generate speaking characters, although availability depends on the selected model and input workflow. In Kling VIDEO 3.0 Omni, character voice features support planning dialogue around recurring characters. Write short, clearly attributed lines and review the generated speech, facial movement, and pacing together.
How Can I Keep the Same Character Across AI-Generated Clips?
Reuse a consistent character reference or Element rather than rebuilding the character from a new description each time. Keep clothing, proportions, and identifying details aligned across your source material. Change the action and setting deliberately, then review each clip for continuity before combining it with the rest of the sequence.