Make the smallest complete film you can execute well. A focused five minute story with clear sound will usually feel more professional than a crowded twenty-minute project. Lock the ending, plan every shot, record clean audio, and leave enough time for editing before you schedule a release.
What Is a Short Film?
A short film is a complete motion picture that develops and resolves one focused idea within a limited runtime. It can be narrative, documentary, animated, experimental, or a mixture of formats. Length matters, but completeness matters more. A short should create a deliberate viewing experience with a beginning, development, and result. It should not feel like an unfinished feature, a random collection of shots, or a scene that stops before its central question changes.
The format rewards precision. A feature can carry several character arcs, locations, and subplots, while a short usually works best with one main dramatic line. Every scene must change the situation, reveal character, increase pressure, or prepare the ending. If a scene does none of those jobs, remove it. This economy makes a short film useful for practicing craft, building a portfolio, testing a larger concept, or presenting a story that only needs a few minutes.
What Makes a Short Film Worth Watching?
Four qualities do most of the work: a clear dramatic question, visual communication, credible sound and performance, and an ending that arrives at the right moment. Use them to test the concept before production and the finished cut before release.
A Clear Dramatic Question
Give viewers one question they can understand early. Will the character confess, escape, win trust, complete the task, or accept a loss? The question creates forward movement. The film can still be subtle, but the audience should know what matters and why the next moment deserves attention. A vague mood without a changing situation rarely holds an entire short.
Visual Storytelling
Show decisions through action, framing, objects, distance, light, and reaction before adding dialogue. A locked door, an unanswered call, or a character hiding an object can communicate faster than an explanation. Visual information also crosses language barriers and gives the editor more ways to shape pace. Dialogue should reveal personality, conflict, or subtext instead of repeating what the audience can already see.
Believable Performance and Clean Sound
Viewers will forgive modest images before they forgive unclear dialogue or false emotion. Cast people who can understand the character, listen during a scene, and repeat actions across takes. Record voices close to the source, monitor through headphones, and capture room tone. Performance and sound create trust. Once that trust breaks, expensive lenses, lighting, or effects cannot fully restore it.
A Precise Ending
End immediately after the central situation changes. The final moment may answer the dramatic question, reveal a new meaning, or leave a controlled uncertainty, but it should feel intentional. Avoid explaining the lesson after the audience has understood it. A strong final image or sound often carries more force than another page of dialogue. Test whether removing the last scene makes the film sharper.
Choose the Right Production Approach
Choose the method that serves the story and fits the resources you can control. Live action, generated production, and hybrid production each solve different creative and practical problems.
Live Action Production
Choose live action when human performance, real locations, physical texture, or documentary truth is central to the idea. It gives actors room to create unexpected moments, but it also requires scheduling, location control, sound recording, continuity, releases, and safe working conditions. Reduce risk by writing for places and people you can access, then rehearse the hardest scene before the main shoot.
Animation or AI Generated Production
Choose animation or AI generated video when the story depends on impossible environments, stylized movement, transformation, or a visual world that would be unsafe or too expensive to film. Build a reference guide for characters, color, scale, camera language, and locations before creating final shots. Generate or animate one demanding scene as a test. If identity, motion, or style changes between shots, solve the consistency system before producing the rest of the film.
Hybrid Production
Choose a hybrid approach when real performances should anchor the story but selected shots need visual generation or transformation. You might film dialogue and close performance beats, then use Kling AI for previsualization, transitions, establishing images, or shots that cannot be captured practically. Match aspect ratio, lighting direction, color, camera movement, and sound perspective across all material. A generated shot should belong to the same visual grammar as the footage around it, not interrupt the story to display the tool.
How to Make a Short Film, Step by Step
Follow the sequence from purpose and script through planning, production, post-production, and release. Complete each decision early enough for the next stage to rely on it.
Step 1: Define the Purpose, Viewer, and Runtime
Choose one purpose before you write: practice a skill, tell a complete story, create a proof of concept, enter festivals, or build a directing reel. That choice controls the genre, finish level, budget, and release plan. Name the viewer in one sentence, then choose a target runtime. Although the current Academy rules define a short film as 40 minutes or less including credits, a first film is easier to finish at 5 to 10 minutes.
Step 2: Build One Filmable Idea
Reduce the story to one main character, one urgent goal, one central obstacle, and one meaningful change. Write a logline that names all four. If the idea needs several subplots, a large crowd, many time periods, or effects you cannot test, shrink it. Start with places, props, skills, and performers you can actually access. A strong short does not compress a feature. It captures one decisive event and ends soon after the result becomes clear.
Step 3: Write and Lock the Script
Draft the ending first, then build only the scenes required to earn it. Enter each scene after the routine has begun and leave once its dramatic purpose is complete. Favor visible action over explanations. One screenplay page often equals about one minute on screen, so a 5 to 10 minute target usually needs about 5 to 10 pages. Read the script aloud, collect notes from two or three trusted readers, revise, then lock the version used for budgeting and scheduling.
Step 4: Set the Scope and Budget Together
Your script and budget must agree. Limit a first production to one or two controllable locations, two to four speaking roles, a small crew, and a short shoot. List every expected cost, including cast and crew, equipment, location fees, permits, insurance, art, wardrobe, transport, meals, storage, post production, music, captions, festival fees, and a contingency of about 10 percent. If the total is too high, rewrite before anyone commits time or money.
Step 5: Clear Rights, Consent, and Safety
Get written permission for locations, recognizable people, performances, music, artwork, logos, stock footage, and any adapted source material. The U.S. Copyright Office explains that copyright owners control uses such as reproduction, distribution, and public performance. Use only material you created, licensed, or verified as public domain. Check local permit, labor, drone, weapon, stunt, and minor performer rules. Never trade safety for a shot. Assign one person to stop unsafe work.
Step 6: Break Down the Script and Build the Team
Mark every scene for cast, extras, props, wardrobe, makeup, vehicles, sound needs, effects, location, and time of day. This breakdown becomes the budget and schedule. Group scenes by location, actor availability, lighting conditions, and setup, not story order. A lean crew can combine roles, but every duty must have an owner. At minimum, cover directing and producing, camera and lighting, production sound, art and continuity, and data management. Send a call sheet with addresses, contacts, arrival times, scenes, weather, parking, meals, and safety notes.
Step 7: Previsualize Every Important Shot
Create a shot list with scene number, shot size, angle, movement, action, dialogue, sound, lens choice, and priority. Storyboard complex blocking and transitions. For each scene, plan a master shot, useful medium coverage, close shots for emotion, and inserts for story details. Also note room tone, wild lines, and sound effects that must be captured.
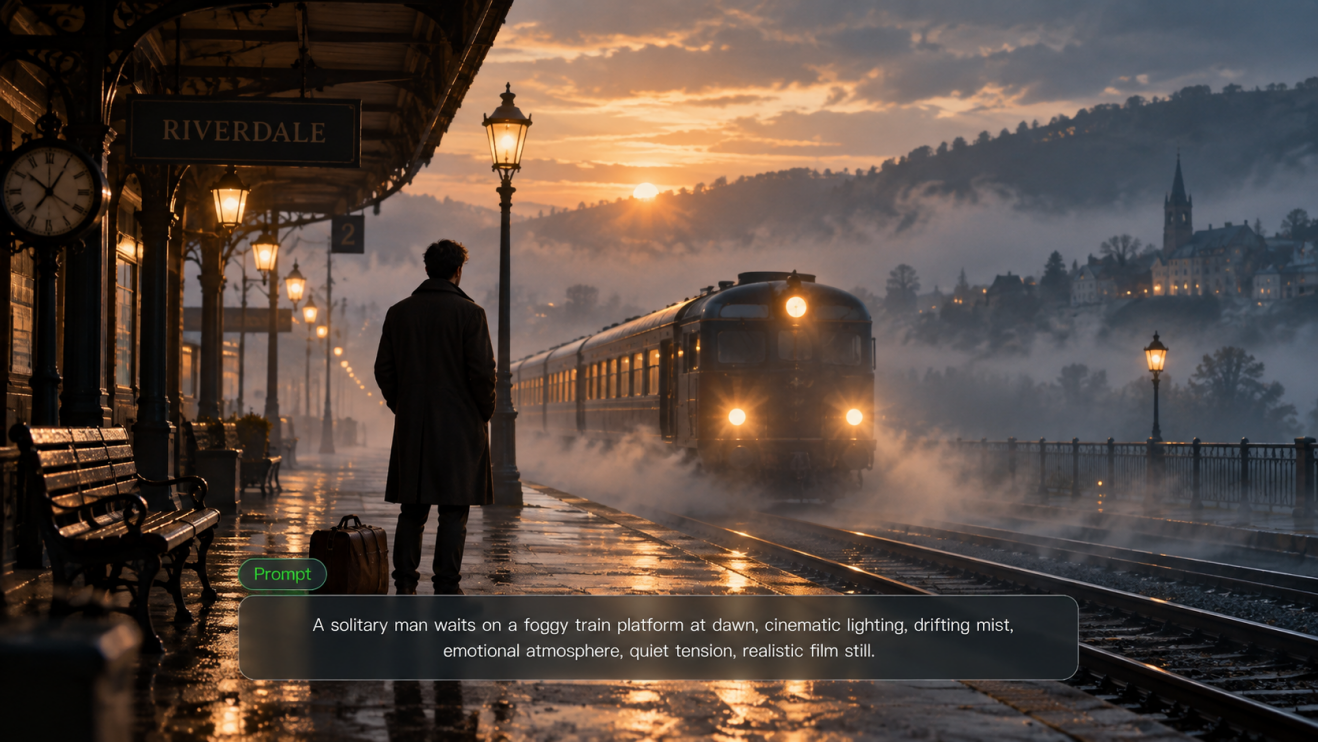
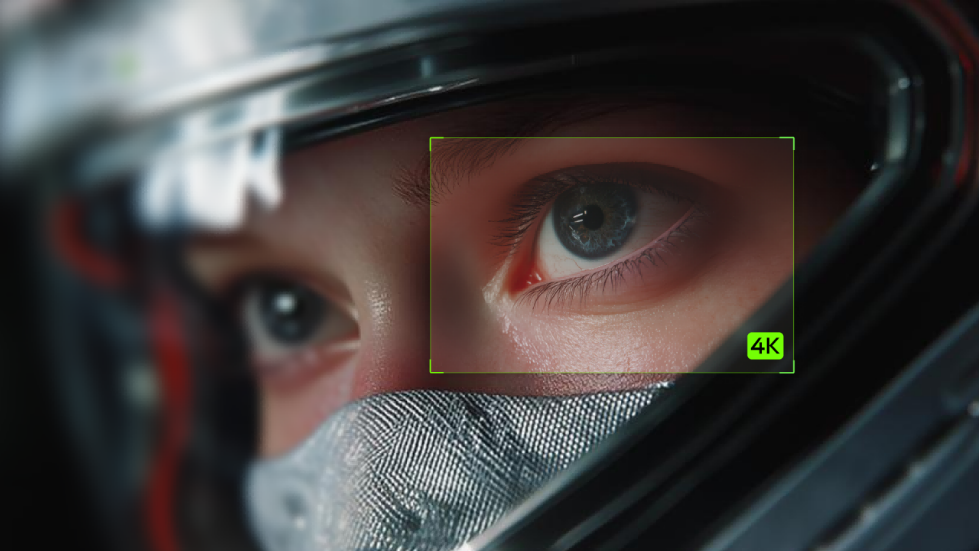
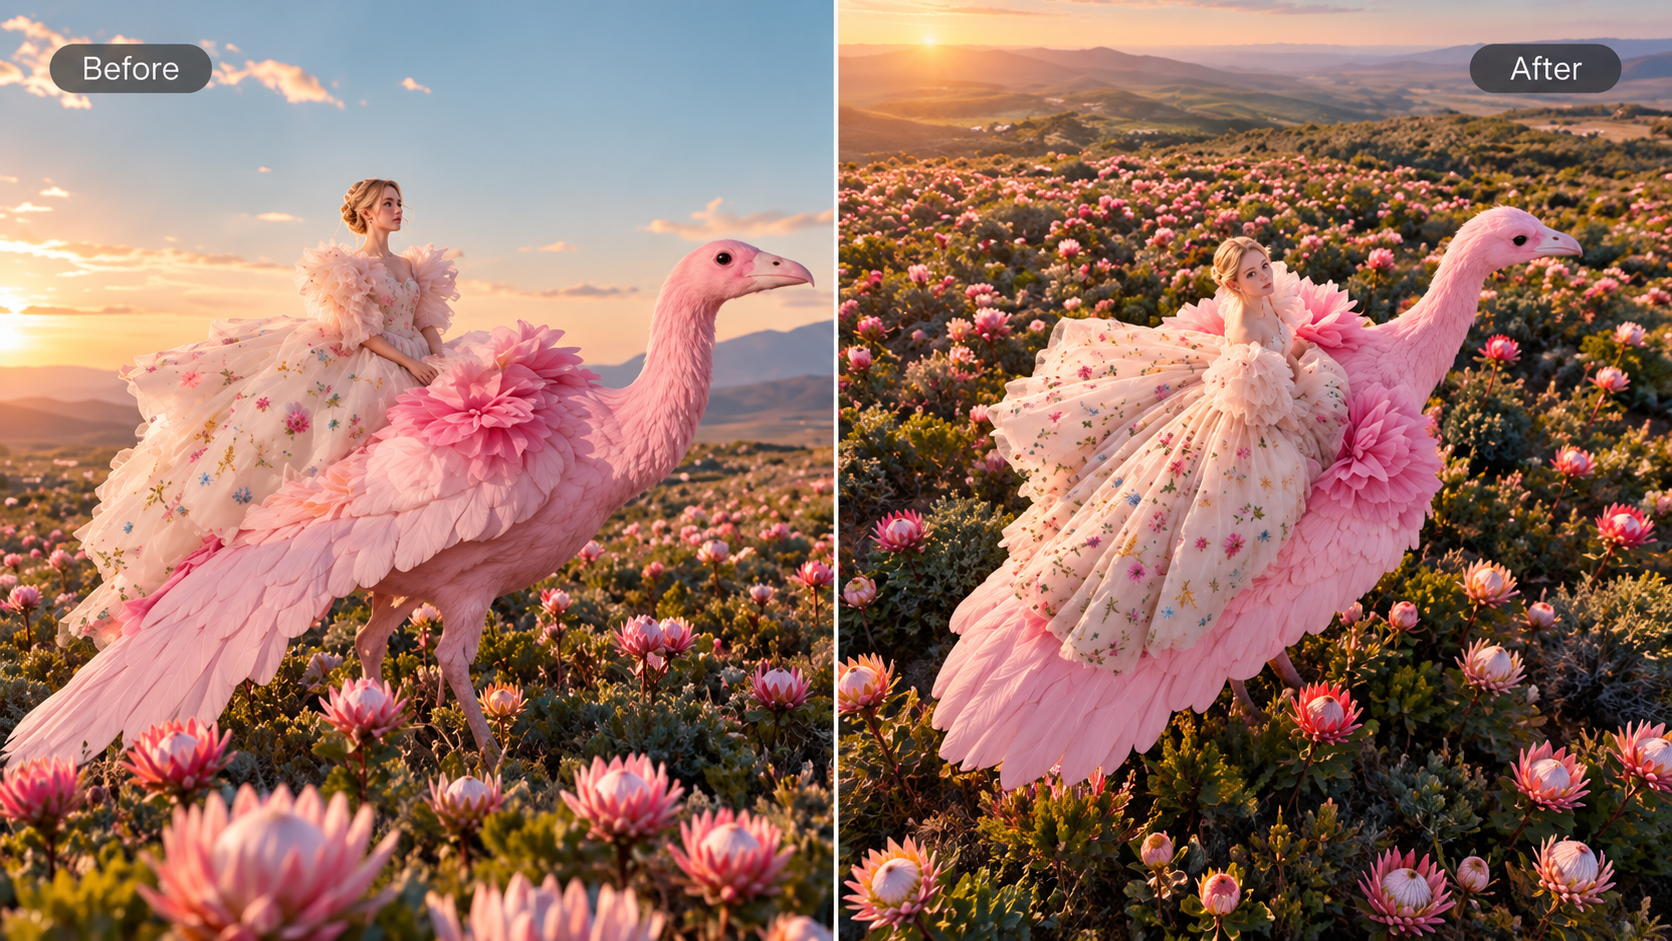
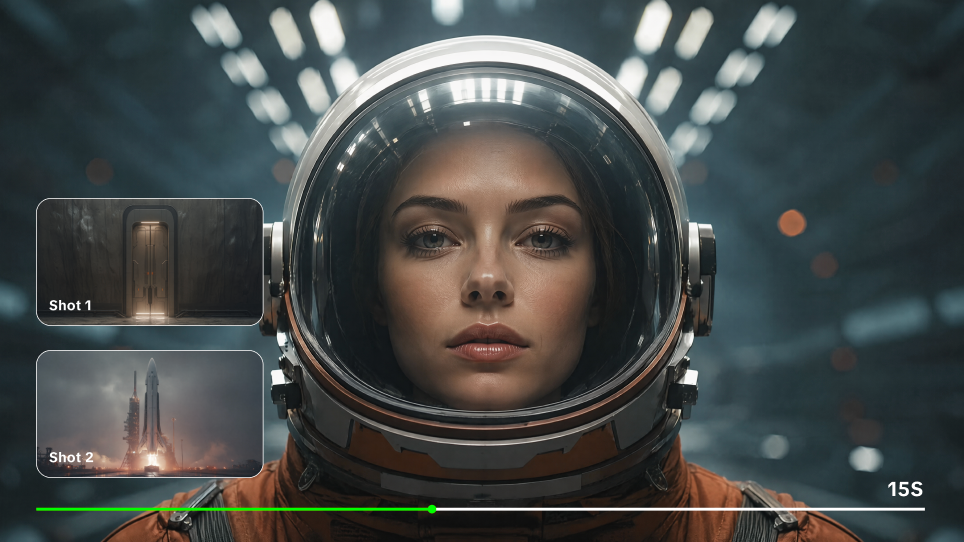
Use Kling AI to test a difficult visual idea before the shoot. Its AI Video Generator accepts text or reference images, and the official Kling Video 3.0 page lists native audio, character consistency controls, up to 15 seconds of multi-shot output, and 4K export. You can animate a storyboard with Image to Video or plan a transition with the start and end frames guide. Treat each result as a test. Keep only choices that support the script, rights plan, and continuity.
Prompt | Output |
|---|---|
Opening with an ultra-wide-angle medium-long shot tracking horizontally, the stabilizer moves low to the ground, with a highly contrasting romantic cinematic tone of cold blue night and silvery white starry sky, exuding a strong poetic realism and classical epic temperament. The protagonist is a young woman in a dark green long dress, running with all her might on the garden lawn illuminated by moonlight; her skirt billows in the wind forming surging dynamic curves. She clutches a small white flower in her right hand and lifts the hem of her dress with her left, breathing rapidly yet with a firm gaze. At the 4th second, the camera accelerates forward with her, and multiple men and women in old-era ball gowns break into the frame one after another from the left and right sides in the background, running alongside her—some try to approach, some turn back to shout, yet none truly touch her, implying pursuit and escape. At the 8th second, the camera gradually zooms in to a medium shot, pans to track forward in front of the protagonist, and lifts slightly; she glances back briefly at a young male character behind her, their gazes meet for a split second, emotions erupt mid-run, and the woman and man join hands to run together. At the 12th second, the music and movement reach a climax; the camera moves forward close to her side face and fluttering hair. She releases the white flower and tosses it into the air, the flower drifting down in slow motion as the crowd behind brushes past it. In the final 3 seconds, the camera keeps moving forward; the woman and man break through the crowd and dash toward the starry sky at the end of the garden, their figures gradually taking over the center of the frame. The overall atmosphere is fiery, romantic and resolute, a burst of narrative about fate, choice and freedom. | 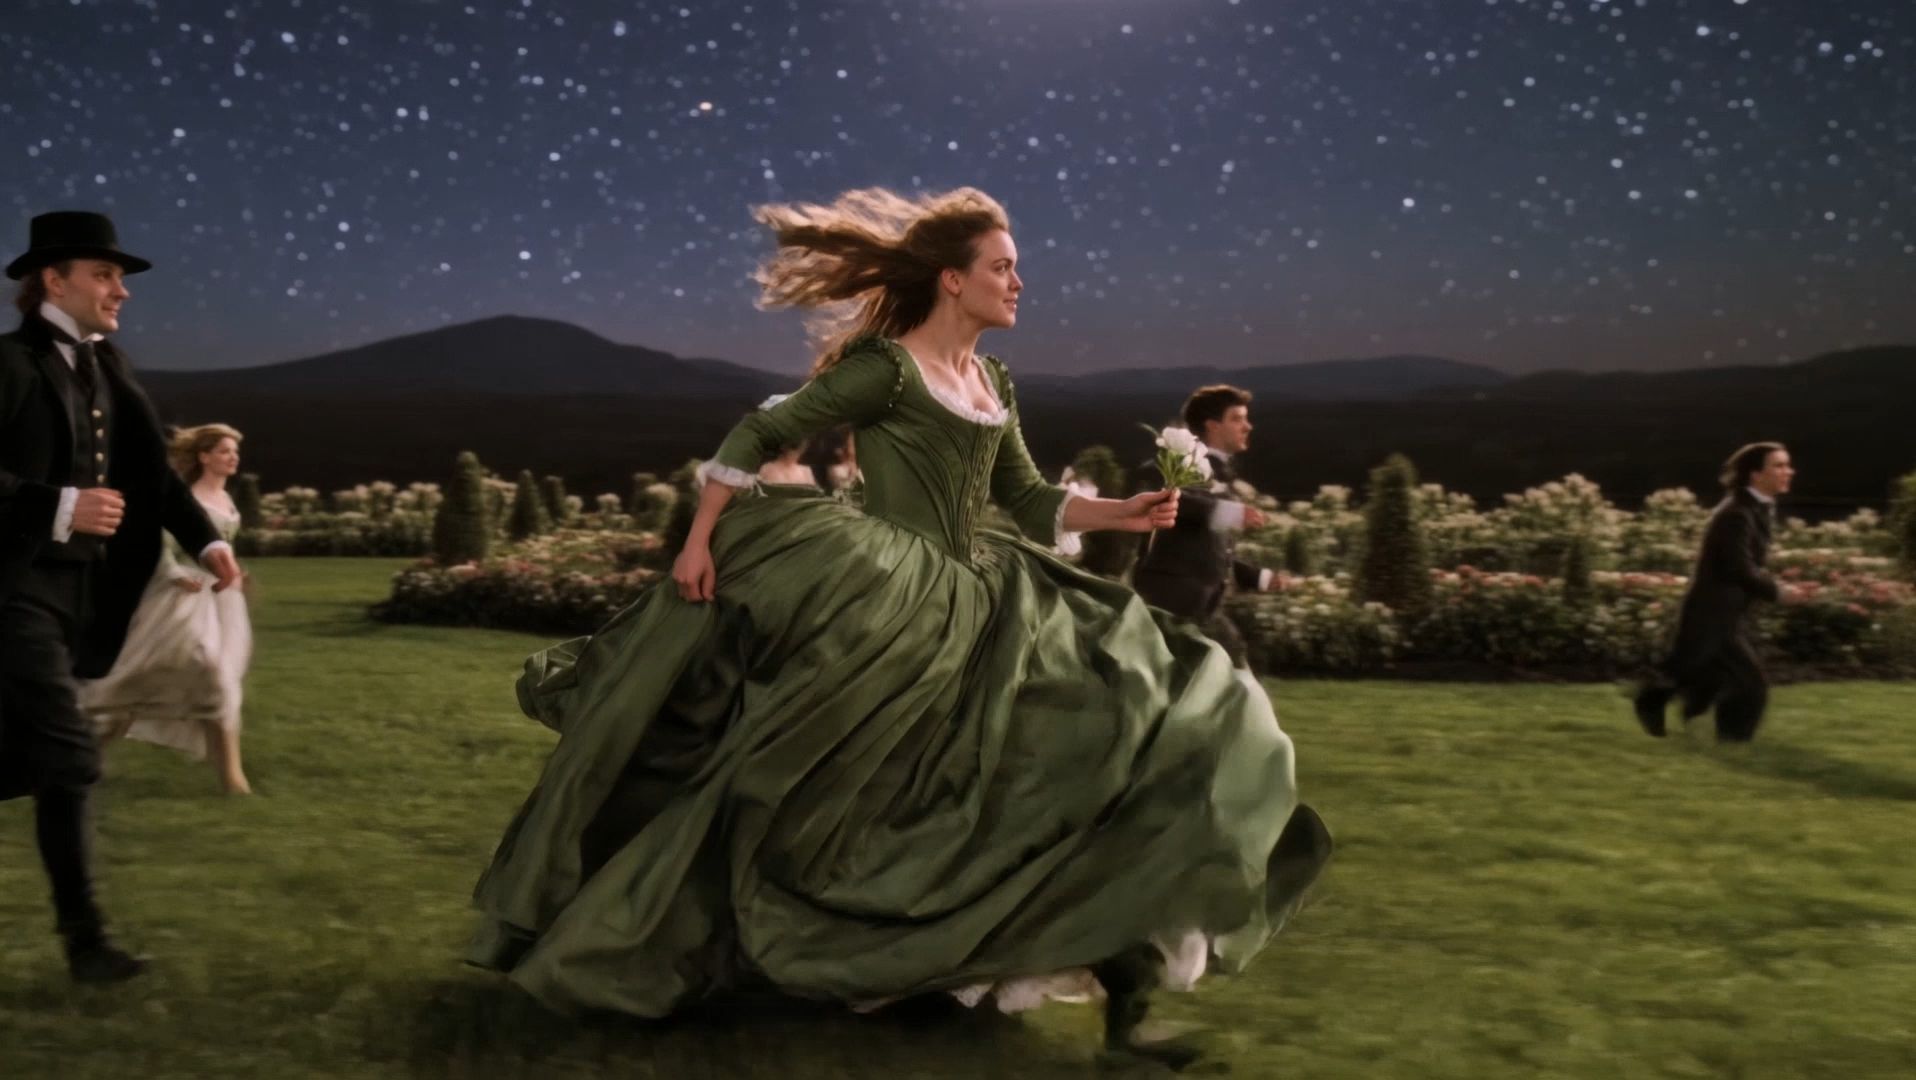  |
Step 8: Test the Gear and Workflow
Use the simplest kit that gives you stable images and clean sound. A phone or camera, tripod or other support, external microphone, headphones, basic light or reflector, spare power, media, and two backup drives are enough for many shorts. Before the shoot, test resolution, frame rate, shutter, focus, white balance, exposure, audio levels, file size, battery life, and the full backup process. Record a short scene, edit it, and export it. This exposes workflow failures while they are still cheap.
Step 9: Rehearse, Block, and Scout
Rehearse for intention and movement, not just memorized lines. On location, walk through where actors enter, look, pause, handle props, and exit. Then set camera and microphone positions around the performance. Photograph the space at the planned time of day and note power, noise, sunlight, reflections, restrooms, accessibility, holding space, and parking. Confirm that the location owner understands the schedule and activity. Update the shot list when the real space changes the plan.
Step 10: Shoot for Story, Sound, and the Edit
Start each setup with the essential version, then capture alternatives if time remains. Slate every take, record at least 30 seconds of room tone per location, and leave a few quiet seconds before and after action. Monitor sound through headphones. Track props, wardrobe, eyelines, actor positions, and screen direction for continuity. The director should mark preferred takes, while the data manager copies and verifies footage during breaks. At the end of each day, keep the media in at least two separate places before erasing any card.
Step 11: Edit in Deliberate Passes
Organize and back up files before cutting. Sync sound, label takes, and build an assembly that includes every scripted beat. Next, create a rough cut for structure, a fine cut for performance and pace, and a picture lock that stops visual changes. Only then finish dialogue cleanup, sound effects, music, mix, color correction, color grade, visual effects, titles, credits, and captions. Watch once with no picture to judge sound, then once with no sound to judge visual clarity. Remove any moment that repeats information without adding emotion or meaning.
Step 12: Test, Export, and Release
Show the near-final cut to a small audience that did not work on the film. Ask where attention dropped, what felt unclear, and what they expected to happen next. Look for repeated patterns rather than obeying every suggestion. Export a high-quality master, a viewing copy, captions, a poster image, stills, a synopsis, credits, and a trailer if needed. Check each festival or platform specification before submission. Choose a release goal and date, then track permissions, deadlines, versions, links, and results in one document.
A Realistic Short Film Timeline
A focused short film can move from idea to release in about 4 to 12 weeks. The schedule expands when the film needs many locations, unavailable actors, complex effects, original music, or festival grade finishing. Set dates backward from the release or submission deadline and protect more time for planning and editing than for shooting.
Development: 2 to 7 Days
Use development to choose the concept, write the logline, define the ending, draft the script, and confirm that the idea fits available resources. Do not leave development with several possible stories or unresolved endings. The output is one script that the producer can price and the director can visualize. If the team cannot explain the film in two sentences, the concept still needs work.
Pre-Production: 1 to 3 Weeks
Use pre-production to break down the script, secure people and locations, clear rights, build the budget, schedule scenes, create the shot and sound plans, rehearse, scout, and test the workflow. Lock the script early enough for each department to prepare from the same version. The phase is complete when every scene has a place, time, owner, method, required item, and backup plan.
Production: 1 to 3 Days
Most contained shorts can be photographed in one to three days, but the right duration depends on setups, company moves, effects, children, animals, and available light. Estimate setup time, not only page count. A two-page conversation with many angles may take longer than a four page walking scene. Schedule essential shots first and reserve time for sound, inserts, and backups.
Post Production: 2 to 8 Weeks
Editing usually takes longer than filming. Allow separate time for file organization, syncing, assembly, rough cut, feedback, fine cut, picture lock, sound editing, music, color, effects, captions, credits, and export tests. Each review round needs a clear decision maker and deadline. Do not send unfinished cuts to a large group, because conflicting notes can slow the project without improving it.
Release Preparation: 3 to 10 Days
Prepare the master, platform versions, subtitles, poster, stills, synopsis, credits, trailer, permissions file, and submission data before launch. Watch every exported file from beginning to end on more than one device. Confirm sound, captions, spelling, aspect ratio, and credit order. Upload early enough to replace a failed file without missing a deadline.
Common Short Film Mistakes and How to Fix Them
Most first film problems begin before the camera records and become expensive after the shoot. Identify these common failure points early, then apply the direct correction before they affect the edit.
Starting With Gear
Start with the story and production limits, not a shopping list. A new camera does not solve an unclear goal, weak ending, noisy location, or rushed schedule. Define what each scene must communicate, then choose the simplest equipment that can capture it. Rent or borrow specialized gear only after a test proves the need.
Writing Beyond Available Resources
Rewrite expensive problems before production. Too many locations, night exteriors, crowds, vehicles, period details, stunts, and effects multiply cost and failure points. Preserve the emotional idea while changing its physical expression. One controlled room with a strong conflict can feel larger than several weakly managed locations.
Treating Sound as Secondary
Plan sound before arriving on set. Scout for traffic, ventilation, appliances, crowds, echoes, and construction. Put the microphone close, monitor every take, capture wild dialogue when needed, and record room tone. Never assume noise can be removed later without affecting voices. If a location cannot support intelligible dialogue, change the location or rewrite the scene.
Shooting Without Editorial Coverage
Capture enough material to control time and performance in the edit. A master shot protects the scene, while medium shots, close shots, reactions, and inserts create choices. Coverage should serve emotional shifts, not collect random angles. Before leaving a setup, ask whether the editor can enter late, remove a line, hide a continuity problem, or shorten a pause.
Ignoring Continuity
Assign one person to track details between takes. Photograph props, wardrobe, hair, makeup, actor positions, hand use, food levels, clocks, and environmental changes. Record the best take and any intentional variation. Small continuity errors can be invisible on set but distracting after shots are placed together.
Editing Without a Picture Lock
Lock the visual edit before final sound, color, effects, and titles. Continuing to change shot length forces other departments to repeat completed work and can introduce sync errors. If a late story problem requires a new cut, announce a new version, update every collaborator, and replace old exports so no one finishes the wrong timeline.
Planning Distribution Too Late
Choose the release goal before production ends. Festival premieres, online launches, school screenings, client delivery, and proof of concept pitches require different runtimes, rights, captions, artwork, and technical files. Early decisions prevent licensed material, public uploads, or missing paperwork from closing the best release route.
Final Quality Control Before Release
Do not release the film after checking only the editing timeline. Review the story, picture, sound, rights, credits, and final files as separate quality gates.
Story and Pace
Confirm that the protagonist, goal, obstacle, stakes, and final change are understandable without outside explanation. Remove repeated setup, late exposition, and pauses that do not add pressure or emotion. The opening should create interest quickly, and the ending should arrive as soon as the dramatic question has changed.
Picture and Sound
Check focus, exposure, color consistency, effects edges, titles, dead pixels, and unwanted objects at full screen. Listen on headphones, speakers, a phone, and a television if available. Dialogue should remain clear at a comfortable volume, music should not hide words, and cuts should not create sudden noise changes. Verify captions against the final mix and picture.
Rights, Credits, and Files
Confirm that every performance, location, track, image, clip, font, and generated asset has the permission required for the intended release. Match names and roles across the film, poster, submission form, and online description. Keep an archival master, a project backup, and at least one viewing file in separate locations. Open the files after copying them and record the final version date.
Finish the Smallest Film You Can Finish
A successful short film is a complete story delivered with clear intention, intelligible sound, controlled scope, and a clean final export. Spend more effort on the script and preparation than on gear, protect the edit with organized media, and plan distribution before picture lock. Ready to turn a storyboard or reference image into a visual test? Start creating with Kling AI.
FAQs
Q1. What Is the Ideal Length for a Short Film?
Aim for 5 to 10 minutes for a first short film. That range is long enough for a complete dramatic change but short enough to control locations, performances, and post production. The Academy permits up to 40 minutes including credits, but festival programmers and online viewers can fit shorter work more easily.
Q2. Can You Make a Short Film With a Phone?
Yes. A modern phone can produce a strong short when you lock exposure and focus, stabilize the image, light faces carefully, and record sound with an external microphone. Sound, performance, composition, and editing matter more than the camera price. Test the complete phone workflow before the shoot day.
Q3. How Much Does It Cost to Make a Short Film?
A first short can cost from nearly $0 to $5,000, while permits, insurance, paid labor, effects, travel, and licensed music can push the total higher. Price every script requirement, add about 10 percent for surprises, and cut scope before production. Never assume free labor, locations, or music without written agreement.
Q4. How Long Does It Take to Make a Short Film?
A simple five minute film often takes 2 to 6 weeks from final script to export. Allow about one week for planning, one or two shoot days, and two or more weeks for editing, sound, color, feedback, and delivery. More locations, effects, cast conflicts, or festival standards can extend the schedule to several months.
Q5. What Equipment Do You Need to Make a Short Film?
The minimum useful kit is a phone or camera, stable support, an external microphone, headphones, basic lighting or a reflector, spare batteries, enough recording media, and two backup drives. Add equipment only when a shot or sound requirement proves the need.