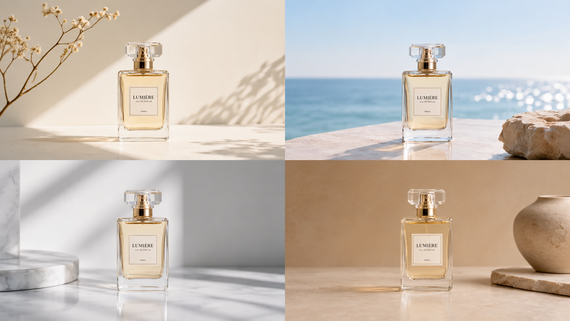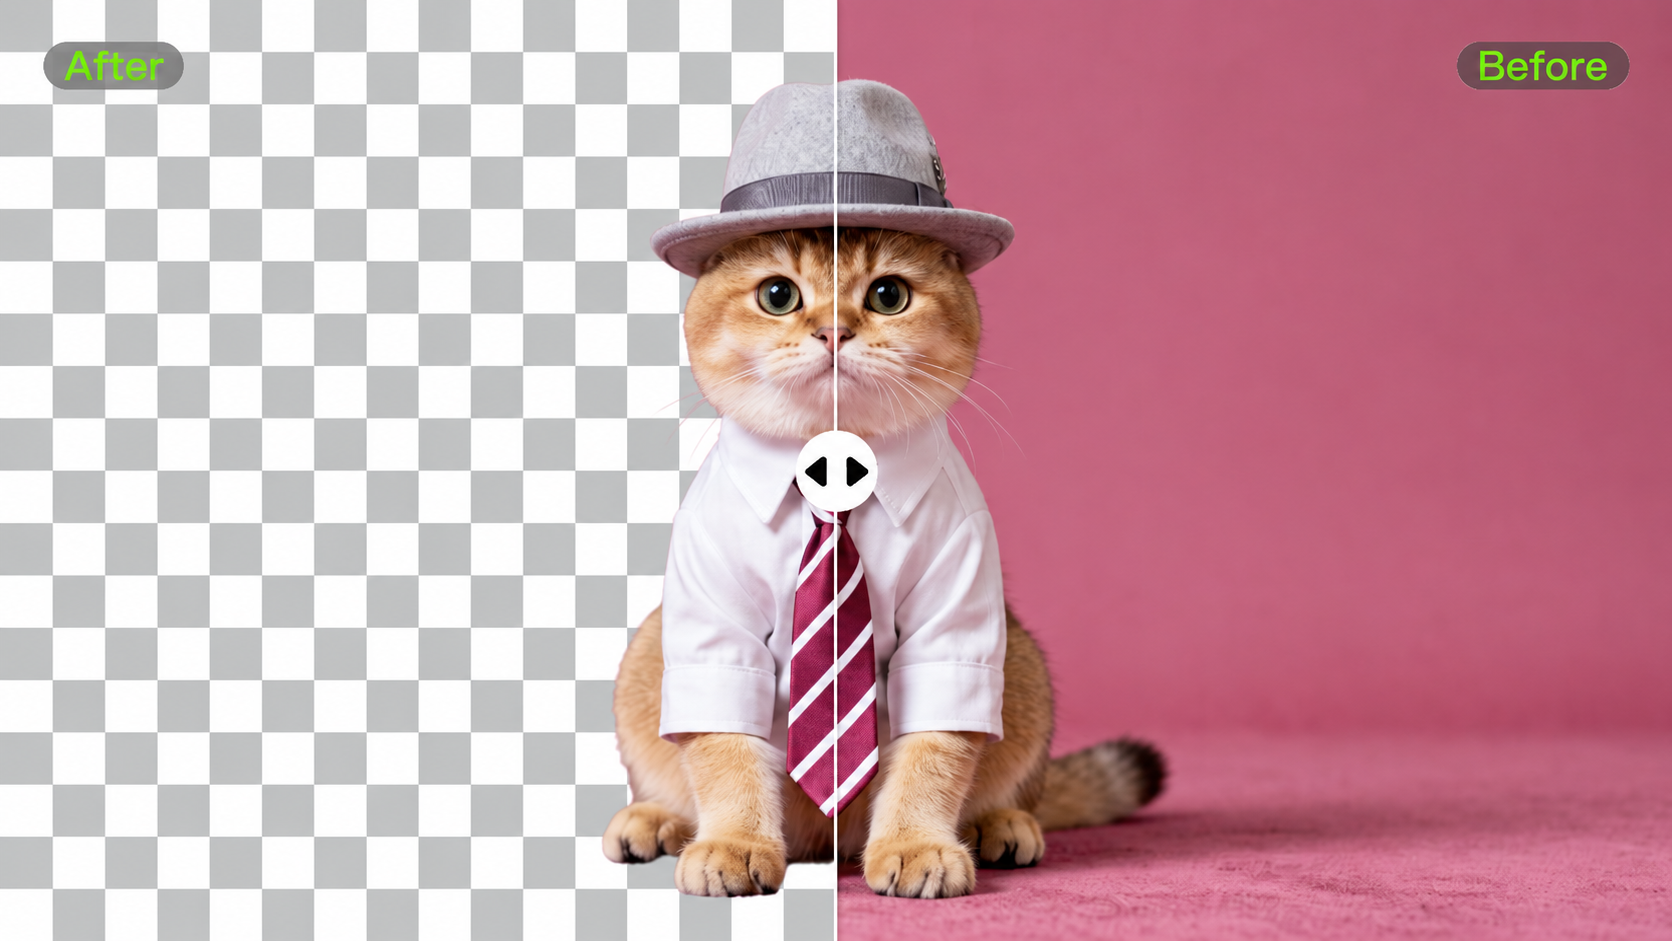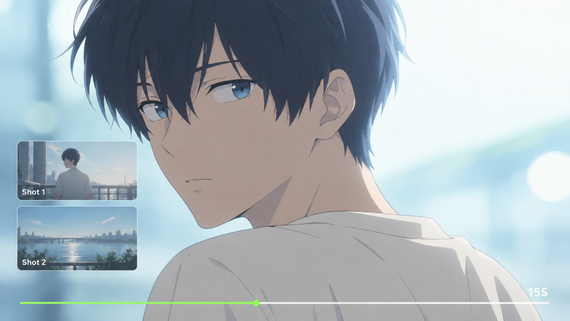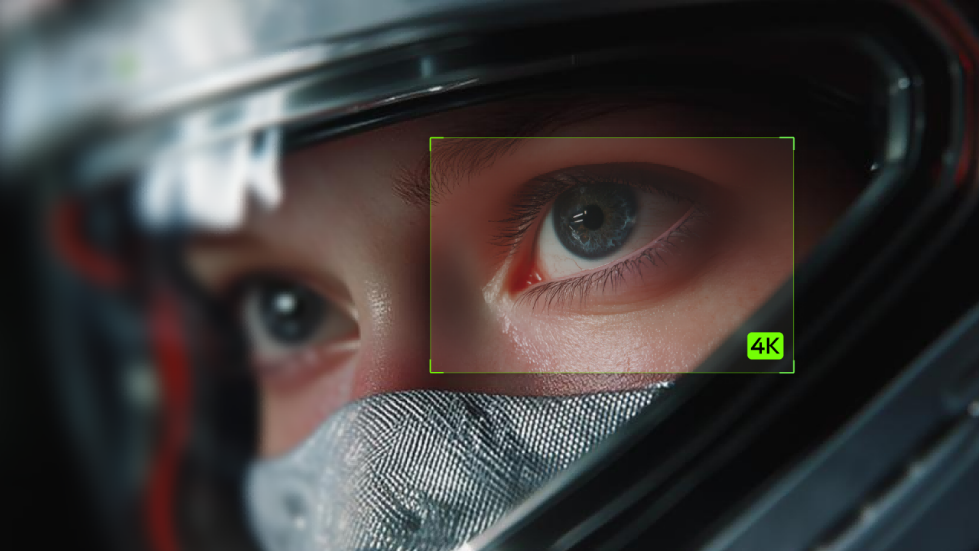
You have an image you love, but it looks a little soft in your new layout. Finding the best AI image upscaler 2026 starts with what you want to keep and what you want to change. This guide compares your options and shows how Kling AI can help you refine an existing visual or create a detailed image from your idea.
Best AI Image Upscaler 2026: Kling AI and Other Options Compared
Start with this quick comparison, then explore which approach fits the image you have in mind.
Tool | Main Strength | Best For |
Kling AI | Prompt-guided image enhancement, reference-guided editing, and high-resolution 2K/4K generation | Refine an existing visual or create a detailed new scene |
Leonardo | Upscaling with fidelity and creativity controls | Choose how closely the result follows your source |
Adobe Firefly | Upscaling within an editing workspace | Enlarge an image and continue editing in one place |
Krea | A straightforward online enhancement workflow | Upload an image, enhance it, and download a larger version |
Kling AI: Shape the Details and Create in Native 4K
You have a product image with a composition you like, but you want clearer details, more natural texture, or better lighting. Kling’s AI image generator lets you use the image as a reference and describe what you want to preserve and improve in everyday language.
IMAGE 3.0 supports reference-guided creation and editing with up to 2K output, while IMAGE 3.0 Omni adds 2K/4K high-resolution generation. You can tell Kling what to preserve and what to refine—from product shapes and facial features to texture, lighting, and background details—giving you more control over the final high-resolution image.
For better results, start with the clearest source image you have and keep your prompt focused on the details that matter most. This helps preserve the overall look while improving clarity, texture, lighting, and other visual details.
.png?x-oss-process=image/resize,w_1872)
Leonardo: Choose How Much Detail to Preserve or Reimagine
Leonardo AI gives you room to decide how your photo, illustration, or AI-generated image should change as it grows. Its Pro Upscaler offers Precise and Creative modes, letting you favor fidelity to the source or introduce new details.
For finer adjustments, Ultra provides controls for creativity, detail contrast, and similarity. You might keep a finished illustration close to its original look while allowing more interpretation in a fantasy scene. Check that the added textures still feel right for your image.
Adobe Firefly: Keep Upscaling Close to Your Editing Work
If your image still needs a few finishing touches, Adobe Firefly lets you upscale an uploaded or generated image within its Edit workspace and continue refining it in one place. Its documented Generative Upscale workflow offers 2× and 4× scaling with Adobe and partner models.
This suits projects where enlargement is one step among several finishing touches. Choose a model suited to your task, check its available controls, and review the enlarged result before proceeding with your edit.
Krea: Follow a Simple Upload, Enhance, and Download Flow
Krea offers a straightforward way to try a larger, clearer version of an existing image. Its online enhancer combines sharpening, clarity improvements, and high-resolution upscaling in a simple upload-and-enhance workflow. If ease of use matters when choosing the best AI image upscaler online, its upload, enhance, and download flow is worth comparing. Preview the result in your intended layout to see whether faces, textures, and fine edges still look natural.
How to Create High-Resolution Images in Kling AI in 3 Steps
You can follow one simple flow, whether you have a reference image or a fresh idea. Keep your original file nearby if you want to compare the generated result with an existing image.
Step 1: Choose Your Model and Add a Reference Image
Open the image workspace and choose the model for your project. Kling Image 3.0 supports image creation and reference-guided editing, with output up to 2K. Choose Kling Image 3.0 Omni when you want native 4K generation.
If you are working from an existing visual, upload the clearest version you have. A clean source gives you a better starting point than a screenshot with compression or unwanted overlays. If the image was already generated in Kling AI, you can also select Upscale directly from the result instead of uploading it again.
Step 2: Describe What to Preserve and Improve
Look at your reference and decide what makes it yours. Perhaps it is the curve of a bottle, the relaxed expression in a portrait, or the warm light across a room.
Name those details, then describe the changes you want. Keep the request focused so you can judge the result easily. For a product visual, your prompt might look like this:
If you are starting from scratch, describe the subject, setting, composition, lighting, and materials. Include where you need empty space for a headline or other design elements.
Step 3: Set the Resolution, Generate, and Download
Choose an aspect ratio that suits your layout and select the output resolution before generating. Generate your image, then review it both at full size and in the layout where you plan to use it. Check the details that matter most to your project, such as product proportions, facial features, or lettering.
If something needs attention, make a focused adjustment and generate again. Download your chosen result as a separate file so you can keep the original alongside it.
Original Image | Generated Image |
.png?x-oss-process=image/resize,w_1872)
| .png?x-oss-process=image/resize,w_1872)
|
| Prompt: Use the uploaded product image as the reference. Preserve the product’s shape, proportions, color, camera angle, placement, and overall composition. Improve edge clarity, surface texture, material detail, and small structural features while reducing blur and compression artifacts. Keep the original lighting direction and natural shadows. Do not redesign the product, change its proportions, or add new objects. Generate a clean, realistic high-resolution product image. | |
When to Use Kling AI for High-Resolution Images
An old photo you want to revisit, a shot that needs softer light, or a brochure waiting for its first visual—each gives you a different place to begin with Kling AI.
Refresh Blurry or Old Photos
If you have a favorite photo but the details look soft or the years have faded, you can restore it with Kling AI. Use it as a reference and describe what you would like to improve, such as clearer outlines, more natural colors, or less visible wear.
Keep the request focused on the features you want to preserve, including faces, clothing, and the original setting. The result may offer a refreshed interpretation; compare it with your source, especially where missing details may have been recreated.
Original Image | Generated Image |
.png?x-oss-process=image/resize,w_1872)
| .png?x-oss-process=image/resize,w_1872)
|
| Prompt: Restore this severely aged historical photograph into a clean, high-resolution, authentic black-and-white archival image while faithfully preserving the original woman, facial identity, pose, clothing, hairstyle, hat, horse-drawn carriage, pedestrians, street lamps, architecture, and composition. Remove sepia discoloration, stains, foxing, dust, scratches, cracks, folds, faded areas, water damage, torn edges, and uneven exposure. Carefully reconstruct damaged or missing details using the surrounding image without inventing new elements. Recover natural facial details, subtle skin texture, individual hair strands, fabric texture, buttons, dress folds, and the woven texture of the straw hat. Preserve realistic facial asymmetry and imperfections; do not beautify or modernize the subject. Convert the image to neutral monochrome with natural whites, detailed midtones, rich blacks, subtle analog grain, and restrained contrast. Improve focus, clarity, and resolution while maintaining authentic historical photographic character and natural depth of field. Avoid plastic skin, excessive sharpening, HDR, artificial details, modern cinematic grading, or obvious AI-generated textures. | |
Refine Lighting and Texture in Your Photos
Sometimes your photo already has enough detail, but the light feels flat or the surfaces lack depth. You might want a warmer glow across a room, softer shadows around a portrait, or a little more definition in a linen curtain.
You can adjust photo lighting by describing the warmth, shadows, and materials you want to bring forward. Small, focused adjustments can help you explore a more inviting mood without asking for a completely different scene.
Create Visuals for Commercial Brochures
You are designing a brochure for a new collection and need images that share a consistent look. A text to image workflow lets you describe each scene, from a welcoming hotel interior to a seasonal product display, using a shared palette and visual style.
Plan around the page: leave open space for your headline, place the subject where it supports the layout, and choose an aspect ratio that fits. Add final copy and logos in your design tool, then check product accuracy and image dimensions before preparing the brochure for print.
Tips for More Natural Image Upscaling and Enhancement
Start with the cleanest source you can find. To improve image quality, start with the original download or a less compressed file. Starting with that file can save you from having to correct artifacts introduced along the way.
Tell the model what matters most. For reference-guided editing, name the features you want to preserve. “Keep the mug’s handle shape and cream glaze” gives your request more direction than “make it better.” Treat preservation instructions as guidance, then check the result.
Give texture a light touch. More detail does not always make an image feel more natural. If skin looks overly crisp or fabric becomes brittle, soften the request. Describe the material and lighting you want rather than stacking sharpness adjectives.
Inspect small text and repeated patterns. Labels, logos, jewelry, and repeating designs deserve a closer look. Compare them with your source, and use original artwork or manual editing where exact reproduction matters.
Match the file to the finished layout. Check the crop and dimensions you actually need. A social post, a website banner, and a printed poster have different requirements. For print, confirm the required pixel dimensions at your intended print size rather than assuming a 4K file will suit every format.
Change one thing at a time. If the composition works but the lighting does not, adjust the lighting first. Keeping the rest of the prompt steady makes it easier to see what helped—and when you are ready to stop.
The End
The best AI image upscaler 2026 should match the way you work. Kling AI supports prompt-guided image enhancement, native 2K/4K generation with IMAGE 3.0 Omni, and a direct Upscale option for existing Kling-generated images. You can enhance the image you already have, refine selected visual qualities, or create a new high-resolution image from an idea.
FAQs
What Is the Best AI Image Upscaler in 2026?
The best choice depends on your source image and whether you need enlargement, enhancement, or a new visual. Compare tools using the same image and inspect the details that matter to you. Kling AI is an option for reference-guided editing and high-resolution generation, including native 4K output with IMAGE 3.0 Omni.
Can AI Upscale Images Without Losing Quality?
AI can enlarge images while keeping them visually useful, but it cannot guarantee perfectly faithful detail. Results depend on the source, model, and settings. Start with a clean file, avoid repeated compression, and compare the output with the original. Pay particular attention to faces, lettering, product shapes, and repeated patterns.
What Is the Difference Between Image Upscaling and Enhancement?
Upscaling increases an image’s pixel dimensions, while enhancement changes qualities such as sharpness, noise, contrast, or color. Some tools combine both processes. Native high-resolution generation is another approach: it creates a new image at the selected resolution. Check which process you need before choosing a tool or interpreting its output.
Can Kling AI Improve an Existing Low-Resolution Image?
Kling AI can use an existing image as a reference for guided editing or re-creation. You can describe what to preserve and what to refine, such as lighting or visible texture. The result is a generated interpretation, so compare important details with the source rather than treating it as exact restoration.
Which Kling Model Supports Native 4K Image Generation?
Kling IMAGE 3.0 Omni supports native 4K image generation. Choose the model and its 4K output setting when you need a high-resolution creative image. Native generation creates the image at that resolution; it does not mean that an uploaded low-resolution source has been enlarged with every original detail preserved.