Upscale AI images to crisp high-res
Soft or too small? Sharpen it up. AI upscaling adds resolution and detail so an image is ready for print or a big screen — here's a real before/after, zoomed to 100% where it counts.
On this page
Run your picture through a generation pass first — Upscale lives on generated images, behind the editing menu that appears when you select one. Then run it as the last step — Kling adds resolution and sharpens detail across the frame. Compare the result at 100%, not fit-to-screen, where the detail gain is obvious. Don't over-upscale: past a point it invents crunchy texture. It's a finishing polish for print or large display, not a mid-workflow fix.
Soft to sharp, at 100%
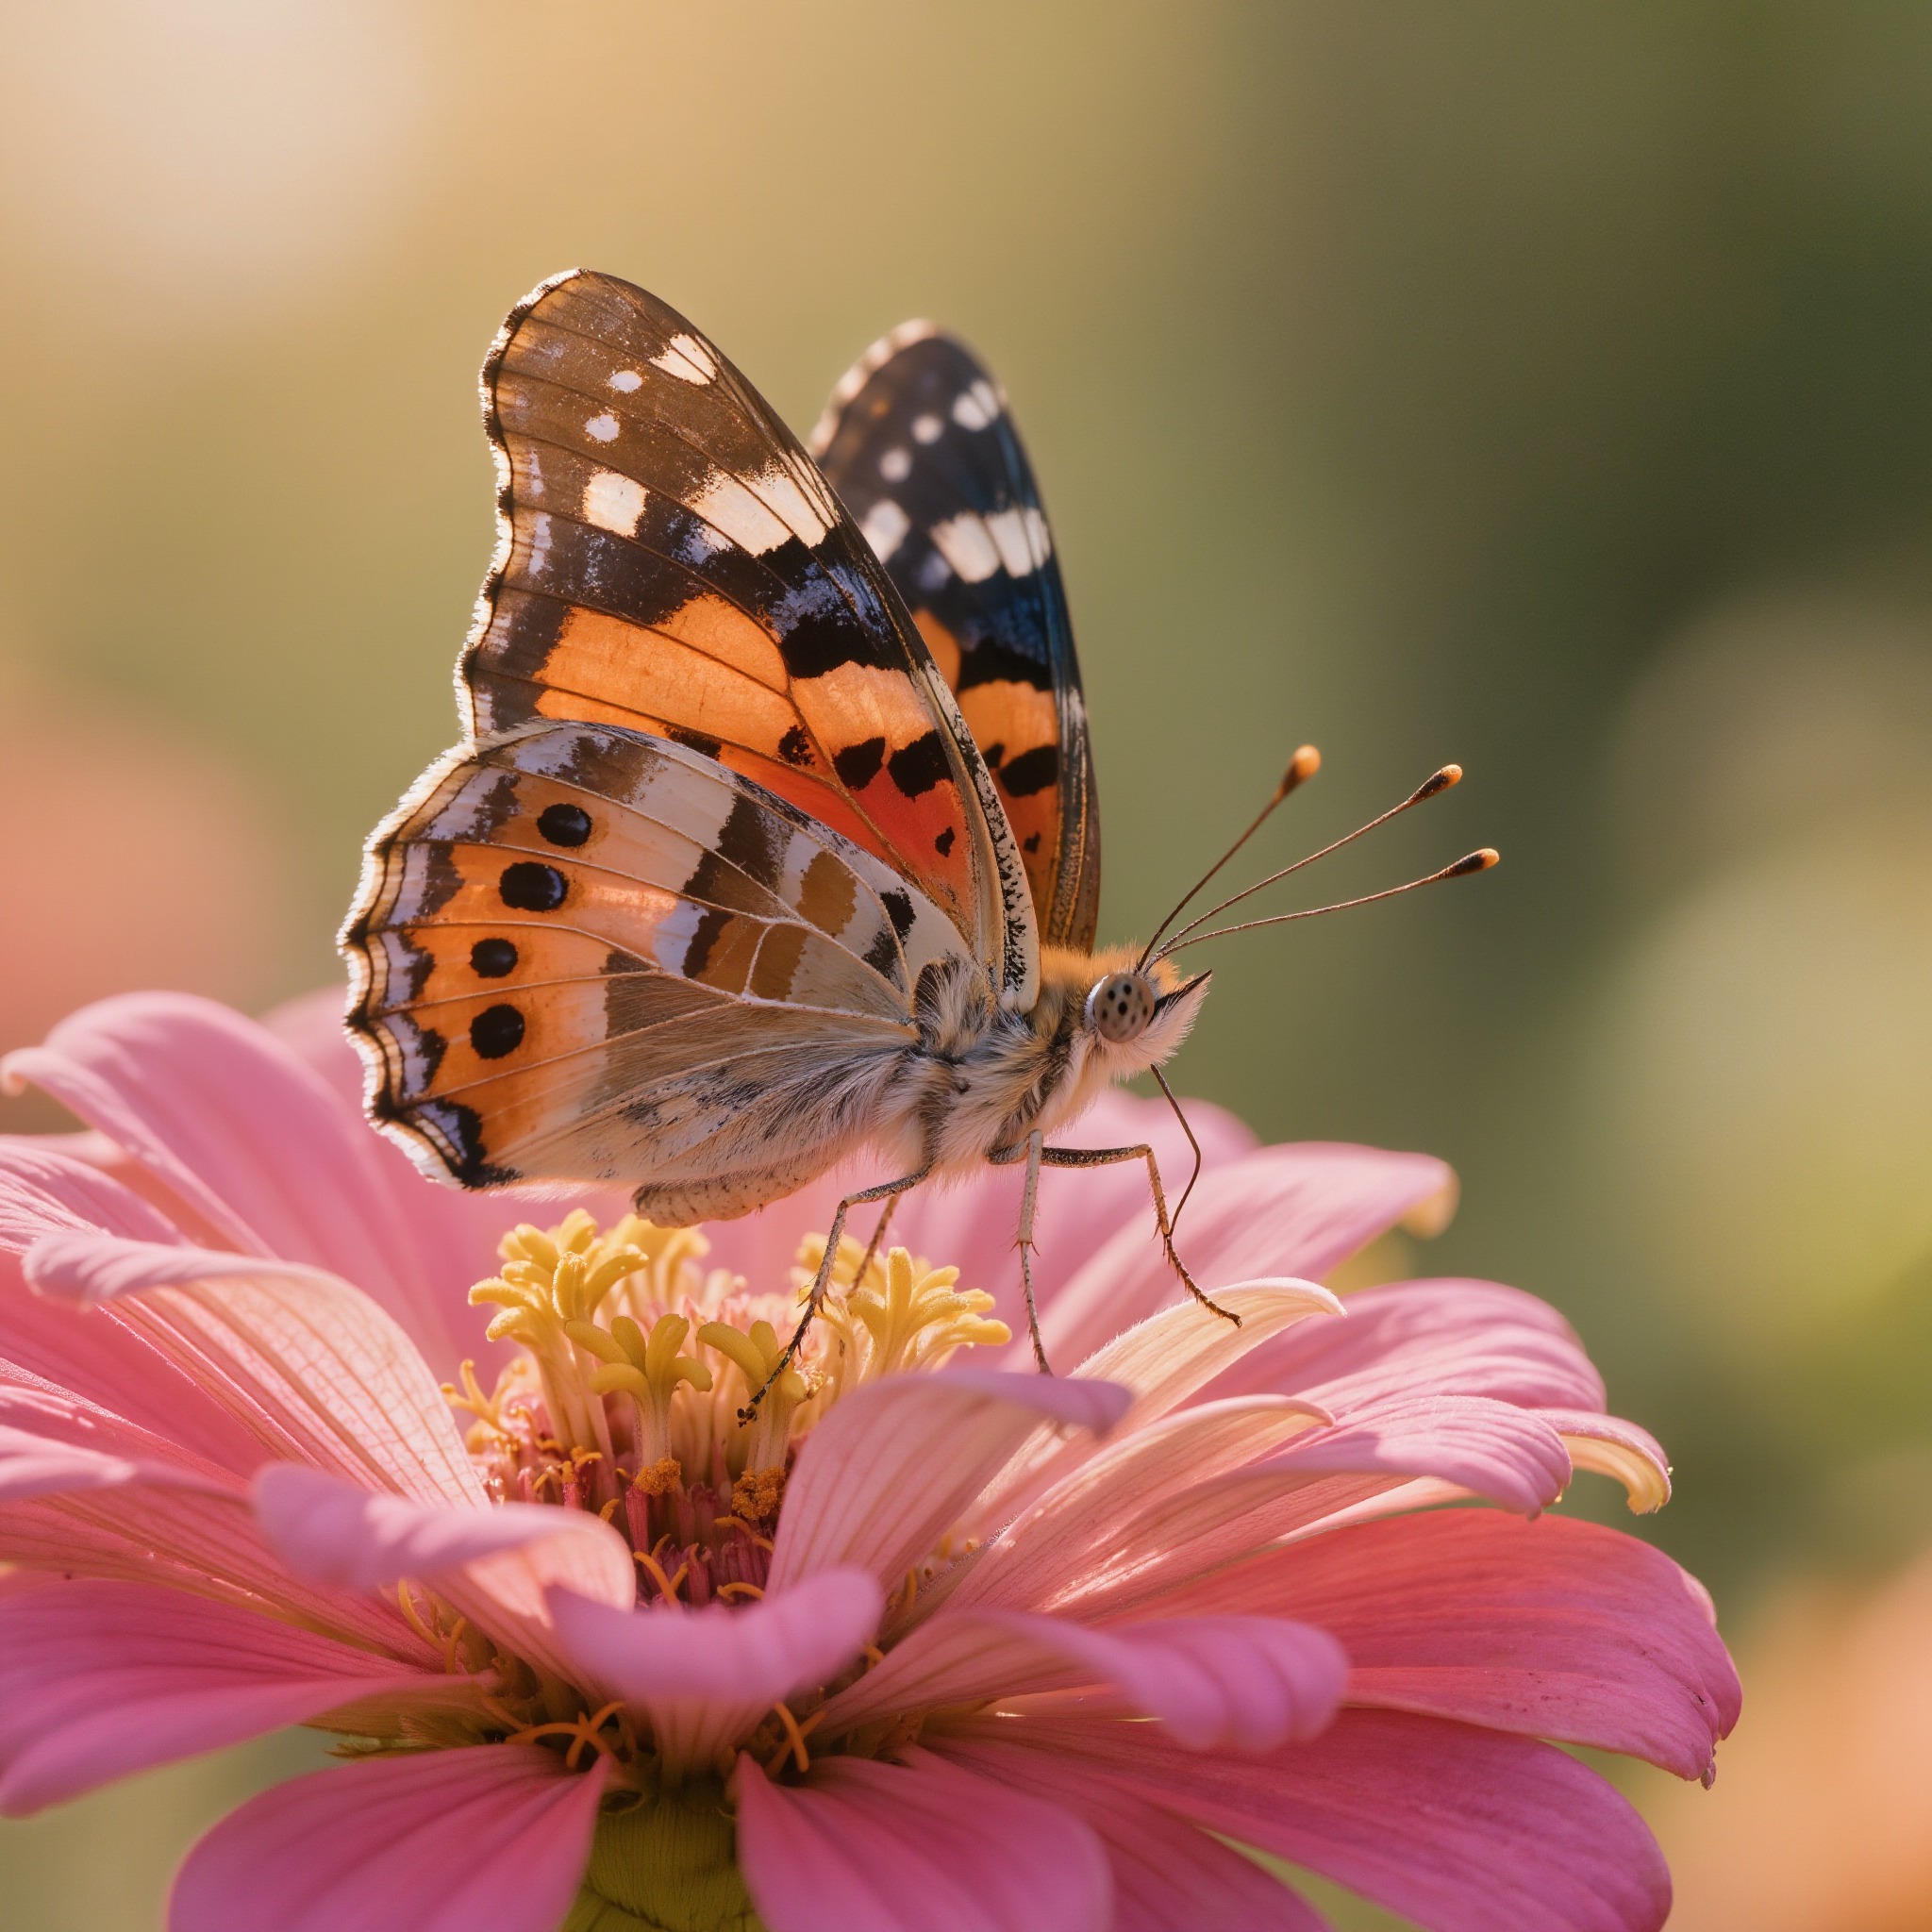
The same butterfly, before and after upscaling. Shrunk to fit, they look close — so here's the honest comparison, a 100% zoom into the wing where the resolution difference actually lives:
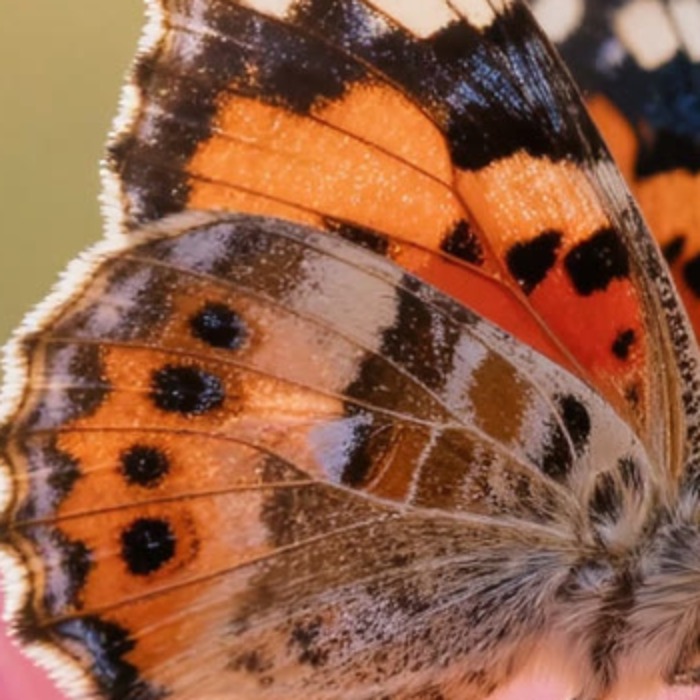
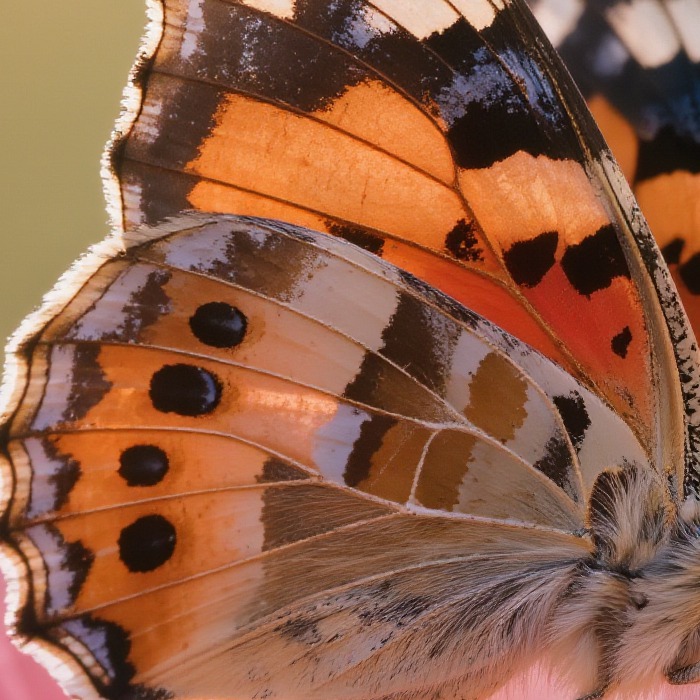
Same image, more resolution. Upscaling sharpened the wing detail and lifted the whole frame to a crisp, large size — the kind of difference you only see zoomed in, and exactly what print and big screens need.
How to upscale an image
Get your picture into Kling as a generation
The Upscale entry lives on generated images, not on raw uploads. Starting from your own photo? Add it as an image reference in Image Generation and render a pass; starting from scratch, just generate. The result that comes back is the image you can upscale.
Finish the composition first
Upscaling is a last step. Get the framing, content and edits right at a normal resolution before you upscale — it multiplies whatever's there, so fix problems first rather than magnifying them.
Select the generated image and open Upscale
Hover the generated result and its editing menu appears — Inpaint, Expand, Remove, and under the “…” button, Upscale. The option only shows up on a selected, generated image; that's the entry point. Upscale is a subscriber feature — on a free workspace this step opens the plan dialog (see the membership plan page). It adds resolution and sharpens detail across the frame, taking a soft or small image up to a crisp, large one suitable for print or a big screen.
Compare at 100%, not fit-to-screen
The difference hides when the image is shrunk to fit. Zoom to full size and look at the fine detail — wing scales, hair, text edges — that's where upscaling earns its keep and where you'll spot any invented texture.
Don't over-upscale
Push it too far and the AI starts inventing texture that wasn't there, giving a crunchy, over-sharpened look. One sensible step up is almost always better than stacking upscales chasing detail the original never had.
Upscaling multiplies and sharpens the detail an image already implies, and it invents plausible texture where the original was blank. That makes a soft image print-ready; it does not recover true detail the source never captured. Push it too hard and it turns crunchy with invented texture. Treat it as a finishing step: fix and frame at working size, upscale once, and judge at 100%.