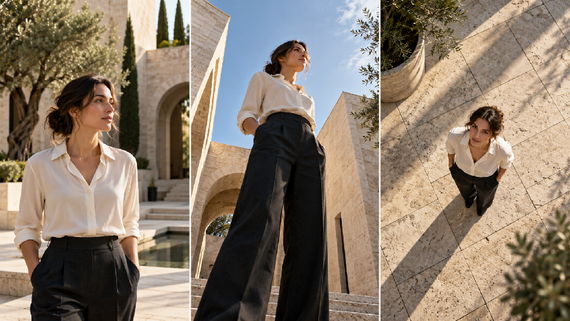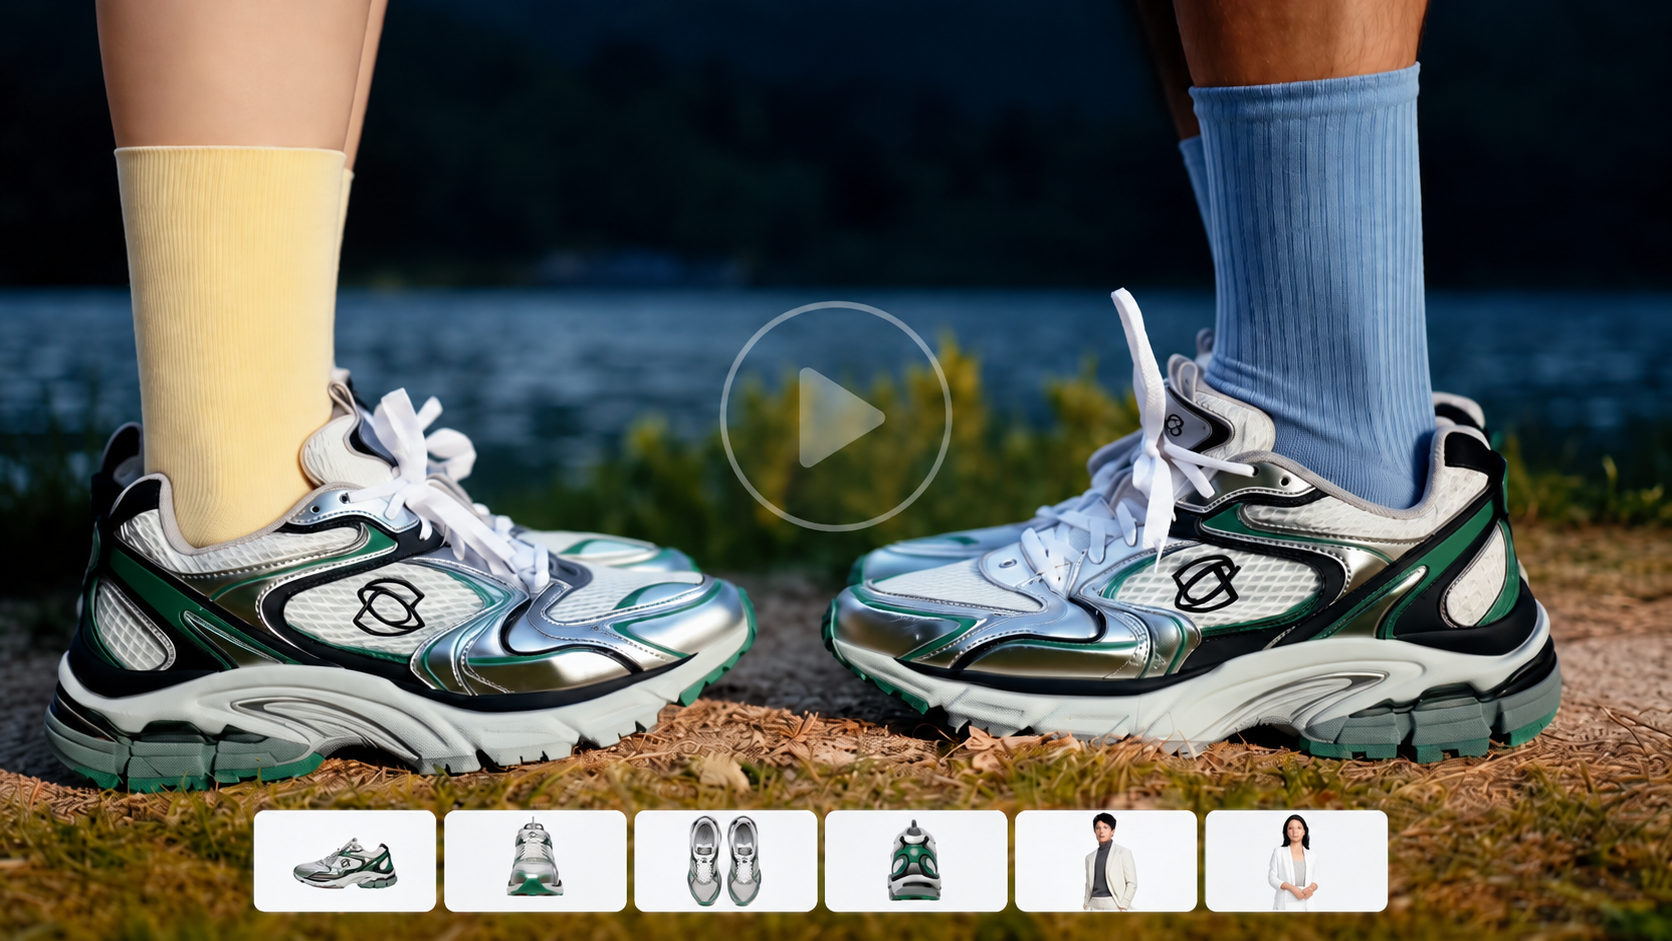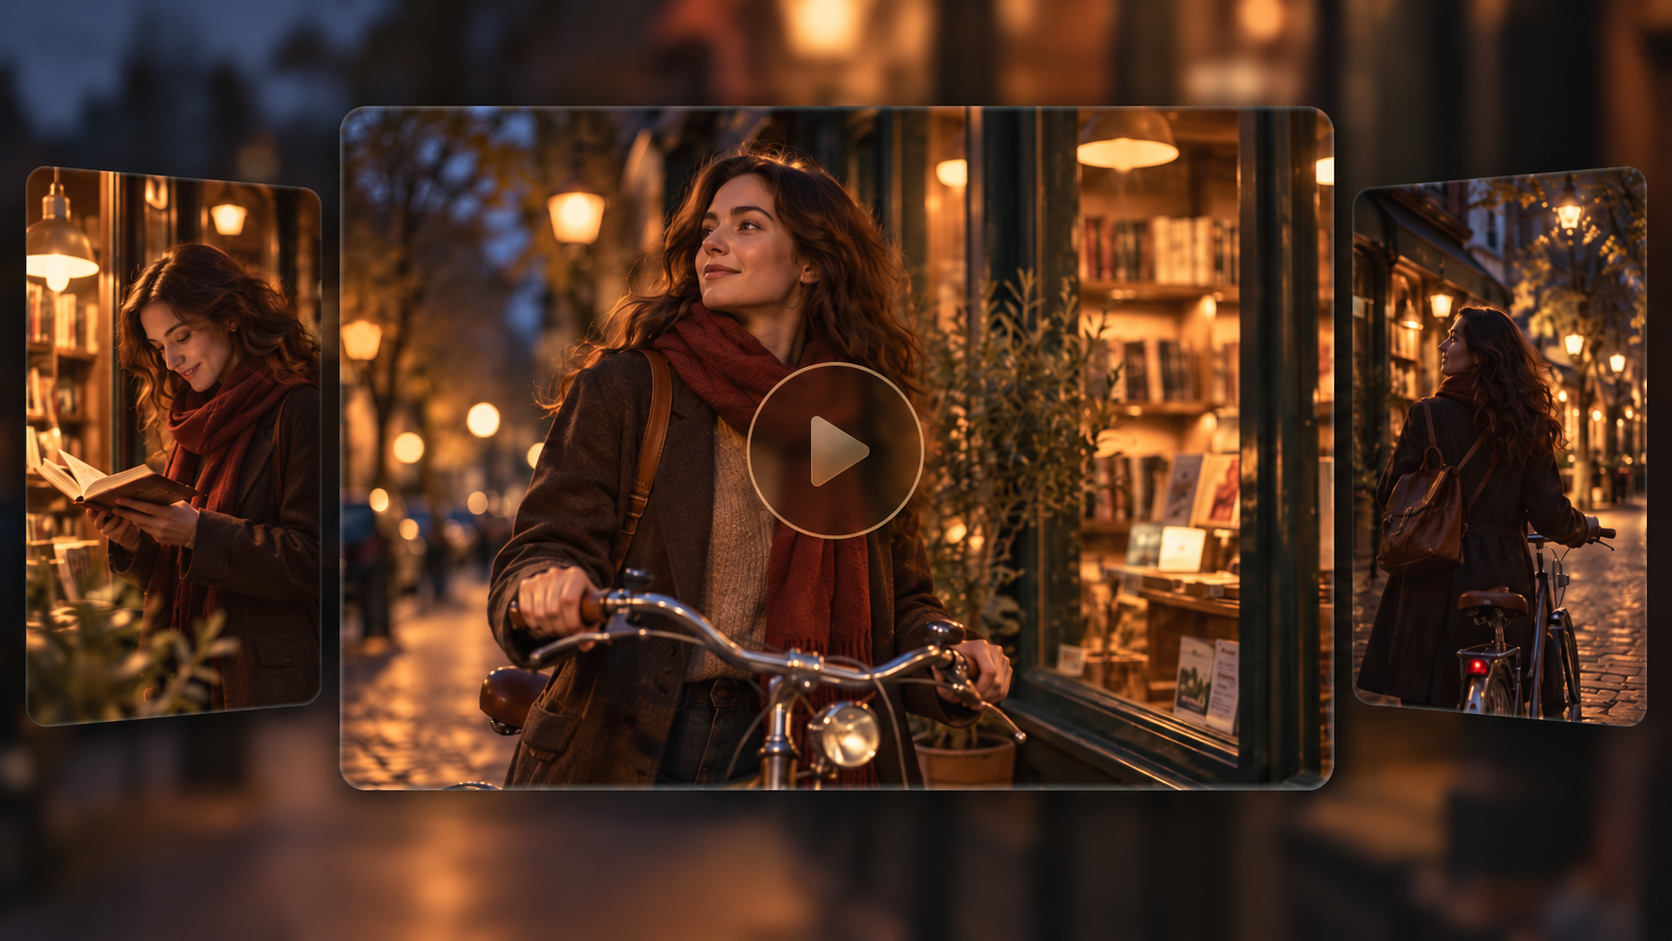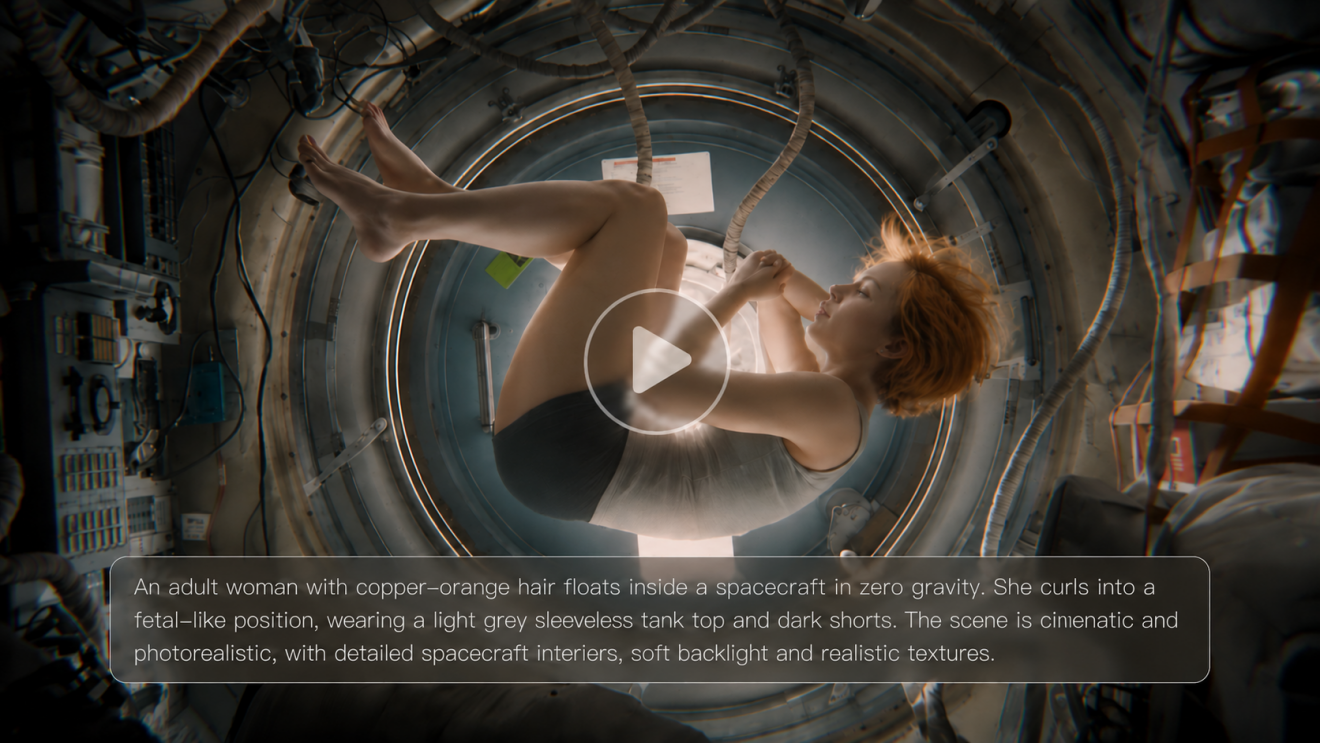
AI filmmaking uses artificial intelligence to develop stories, plan visuals, generate scenes, and edit footage. Filmmakers still guide key creative choices: what audiences see, how scenes feel, and how shots connect throughout the film. AI filmmakers use different tools for scripting, storyboarding, cinematic AI video generation, and post-production. This guide outlines the workflow, what to look for in AI tools for filmmakers, and how Kling 4.0 can support the process.
What Is AI Filmmaking?
AI filmmaking is the use of artificial intelligence to develop stories, plan visuals, generate video scenes, and assemble them into films. It combines human creative direction with AI tools to explore shots, create footage, and refine a finished sequence.
The AI Filmmaking Workflow: From Idea to Final Film
An AI filmmaking workflow follows film production logic, even when AI handles parts of the work:
- Develop the story. Define the premise, audience, conflict, tone, and ending. A short script or outline sets direction.
- Plan the scenes. Break the story into scenes and shots. Storyboard framing, action, camera movement, lighting, and each shot's purpose.
- Build visual references. Prepare character, location, prop, and style references. Consistent visuals help recurring subjects and settings stay recognizable.
- Generate and refine footage. Generate clips from text, images, or video references. Review each take and revise only what needs work.
- Edit and assemble the film. Select the strongest clips, arrange them, and refine pacing and transitions. Finish dialogue, sound, music, and color in suitable post-production tools.
How to Choose the Right AI Video Tool for Filmmaking
Whether you are building a short project with an AI movie maker or developing a more involved film, treat each generated clip as a shot with a clear purpose. The best AI filmmaking tool is not necessarily the one with the longest feature list. Choose according to your project and the creative control you need. Consider whether it can:
- Work with visual references. Look for support for image, video, character, or voice references when a project needs recognizable subjects and locations.
- Handle motion and camera direction. Check how well it manages continuous action, fast movement, tracking shots, and complex camera moves.
- Support narrative control. Useful options include longer generation, multi-shot direction, and ways to define important visual moments.
- Edit existing footage. A tool that can make targeted changes may save time when a shot is close to the desired result. Compare its AI video editor capabilities with its generation features.
- Fit your production workflow. Consider aspect ratios, output options, clip limits, timeline tools, and how easily you can review and export your work. Different projects may call for text-to-video or image-to-video workflows.
Why Consider Kling AI for AI Filmmaking
At Kling AI, we bring video generation and editing together to help you move from an initial idea to finished scenes. Our latest video model, Kling 4.0, combines Omni Reference, more stable dynamic motion, native 3–30-second generation, and precise video editing with enhanced prompt understanding. By combining reference assets with your creative direction, Kling 4.0 can interpret, expand, and refine your prompts with a director's eye, helping develop storylines, scene blocking, and camera movements.
What Kling 4.0 Brings to AI Filmmaking
Guide Characters, Settings, and Motion with Omni Reference
Omni Reference supports up to 15 combined reference assets in a single generation: up to 10 images, 5 videos with a combined duration of up to 30 seconds, and 7 Elements, including up to 3 video-based Elements. Use images to guide character appearance, costumes, props, and locations, while reference videos can guide performance, actions, camera movements, and narrative pacing. We also support white-model and depth-map videos, giving you more ways to transfer motion and spatial information into generated scenes. Assign each asset a clear role in your prompt, then describe how you want the references to work together. Kling 4.0 uses these visual cues alongside your creative instructions to help maintain character identity and scene continuity.
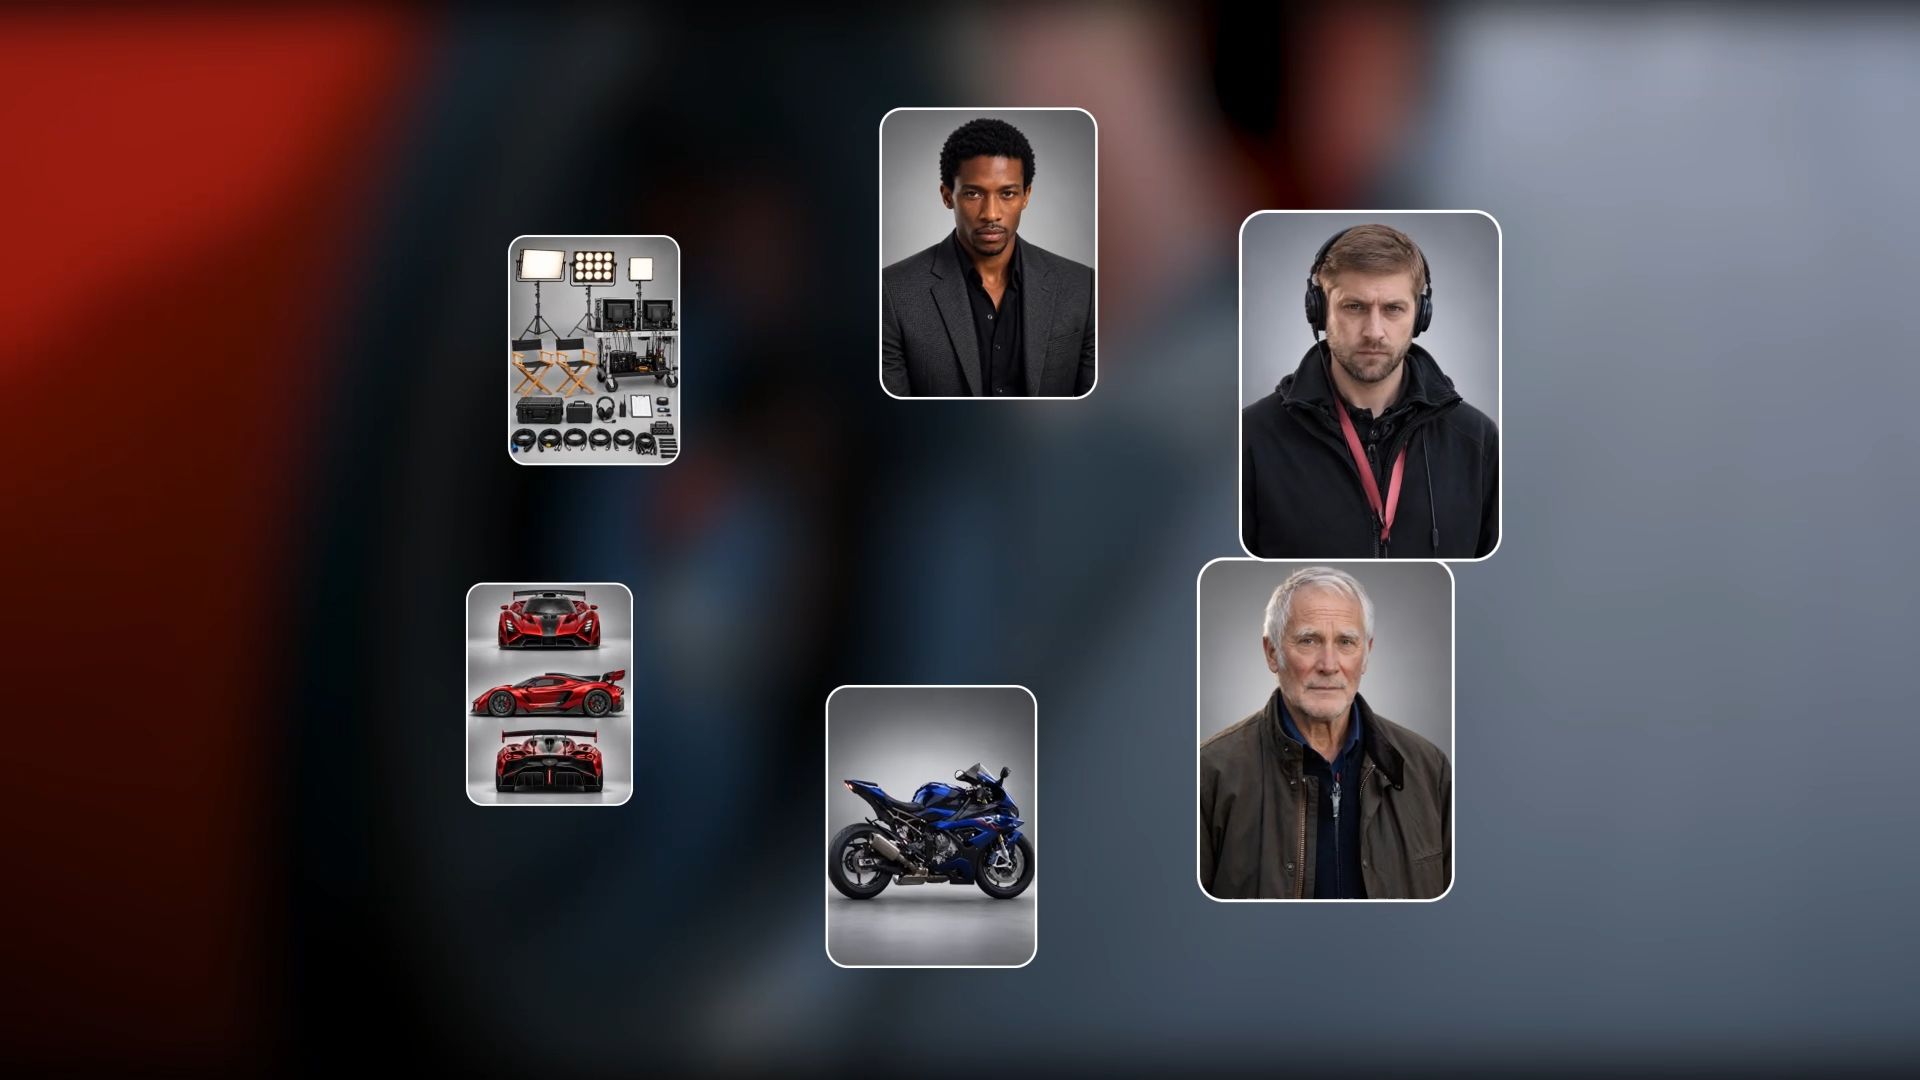

Create More Stable Large-Scale Motion and Camera Moves
Kling 4.0 improves stability in large-scale motion and complex camera movement. High-speed action, continuous movement, tracking shots, and orbiting camera moves can remain smoother and more coherent. For filmmakers, this creates more room to design active scenes while keeping the subject readable and the visual progression connected.
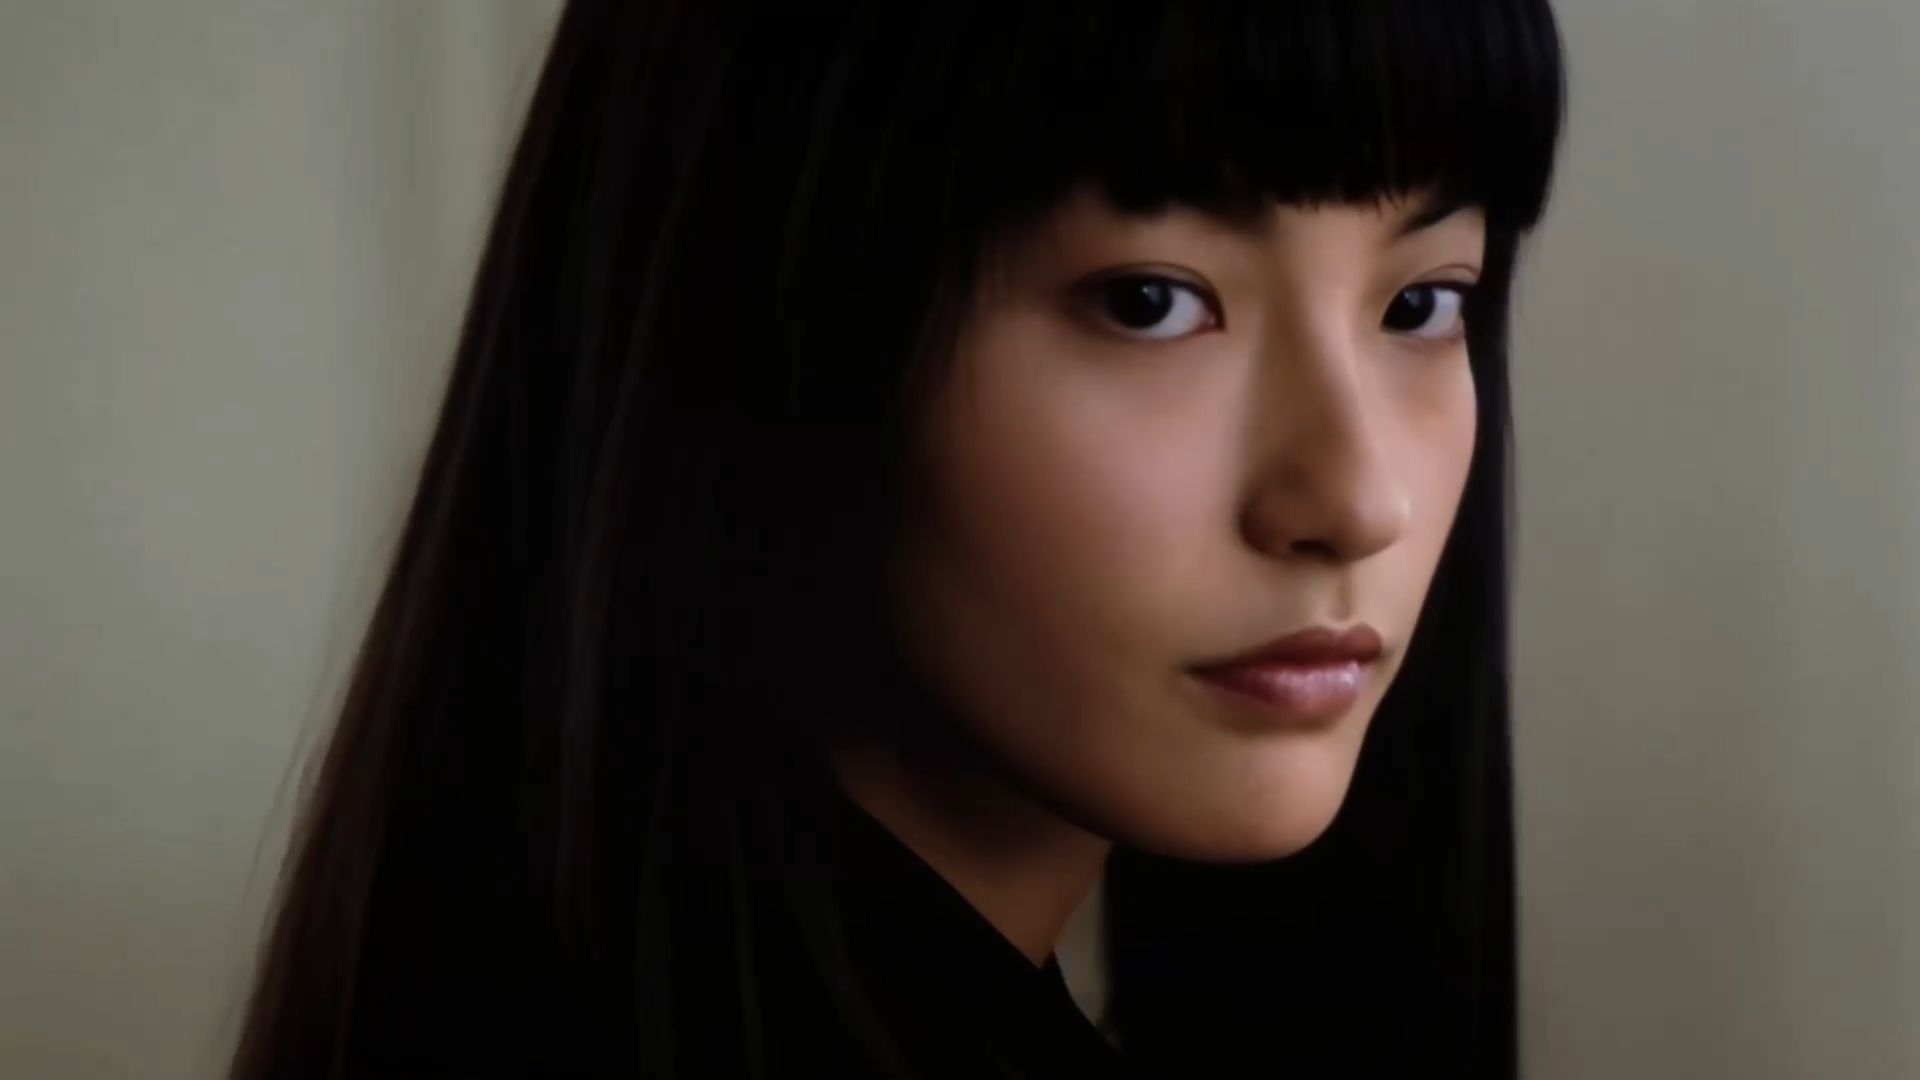
Shape Narrative Beats with Longer Generation and Keyframe Control
Kling 4.0 generates videos up to 30 seconds, giving actions, emotions, and camera movements more room to unfold. Multi-shot is enabled by default to help shape scene flow. With prompts of up to 8,000 tokens, it can interpret and expand your ideas into storylines, scene blocking, and camera direction. For precise visual control, use the separate Keyframes workflow to define up to 10 key moments.
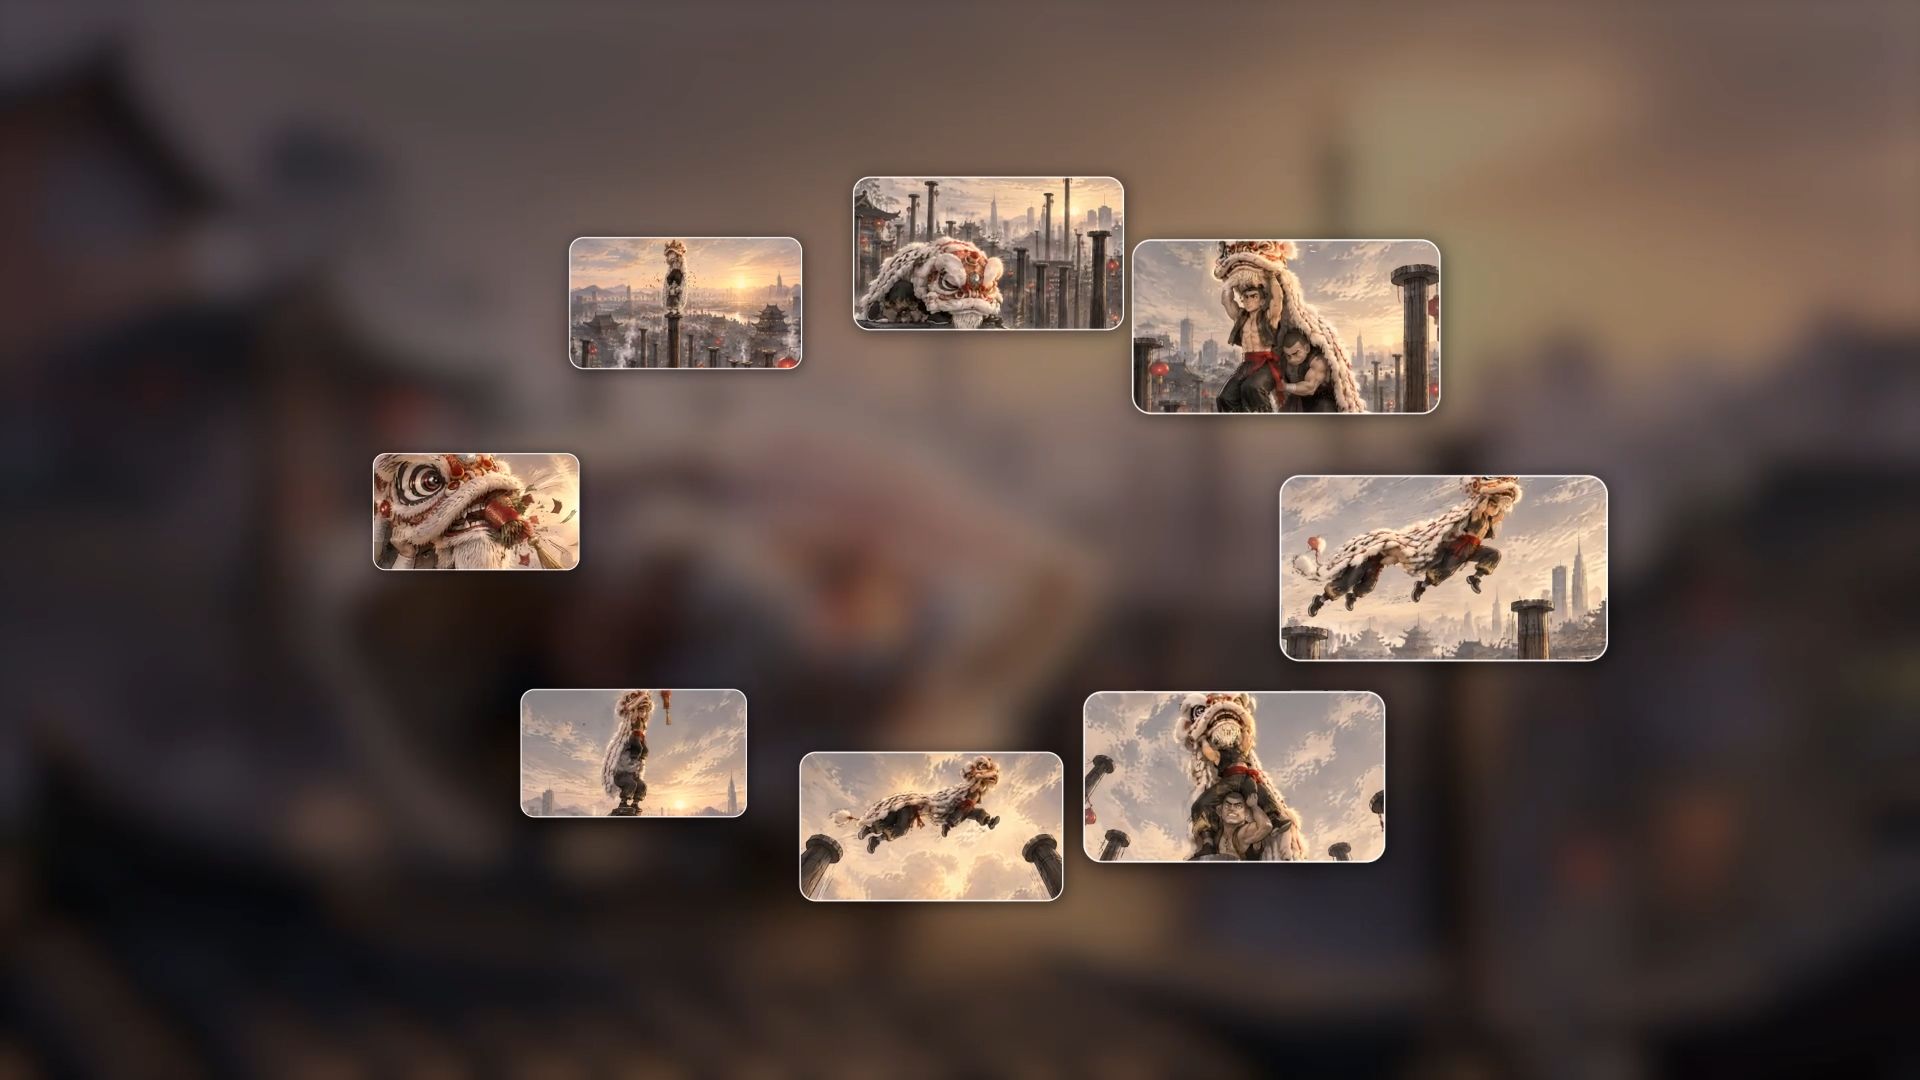
Refine Existing Footage with Precise Video Editing
Filmmaking often involves revising a shot rather than starting over. Kling 4.0 supports targeted edits to existing footage, including adding, replacing, or removing subjects and scene elements, changing backgrounds or visual styles, and adjusting actions, camera angles, or camera movements. The editing workflow supports up to five video clips, including one primary clip; each clip can be 3 to 30 seconds, with a maximum combined duration of 30 seconds. Clear instructions about what should change—and what should stay the same—help keep revisions focused.
After generating or refining clips, you can continue assembling the sequence on Timeline. Add selected clips, arrange their order, trim sections, and insert or replace footage as needed. This makes it easier to build a longer sequence from individual scenes without treating every revision as a new project.
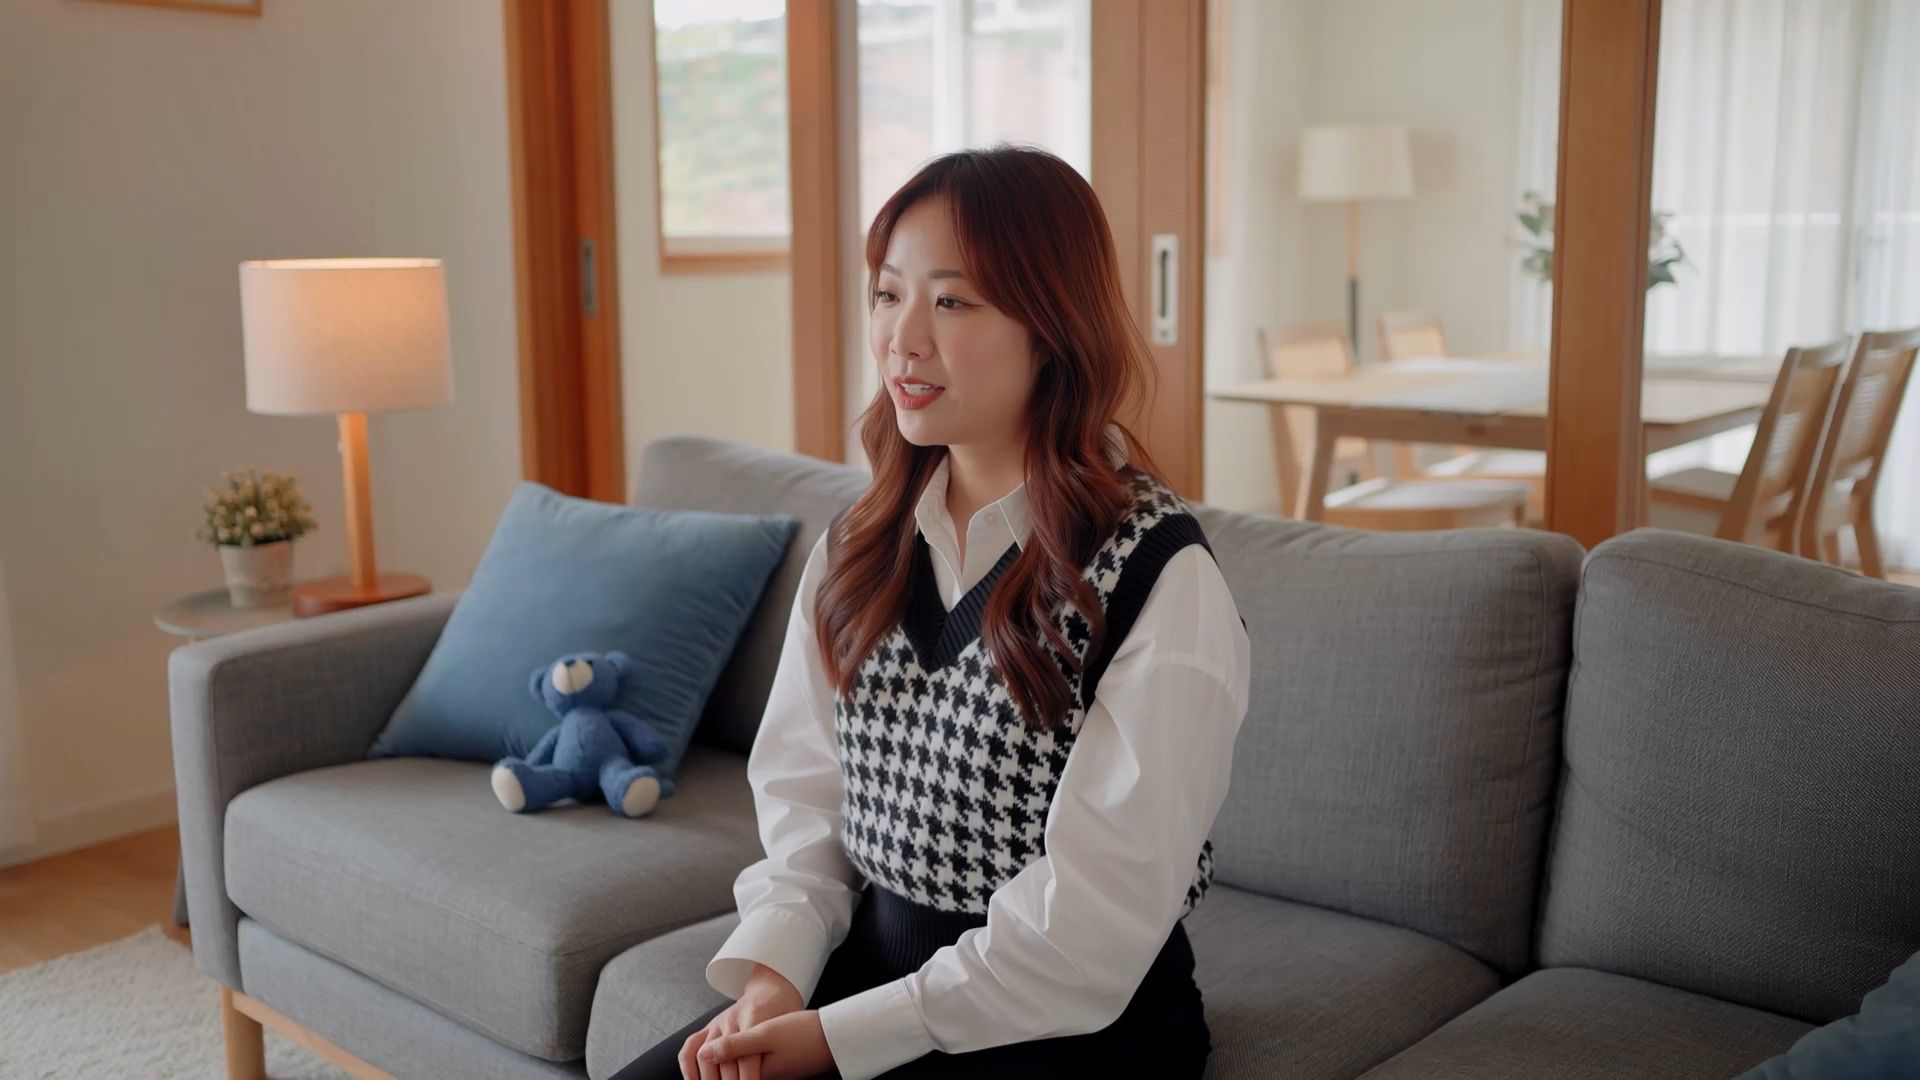
Plan for a Cinematic Look with Wide Framing and High-Quality Output
Kling 4.0 supports a 21:9 aspect ratio for wider cinematic compositions, alongside other common formats. We’ve also enhanced visual realism and character performance, with more natural details in facial expressions, body movements, scene lighting, and material textures. For more professional output, 4K resolution and 10-bit HDR are coming soon, bringing richer color depth and smoother transitions between highlights and shadows.
How to Make an AI Film with Kling 4.0
Once your story and shot plan are ready, Kling 4.0 can help turn references and creative direction into moving scenes. Use the following steps to keep the process organized:
Step 1: Define the Scene You Want to Create
Start with one scene or sequence rather than trying to generate an entire film at once. Decide what the audience should understand, what the character does, how the scene changes, and how the shot should end. Note the intended framing, camera movement, lighting, and mood.
Step 2: Select Kling 4.0 and Add the Right References
Open Video Generation and select Kling 4.0. In Omni Reference, upload the character, setting, and movement references for your scene. Choose materials that clearly show the details you want to carry into the footage.
Step 3: Write a Prompt Like a Director
Describe the scene in a clear order: subject and setting, action, emotional beat, shot size, camera movement, lighting, and the way the scene should finish. If you use references, identify what each one should guide. For multi-shot scenes, explain the shot order and what must remain consistent across cuts. Specific visual instructions are usually more useful than broad phrases such as “make it cinematic.”
Step 4: Generate, Review, and Refine the Footage
Choose the duration and aspect ratio that fit the shot, then generate the clip. Review the result for character consistency, action continuity, camera movement, composition, and important props. If you are editing existing footage, clearly identify the source clip—for example, use “Edit @Video1”—and state exactly what to change and what to preserve. Make focused revisions instead of changing several unrelated details at once.
Step 5: Assemble the Film on Timeline
When your clips are ready, right-click a generated clip and select Add to Timeline, then open Timeline in the top-right corner. Arrange clips in story order, trim unnecessary sections, and insert or replace shots where the sequence needs adjustment. Preview the complete edit to check pacing and continuity, then download the assembled video. For detailed audio mixing or advanced color grading, use dedicated post-production tools as needed.
Practical Tips for Better AI Filmmaking Results
AI tools for filmmaking can speed up production, but strong results still depend on clear creative decisions. These habits can help filmmakers get more consistent footage and make revisions easier:
Start with a Scene You Can Clearly Describe
Keep the first test manageable: one location, a small cast, and a visible action or change. A short, complete sequence is easier to evaluate than a complicated story with many characters and scene changes. Once the visual direction works, expand the project shot by shot.
Give Every Reference a Specific Job
Do not upload a group of references without explaining how they should be used. State which image defines the character, which one establishes the location, and which video guides movement or camera language. Avoid references that contradict one another, and reuse the most important visual references when a character or location returns.
Describe Actions and Camera Movement Separately
A useful prompt explains both what the subject does and how the camera responds. For example, describe whether a character walks toward a doorway, pauses, and turns, then specify whether the camera tracks beside them or pushes in for a close-up. This gives the AI filmmaker a clearer direction than relying on style words alone.
Review Continuity Across the Whole Sequence
A clip can look impressive on its own but still fail to connect with the shots around it. Check character appearance, costume, props, screen direction, lighting, spatial layout, and the timing of actions. Watch the clips in sequence and revise the shots that interrupt the story.
Treat Sound and Finishing as Part of Production
Plan dialogue, ambience, sound effects, and music alongside the visuals, even if you complete the final mix in separate software. The same applies to detailed color grading and final mastering. AI video generation is one part of filmmaking, not a substitute for every stage of post-production.
The same principles can support different formats, from animation maker projects and short videos to explainer videos. Marketing teams can adapt the workflow for commercial video production.
Conclusion
AI filmmaking starts with an idea. With Kling 4.0, we help you develop that idea with a director’s eye. Combine images, videos, Elements, and voice references to guide character appearance, performance, camera movement, and pacing. Then describe the scene you want to create: Kling 4.0 can interpret, expand, and refine your prompts, developing the storyline, scene blocking, and camera direction into a more coherent visual sequence.
FAQs
Can AI Make an Entire Film?
Yes, AI can generate footage for an entire film, while you direct the story and assemble the final sequence. Plan the characters and shots, generate the scenes, and review their continuity together. Kling 4.0 supports clips up to 30 seconds per generation, and Continuous Timeline Creation helps you develop a longer film from multiple clips.
What Do I Need to Start AI Filmmaking?
Start with a story idea, a short outline, and a clear sense of the visual style. A storyboard and reference images can help, but they are not essential for every project. You will also need an AI video tool and a way to review and assemble the clips.
What Should I Look for in an AI Filmmaking Tool?
Look for the capabilities your project actually needs: reference support, character consistency, motion and camera control, generation length, editing options, aspect ratios, and a practical way to assemble clips. No single feature matters more than whether the tool fits your workflow.
How Do I Keep the Same Character Across Shots?
Reuse clear references showing the same face, hairstyle, outfit, and defining details, and specify what each reference should preserve. Kling 4.0's Omni Reference helps guide identity across new scenes and camera angles. Keep the written character description consistent, then review each take alongside its neighboring shots for changes in appearance, props, and lighting.
Can I Try Kling AI for Free?
Yes, Kling AI provides new users with a limited amount of free trial credits to try generating videos or images. Start with a small scene to explore how your references and directions affect the result. Check the models and generation options available in your account, then build on a take you like.