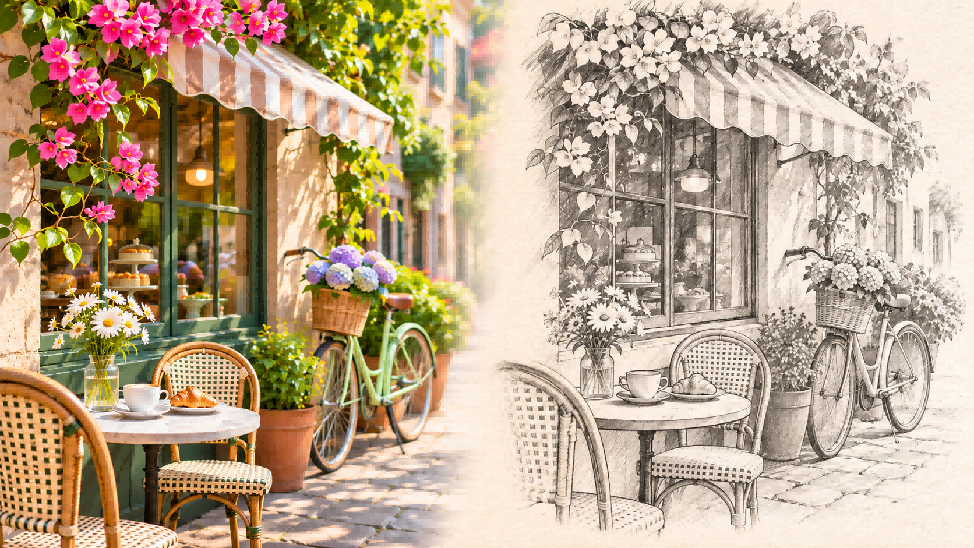
A photo can capture a moment worth keeping, but a convincing sketch takes more than a filter. Facial features may lose definition, shadows can become too heavy, and simple effects often lack the texture of hand-drawn work. AI makes it easier to explore treatments from pencil portraits to colorful illustrations. This guide explains how to turn a photo into a sketch, with practical styles, prompts, and a simple workflow using Kling AI.
Which Sketch Style Works Best for Your Photo?
Select a style based on your subject and desired finish. Graphite and charcoal create traditional sketch effects, while colored pencil adds color and texture. Line art and ink emphasize outlines and structure. With an AI image generator, you can turn a photo into a drawing in different artistic styles while using the same reference image.
Style | Typical Look | Best For |
Graphite Pencil | Fine lines and soft shading | Portraits and realistic sketches |
Charcoal | Bold strokes, deep shadows | Dramatic portraits and high-contrast scenes |
Line Art | Clean outlines with minimal shading | Objects, products, and simple illustrations |
Ink Sketch | Defined strokes and cross-hatching | Buildings and streetscapes |
Loose Hand Sketch | Rough, expressive lines | Concepts and casual studies |
Colored Pencil Sketch | Layered colors and visible pencil strokes | Colorful portraits and creative sketches |
For a realistic likeness, try graphite. Charcoal adds contrast, while line art emphasizes shape. Colored pencil gives you defined strokes and layered color.
Visual Example: Three Styles From the Same Photo
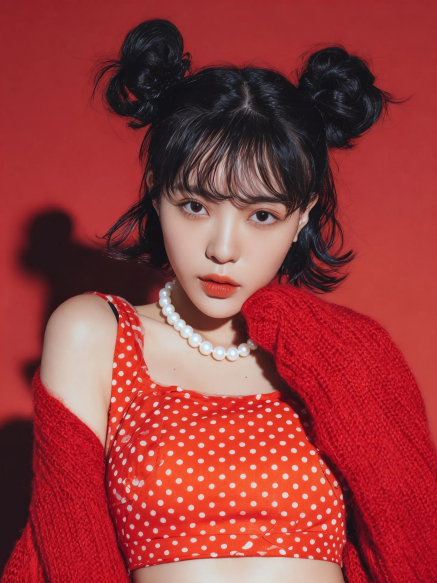
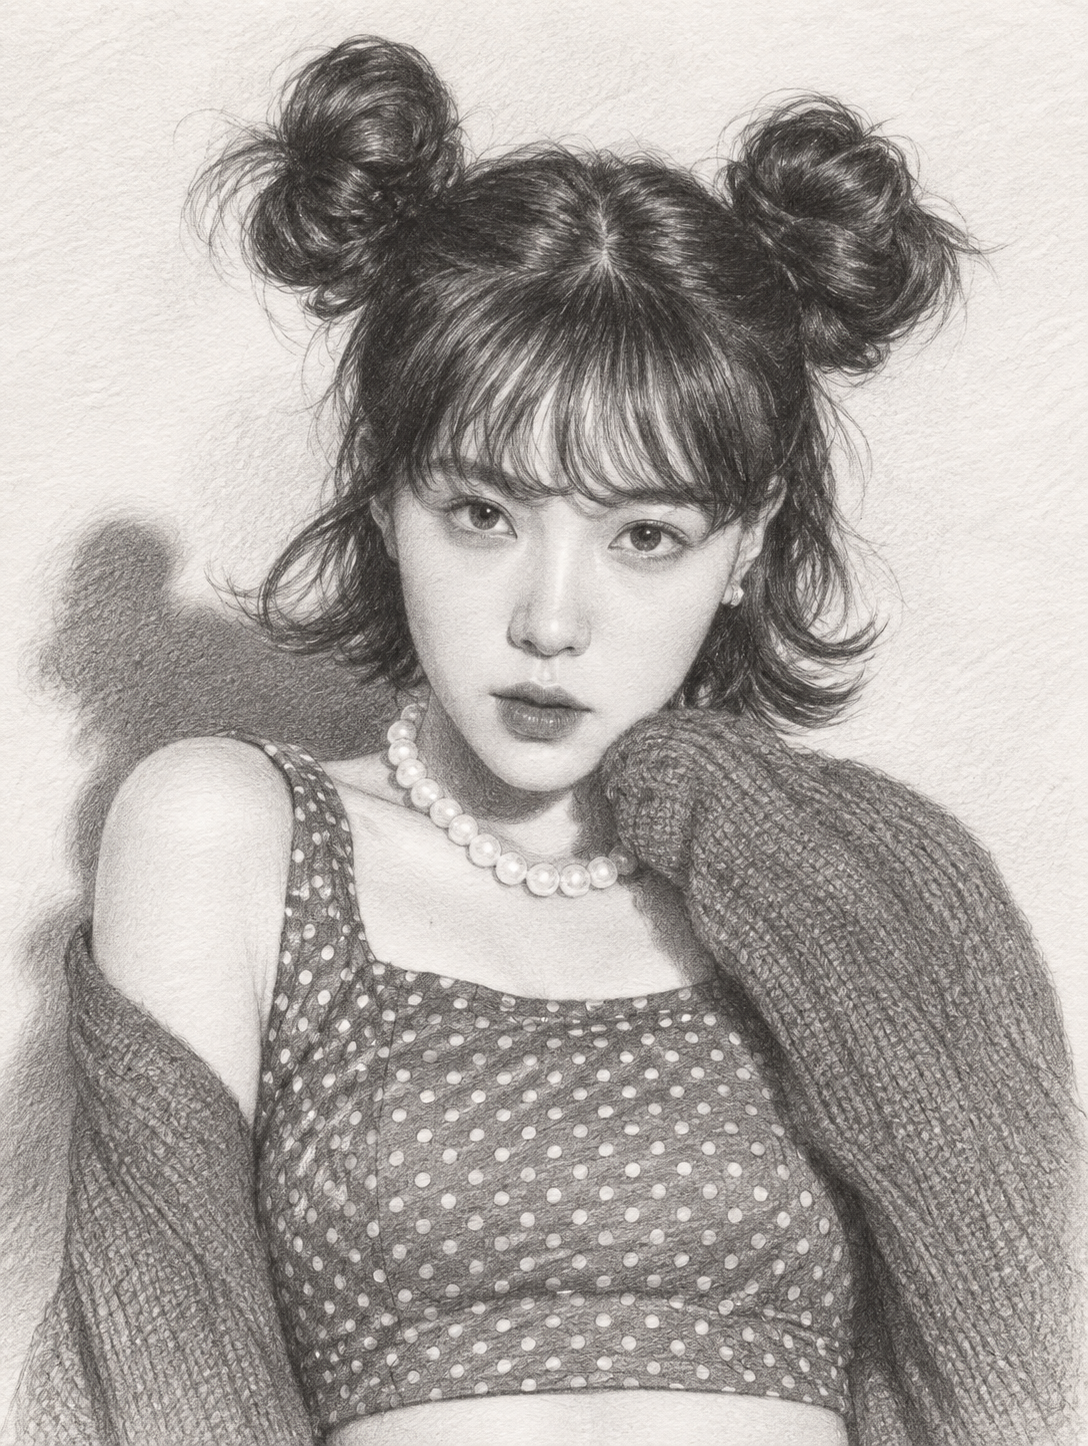
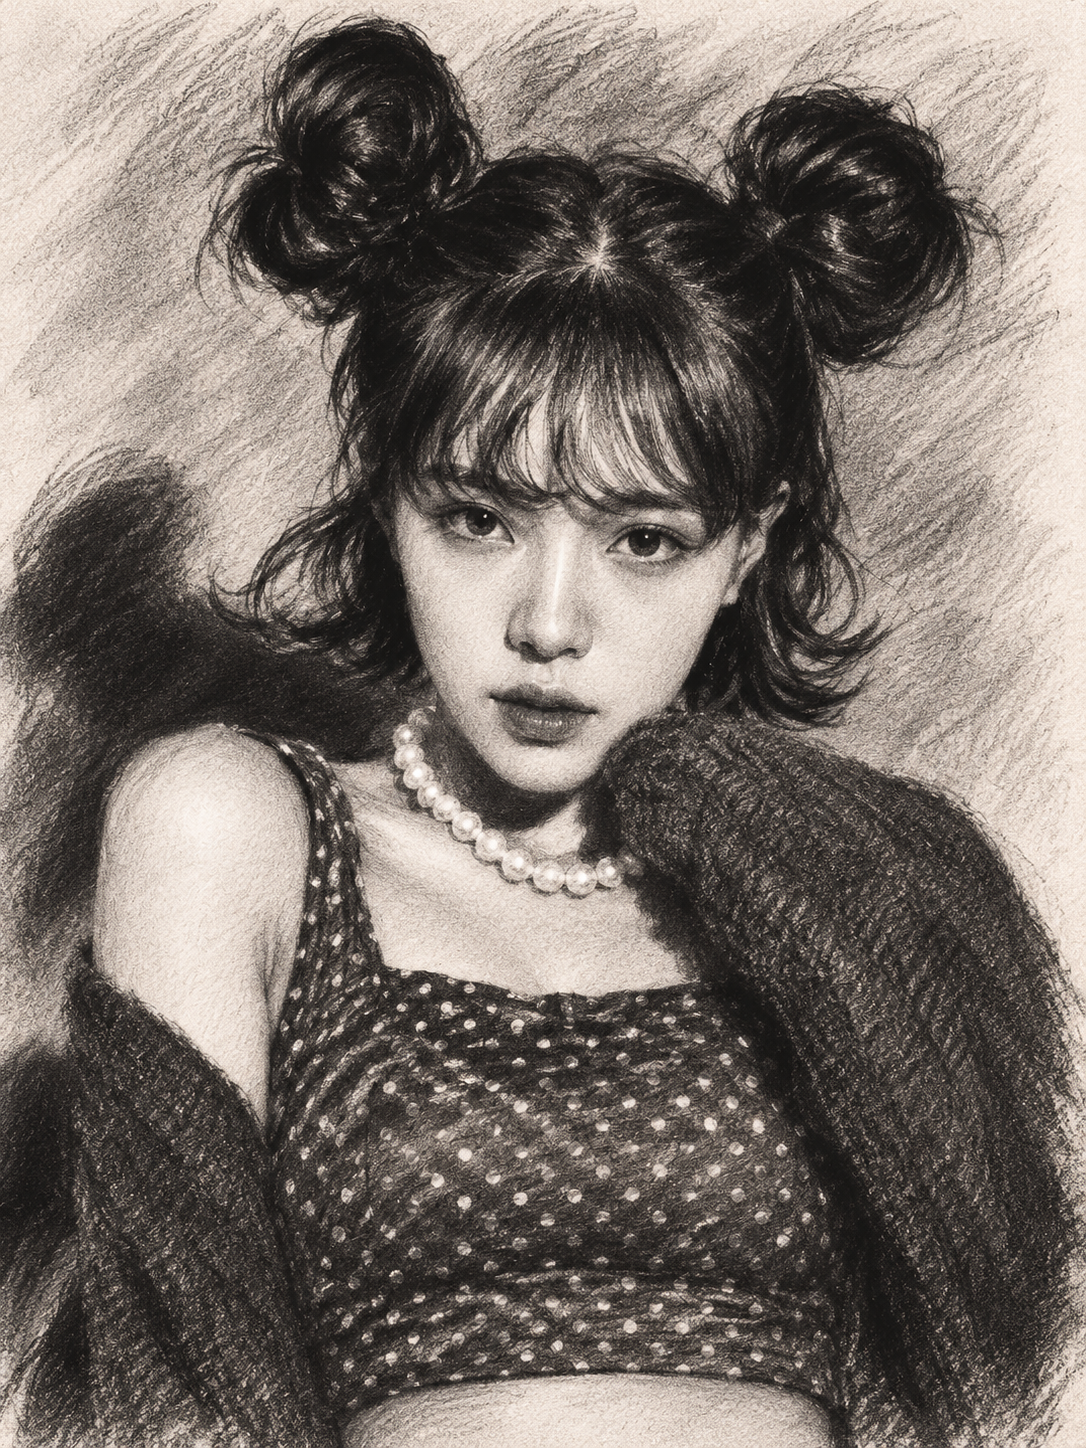
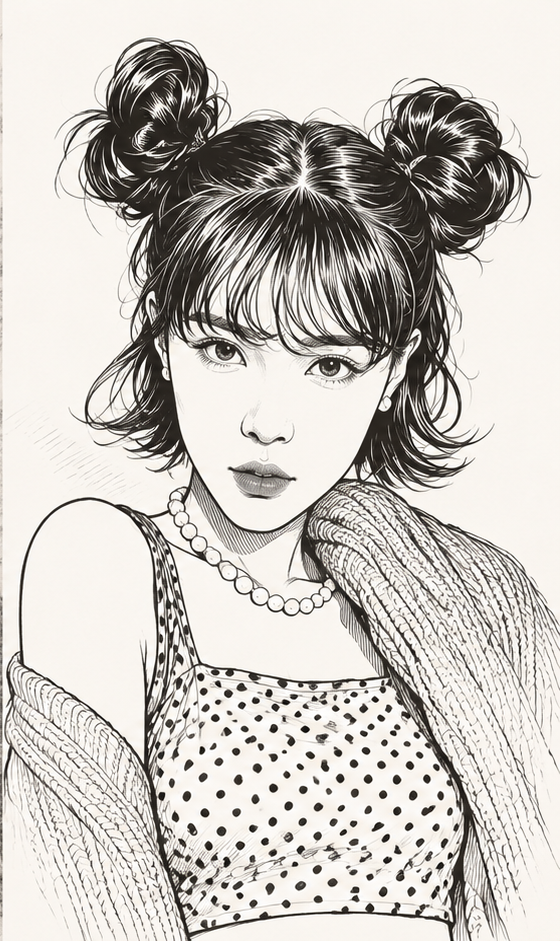
The same photo can be transformed into different sketch styles by adjusting the artistic medium and drawing details. Graphite pencil creates fine lines and soft shading, charcoal adds bold strokes and dramatic shadows, while line art emphasizes clean outlines with minimal shading. Compare how each style changes the visual effect while preserving the subject's recognizable features.
Reference Image | Graphite Pencil | Charcoal | Line Art |
|
|
|
|
| Prompt: Transform the uploaded photo into a [Graphite Pencil], [Charcoal], or [Line Art] sketch. Preserve the subject's facial features, hairstyle, pose, and composition while adapting the linework and shading to the selected style. | |||
How to Turn a Photo Into a Sketch With Kling AI
Once you've chosen a style, the next step is to turn your photo into artwork that still looks like the original subject. At Kling AI, we provide an AI-powered platform for creating and editing images and videos. Our Kling IMAGE 3.0 Omni image generation and editing model lets you transform existing photos into graphite, charcoal, ink, or other illustration styles using natural-language prompts. You can guide the linework, shading, and paper texture while using photo references to help retain recognizable facial features, object shapes, and composition. If you don't have a photo, you can also start with text to create an original sketch. Follow the steps below to turn your photo into a sketch with Kling AI.
Step 1. Upload a Photo or Start With Text
Open Kling AI’s Image Generation workspace and select Kling Image 3.0 Omni. If you want to change a photo into a sketch, upload it as a reference to guide the image-to-image transformation. Upload a clear image where the main subject and important details are easy to recognize. Portraits with visible facial features or objects with distinct outlines usually work best.
If you don't have a photo, you can also start from text. Describe the subject, setting, and type of artwork you want. If you have a separate style reference, you can upload it to guide the linework, shading, or paper texture.
Step 2. Describe Your Preferred Sketch Style
Describe the artistic medium first, such as graphite pencil, charcoal, ink, or colored pencil. Then add details that will shape the final image, including the line weight, shading style, and paper texture. For portraits, note facial proportions, hairstyle, glasses, and expression. For products or buildings, focus on proper outlines, perspective, and structural details.
Step 3. Generate, Compare, and Export Your Sketch
Choose an aspect ratio that fits your intended use and select the number of images and output resolution. Kling IMAGE 3.0 Omni supports direct 2K and 4K output in supported workflows, giving you options for different viewing and design needs. Then, generate your sketch, inspect the subject’s proportions, facial features, linework, and background.
If something looks off, make a targeted adjustment instead of rewriting the entire prompt. You might request more defined pencil strokes, lighter shading around the face, or cleaner outlines around an object. Once you’re happy with the result, download your sketch. You can also use it as a starting point for another creative variation.
Reference Image1 | Reference Image2 | Output |
|
|
|
Prompt: Transform @Image 1 into a realistic charcoal drawing using @Image 2 as the artistic style reference. Preserve the original landscape, composition, perspective, and key elements of @Image 1, including the lake, distant mountains, sunset, trees, and winding path. Apply the charcoal drawing style of @Image 2, featuring bold hand-drawn strokes, deep shadows, expressive shading, natural smudging, and visible paper texture. Maintain the recognizable details and spatial relationships of @Image 1 while creating an authentic black-and-white charcoal sketch. Use @Image 2 only as a style reference without introducing any of its objects or scenery. | ||
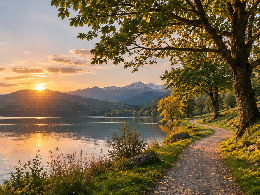
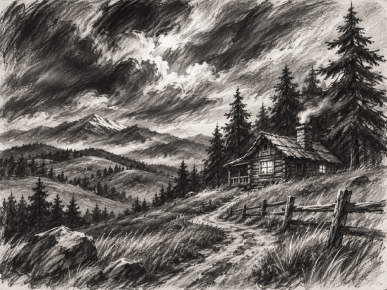
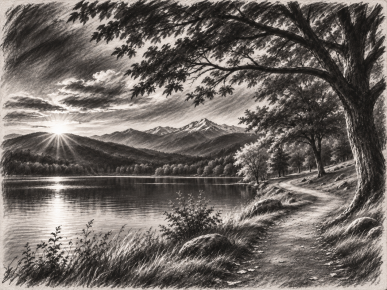
Photo-to-Sketch Prompts for Different Results
The style samples above demonstrate how the same photograph can be reimagined in different artistic styles. The prompts below are sorted by subject type, covering product shots, moody portraits, architecture, and landscapes. Each prompt highlights adjustable details to help you achieve the visual style you want. You can also use an AI art generator to test these styles on your own reference photos.
Line Drawing for Objects and Products
Line art works best when you care most about an item’s form and design, rather than surface texture. Crisp outlines highlight the product’s silhouette, buttons and structural details without cluttering the frame with extra shading.
| Prompt: Create a clean black and white line drawing of this product photo. Draw continuous, accurate lines to represent the outline, controls, and key design details of the object. Keep shading minimal, simplify minor background elements, and set the object against a solid plain white background. |
Charcoal Sketch for Dramatic Images
Charcoal shines for shots with strong directional light and deep shadows. Rich darks, natural smudges, and broad strokes create a more expressive texture than fine pencil lines. This style is great for atmospheric portraits and high-contrast scenes.
| Prompt: Transform this photo into an expressive charcoal sketch. Use bold strokes, deep shadows, textured midtones, and natural smudging. Emphasize the contrast between bright highlights and shadowed areas, with varied charcoal pressure for a loose, hand-drawn finish. |
Ink Sketch for Buildings and Landscapes
Ink sketches are a great fit for architecture, city streets, and landscapes where perspective and structure take priority. Clear outlines and cross-hatching help define building facades, windows, and street depth without using color.
| Prompt: Turn this street photo into a detailed black ink drawing. Give crisp outlines, varied line weights and fine cross-hatching to define the buildings, windows, and street perspective. Maintain the clarity of architectural details and reduce the minor clutter in the background. |
Other Ways to Turn a Photo Into a Sketch
If you're wondering how to convert a picture into a sketch, AI image generation isn't the only option. Depending on the device you're using and how much creative control you want, preset filters or manual editing workflows are also good options.
Use an Online Photo Editor or Sketch Filter
Online sketch filters convert photos into drawings with one-click preset styles. Just upload your image, pick a pencil, charcoal, or line-art effect, and tweak the available sliders. If you want finer control, an AI photo editor lets you spell out custom adjustments, for example, switching art styles, cleaning up backgrounds, or touching up specific details.
Create a Pencil Sketch With Photoshop
Photoshop gives you a hands-on method using layers and blend modes. One common workflow is to duplicate your photo, desaturate the copy, invert it, and set its blend mode to Color Dodge. Apply Gaussian Blur to bring out sketch-style lines. After that, fine-tune contrast and shading using Levels or Curves. Settings vary from photo to photo, so make small incremental changes until the sketch looks how you want it.
Convert Photos on iPhone or Android
You can turn photos into sketches directly from your phone with a compatible editing app or web tool. Pick an image from your gallery, apply a sketch effect or type out custom instructions, then save your finished file. Before exporting, zoom in to inspect small details closely, watch out for distorted faces, faint outlines, and warped product shapes.
If you don’t have a reference photo at all, text-to-image tools can generate original sketches purely from written prompts. If you want to rework a specific existing photograph, uploading it as a reference guides the AI to keep your original composition and subject intact.
Photo-to-Sketch Tips and Common Problems
The first result you get may need some tweaks, especially if the original photo has small details or a busy background. Identify what needs changing before generating another version.
Problem | What to Change |
The face looks different | Request the original facial proportions, hairstyle, and expression |
The result looks like a photo filter | Ask for visible pencil strokes, cross-hatching, and paper texture |
Important details disappear | Specify the small features, accessories, or structural elements to retain |
The background is distracting | Request a simpler background while preserving the main subject |
The drawing style is inconsistent | Use one drawing medium and consistent shading instructions |
The sketch looks too smooth | Introduce varied line pressure, paper grain, and natural drawing marks |
Product shapes appear inaccurate | Reinforce the original outline, proportions, and defining product features |
When reviewing the result, focus on the details most important to your subject. Facial features may matter most in a portrait, and accurate outlines are essential for products and buildings. Generated artwork can reinterpret the original image, so check the finished sketch before using it.
The End
Turning a photo into a sketch doesn’t require drawing every line by hand. With Kling IMAGE 3.0 Omni, you can transform an existing picture or create an original sketch from a text description. Explore graphite, charcoal, ink, and colored-pencil styles, then adjust the details to get the look you want.
FAQs
What Is the Difference Between a Sketch and a Drawing?
Sketches tend to have loose strokes, simple shading, and limited fine details. Drawings, on the other hand, often feature refined shading, crisp outlines, and a more completed, polished look. A sketch is technically a category of drawing, but drawing covers a much broader set of styles and techniques. Decide on the final look you’re after before drafting your AI art prompt.
Can You Turn a Group Photo Into a Sketch?
Yes. You can make a sketch from a group photo, but as there are many faces and small details, you’ll usually need to pay extra attention to those things. Start with a clean source image where each individual is clearly identifiable. With Kling AI, you can tell the model to keep the group size, everybody’s placement, hairstyles and facial features. Always check the output very carefully, especially if the faces are small or partially obscured.
Can AI Turn a Photo Into a Line Drawing?
Yes, AI can convert photos into clean line art sketches with very little shading. Upload your original photo so the model locks in key shapes and proportions. Specify thin, unbroken lines, a plain white background, and your desired level of detail. If fine elements keep getting lost, tweak your prompt to ask for sharper, more delicate linework.
How Do I Keep the Face the Same When Converting a Photo to a Sketch?
Use a clear reference photo that shows the subject's facial features. Ask Kling AI to preserve the facial structure, hairstyle, expression, and distinctive accessories while changing only the drawing style. Avoid conflicting instructions that could alter the subject's appearance. Compare the finished sketch side by side with the original photo, since perfect likeness isn't guaranteed.
Can You Create Matching Sketches From Multiple Photos?
Yes. Stick to the same style description and reference guidance when processing several photos. Keep your instructions consistent for the art medium, line weight, shading approach, and background across all images. Many AI image workflows also support linked outputs or batch edits. Still, review each result one by one. Identical prompts don’t guarantee perfectly matching results.