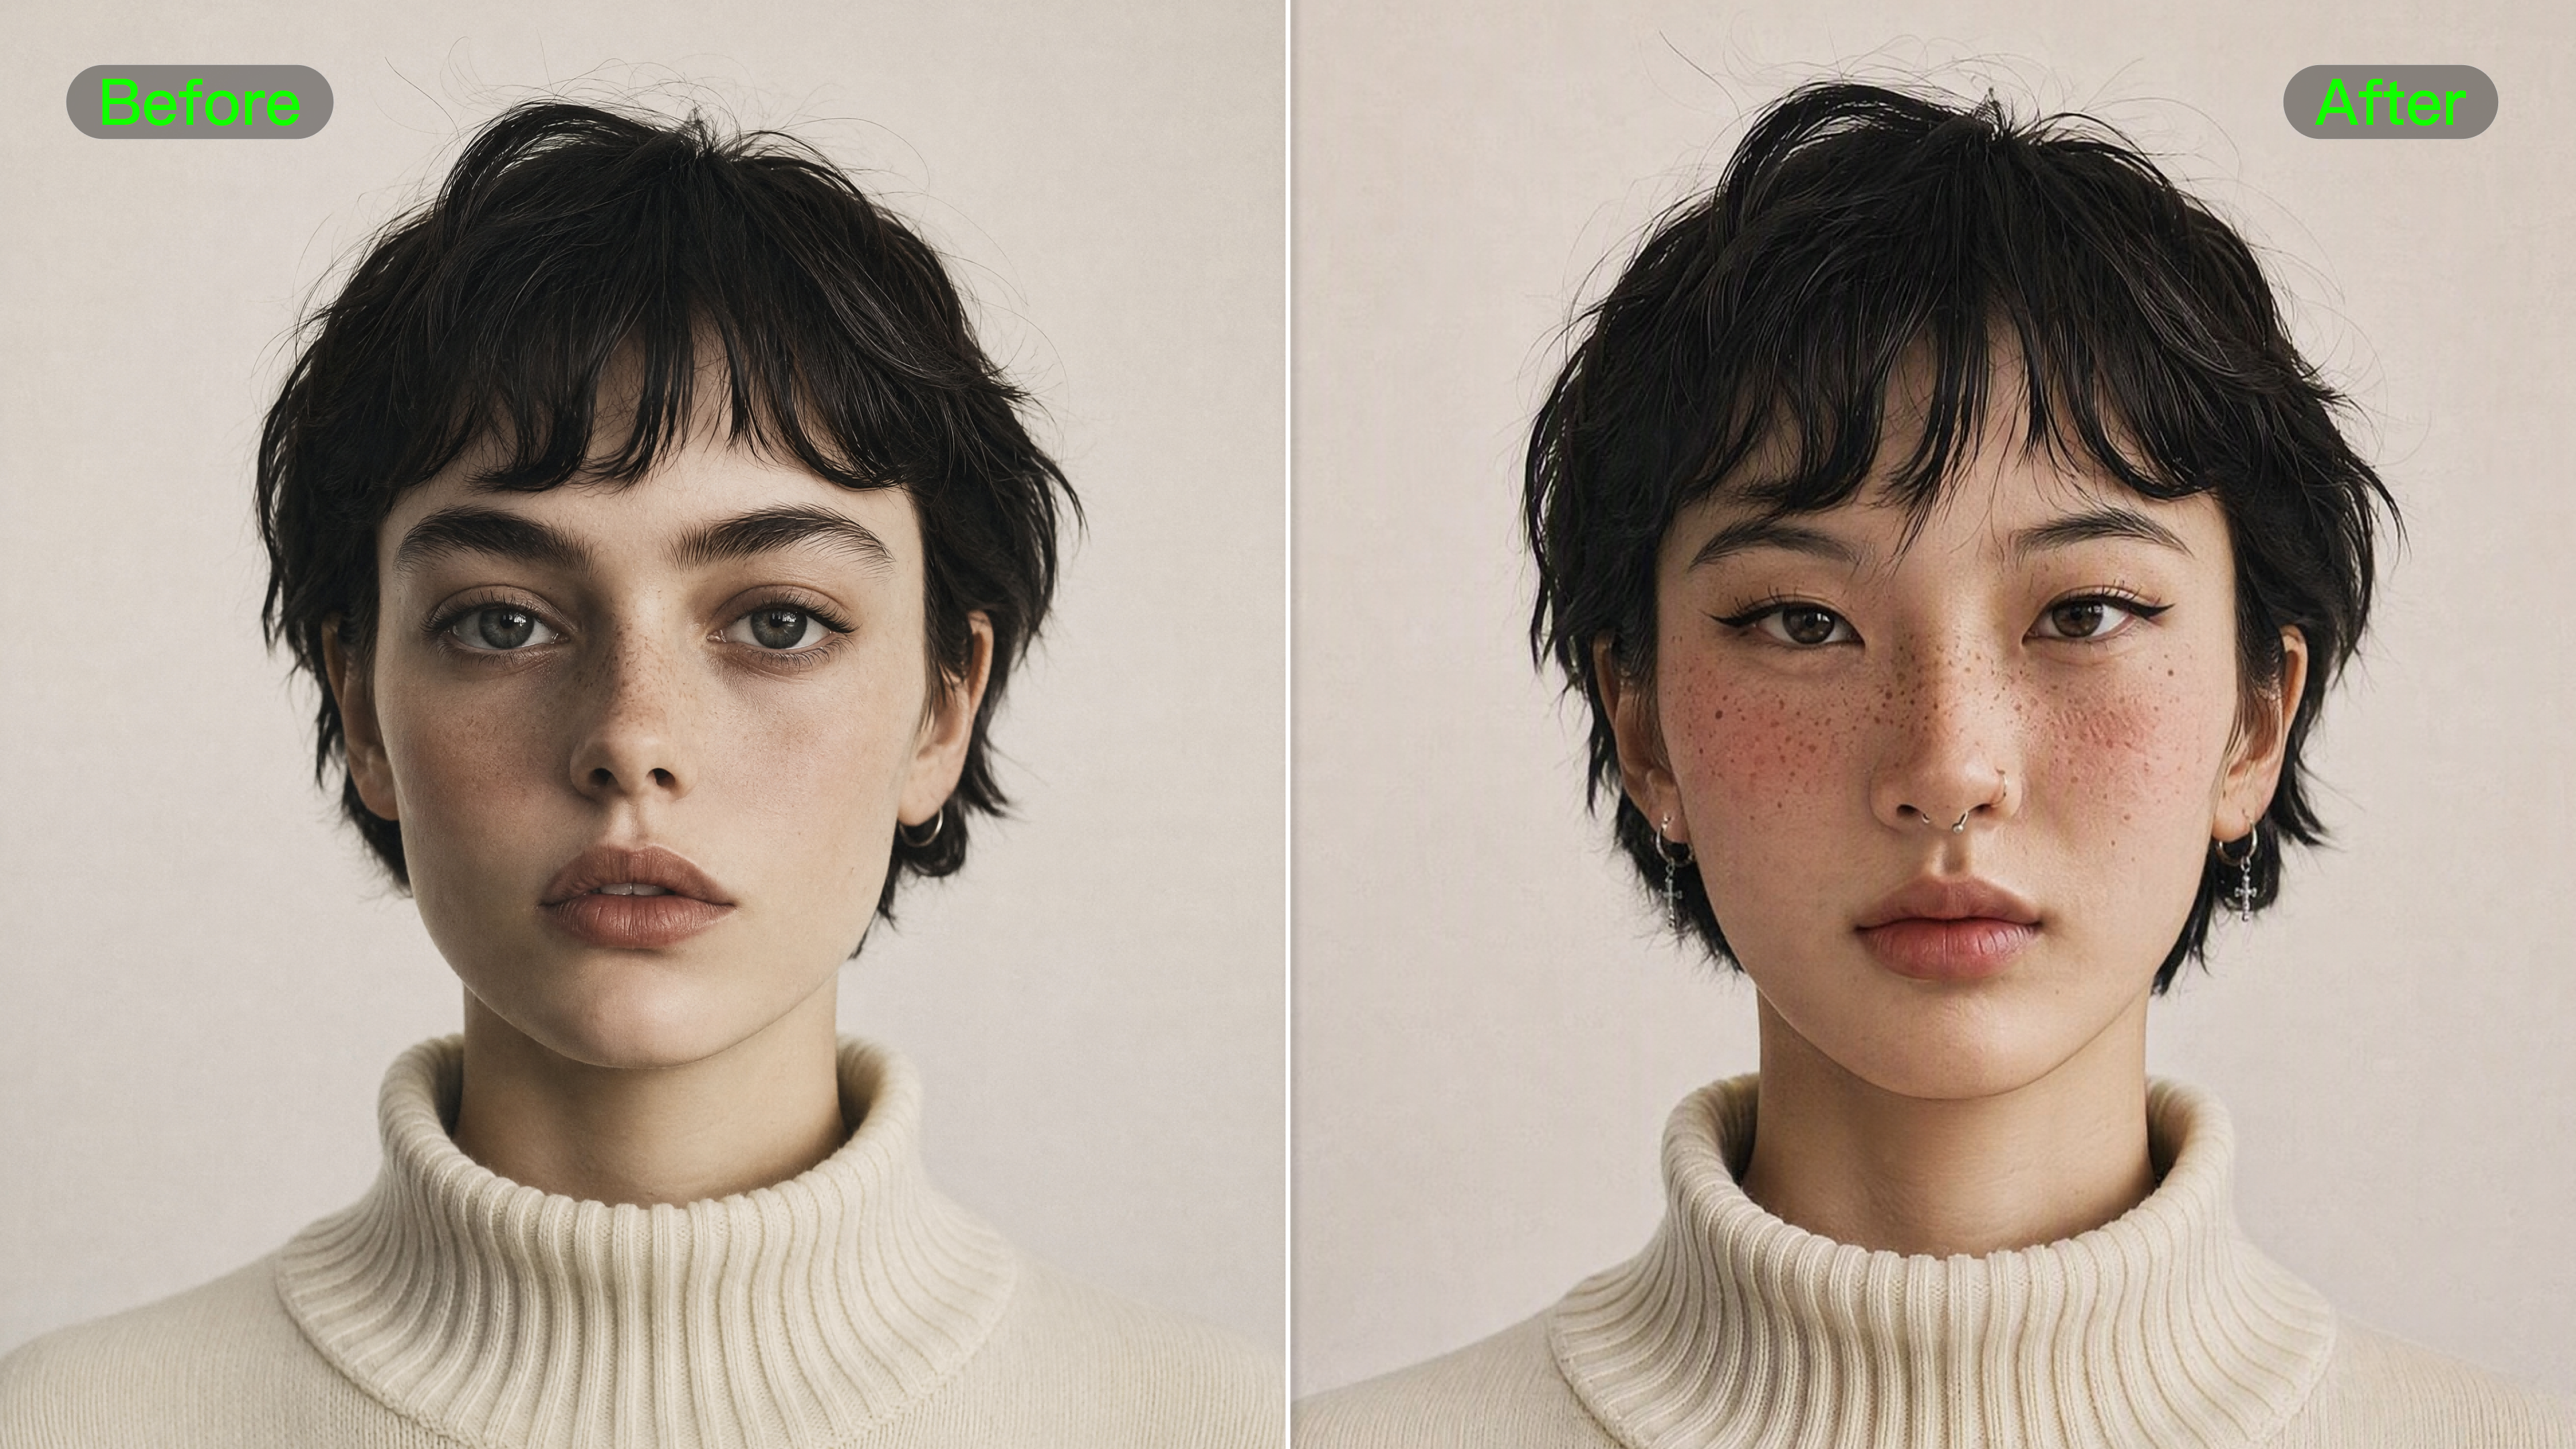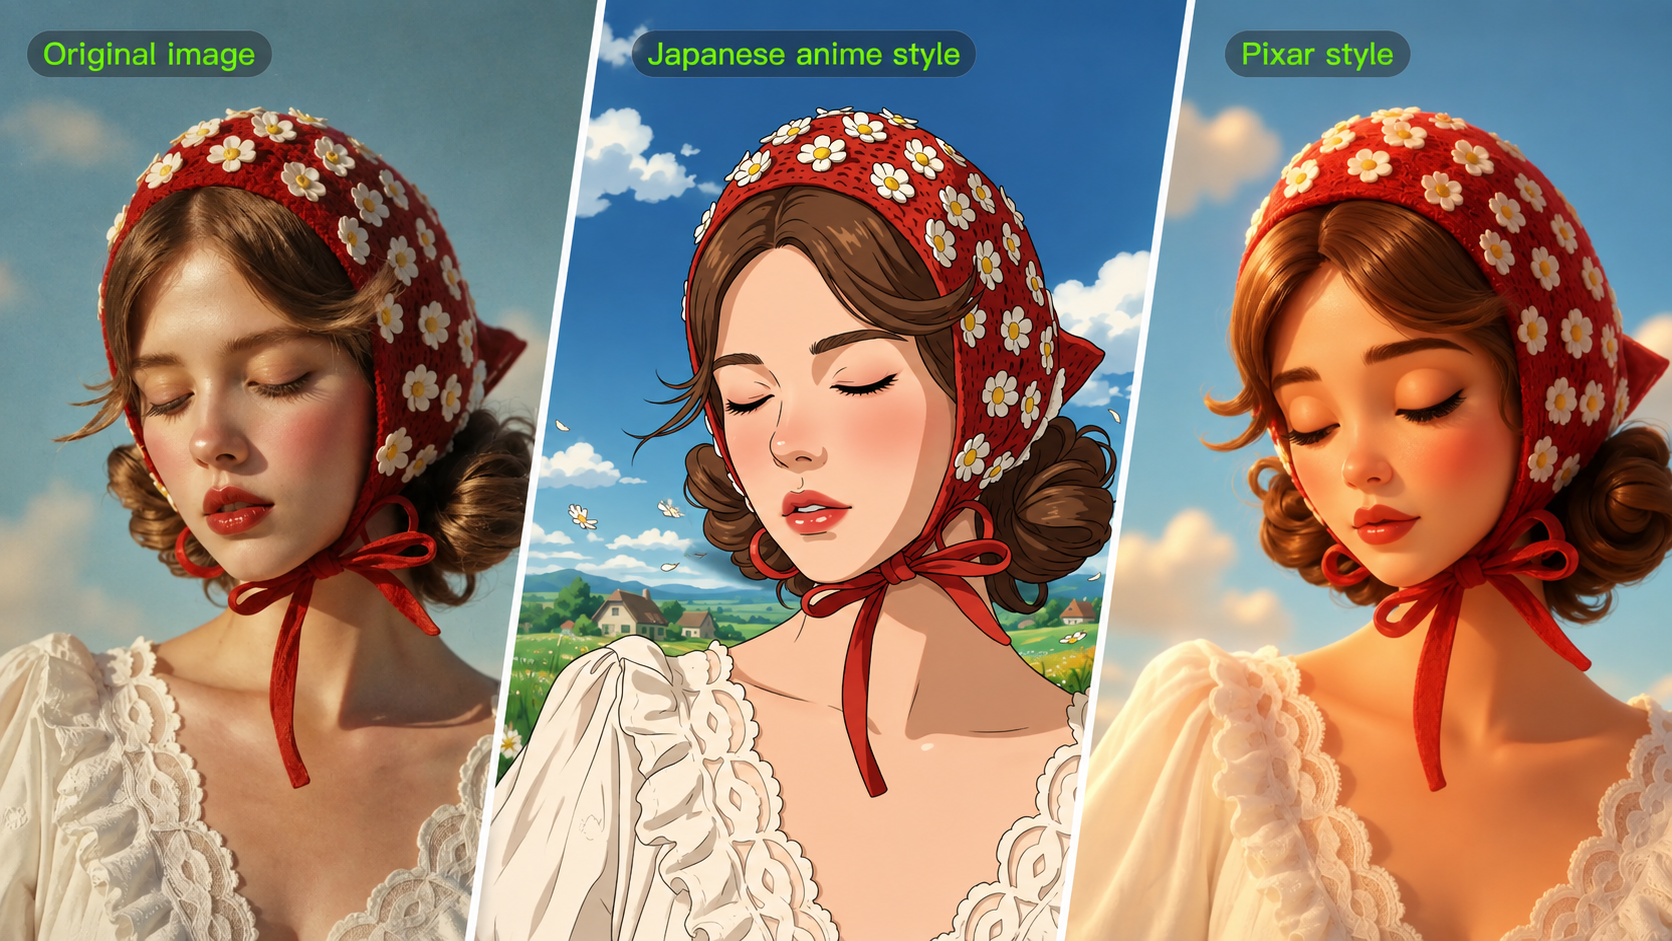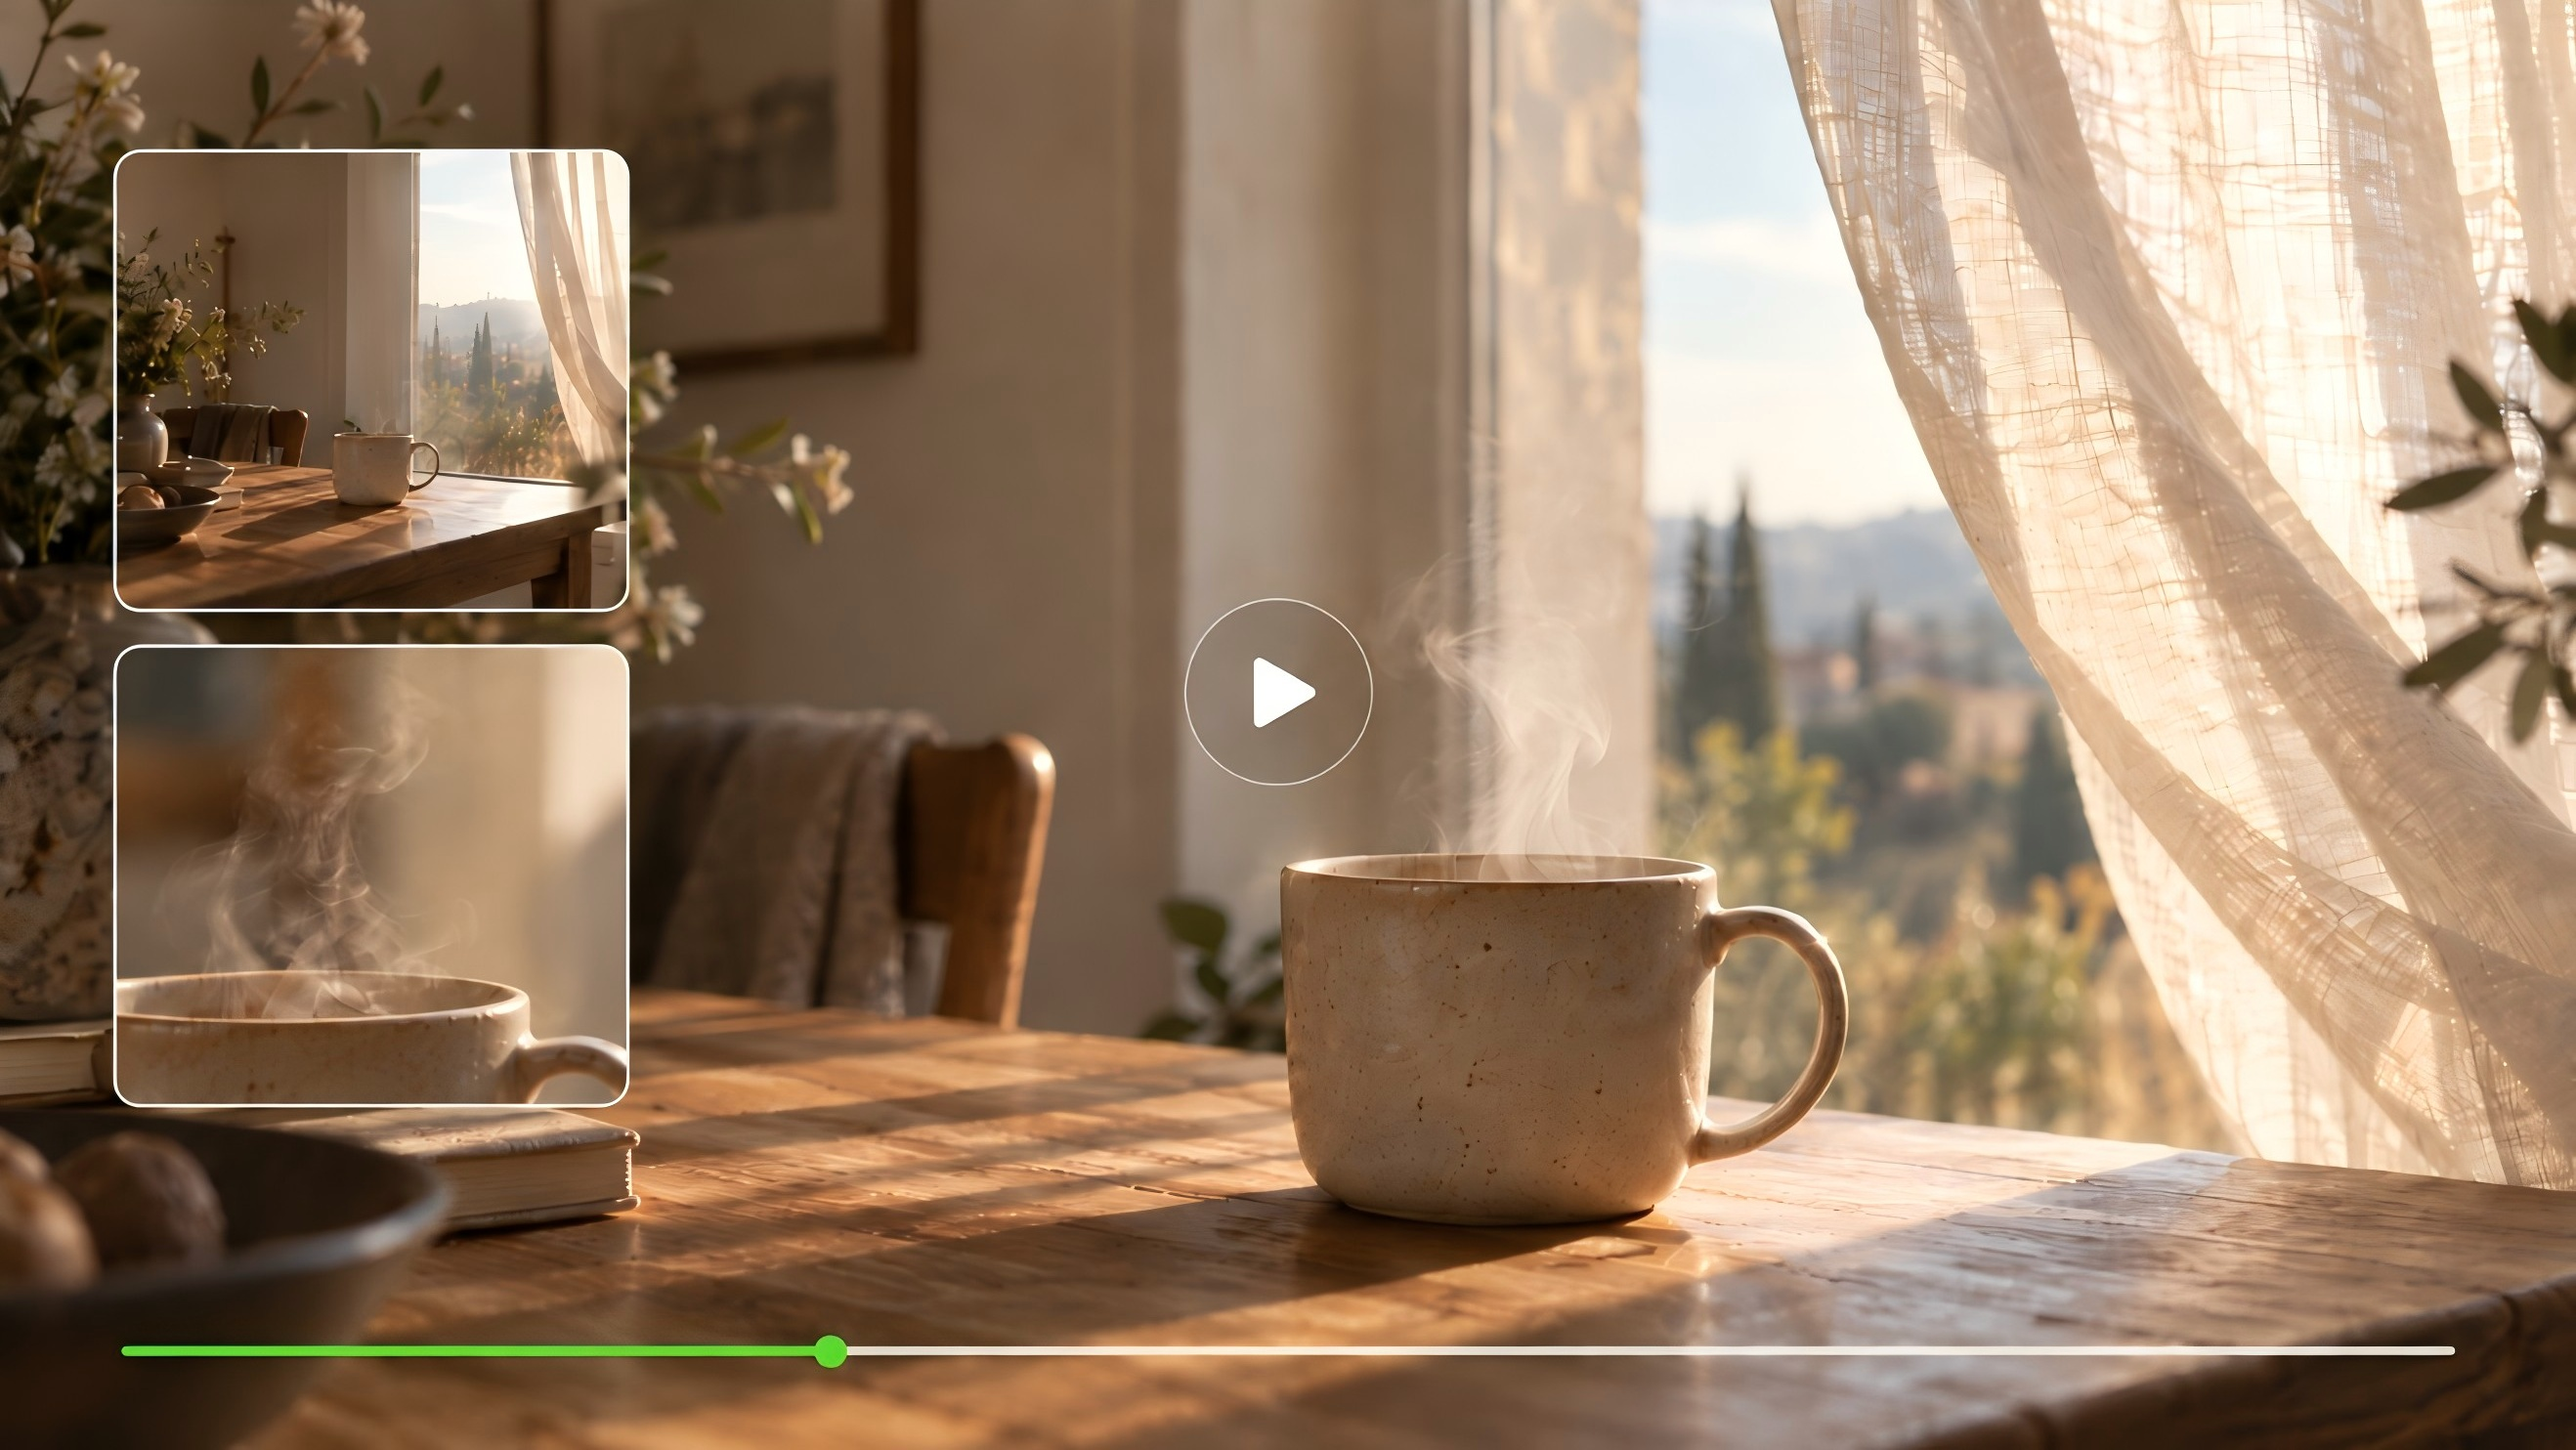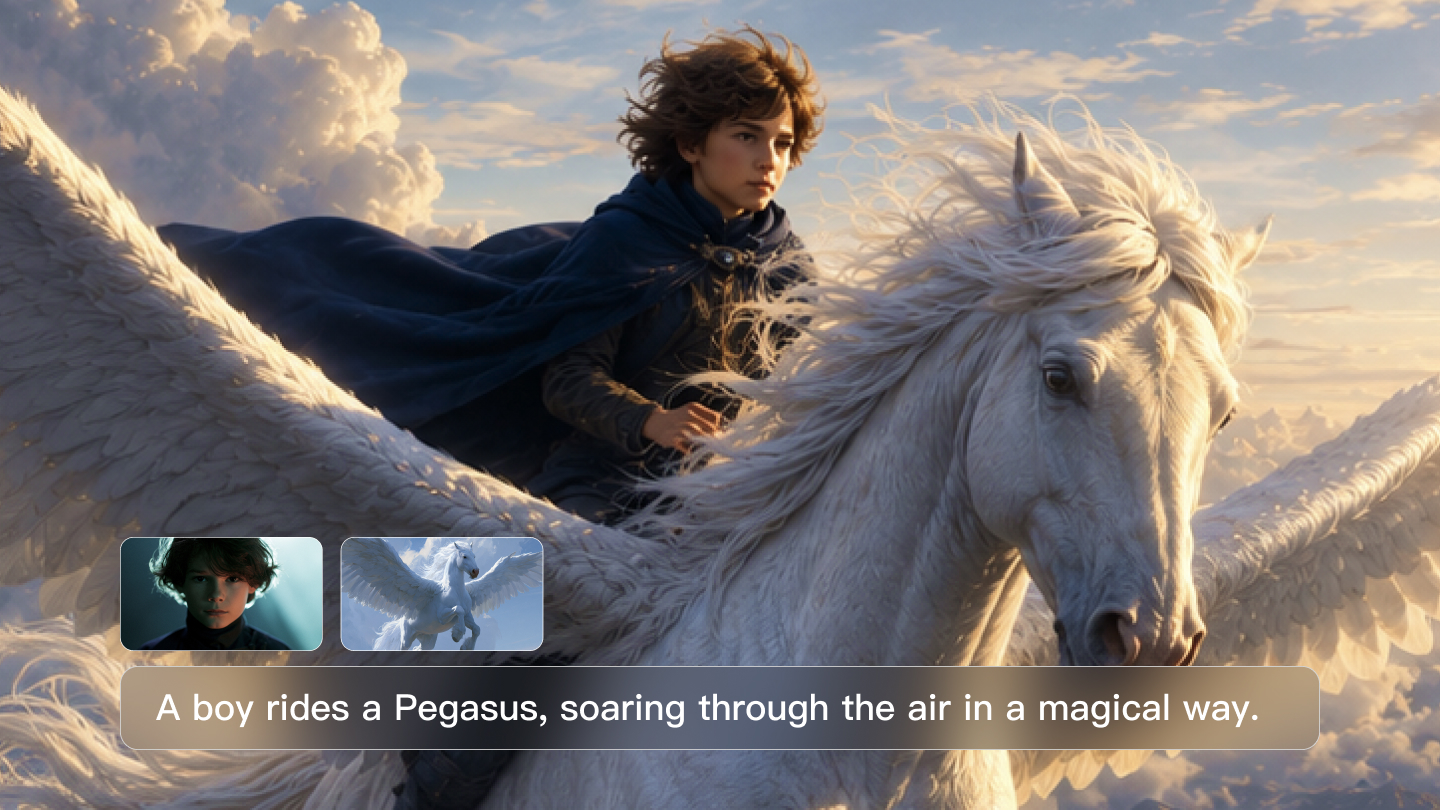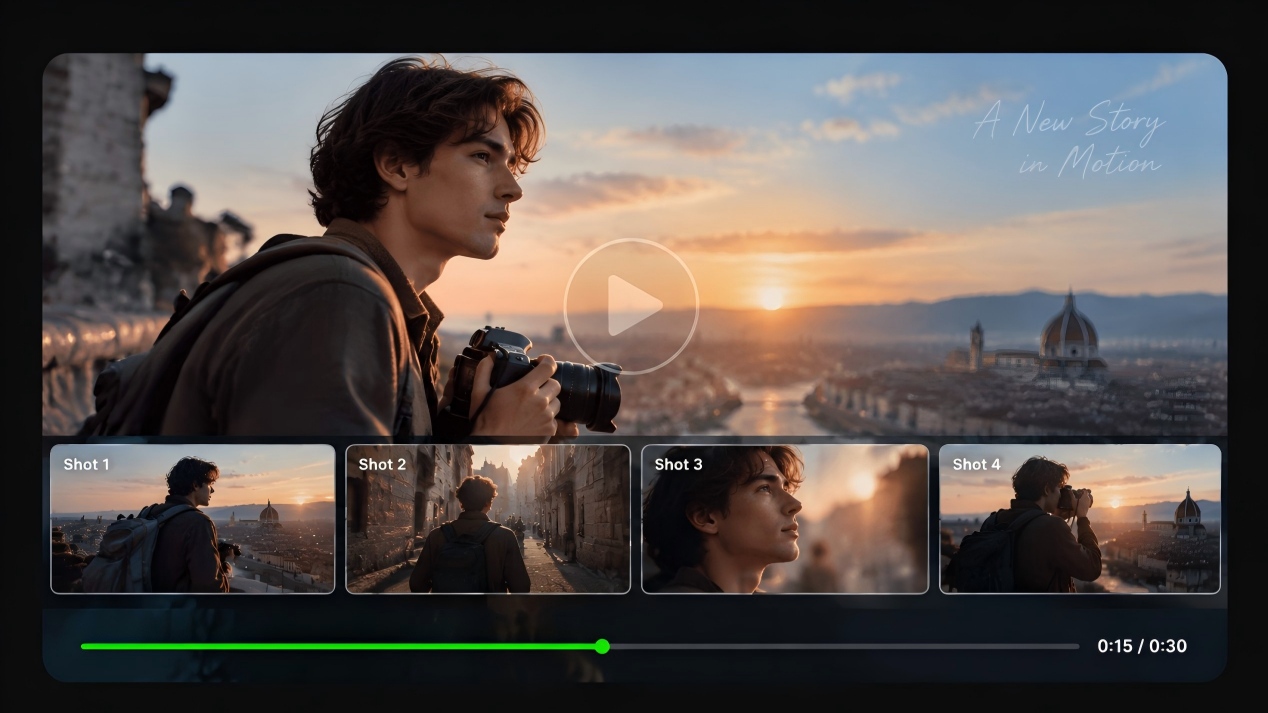
Creating realistic AI videos takes more than a convincing first frame. The real challenge is keeping movement, camera changes, lighting, and sound consistent as the scene unfolds. Learning how to make realistic AI videos starts with controlling these details, from visual references and motion to continuity between shots. With Kling VIDEO 3.0 Omni, you can use reference materials, camera control, and continuity techniques to create videos that stay coherent from the first frame to the last.
.png?x-oss-process=image/resize,w_1872)
What Makes an AI Video Look Realistic?
A paused frame may look realistic, but small inconsistencies often become obvious once the scene starts moving. A person’s facial features may change after turning their head, a hand may fail to grip an object naturally, a product may lose its original shape, or shadows may no longer match the lighting in the scene.
This is one of the core challenges in AI video creation: a realistic image does not always become a realistic video.
Creating realistic AI videos is not about making a single frame look perfect. The key is keeping important elements such as characters, objects, motion, lighting, physical interactions, and sound connected throughout the sequence, so each moment feels like part of the same scene.
Recent benchmarks show that realistic AI video depends on more than visual quality. VBench-2.0, for example, evaluates factors including human fidelity, controllability, creativity, physics, and commonsense. T2VPhysBench focuses more specifically on physical realism, examining whether generated motion and object interactions follow expected real-world behavior.
When you evaluate an AI video, these factors usually decide whether it feels convincing:
Realism Signal | What Looks Natural | What Breaks Realism |
Identity Consistency | Faces, clothing, products, and key details remain recognizable throughout the video | Facial features change, details disappear, or proportions shift between frames |
Natural Motion | Movement has believable timing, weight, and direction | Subjects appear to float, slide, or move without natural transitions |
Physical Behavior | Hair, fabric, objects, and surroundings respond naturally to movement and contact | Gravity, collisions, or object interactions do not behave as expected |
Camera Movement | Camera motion feels intentional and physically possible, like footage captured in the real world | Camera movements feel unnatural, overly complex, or disconnected from the scene |
Lighting and Material Consistency | Light direction, shadows, reflections, and textures remain stable throughout the scene | Shadows shift unexpectedly, reflections change, or surfaces lose their original appearance |
Scene Continuity | Characters, objects, backgrounds, and locations remain stable across shots | Details warp, disappear, or change between frames and cuts |
Audio-Visual Consistency | Dialogue, ambience, and sound effects match the visible action | Sound timing, volume, or environment feels disconnected from what is shown |
How to Make Realistic AI Videos in 4 Steps
Understanding what makes an AI video feel realistic is only the first step. The harder part is keeping characters, objects, motion, and sound connected throughout the generation process while avoiding common issues such as identity changes, shifting details, and broken scene continuity.
Kling VIDEO 3.0 Omni brings multimodal references, shot planning, and Native Audio into one workflow, giving you more control over how the video develops from the first frame to the last.
The following four steps show how to create AI videos with more natural movement, connected scenes, and a result that feels closer to real footage.
Step 1: Define What Needs to Stay Consistent
High-quality AI video starts with a clear visual foundation. Before you generate, define the subject, action, visual direction, and details that need to remain stable throughout the video. This gives you more control over the final result and helps reduce unexpected changes between shots.
Start by defining:
- The main character, product, or subject
- The key action
- The setting and visual style
- The details that should remain unchanged across shots
Different types of videos require attention to different details. Identify what matters most before generation:
Video Type | Details to Keep Consistent |
Talking person | Face, expression, lip movement, and voice |
Walking character | Body movement, foot contact, and natural weight |
Product video | Shape, materials, logo, and reflections |
UGC video | Natural gestures, handheld feel, and realistic framing |
Outdoor scene | Lighting, shadows, weather, and environmental changes |
Multi-shot story | Character, wardrobe, props, and scene continuity |
Step 2: Build Your Visual Foundation With the Right Inputs
Once you know what needs to stay stable, choose the generation approach that fits your scene. Kling VIDEO 3.0 Omni supports text prompts, reference images, reference videos, and reusable Elements, allowing you to start from a new idea or guide generation with existing visual material.
When you want to create a scene from scratch, describe the subject, environment, action, and visual style in your prompt.
| Prompt: A woman places a skincare bottle on a wooden table near a bright window. She gently picks up the product, turns it toward the camera, and smiles naturally. Soft daylight creates realistic reflections on the glass bottle. The camera slowly pushes in to capture the product details while maintaining natural hand movement and a clean lifestyle setting. Premium beauty commercial style with realistic textures and lighting. |
Best suited for:
- New creative scenes;
- Concept videos;
- Projects without existing visual materials.
When the person, product, or composition already has a defined look, use an existing image as the starting point.
Best suited for:
- Portrait animation;
- Product showcases;
- Bringing existing designs or visuals into motion.
A reference image gives the model a defined visual direction, while your prompt guides movement, camera changes, and scene development.
For subjects that need to remain consistent across multiple shots, provide additional reference materials or use reusable Elements. Kling VIDEO 3.0 Omni supports Character Elements, which you can create from multiple character images or a 3–8 second video clip of a single person. This gives the model more information about the same character before creating new actions, camera angles, and scenes.
To improve consistency across related shots:
- Reuse the same reference materials
- Provide multiple views of important characters, products, or branded elements
- Keep key visual descriptions consistent in your prompts
Step 3: Direct the Motion, Camera, Sound, and Shot Sequence
Once your visual foundation is clear, describe what happens next and how the scene develops over time. Instead of relying on broad words like “cinematic” or “realistic,” explain how the subject moves, how the camera captures the action, and what sounds belong in the environment.
Realistic AI videos are not created by adding more visual adjectives to a prompt. Words like “cinematic” or “ultra realistic” can describe the look, but they do not tell the model how a person should move, how the camera should behave, or how sound should fit the scene.
A practical video prompt structure:
Subject + Action + Expression Changes + Camera Movement + Environment Changes + Lighting + Audio
Each element defines a different part of the video:
Prompt Element | What to Describe |
Subject | The person, product, or main focus of the scene |
Action | The main movement that drives the scene forward |
Expression Changes | Facial expressions, body reactions, and subtle movements |
Camera Movement | Tracking, push-in, pan, tilt, or handheld movement |
Environment Changes | Wind, clothing movement, reflections, nearby objects, or surrounding motion |
Lighting | Light direction, softness, and source |
Audio | Dialogue, ambient sounds, footsteps, or object sounds |
For an image-to-video workflow, your reference image already defines the composition and visual direction. Use your prompt to describe what changes over time, including movement, camera behavior, and environmental reactions.
To create more natural motion:
- Keep one main action in each shot;
- Avoid adding too many changes happening at the same time;
- Describe important physical interactions, such as a hand picking up an object or feet touching the ground
- Add secondary movements only when they support the main action
When a video requires multiple perspectives, actions, or transitions, plan how each shot contributes to the overall sequence before generating.
Kling VIDEO 3.0 Omni supports Multi-Shot, helping you connect multiple shots with planned transitions, perspective changes, and action progression.
Use Multi-Shot for:
- Stories that need different perspectives;
- Product videos that require multiple presentation angles;
- Scenes where a character moves through a sequence of actions or events.
When you need more control over each shot, use Custom Multi-Shot to define:
- Shot duration;
- Composition;
- Camera angle;
- Action;
- Camera movement;
- Narrative content.
A simple structure:
Shot | Purpose |
Shot 1: Establish the Scene | Introduce the character, product, or environment and set the visual context |
Shot 2: Show the Action | Focus on the main movement or interaction that drives the scene |
Shot 3: Capture the Detail or Reaction | Highlight an important detail, emotional response, or result of the action |
Step 4: Generate, Review, and Refine Your Video
Once your references, prompt, and shot structure are ready, choose the generation settings that fit your intended output, including video length and resolution. If sound is important to your scene, enable Native Audio before generating. Kling VIDEO 3.0 Omni can generate dialogue, ambient sound, and sound effects alongside the visuals, helping the audio stay connected with what happens on screen. Then create the first version of your video.
After generation, do not judge the result only by the opening or final frame. Watch the full sequence and check whether the subject, movement, camera work, environment, and audio flow naturally from start to finish.
Use these checkpoints to identify areas that may need changes:
Review Area | What to Check | How to Adjust |
Character and Subject | Whether faces, clothing, products, and important details remain consistent | Add more reference materials or reuse Elements when needed |
Motion | Whether movements feel natural and follow the logic of the scene | Adjust the action description to make the intended movement clearer |
Interactions | Whether contact between people and objects matches the scene | Add more details about important interactions |
Camera Movement | Whether camera motion fits the overall visual direction | Choose a camera approach that better suits the scene |
Lighting and Materials | Whether shadows, reflections, and textures remain consistent | Define the light direction and environmental conditions more clearly |
Environment | Whether the background and surrounding elements support the scene | Keep the visual setting consistent |
Audio | Whether dialogue, ambient sounds, and effects match the visuals | Adjust the sound description or use Native Audio |
If the result does not match your original idea, refine the prompt, references, or shot structure and create another version. Small changes to key details can often bring the video closer to your intended result.
Kling VIDEO 3.0 Omni supports generation up to 15 seconds, with up to 4K output available in supported Kling 3.0 workflows depending on your plan and settings.
Reference Image | |||
@Male Protagonist | |||
.png?x-oss-process=image/resize,w_1872) | .png?x-oss-process=image/resize,w_1872) | .png?x-oss-process=image/resize,w_1872) | |
@Female Protagonis | |||
.png?x-oss-process=image/resize,w_1872)
| .png?x-oss-process=image/resize,w_1872) | .png?x-oss-process=image/resize,w_1872) | .png?x-oss-process=image/resize,w_1872) |
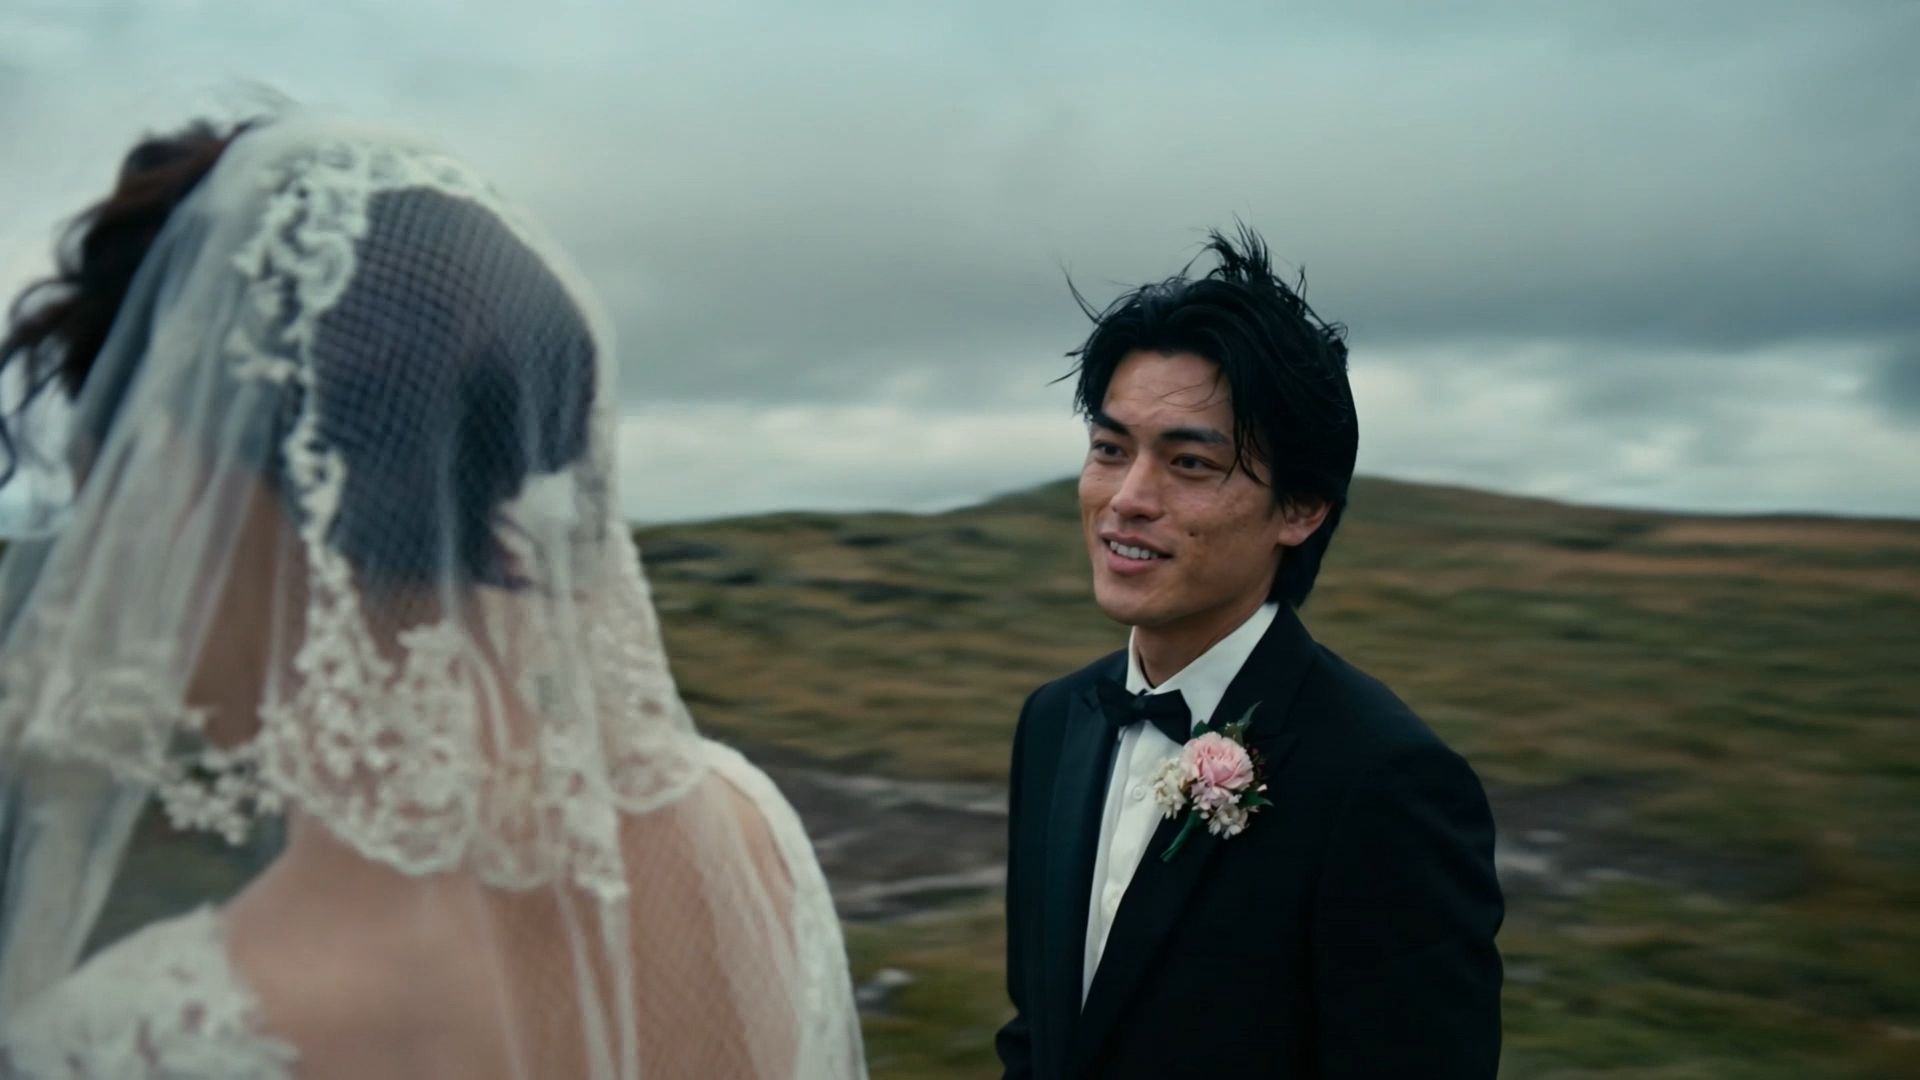
Prompt: Long take. On a windy day in an Icelandic mountain range, @Male Protagonist says with a barely contained smile, "Do you think our wedding is too simple—like there's no one here to bless us?" The camera circles the subjects to reveal @Female Protagonist standing opposite, smiling and replying, "The wind—the wind is their blessing to us." Cinematic, handheld feel. | |||
Video | |||
  | |||
The End
Learning how to make realistic AI videos is not about adding more words to a prompt. It is about controlling the visual foundation, movement, camera choices, consistency, and sound that shape the final result. By deciding what should remain stable and how each element should develop over time, you can create videos that feel more natural and intentional. Kling VIDEO 3.0 Omni brings these parts together with reference-based creation, Element workflows, Multi-Shot controls, and high-resolution output, giving creators better control over how a scene develops from the first frame to the final shot.
FAQs
How Do I Make AI-Generated Videos Look More Realistic?
Describe the subject, action, camera movement, lighting, and sound instead of relying on words like “cinematic” or “realistic” alone. When a character’s appearance or a product’s details need to stay consistent, use image, video, or Element references to give the model more to work with. Begin with one main action, then build on the scene once the movement feels natural. In many cases, better references and intentional movement make a bigger difference than adding more descriptive words. If your scene includes dialogue, write the character’s spoken lines directly in the prompt. With Native Audio enabled, Kling AI can generate speech from text as part of the video generation process, helping dialogue stay connected with the character and on-screen action.
What Is the Most Realistic AI Video Generator?
There is no single most realistic AI video generator that works best for every type of scene. Realism depends on what the video needs to achieve, such as keeping a character recognizable, preserving product details, creating natural movement, controlling the camera, or building a multi-shot sequence. Kling VIDEO 3.0 Omni is designed for reference-based video creation with image references, Elements, video references, and Custom Multi-Shot controls, giving creators more ways to maintain visual consistency and direct how a scene develops. The right choice depends on the level of control your project requires.
Why Do AI Videos Look Fake Even When the Frames Look Good?
A video can have impressive individual frames and still feel unnatural when viewed as a complete sequence. This happens because realism depends on more than image quality. Changes over time, such as shifts in a character’s appearance, inconsistent object details, unnatural movement, changing lighting, or weak interactions between people and objects, can affect how believable the video feels. Creating realistic AI videos requires keeping the subject, motion, and scene details connected from one frame to the next. A strong image is only the starting point; the challenge is maintaining a consistent and natural result throughout the entire video. After generation, you can continue refining the result with an AI video editor when you need additional adjustments to the finished footage.
Can AI Generate Realistic Videos From Only a Text Prompt?
Yes. A clear text prompt can generate a realistic AI video when the scene does not depend on a fixed character, product, or exact visual identity. Describe the subject, action, camera behavior, lighting, environment, and sound as clearly as possible. If the same person, product, or branded element needs to stay recognizable across shots, use image, video, or Element references in Kling VIDEO 3.0 Omni for stronger visual consistency.
Can I Change the Background of an AI Video After Creation ?
Yes. After creating an AI video with Kling VIDEO 3.0 Omni, you can use video background remover to remove the original background, keep the subject, and replace or adjust the scene without a green screen. It is useful for product showcases, branded content, and character videos, helping you reuse the same subject across different environments and create new visual possibilities.