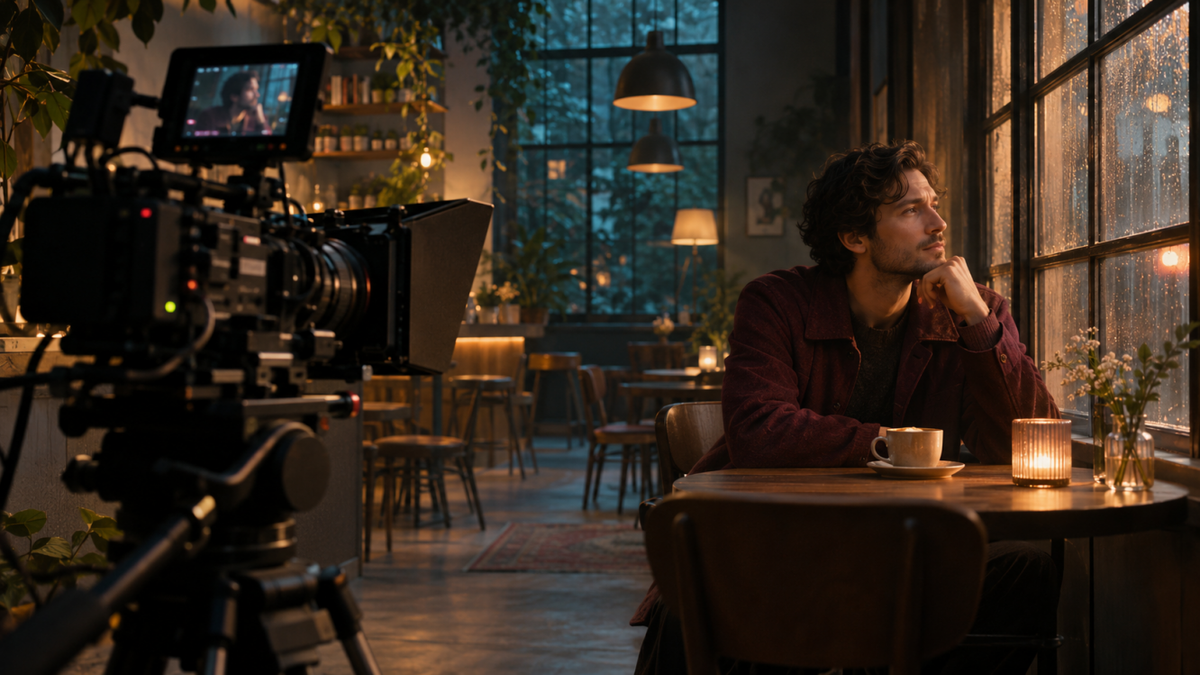
Every scene is shaped by how the camera observes it. Even when the action stays the same, decisions around framing, angle, lighting, and movement determine what viewers notice first and how they interpret the moment. Applying these visual principles helps turn isolated shots into a cohesive sequence, whether you are shooting on set or directing AI-generated video with tools like Kling AI.
Cinematography Basics and Essential Techniques
What's cinematography? It is the art and technique of creating moving images for the screen. It includes where the camera goes, what appears in the frame, how the scene is lit, and when the camera moves. In film cinematography, those decisions establish a point of view and carry it from one shot to the next. A wide shot can establish where two characters stand before a close-up draws attention to a small reaction.
Camera Framing and Shot Sizes
Shot size determines how much of the subject and its surroundings appear in the frame. Choose it according to the information viewers need at that moment.
Shot type | What it captures | When to use it |
Extreme close-up | One small detail | Eyes, textures, or small objects |
Close-up | A face or an object | Facial expressions or product details |
Medium shot | A person from about the waist up | Dialogue, gestures, or demonstrations |
Full shot | The entire person or object | Body movement or a full product view |
Wide shot | A subject within its surroundings | Establishing a location or spatial relationships |
Extreme wide shot | A large setting with a small subject | Showing scale, distance, or isolation |
Camera Angles and Perspective
Eye-level framing puts the viewer on roughly the same plane as the subject. A low angle makes a character look imposing, while a high angle diminishes their presence. A bird’s-eye view clarifies spatial layout, and a tilted horizon or Dutch angle introduces visual tension.
Lens Choice and Depth of Field
At the same camera position, a wide lens shows more of the scene and a long lens narrows the view. Moving back with a long lens can make the background appear closer to the subject. Shallow depth of field isolates a detail, while deeper focus keeps more of the scene sharp.
Lighting and Camera Movement
Side lighting reveals texture, while soft frontal light reduces shadows. A pan turns the camera from a fixed position. A tracking shot moves the camera through space, changing how the foreground and background line up.
Applying Cinematography Techniques to AI Video
Framing, lighting, and camera movement are just as important in AI-generated video as they are on a traditional film set. What changes is how creators bring those decisions to life. Instead of physically setting up every shot, you can describe your vision through prompts or guide it with visual references.
At Kling AI, we provide tools for generating and editing images and videos. Our latest video generation and editing model, Kling 4.0, supports prompts of up to 8,000 tokens for detailed shot direction. Combined with Omni Reference, it makes cinematic techniques more accessible to beginners while giving experienced creators greater flexibility to develop scenes with a director's perspective.
Guide Cinematic Shots with Omni Reference
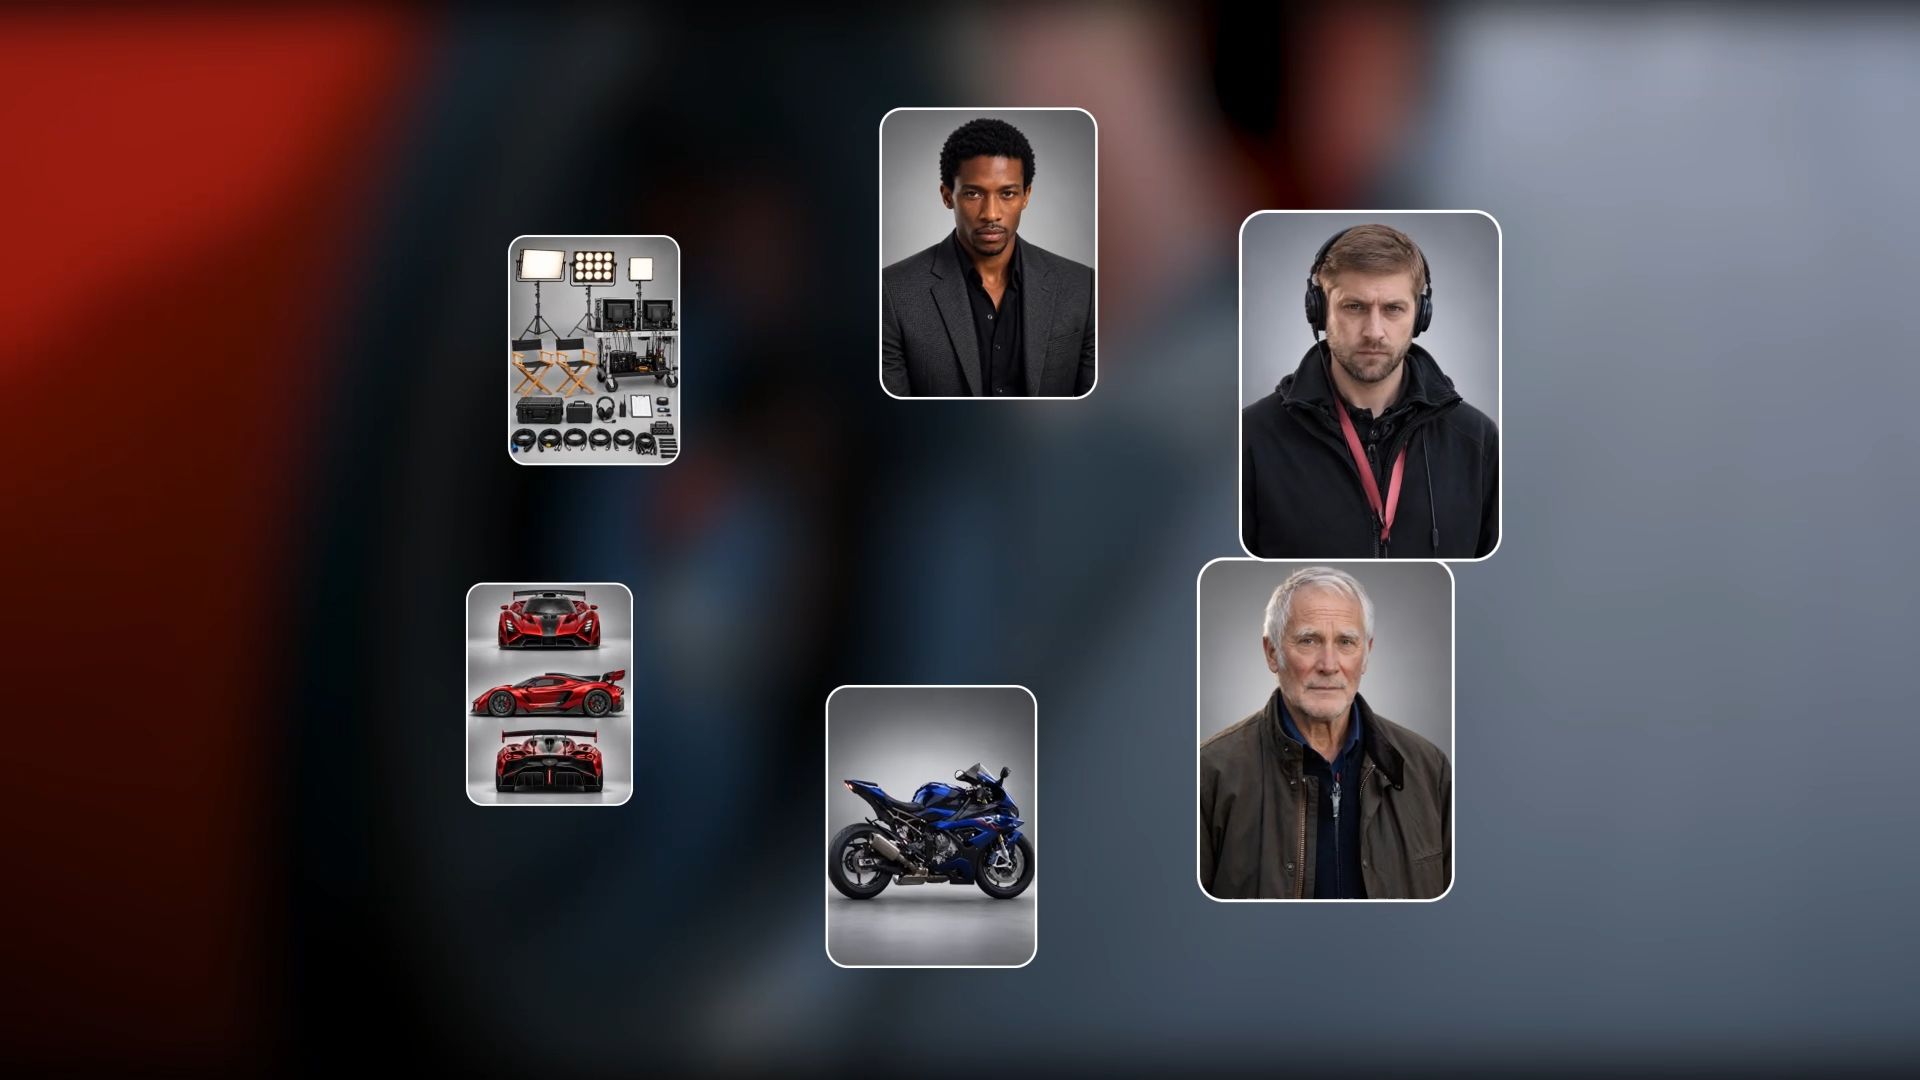
Great cinematography depends on consistent subjects, environments, and visual direction. With Kling 4.0's Omni Reference, you can combine up to 15 reference assets, including images, videos, and Elements, to guide different aspects of a shot.
Use character references to help maintain a consistent appearance across scenes, background images to establish the setting, and video references to guide camera movements and pacing. You can explore new angles, replace subjects, or change locations while drawing on the composition and movement of an existing clip.

Shape Longer Scenes with Director-Like Control
Cinematography is not just about how individual shots look, but also how they work together to tell a story. Kling 4.0 supports up to 30 seconds of video generation in a single pass, giving character interactions, emotional changes, and camera movements more room to develop.
With stronger prompt understanding, you can describe shot sequences, camera movements, and narrative transitions in detail. Guide a camera from a wide establishing shot into a close-up, follow a character through a scene, or gradually reveal an important detail. You can also use up to 10 keyframe images to guide important visual moments. Together, these capabilities give you more control over the pacing and visual storytelling of your AI movie-making projects.
Keep Action and Complex Camera Moves Stable
Dynamic cinematography often involves fast-moving subjects and challenging camera movements. Kling 4.0 improves motion stability during large-scale actions and complex camera work, helping maintain smoother movement and more coherent spatial relationships.
Whether you're directing a fast-paced fight scene, following a running character with a tracking shot, or moving the camera around a subject in an orbit, Kling 4.0 helps keep actions and camera movements more fluid. Combined with reference footage and detailed prompts, you can explore ambitious camera techniques while maintaining greater visual continuity.
Create Cinematic Visuals with High-Quality Output
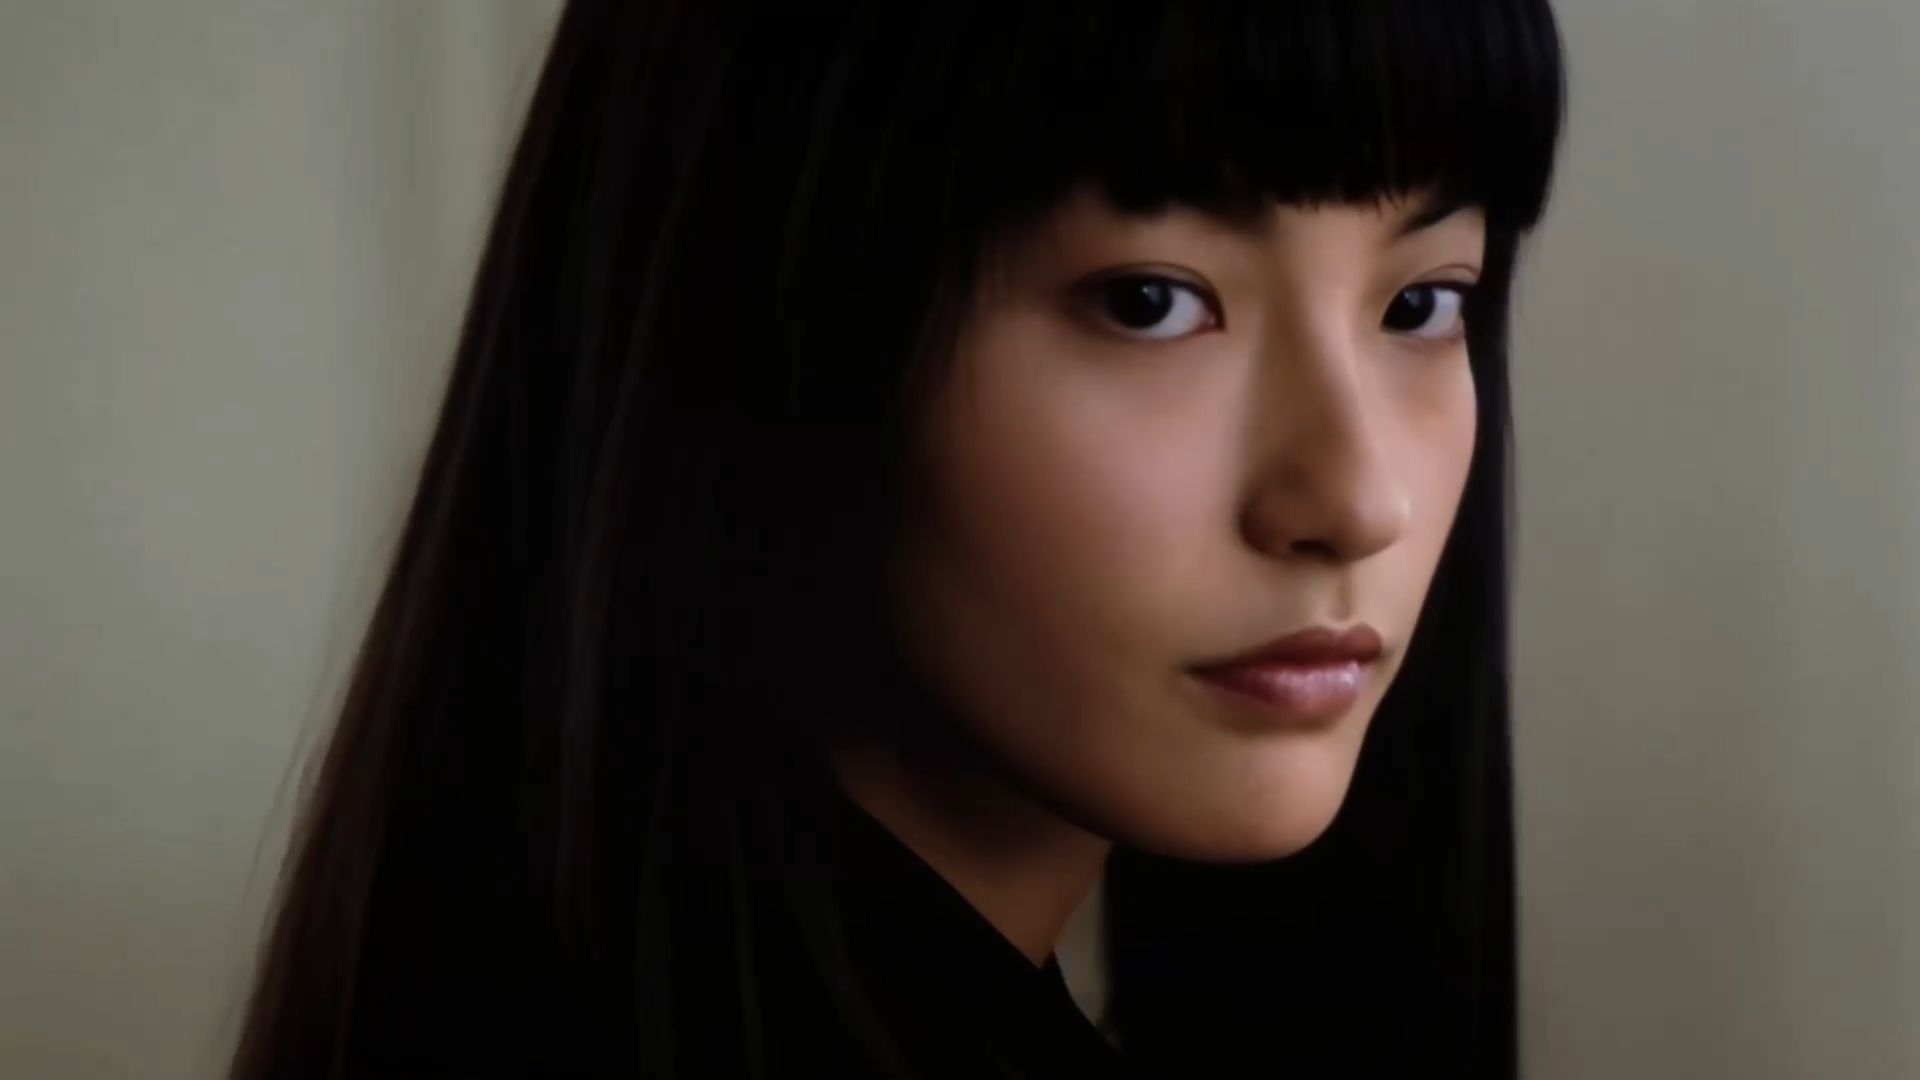
Lighting, color, and composition all contribute to the cinematic quality of a shot. Kling 4.0 supports 1080p output and a 21:9 ultrawide aspect ratio, giving creators more flexibility for wide compositions, expansive environments, and immersive visual storytelling.
For even greater visual detail, 4K resolution and 10-bit HDR are coming soon. These upcoming capabilities are designed to deliver richer color gradations, smoother transitions between light and shadow, and better preservation of detail in high-contrast scenes, from dramatic backlighting to nighttime cityscapes.
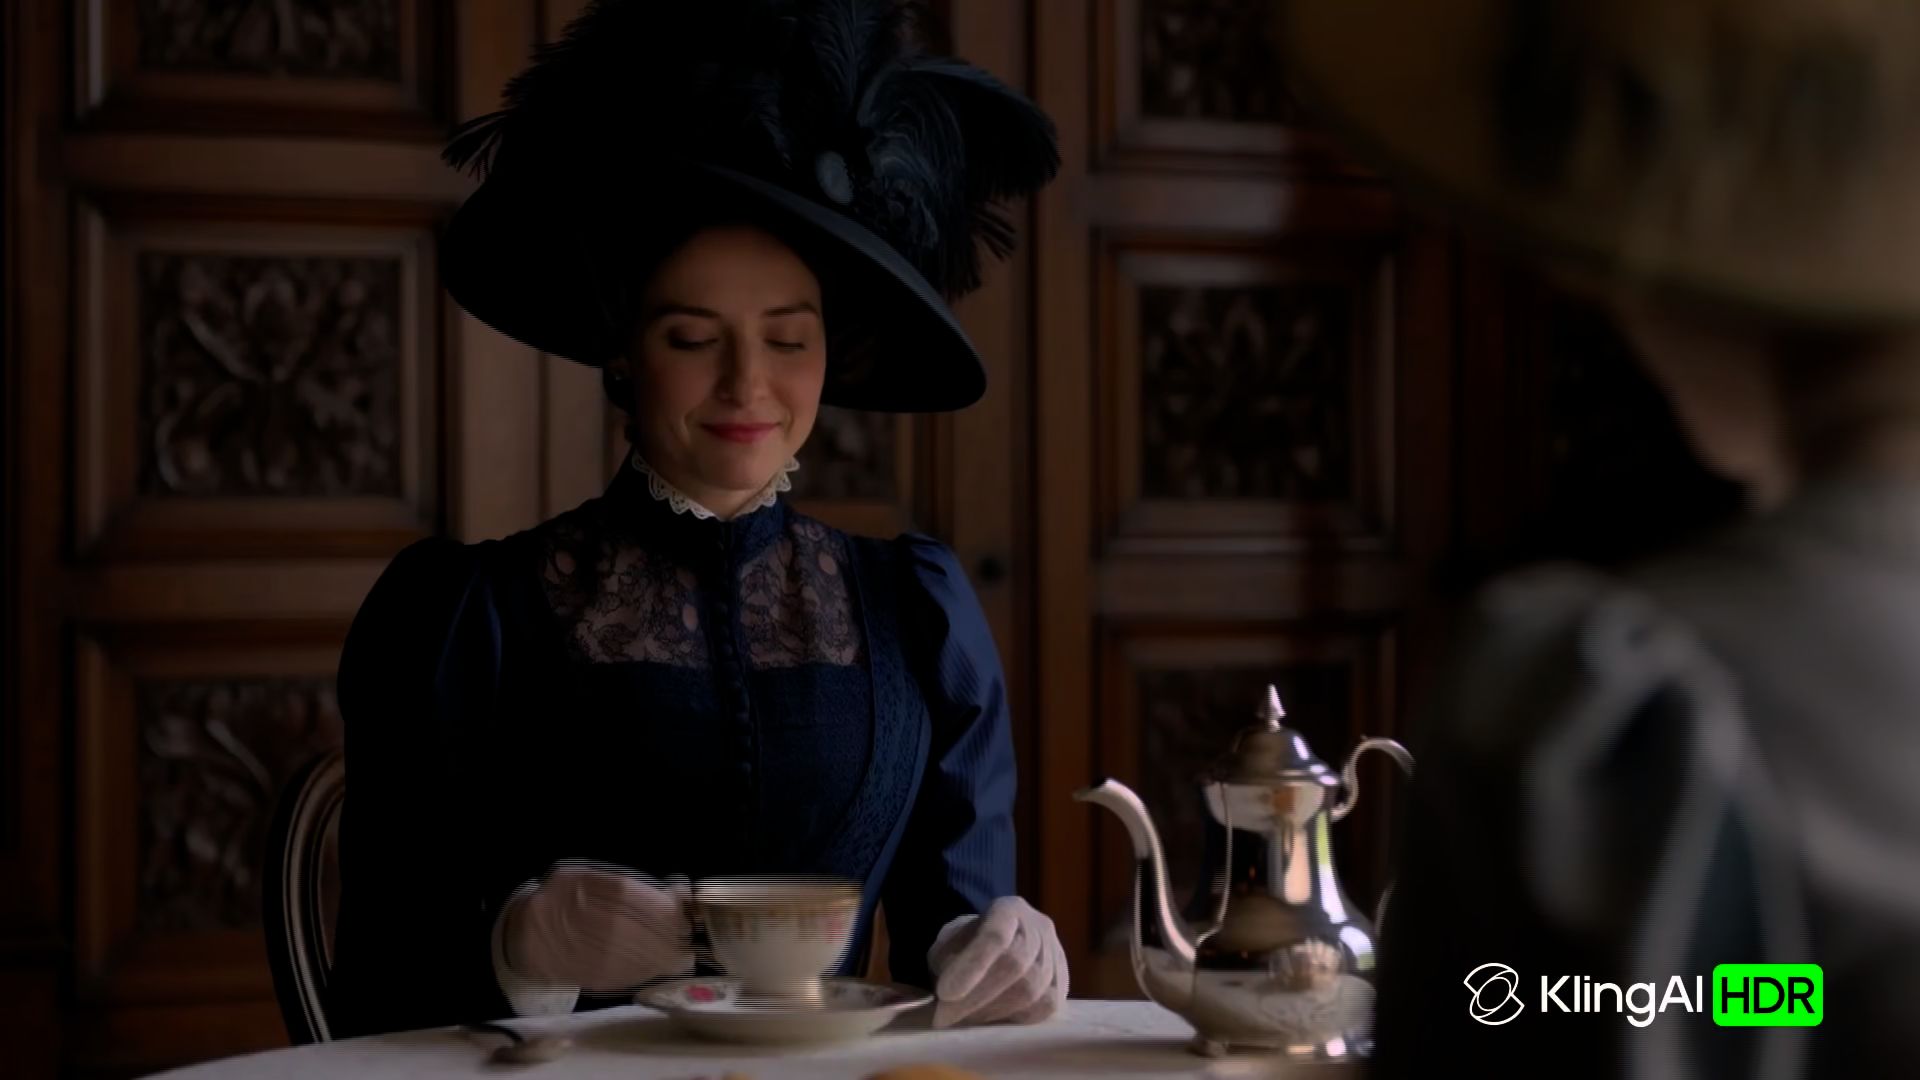
How to Create a Cinematic AI Video With Kling AI
Step 1. Choose the Model and Add References
Open Video Generation and select “Kling 4.0.” In Omni Reference, you can add images, video clips, or other reference assets to guide the characters (or products), settings, and movements you want to create. If you only have one image, you can bring it to life with our image-to-video AI workflow. Even without any reference assets, you can create a video from scratch using our text-to-video AI feature.
Step 2. Write the Shot Prompt
Describe the subject, framing, lighting, and how the camera or subject moves during the shot. Match the prompt to your uploaded assets by tagging each reference (such as @Image1, @Image2, or @Video1) and specifying what it controls in the scene. Then outline the action, shot order, and visual transitions you want to see from the opening frame to the end of the clip.
Step 3. Generate and Refine
Choose a duration and aspect ratio, then generate the clip. Watch the take and check whether the camera follows the intended path, the background stays consistent, and the subject retains its key details. If the camera moves too quickly or the setting drifts, adjust the matching prompt instruction or reference and generate another take. Download the version that fits the scene.
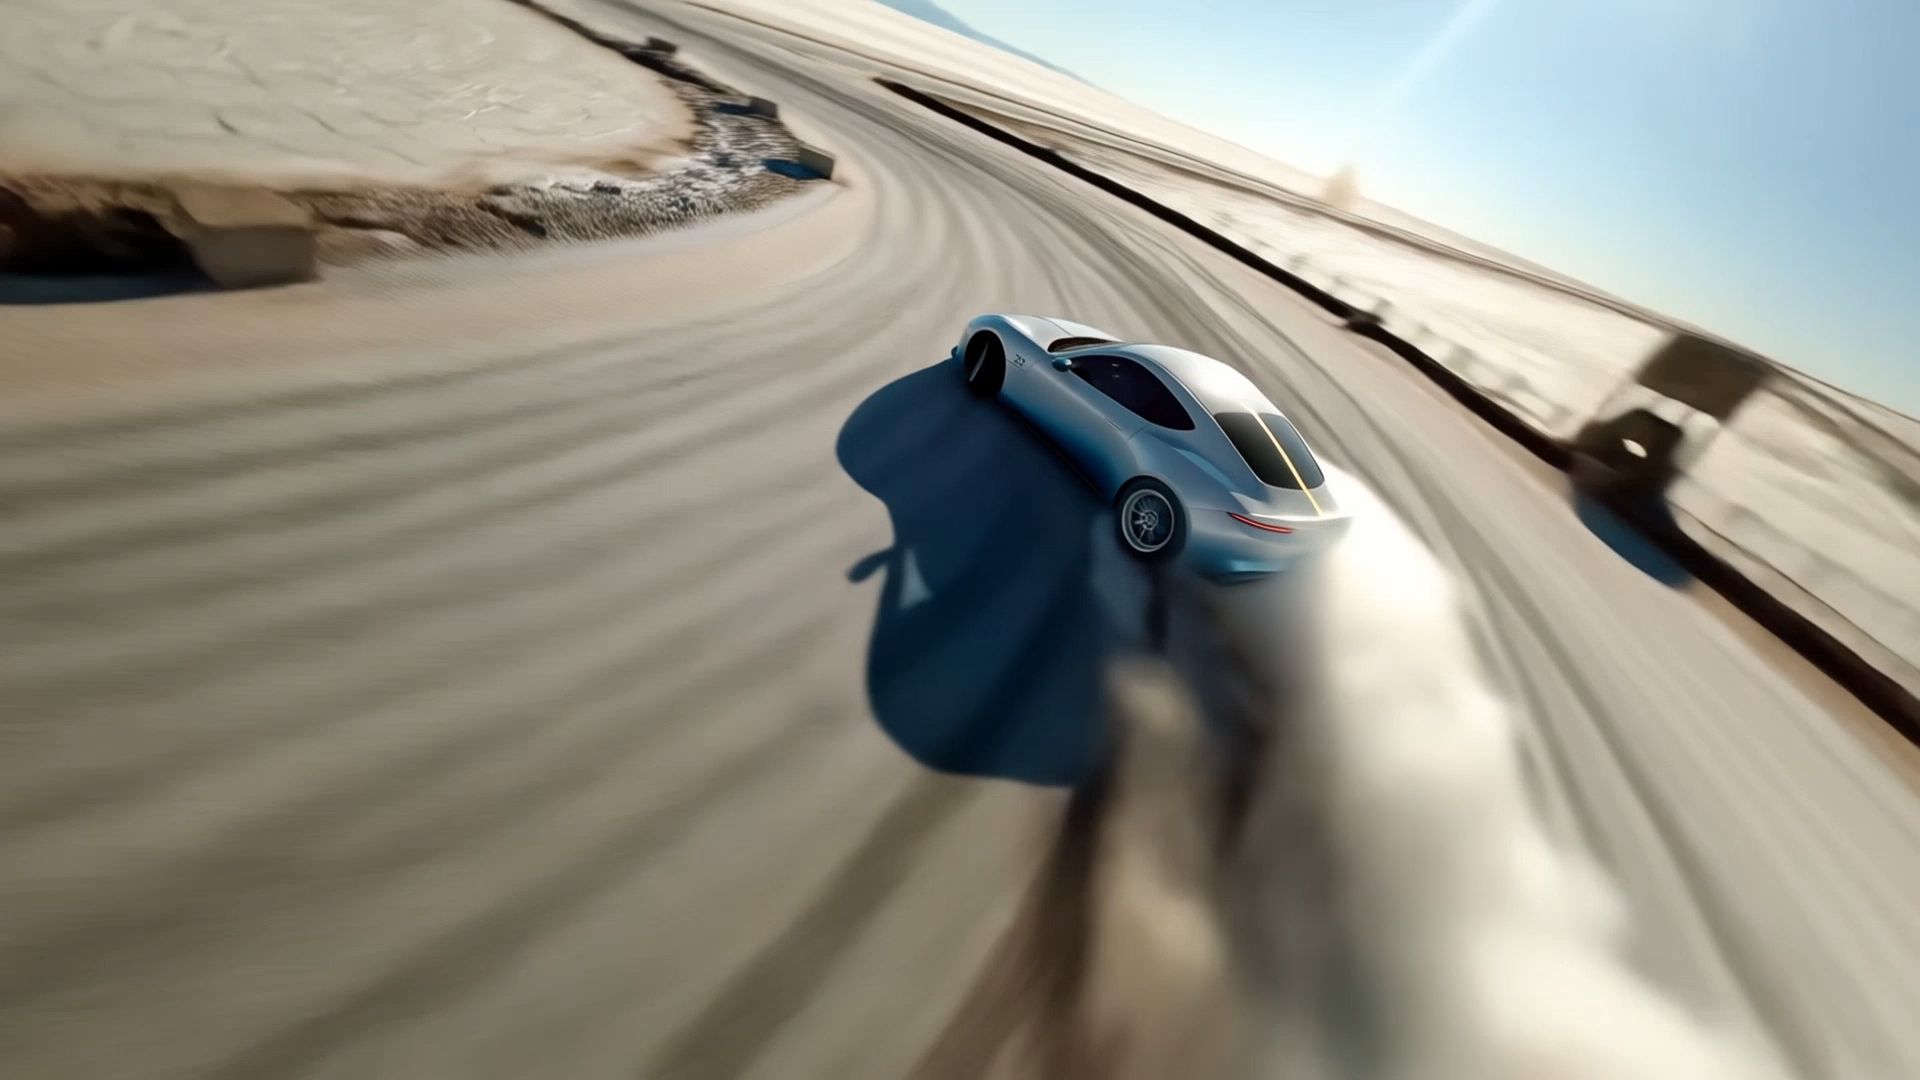
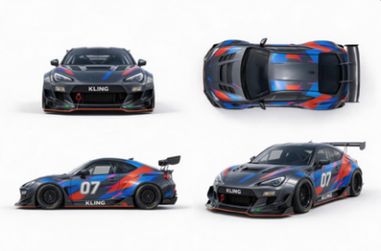
Reference Video1 | Reference Image 1 | Reference Image 2 |
 |
|
|
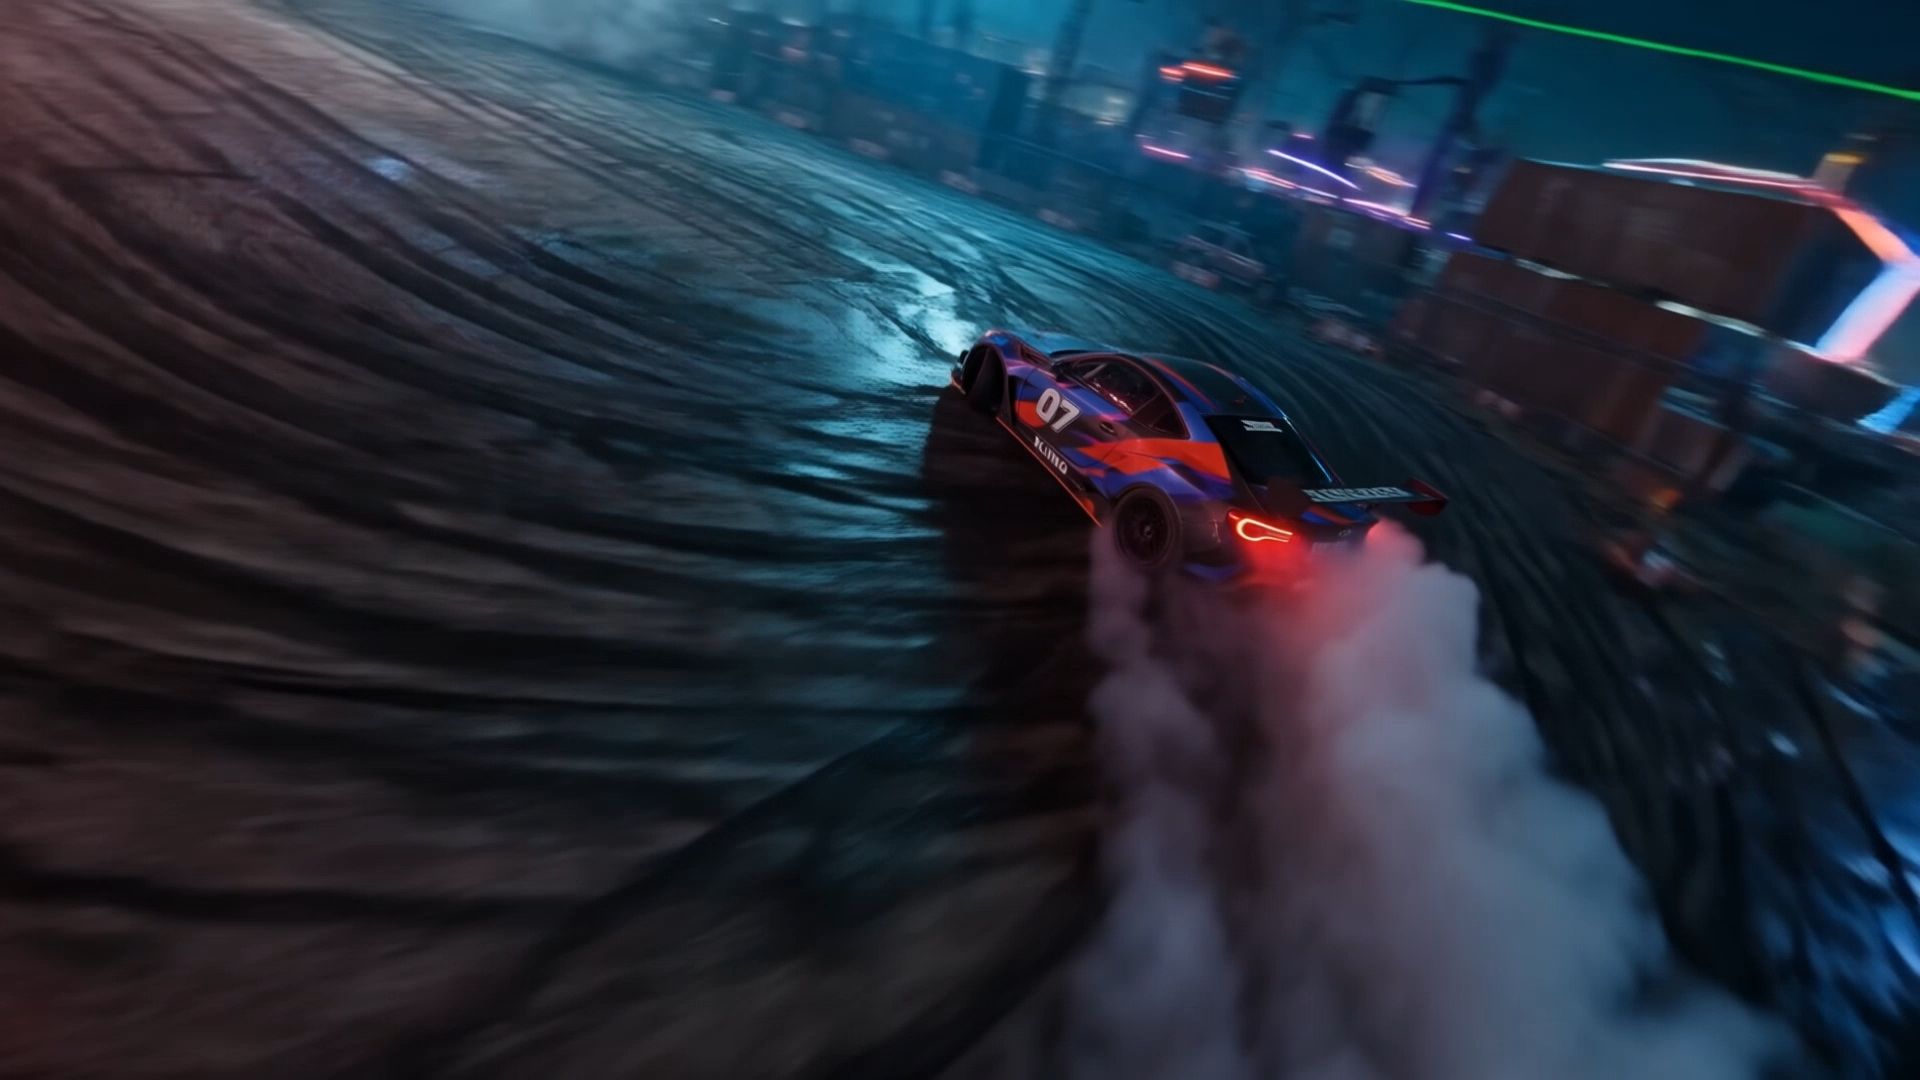
| Prompt: Use @Video1 as the reference for camera movements and shot pacing. Replace the Element with the car from @Image1 and the background with @Image2. | ||
Output | ||
 | ||
How to Review Pacing and Continuity Across Shots
Once you have generated your clips, arrange them in story order and watch how they work together. A café scene in which someone reaches for a cup gives you a simple way to test what each shot reveals, when to cut, and what needs to stay consistent.
Plan What Each Shot Reveals
Before reviewing the sequence, write down what the viewer should learn from each shot. Use that list to decide which moments need their own shot and which can share one.
Shot | Framing and action | What the viewer should understand |
01 | Wide shot of the person at a café table by the window | The cup is on the table within reach. |
02 | Medium shot as the person notices the cup and reaches | The person is reaching for the cup. |
03 | Close-up as the fingers close around the handle | The hand has reached the cup. |
Watch at Normal Speed to Check the Timing
Play the full sequence once without pausing. Can you tell what the person is reaching for before the close-up? If the cut arrives before you register the cup, hold the medium shot a little longer. If the hand reaches the cup and the scene lingers before cutting, try an earlier cut. Change one cut at a time and replay all three shots to see how that change affects the rhythm.
Match the Action and Keep Screen Direction Consistent
When cutting from the medium shot to the close-up, match the hand’s position and movement so the reach happens once. When generating separate clips, describe part of the same reach in both prompts to give yourself room to trim. Imagine a line from the person to the cup. Keeping both camera positions on the same side of that line helps a left-to-right reach continue in the same direction on screen.
Compare Lighting and Props Across the Cut
Use the same character and setting references when generating separate clips. Specify details that need to carry over, such as a blue cup with the handle facing the person and soft light from the window beside the table. Compare the frame before the cut with the frame after it, and if needed, lock in prop orientation and light direction explicitly in your prompt before regenerating the shot.
The End
The meaning of cinematography becomes clearer when you ask what each shot lets the viewer discover. A wide frame can reveal distance, a close-up can expose hesitation, and a deliberate camera move can control the exact moment a detail comes into view. These principles apply to a variety of creative projects, from animated storytelling and commercial video production to AI music video creation. Whether you're filming on set or directing scenes with our Kling 4.0 model, the same question anchors every creative decision: what does the viewer learn at this point in the shot?
FAQs
How Does Cinematography Differ From Videography?
Cinematography focuses on the creative decisions that shape the screen image, whereas videography covers the practical work of capturing and producing video for events, interviews, or branded content. The two roles overlap whenever documenting an event also involves designing the lighting, framing, and camera movement.
What Does a Cinematographer Do?
A cinematographer, also called a director of photography, works with the director to develop the visual approach and leads the camera and lighting teams in carrying it out. On a small production, one person may both plan the shots and operate the camera.
What Are the Five Cs of Cinematography?
Joseph V. Mascelli’s five Cs are camera angles, continuity, cutting, close-ups, and composition. Together they provide a way to check both the design of a single frame and how it connects to the rest of the sequence.
How Does Cinematography Fit Into Filmmaking?
Filmmaking covers the full process, from script development and production through editing and sound. Cinematography is the part concerned with how the story is photographed. For a single scene, the production team may handle the location and schedule while the cinematography team works out how to light and capture it.
How Can You Practice Cinematography With AI?
Generate two versions of the same scene and change just one visual choice. Keep the subject, framing, and action the same, then switch from soft frontal lighting to side lighting. Compare the clips and notice where your eye goes first and how the lighting changes the mood.