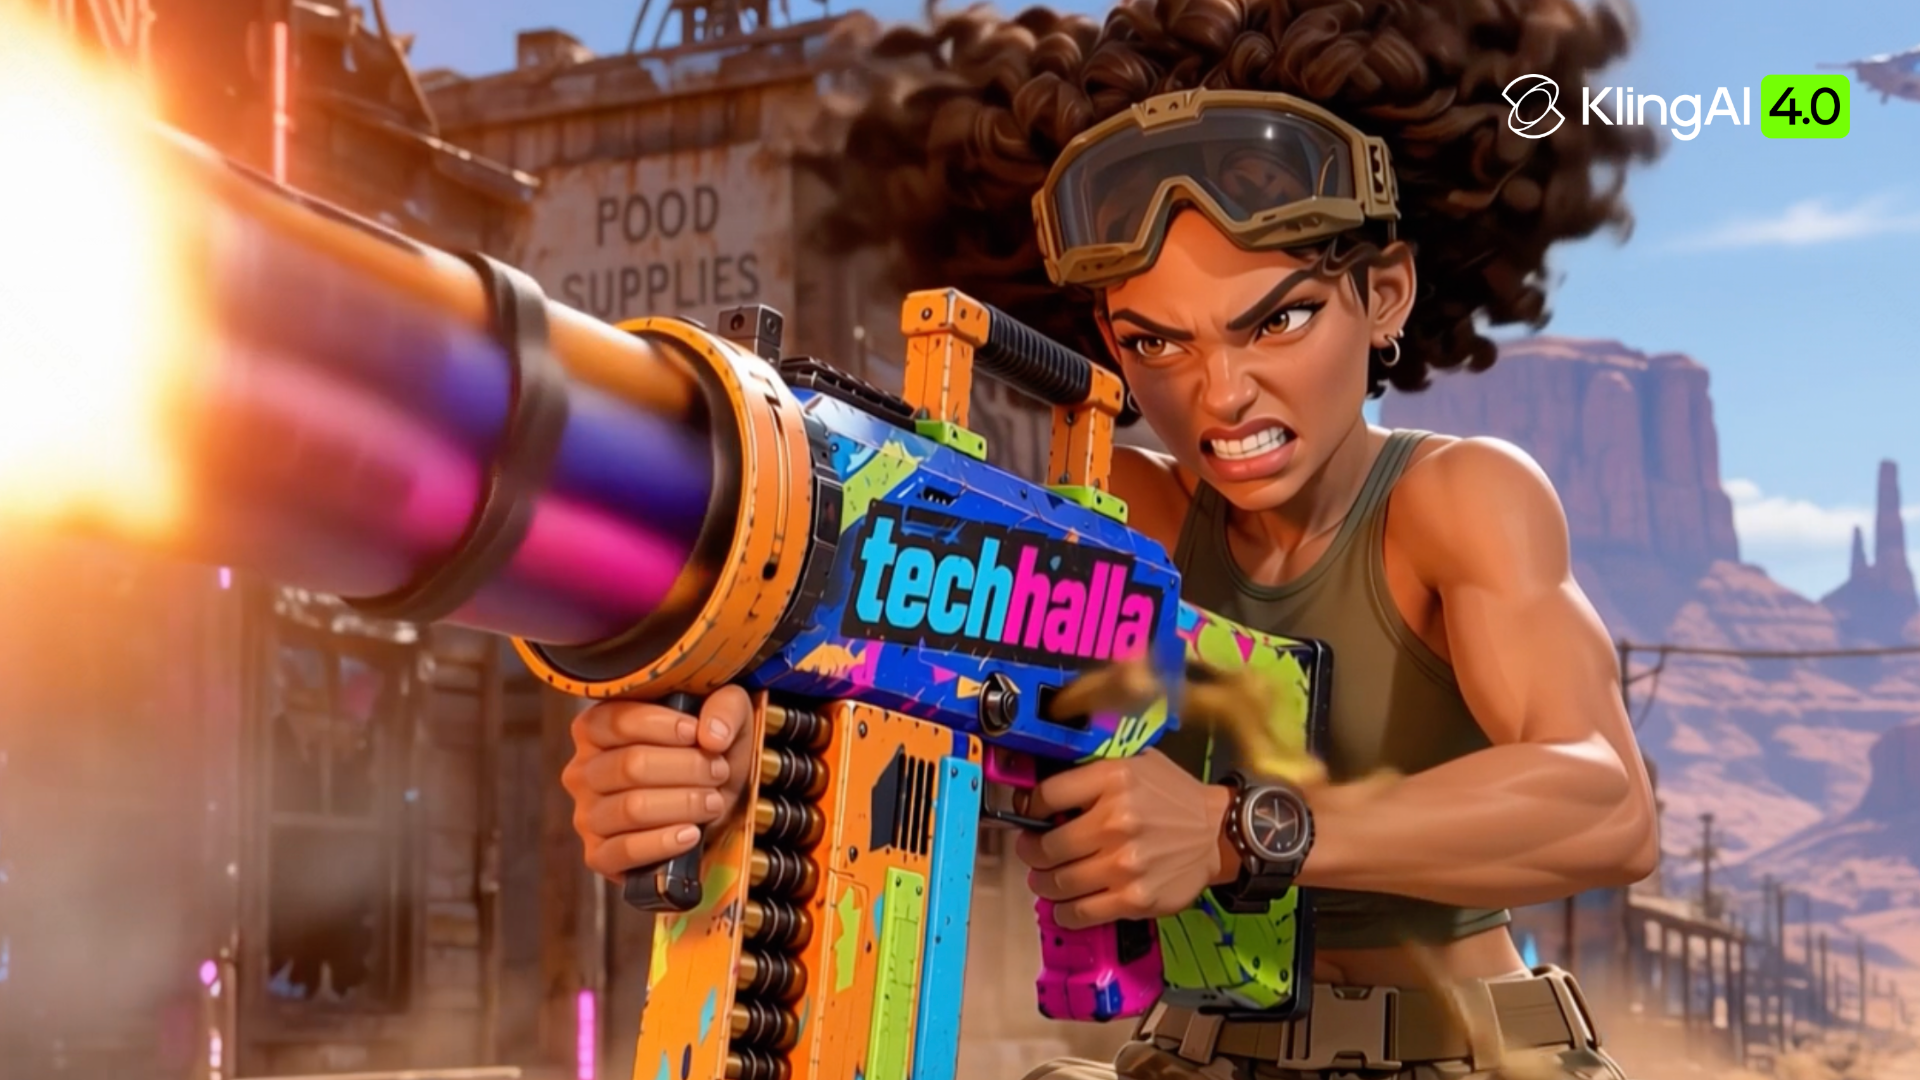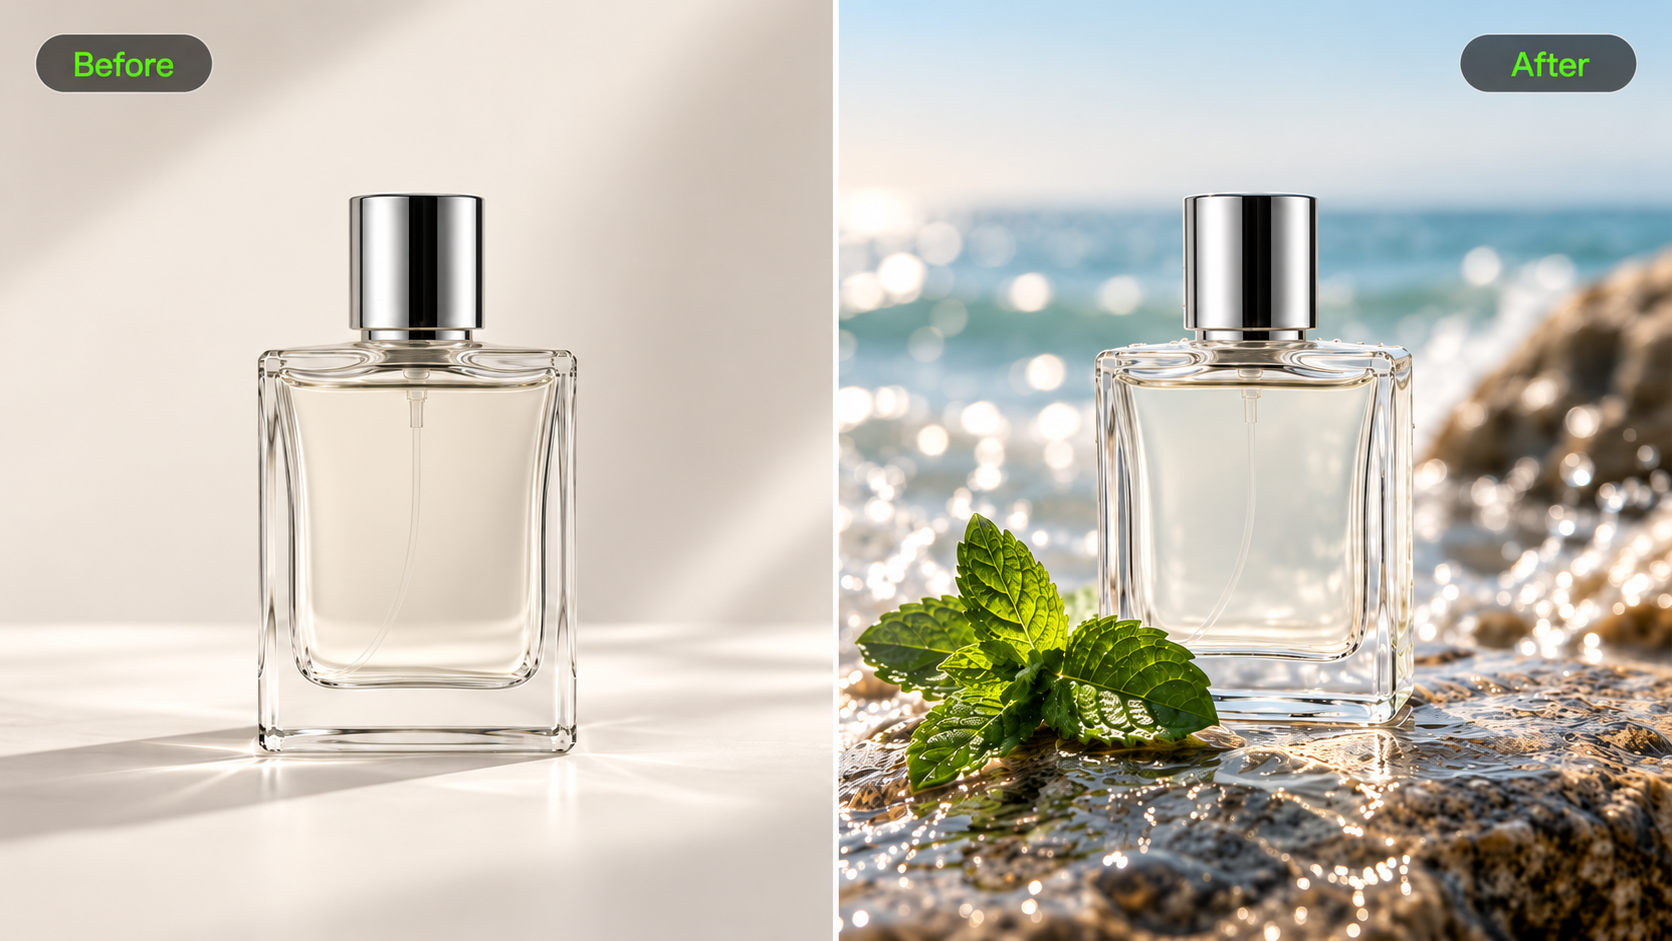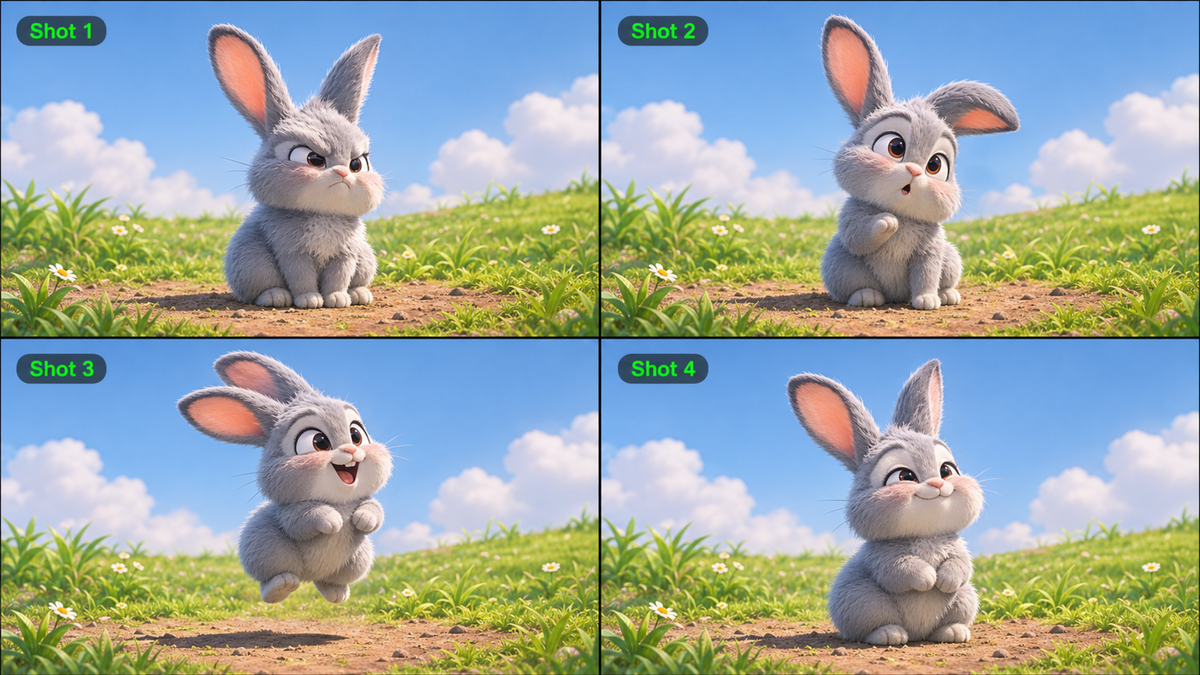
A keyframe captures an important moment in a video, such as a character's starting position or the final shot of a scene. By planning these visual moments, creators can better guide how actions develop and scenes change. This guide explains the concept and explores how Kling AI helps turn planned visual moments into dynamic videos.
What Is a Keyframe?
A keyframe defines an important visual moment in a sequence, such as a starting pose, a major change, or an ending scene. In traditional keyframe animation, artists use key poses to establish how movement develops over time. In AI video generation, keyframes typically take the form of reference images that guide important moments in a video. Creators can use these images to plan changes in character actions, scene composition, and storytelling, while AI generates the motion and transitions between them.
Common Types of Keyframes in AI Videos and Their Uses
Keyframes can serve different creative purposes throughout an AI video. Some establish the opening scene, while others guide important actions, changes in perspective, or the final composition. The following examples show how different keyframe images can help shape a video sequence.
Keyframe Type | Main Purpose | AI Video Example |
Opening Keyframe | Establish the initial scene, subject, and composition. | A product displayed on a table at the beginning of an ad. |
Action Keyframe | Guide important changes in character poses or object movements. | A character crouching before a jump or a car making a sharp turn. |
Composition Keyframe | Guide changes in camera perspective, framing, or visual focus. | A wide city view transitioning into a close-up of a building. |
Scene-Change Keyframe | Guide transitions between different environments or visual settings. | A daytime street transforming into a neon-lit nighttime scene. |
Ending Keyframe | Define the final visual moment or closing composition. | A cinematic product close-up with a brand logo in the final shot. |
Why Are Keyframes Challenging in AI Video Generation?
Strong starting and ending keyframes do not guarantee a convincing AI video. The challenge lies in connecting them with consistent visuals, natural motion, and clear timing.
Maintaining Character and Scene Consistency
Characters, products, and settings need to remain recognizable throughout a video. Conflicting references may cause changes in faces, proportions, packaging, or lighting.
Creating Natural Motion Between Key Moments
A jump should include takeoff and landing, while a turning car needs a believable path. Fast actions and complex camera moves can lead to unstable or disconnected transitions.
Controlling Narrative Timing and Transitions
Actions and reactions need enough time to unfold in the right order. Even strong keyframes can produce a weak story if transitions feel rushed or poorly timed.
How Kling 4.0 Gives You More Control Over Keyframes
The goal is not to add as many keyframes as possible. It is to give each important change a clear visual purpose while letting the movement between those moments develop naturally.
Direct Important Moments with Up to 10 Keyframes
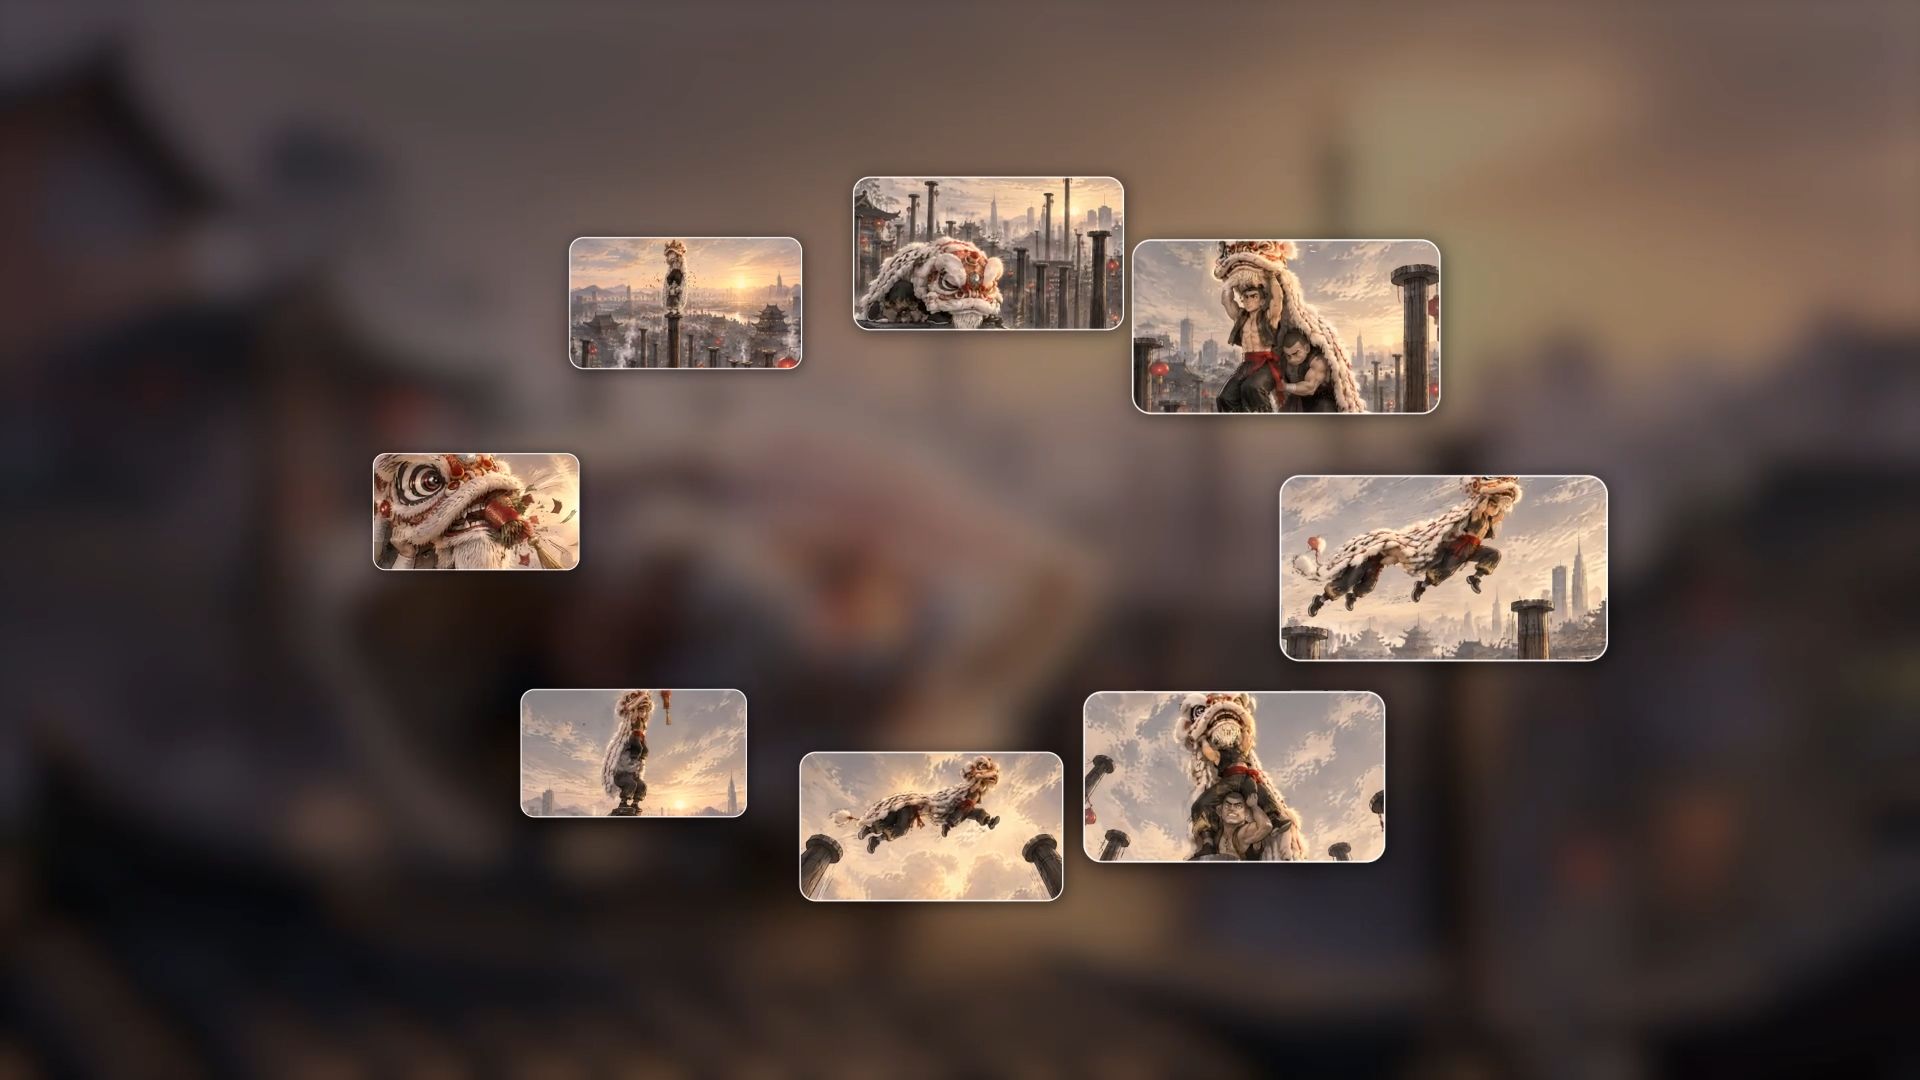
Kling 4.0 supports up to 10 keyframe images to guide the opening, turning points, and ending of a video. A keyframe might show a character at a doorway, a product entering the frame, or a close-up that concludes a scene. When precise timing matters, supported keyframe controls let you define visual moments along the timeline rather than leaving every change to the model's interpretation.
Give Your Story Room to Develop in Up to 30 Seconds
A short video needs more than a series of striking frames. Anticipation gives an action energy, a pause makes a reaction readable, and a gradual change in expression can carry emotion. Kling 4.0 generates videos from 3 to 30 seconds in a single generation. Combined with stronger prompt understanding, that duration leaves room for an opening, an action, and a meaningful response instead of compressing every idea into a few seconds.
Keep Characters and Visual Styles Connected with Omni Reference
When you work from character sheets, product photos, background art, or video references, consistency becomes a separate creative challenge. Kling 4.0's Omni Reference supports up to 15 combined reference assets, including images, videos, Elements, and voice references, subject to individual input limits. You can give each asset a clear role, helping guide character appearance, setting, style, and performance across new footage.
Keyframes and Omni Reference solve related but different problems: the former guides important moments; the latter helps direct the look and behavior of the content. Choose the controls supported by your selected workflow rather than assuming every reference and timeline control can be used together in one generation.
Create More Stable Action and Refine Visual Details
Kling 4.0 improves stability during large actions and complex camera movements, including rapid turns and tracking shots. This helps when a video must move naturally between different poses, compositions, or settings. If the action and rhythm feel right but a detail still needs attention, our AI video editor can support targeted changes to subjects, backgrounds, framing, or visual style in existing footage. You can refine the scene without planning every shot from scratch.

How to Use Keyframes to Create Videos with Kling 4.0
Start by deciding what the audience must see at the most important points in your video. A clear beginning, turning point, and ending are often enough for a simple scene; longer sequences may benefit from additional visual milestones. You do not need all 10 keyframes in every generation.
Step 1: Prepare Your Key Visual Moments
Open Video Generation and choose Kling 4.0. Prepare images for the start, major changes, and end of the scene. You can create additional images with our AI image generator or use visuals you already own. Add keyframe images with the available controls and place important moments where the chosen workflow supports timeline positioning. If you are using broader character or scene references instead, give each reference a clearly defined purpose.
Step 2: Describe Movement Between Key Moments
Explain how the subjects move from one visual state to the next. Identify actions, camera direction, scene transitions, and overall style. If your workspace provides upload labels such as @Image1, use them to clarify the role of each image. For a crouch, a jump, and a landing, the prompt might include the pause before takeoff, the shift in weight, and the reaction after landing. Describe a continuous shot or a sequence of different shot sizes according to the story you want to tell.
Step 3: Generate, Review, and Refine the Video
Choose the available duration and other generation settings, review the credit requirement, and generate the video. Watch for rushed transitions, shifts in character or product details, and missed action beats. Adjust the keyframes, references, or prompt as appropriate to your workflow, then generate another version if needed. Download the result you prefer.
Keyframes | Output Video |
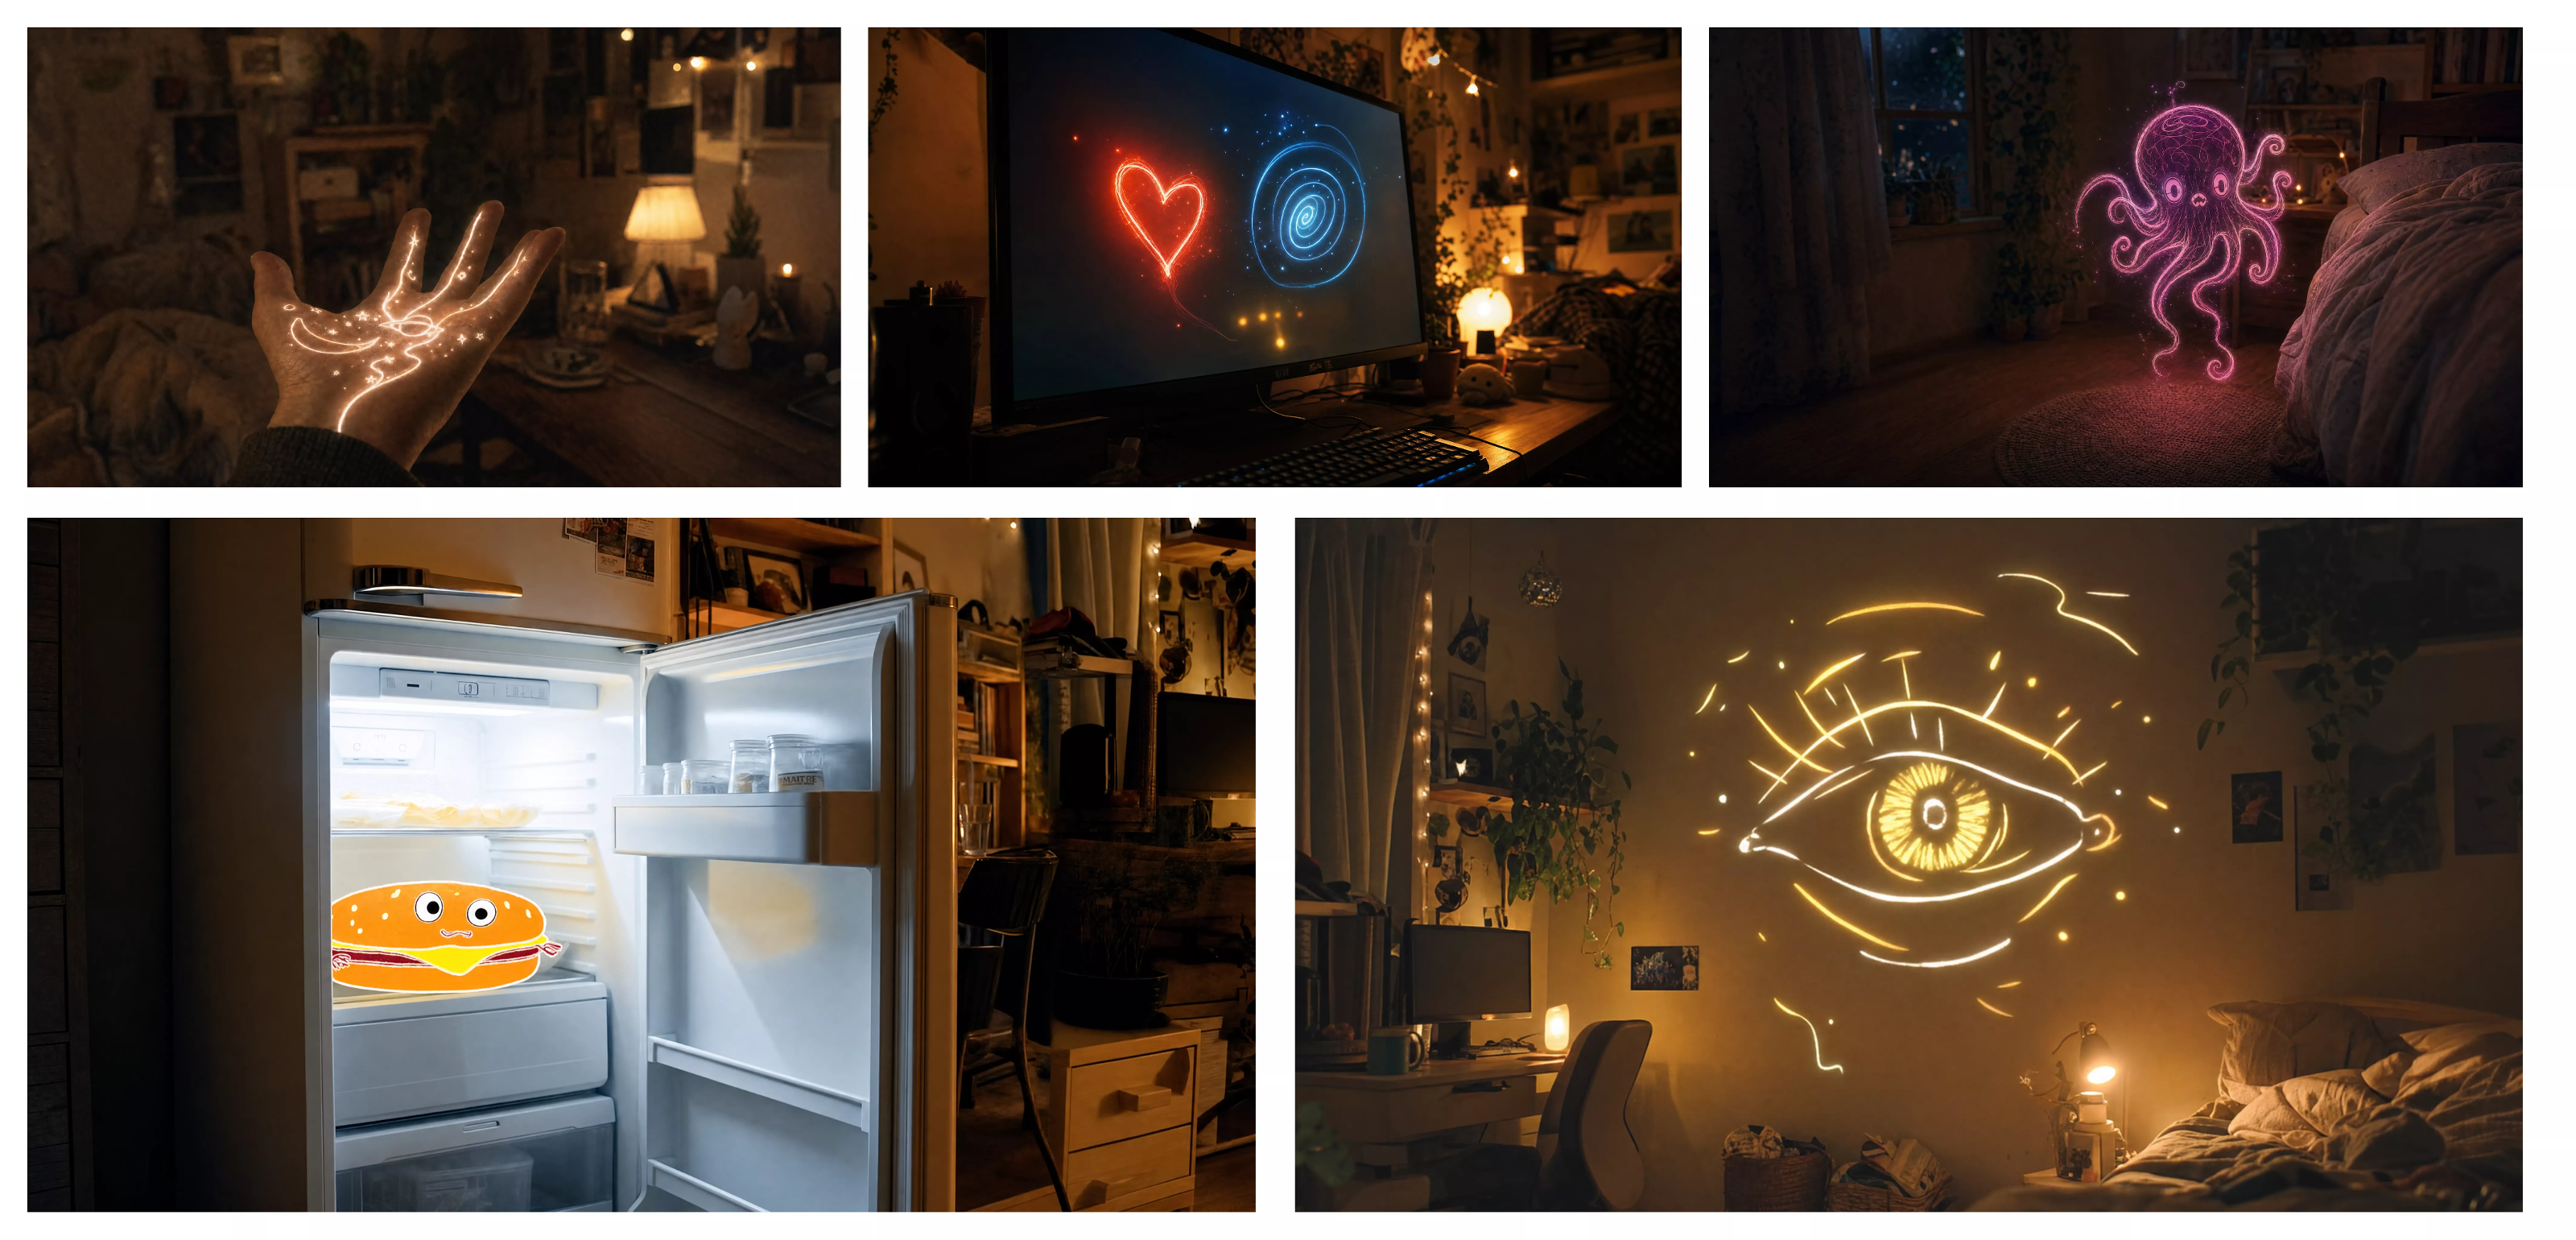 | 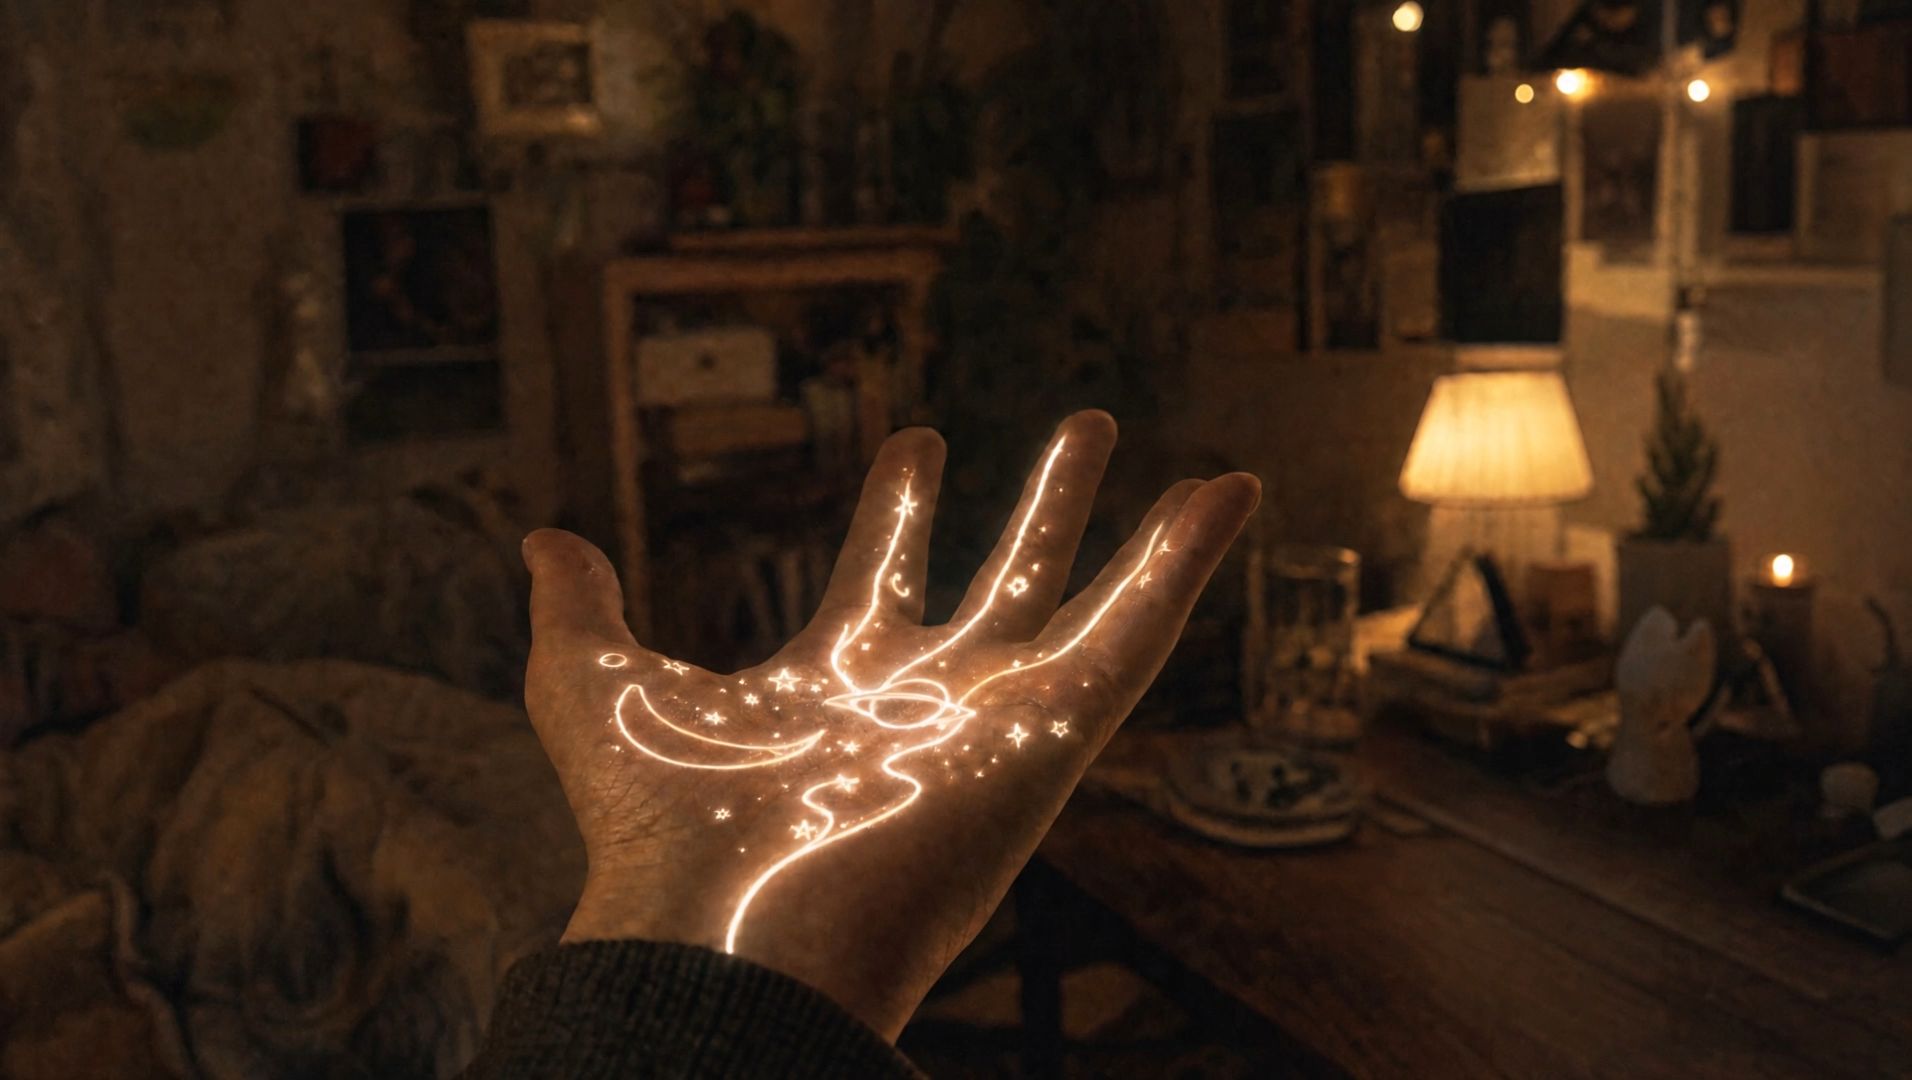 |
Prompt: Create a 20-second cinematic fantasy video set in a cozy, dimly lit room at night. Use @Image1 for the glowing magical symbols on a hand, @Image2 for the computer screen with a red heart and blue spiral, @Image3 for the neon-pink octopus, @Image4 for the open refrigerator with a smiling cartoon burger, and @Image5 for the glowing golden eye. At 0–4 seconds, magical symbols illuminate the hand, releasing sparkling particles into the air. At 4–8 seconds, the camera follows the light toward the computer screen, where the heart pulses and the blue spiral begins to rotate. At 8–12 seconds, pink energy flows into the room and transforms into a playful neon octopus that floats through the air. At 12–16 seconds, the camera follows the glowing trail to an open refrigerator, revealing a smiling animated burger. At 16–20 seconds, golden particles sweep across the room and form a giant glowing eye on the wall. Connect the scenes through flowing light effects and smooth camera movements. Maintain warm, cinematic lighting, consistent room details, vibrant neon colors, and natural transitions between key visual moments. | |
Tips for Better Keyframe Videos
Make Each Key Moment Readable
A key image should communicate its purpose at a glance. In character animation, a clear silhouette and visible line of action help the viewer understand the pose. In a product video, keep the product and the main action visible without unnecessary distractions.
Give Movement a Sense of Weight
A landing, a lifted object, or a fast turn should feel physically connected to the preceding moment. Watch how feet meet the ground, how a carried object shifts, and how momentum continues through a camera move. Even stylized motion benefits from believable support and impact.
Match the Composition to the Action
Close-ups reveal small facial changes, while wider compositions make full-body gestures or vehicle movement easier to follow. If an arm, prop, or product moves near the frame edge, review the complete range of motion against your chosen aspect ratio. A keyframe that works as a still image may need more room once it moves.
Use Keyframes Only Where the Story Changes
Adding more images does not guarantee a clearer video. Choose keyframes for entrances, changes of direction, important reveals, or emotional turning points. Between those moments, give the model enough direction to connect the action naturally. The same principle applies when designing a short video for social media: each visual milestone should help the viewer understand what comes next.
The End
A meaningful keyframe does more than capture a single image. It highlights an important visual change that viewers should notice. With Kling AI, creators can combine keyframe guidance, text prompts, and targeted visual edits to connect planned moments into more cohesive videos. This approach encourages creators to think like directors, bringing greater control and storytelling potential to video ads, animated videos, tutorials, and promotional videos.
FAQs
What Is a Keyframe in Animation?
A keyframe is an important pose or visual state at a selected moment. In traditional animation, key drawings establish the main changes in action; the drawings or generated movement between them complete the sequence. The same basic idea can guide important moments in video production.
What Do Keyframes Do in Video Editing?
Keyframes set property values at specific points in time, such as a title's position, a clip's scale, or its opacity. Editing software can interpolate changes between those values, helping create motion, fades, and other effects without adjusting every frame manually.
What's the Difference Between a Frame and a Keyframe?
A frame is one image in a video. A keyframe marks a deliberate state or change at a particular time. Most frames show the intermediate progression rather than a separately defined key state.
What's the Difference Between Keyframing and Inbetweening?
Keyframing defines important poses or property states. Inbetweening creates or calculates the movement that connects those states. Traditional animation software can interpolate properties such as position or rotation, while AI video models generate intermediate motion from visual inputs and instructions.
What Is Frame Rate in Video?
Frame rate describes how many frames are displayed each second, usually measured in frames per second (fps). A keyframe identifies an important visual or property state, while frame rate describes playback. The two terms are related but not interchangeable.