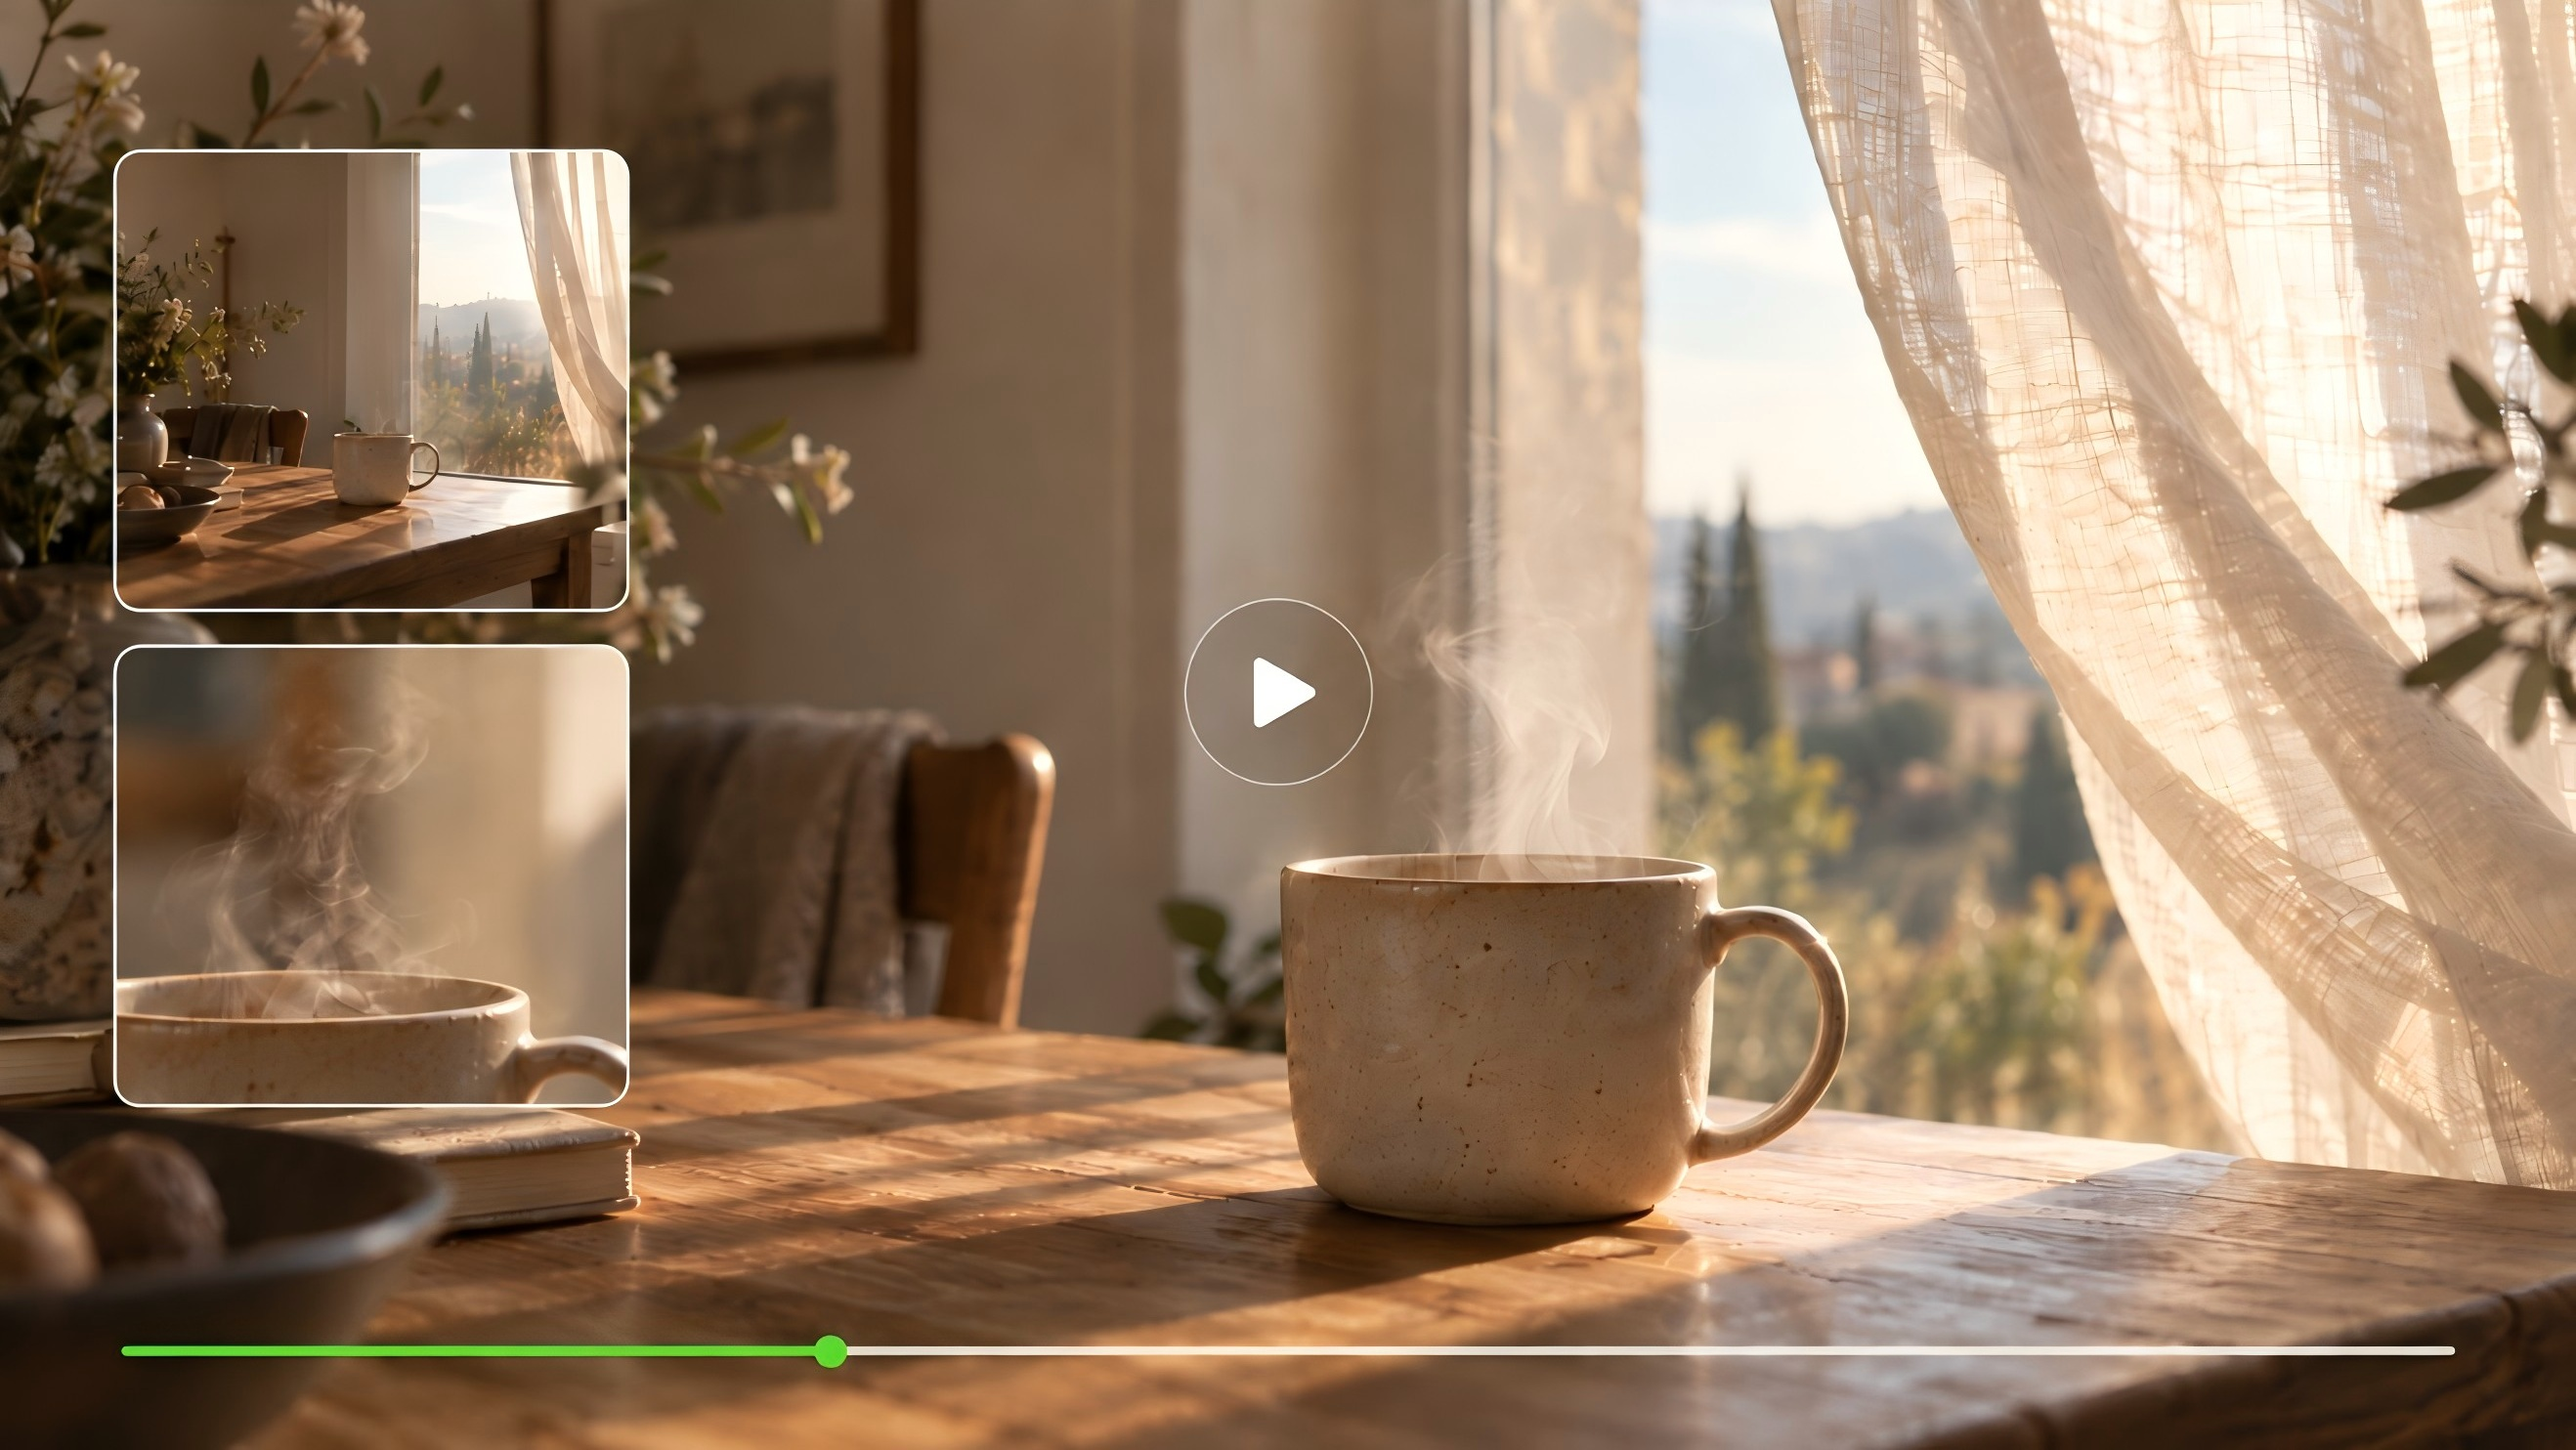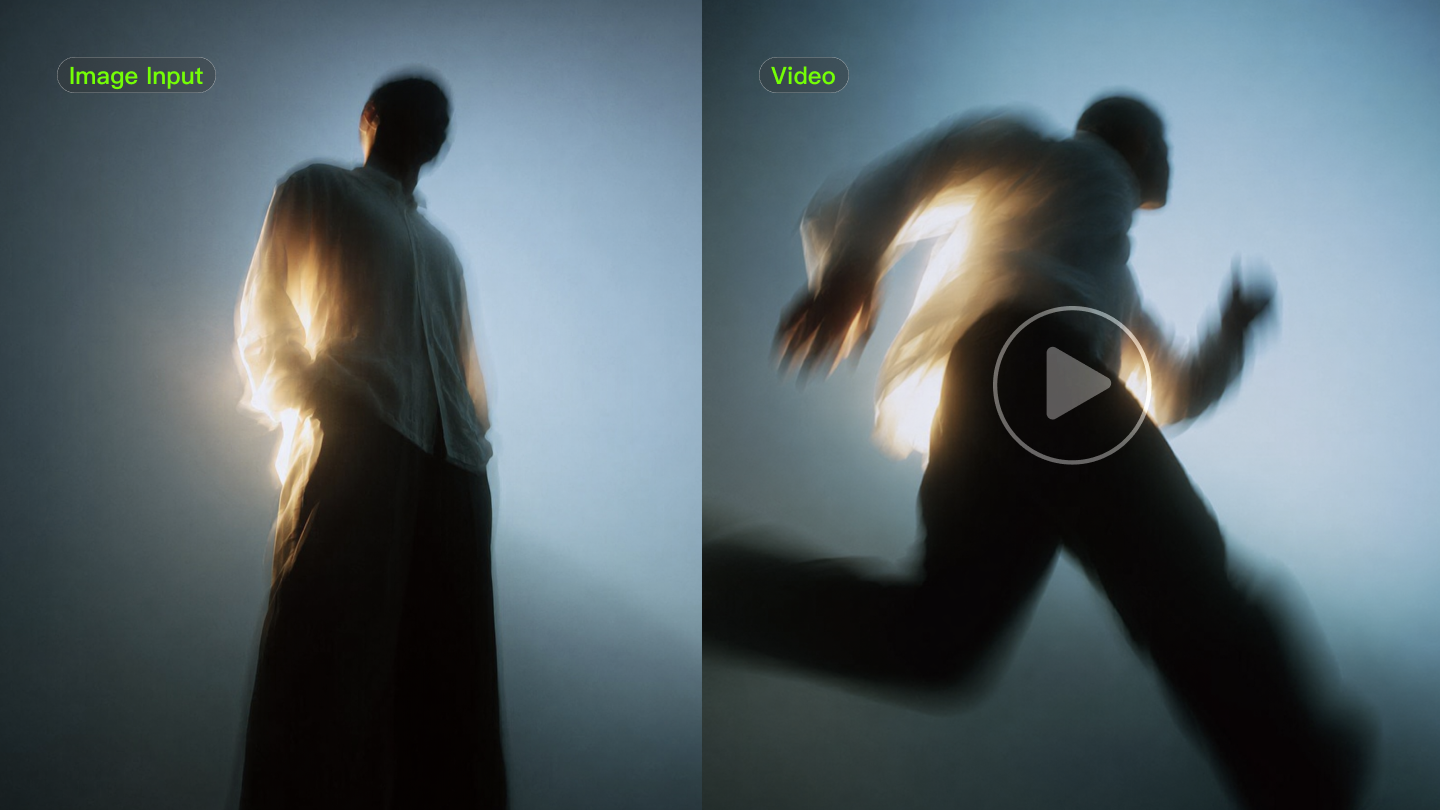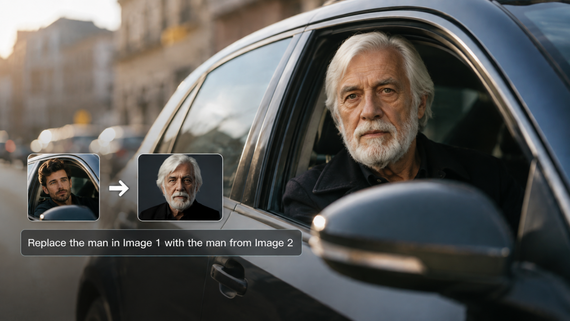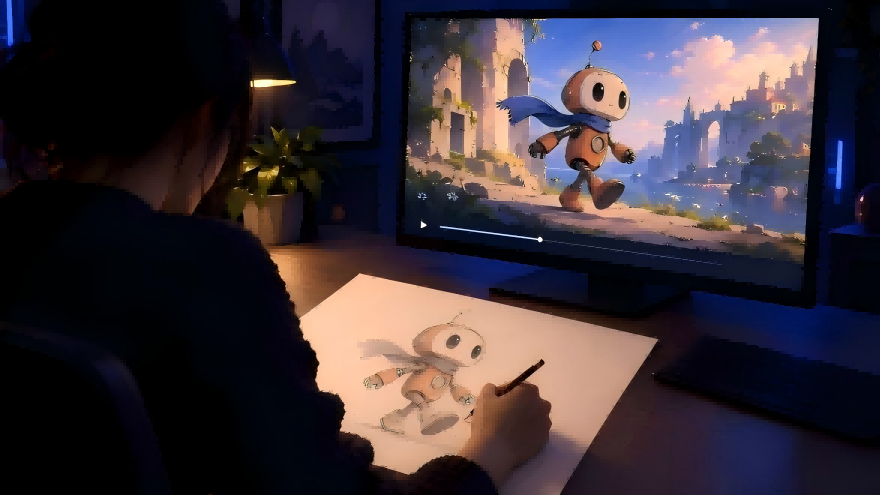
Have a drawing you’d love to see move? This guide shows you how to become an animator using AI and hand-drawn art, starting with your own sketches. You’ll learn the basics, try a three-step animation workflow with Kling VIDEO 3.0 Omni, and put your skills to work through short projects.
Can You Become an Animator With AI and Hand-Drawn Art?
You can learn to animate with your own drawings and AI, even if you’re new to working with motion.
Getting started does not take much equipment. A paper sketch can be photographed or scanned, while digital artwork can come straight from your drawing app. An AI video generator such as Kling VIDEO 3.0 Omni can then use that artwork as the visual starting point for movement. A separate video editor can come later if you want to trim clips or put several shots together.
For your first few animations, it helps to keep the scene simple and pay attention to a few things as you work:
- Drawing and posing: A strong pose makes the idea easier to read. If your character is waving, leave enough space around the arm and hand so the gesture does not get lost against the body.
- Timing and motion: Decide how the action should feel before you generate it. A quick wave feels energetic, while a slower movement with a short pause can come across as shy or hesitant.
- Staging and composition: Think about what you want the viewer to notice first. A waist-up shot leaves room for both expression and body language. A close-up puts more attention on the face.
- Visual storytelling: Even a few seconds can have a beginning and a response. Your character might spot a friend, turn toward them, and wave. If that moment is hard to picture, two or three rough storyboard sketches are usually enough to map it out.
- AI direction: Put those choices into the prompt. Instead of asking the character to “move naturally,” describe what happens in order, such as “looks up, pauses, then smiles.” You can also tell Kling to keep the camera still or preserve the pencil-drawn look.
You do not need to plan a full animated scene right away. One drawing, one short action, and a clear prompt are enough to see how your artwork behaves in motion and decide what you want to try next. If you want to explore a few visual directions before settling on a drawing, an AI art generator can also help you test ideas for characters, colors, or settings.
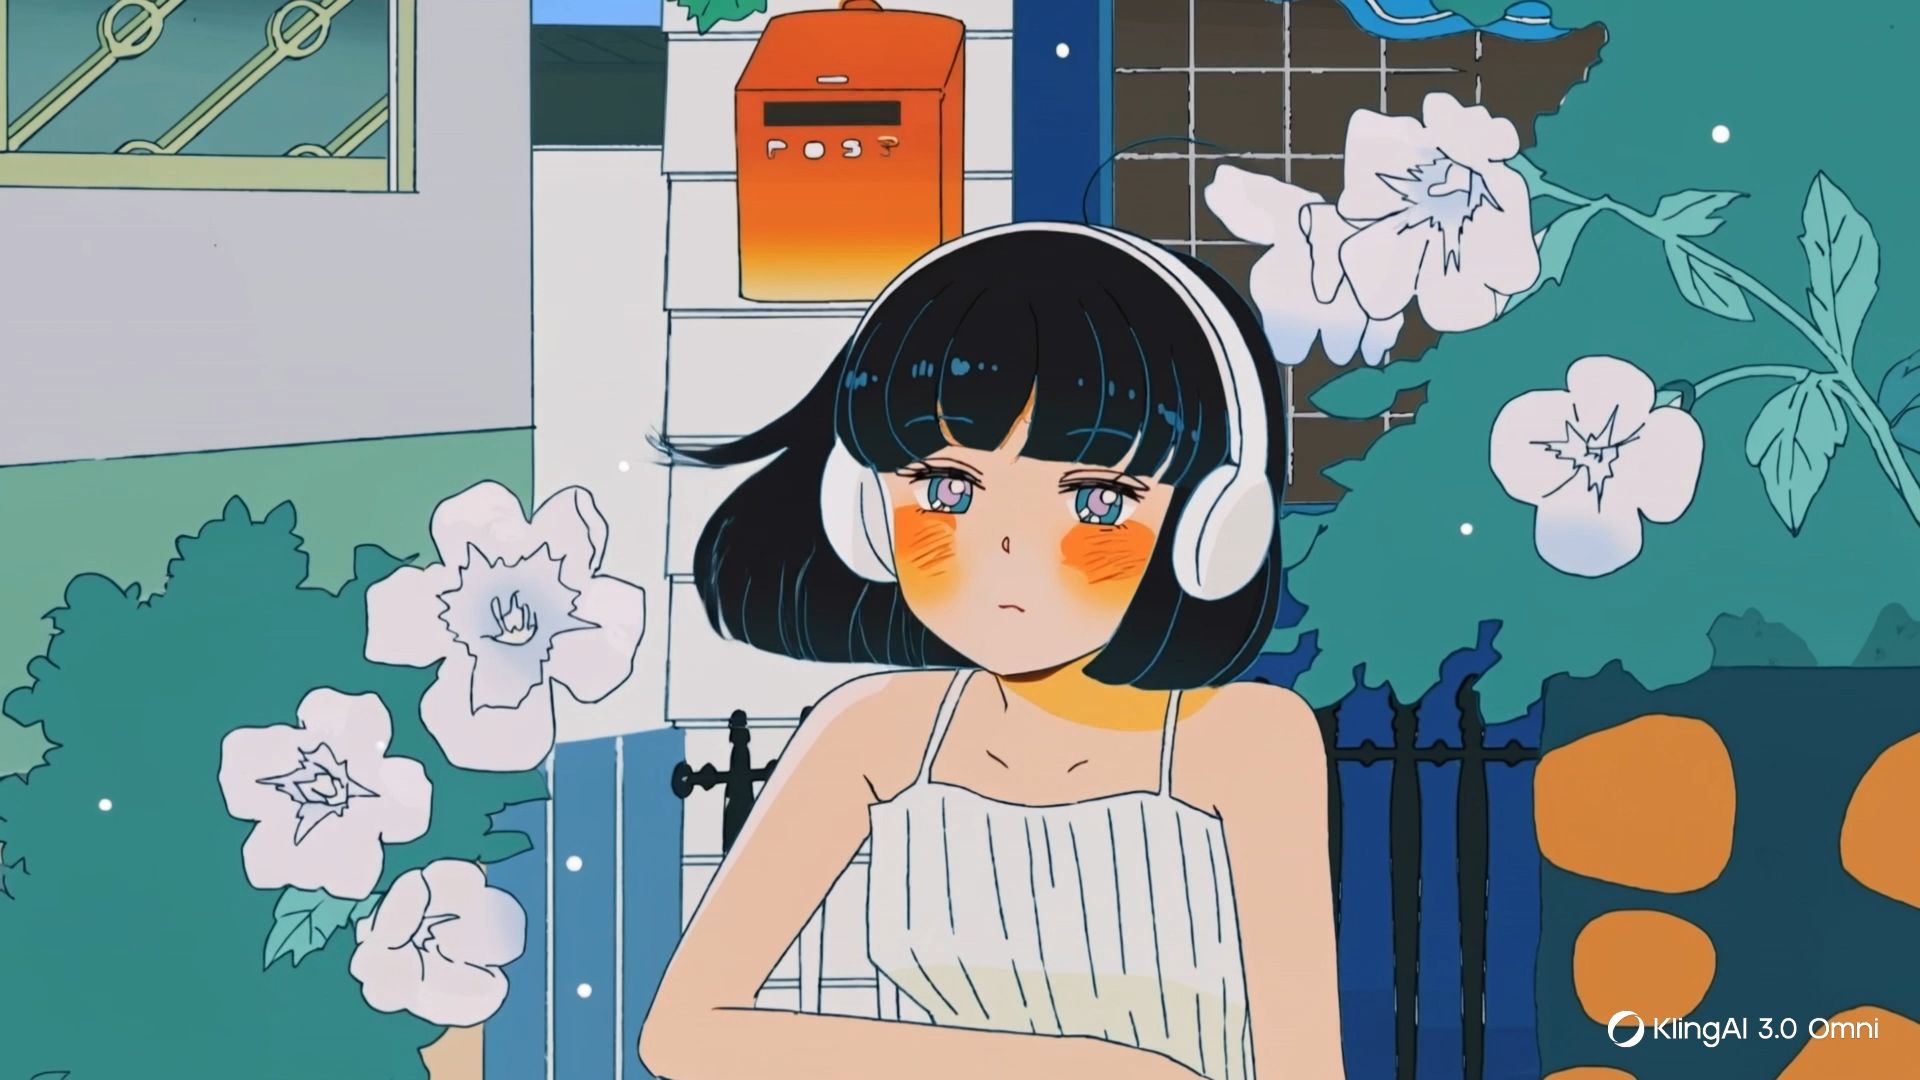

How to Create Animated Videos Using Kling AI and Your Drawings
Start with one of your own drawings and a simple action you want to see in motion. A focused first scene gives you an easier way to turn your artwork into animation before moving on to longer, more detailed sequences.
Step 1: Add Your Drawing as a Reference
If your drawing is on paper, scan it or take a clear photo in even lighting, then crop out anything you do not want in the shot. For digital artwork, simply export the image as a JPG or PNG so it is ready to use as your reference.
Upload the artwork for image-to-video animation so Kling has your character, pose, and visual style to work from. When the opening composition matters, you can also use the drawing as the start frame so the clip begins from the layout you created.
If the same character appears across different shots or angles, add multiple reference images or create a Character Element from matching views. A front view, side view, or another useful angle can help Kling VIDEO 3.0 Omni follow details such as the face, clothing, proportions, and drawing style as the scene changes.
Step 2: Direct the Action, Motion, and Dialogue
This is where you switch from artist to director. Write out what you want to happen—describe the movement, the micro-expressions, whether the camera is panning or locked off, and the mood of the room. Got a talking character? Add the dialogue directly to your prompt and specify who is speaking. Kling VIDEO 3.0 Omni supports Native Audio dialogue in Chinese, English, Japanese, Korean, and Spanish, making it easier to build multilingual animated scenes. If you’re piecing together a longer story, use Custom Multi-Shot to map out your cuts shot-by-shot, setting specific durations and camera angles for each piece of the puzzle.
Step 3: Generate, Fine-Tune, and Export
Once everything is set up, it’s time to dial in your output settings and bring the clip to life. Pick your aspect ratio, tweak the runtime, and push the resolution all the way up to 4K using Kling VIDEO 3.0 Omni. Stressted about mapping out a multi-shot sequence? Don't sweat it—just flip on Multi-Shot and let it automatically string together a cohesive, multi-angle short for you. Working with dialogue? Toggle on Native Audio to bake sound effects, atmospheric background noise, and character voices right into the video generation, saving you hours of alignment work down the line.
Element/Reference Image
| |||
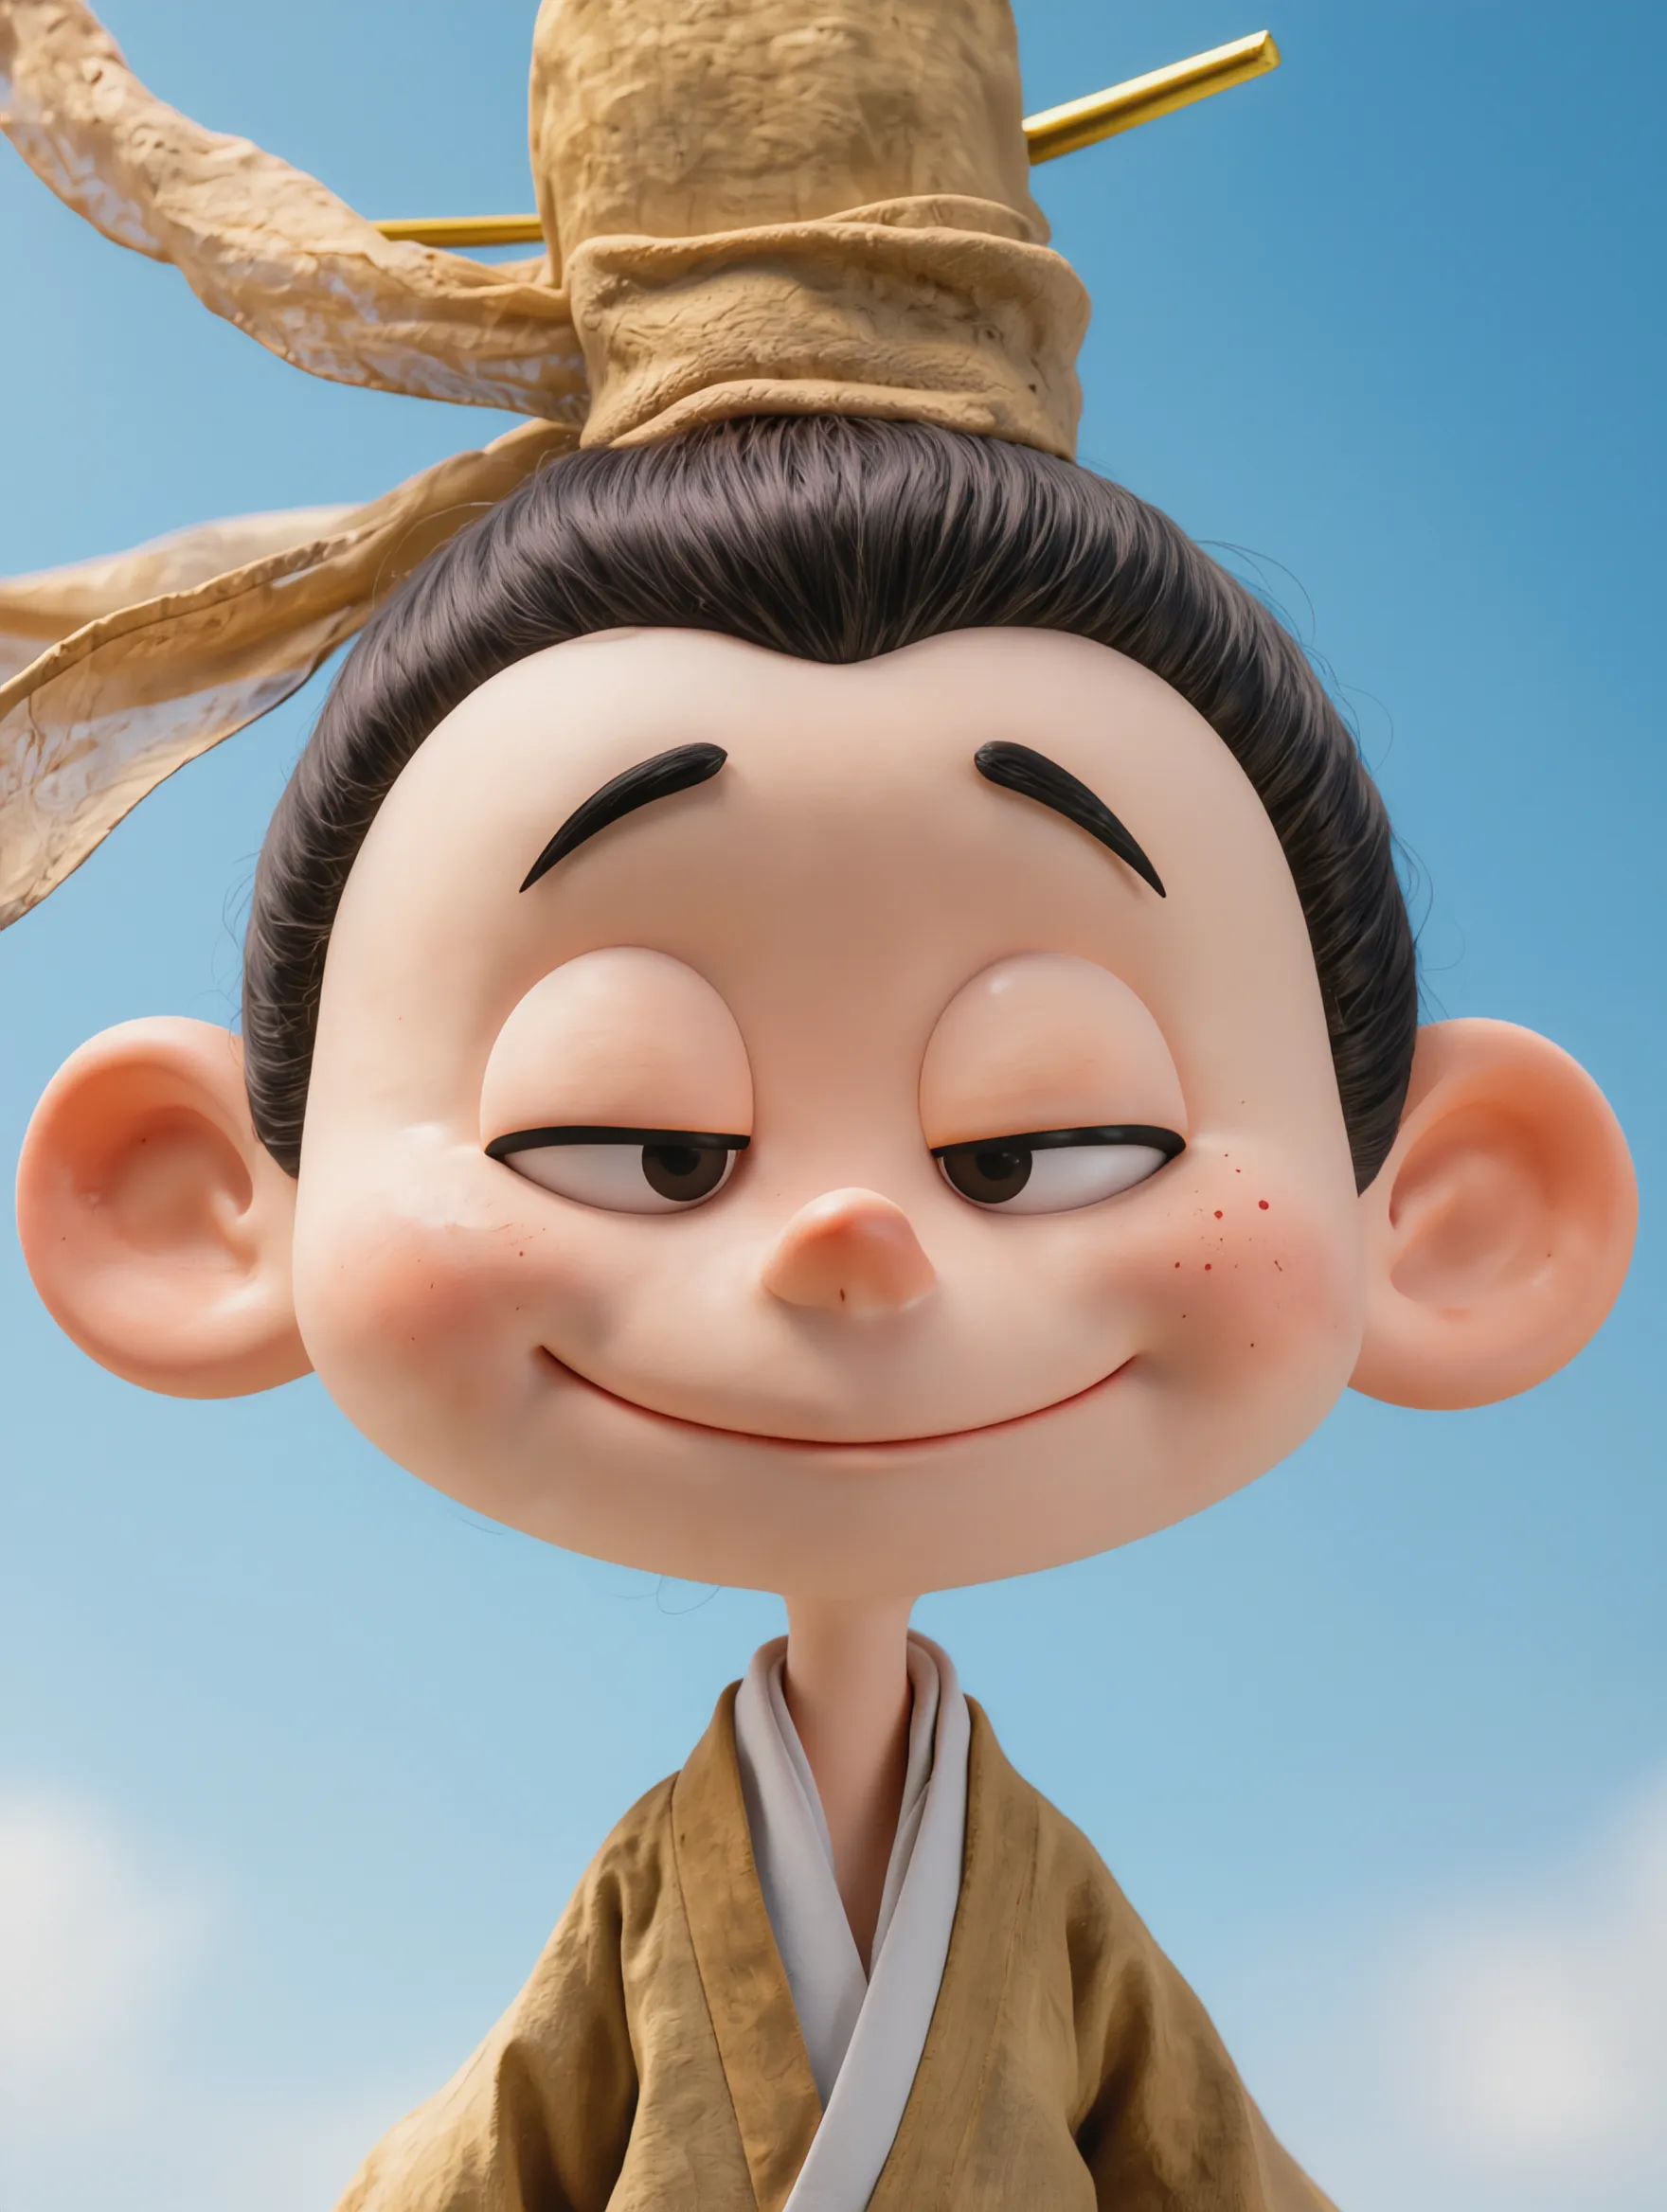 @Little Scholar | .webp?x-oss-process=image/resize,w_1872) | .webp?x-oss-process=image/resize,w_1872) | .webp?x-oss-process=image/resize,w_1872)
|
@Little Scholar | @Reference Image | ||
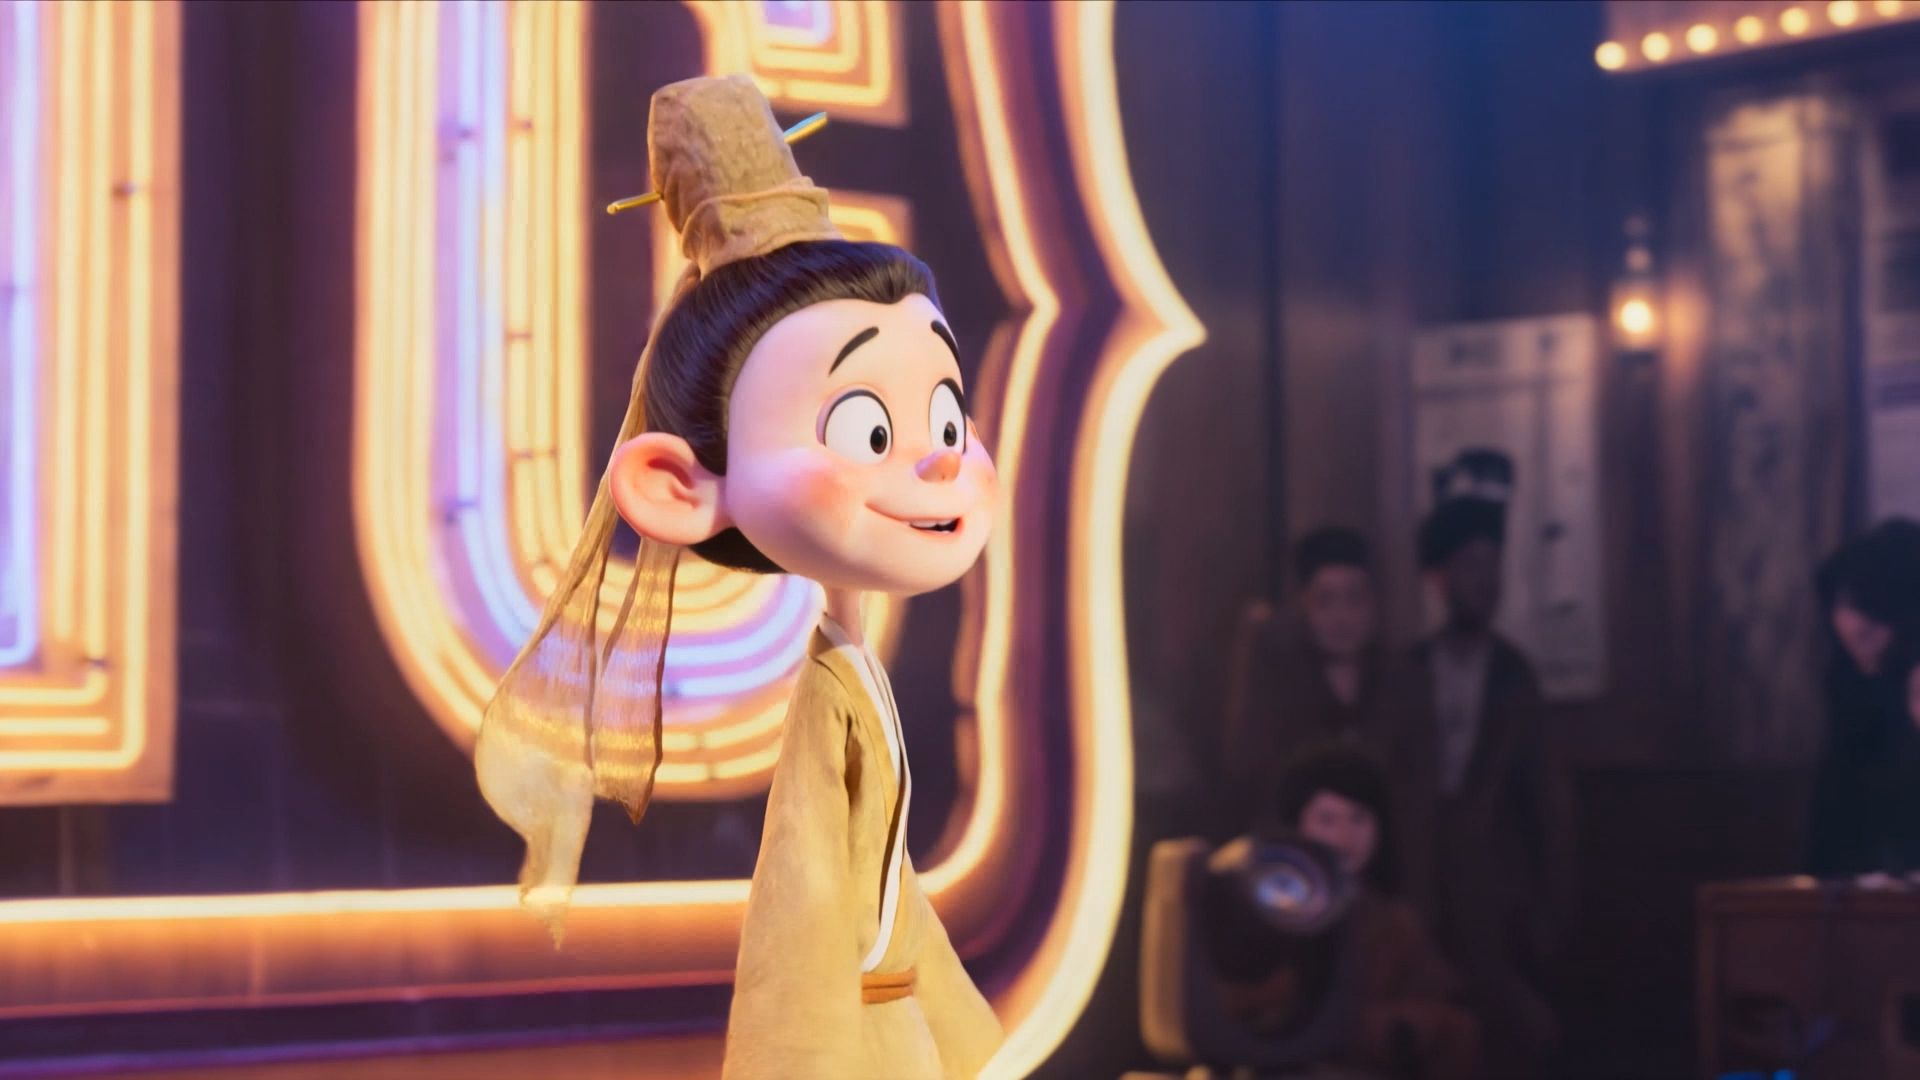
| Prompt: Shot 1 (3s): Close-up on the comedy open-mic stage @Reference Image, with a large retro neon "KLING" sign in the background. Warm golden backlight outlines the scene. The camera follows the performer as they walk to the microphone, lightly adjusting its height. Shot 2 (4s): Mid-close shot of @Little Scholar, who says, “我居然输给了 Kid,他上过几天班呀,教大家如何快乐上班” Shot 3 (4s): @Little Scholar with a restrained, slight smile, naturally pausing, saying, “你听听,花 5 分钟,论证了这么个伪命题” Shot 4 (2s): Switch to the audience laughing loudly. | |||
Outputs | |||
| |||
Build Your Animation Skills With Short Projects
Once you have made your first clip, keep the next few projects small and give each one a new challenge. Reuse the same character when it helps, or explore a new idea with an AI character generator before turning it into your next drawing. This gives you more room to focus on movement, expression, framing, and storytelling.
Practice Focus | Try This |
Movement | Add a turn, reach, recoil, or another action with a clear sense of pace and weight. |
Performance | Try the same moment with two different emotions or reactions. |
Framing | See how a close-up, medium shot, or wider view changes the scene. |
Storytelling | Connect two or three shots using rough storyboard sketches as a guide. |
Consistency | Keep the same character across several shots and check that key visual details stay recognizable. |
A few habits can make each exercise more useful:
· Compare two versions of the same idea. Keep the drawing and basic action, then change just one thing, such as the timing, camera angle, or prompt. Seeing the clips next to each other makes it much easier to tell what actually changed the scene.
· Draw the tricky part before trying again. If a hand gesture, turn, or expression keeps coming out wrong, sketch the pose you want first. That gives you something specific to work toward instead of guessing with another prompt.
· Look for one problem at a time. Maybe the reaction feels rushed, the face changes between shots, or the camera moves when you wanted it still. Pick the issue that bothers you most and make that the goal of the next version.
· Save the things worth coming back to. Keep prompts, reference images, and clips that worked especially well. After a few projects, you will have your own small library of ideas, shot choices, and approaches you can reuse.
As your projects become more ambitious, those saved comparisons can guide what you practice next. They also make it easier to see how your own drawing and direction shape the animation, rather than judging each clip only by how polished the AI output looks.
The End
If you’re exploring how to become an animator using AI and hand-drawn art, keep building on what each short project teaches you. Kling VIDEO 3.0 Omni can help turn those drawings and ideas into more complete animated scenes as your skills grow.
FAQs
What Is Image-to-Video Animation?
Image-to-video animation uses a still image, illustration, or drawing as the visual starting point for a moving clip. With Kling AI, you can upload your artwork and describe the action, expression, camera behavior, and scene development you want to generate.
Do I Need to Know How to Draw to Animate With AI?
It helps a lot. You can animate without drawing, and AI avatars can be useful for character-led videos without creating the artwork from scratch. But combining hand-drawn skills with AI gives your work character that prompt-only results often lack. Drawing lets you design unique characters, control composition, and guide motion with intent. If you are serious about becoming an animator, keep building your art fundamentals alongside the tools.
How Do I Turn My Drawings Into Animation?
Start with a clear scan, photo, or exported image of your drawing, then use image to video to animate it. Add a prompt describing the character’s movement, expression, and camera behavior. With Kling VIDEO 3.0 Omni, you can also use reference images or Elements when you want the same character to appear across different shots, then refine the timing and sequence as needed.
Can AI Animate Hand-Drawn Characters Consistently?
Yes. It can help keep a hand-drawn character recognizable across shots, especially when you provide clear references. Kling VIDEO 3.0 Omni supports multi-image references and Elements, so you can give the model more information about the character’s face, outfit, proportions, and other defining details. For recurring characters, useful reference views can make it easier to maintain continuity as the angle or scene changes.
What Kind of Drawing Works Best for AI Animation?
A clear drawing with an easy-to-read pose and recognizable character details usually works best.
- Keep the face, hands, clothing, and main silhouette visible so the model has enough visual information to follow. Simple backgrounds are easier to work with when the character is the focus, while more detailed scenes are better saved for shots where the setting matters. Your artwork does not need to be fully polished either; a clean pencil sketch or digital drawing can work well if the pose and key features are easy to understand.