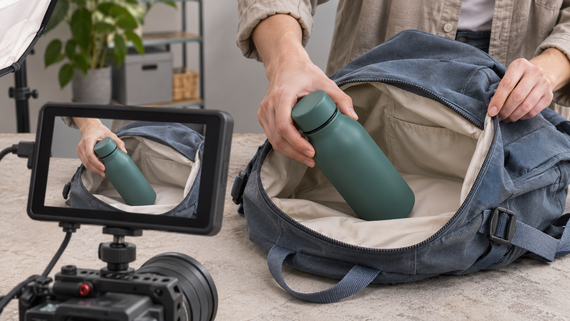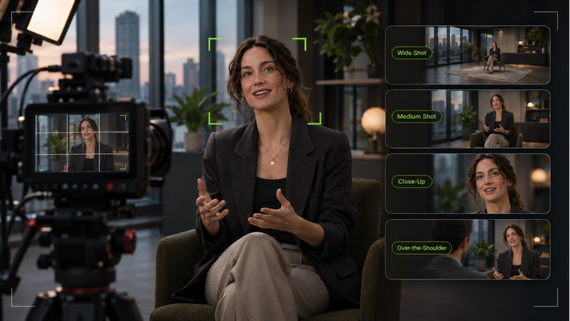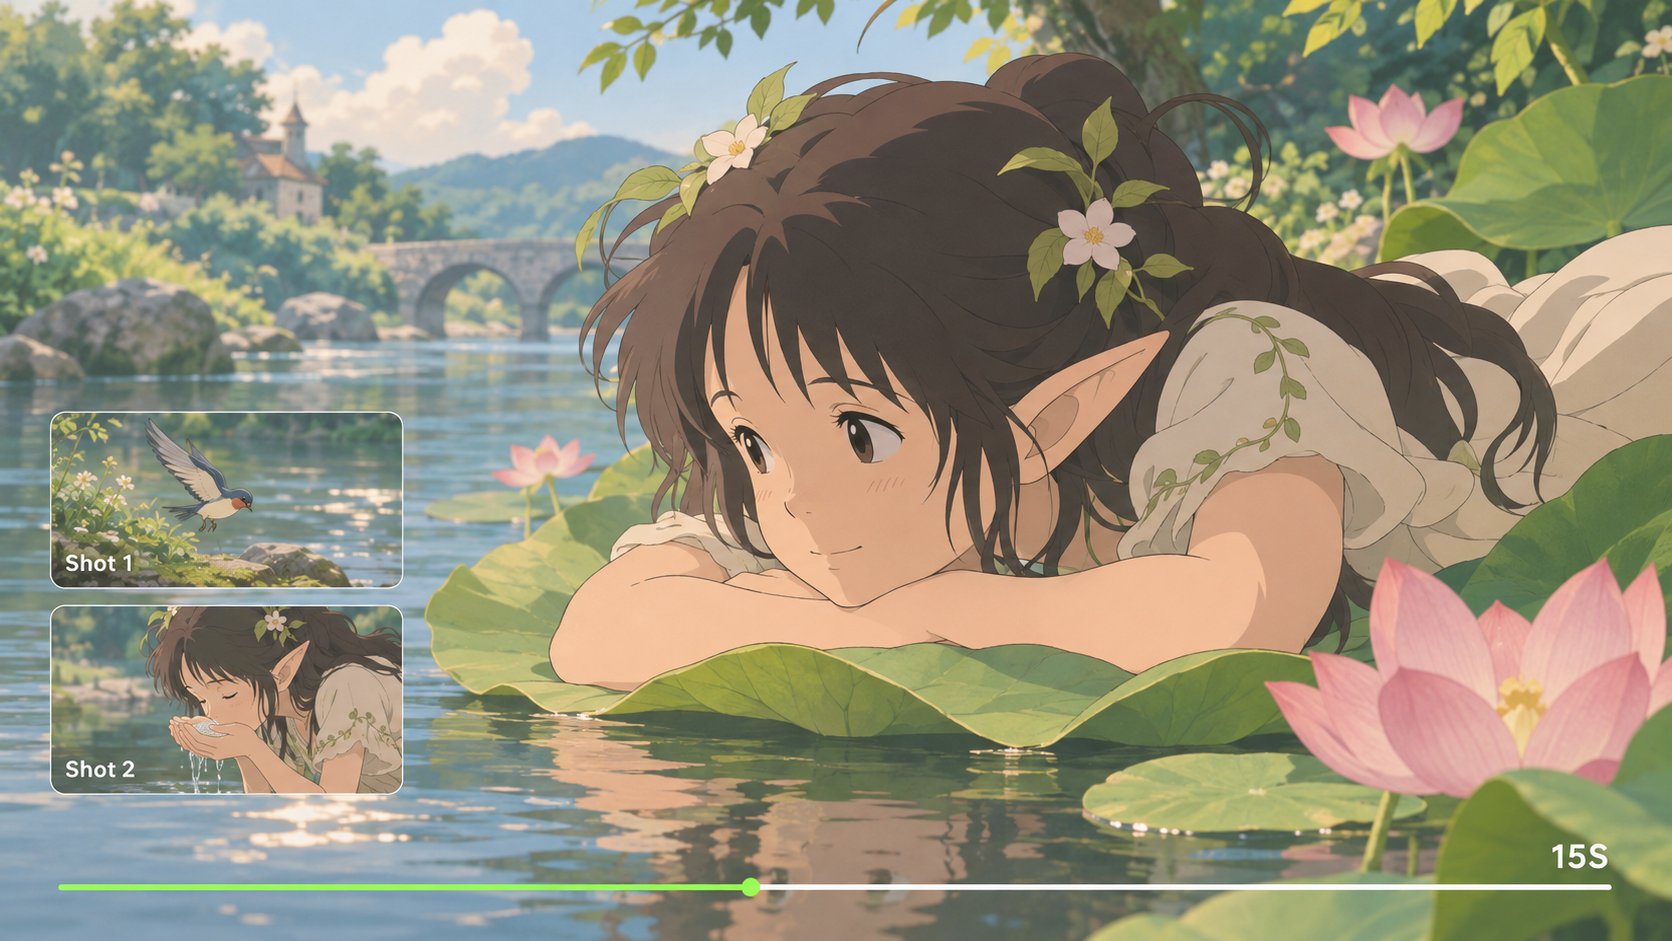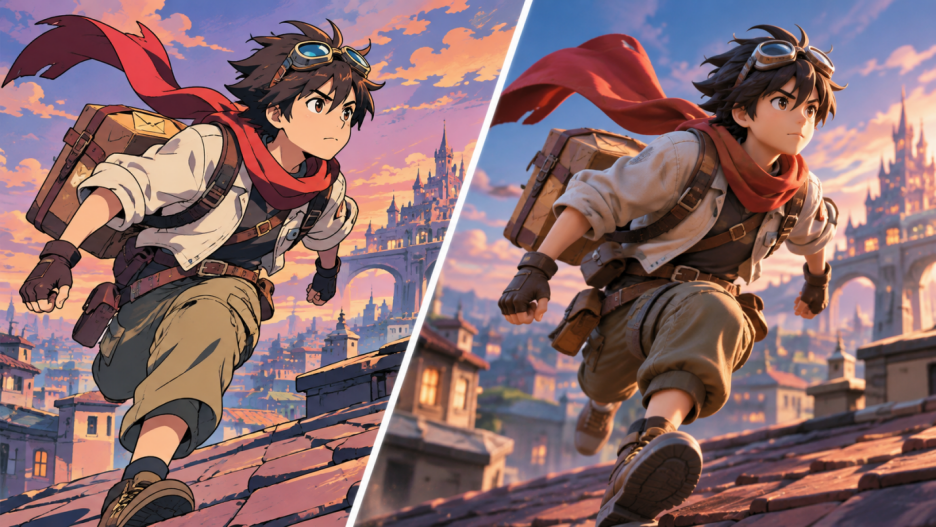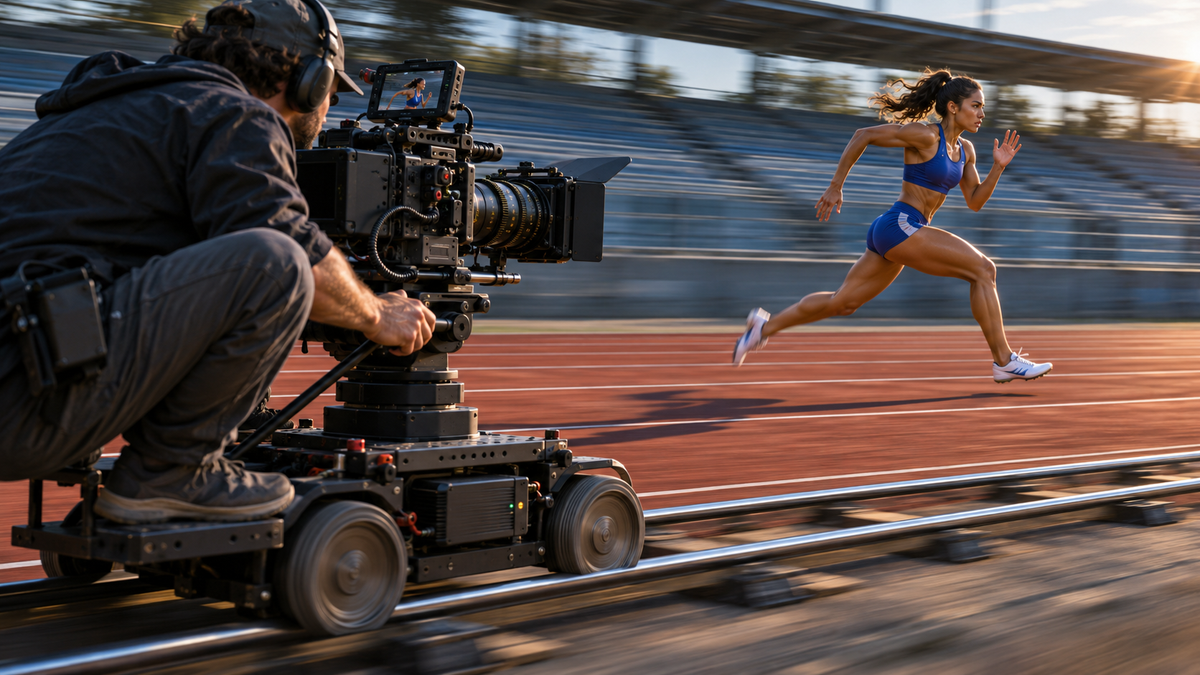
Even without dialogue, camera movement can change how you feel about a scene. A slow push-in builds tension, a tracking shot pulls you into the action, and a gradual pull-back can make a character feel isolated. Explore 10 common camera movements in film, when to use each, and how AI can help you create expressive moving shots.
What Is Camera Movement in Film?
In filmmaking, camera movement refers to changes in the camera's position or orientation during a shot. Camera movement guides also cover related techniques like zooming, which change the framing without physically moving the camera. Different camera movements help you guide viewers' attention, gradually reveal scene details, and build tension, intimacy, or a sense of isolation.
Next, we'll explore 10 common types of camera movement and related filmmaking techniques, along with how and when to use each:
Camera Movement | How It Works | Visual Effects and When to Use It |
Pan | Pivot the camera horizontally from a fixed position. | Guide attention between subjects or gradually reveal a setting. |
Tilt | Pivot the camera upward or downward without changing its position. | Reveal a character, emphasize height, or show the scale of a structure. |
Roll | Rotate the camera around its lens axis, tilting the horizon. | Create a sense of imbalance, dizziness, or unease. |
Dolly | Move the camera toward or away from a subject, changing perspective. | Push in to build tension or intimacy, or pull back to reveal the surroundings and emphasize isolation. |
Truck | Move the camera sideways, usually without changing its viewing direction. | Follow a subject laterally while revealing background depth and movement. |
Pedestal | Raise or lower the entire camera without tilting it. | Look over obstacles or reveal subjects by changing the camera's height. |
Arc / Orbit | Move the camera along a curved path around a subject. | Reveal different angles, show spatial relationships, or build tension. |
Crane / Jib | Move the camera through space using a pivoting arm. | Reveal the scale of a setting or transition from a close view to a wide shot. |
Zoom | Change the lens's focal length to adjust framing without moving the camera. | Zoom in to highlight a subject or important detail, or zoom out to reveal more of the surrounding scene without physically moving the camera. |
Handheld / Steadicam | Shoot handheld for a raw, less-stable look, or use a Steadicam for smoother camera movement. | Create urgency with handheld shots or follow characters smoothly with a Steadicam. |
How AI Makes Cinematic Camera Movement Easier to Create
Complex camera movements often require careful planning, precise camera control, and repeated takes. AI video generation offers a more efficient approach, allowing creators to explore cinematic camera movements using text prompts and visual references without setting up physical camera equipment.
At Kling AI, we've developed Kling 4.0 to help creators bring their ideas to life through AI video generation and editing. Our model offers enhanced prompt understanding, interpreting camera movement instructions and expanding creative ideas with a director's perspective. It also delivers greater stability during large-scale subject motion and complex camera movements, enabling smoother, more coherent transitions. With Omni Reference, you can use keyframe images to plan visual changes or reference videos to guide camera paths, character actions, and pacing while incorporating your own subjects and settings. Below, we'll explore three ways to create cinematic camera movements with Kling 4.0.
Create Camera Movements With Text Prompts
Whether you're starting with a text description or an existing image, you can use prompts to guide the camera movements in your video. With Kling AI, you can describe a scene entirely from scratch or upload a portrait, product photo, or landscape image as the visual starting point.
Kling 4.0 offers improved stability for complex camera movements, including fast tracking shots, camera orbits, and dynamic changes in direction. Its enhanced prompt understanding can expand simple creative ideas or refine detailed instructions of up to 8,000 tokens, bringing a director's perspective to shot composition, camera movement, and pacing.
To guide the camera more precisely, consider these four elements:
- Subject and Setting: Describe the characters, products, or environment you want to feature, along with the visual mood.
- Subject Actions: Explain how your subject moves and how the camera should respond to or follow that movement.
- Camera Movement and Direction: Specify movements such as dolly-ins, pans, tracking shots, or camera orbits, along with the intended direction.
- Shot Pacing and Framing: Define the camera's speed, movement duration, and how the framing should change from the beginning to the end of the shot.

Plan Shot Composition Through Key Visual Moments
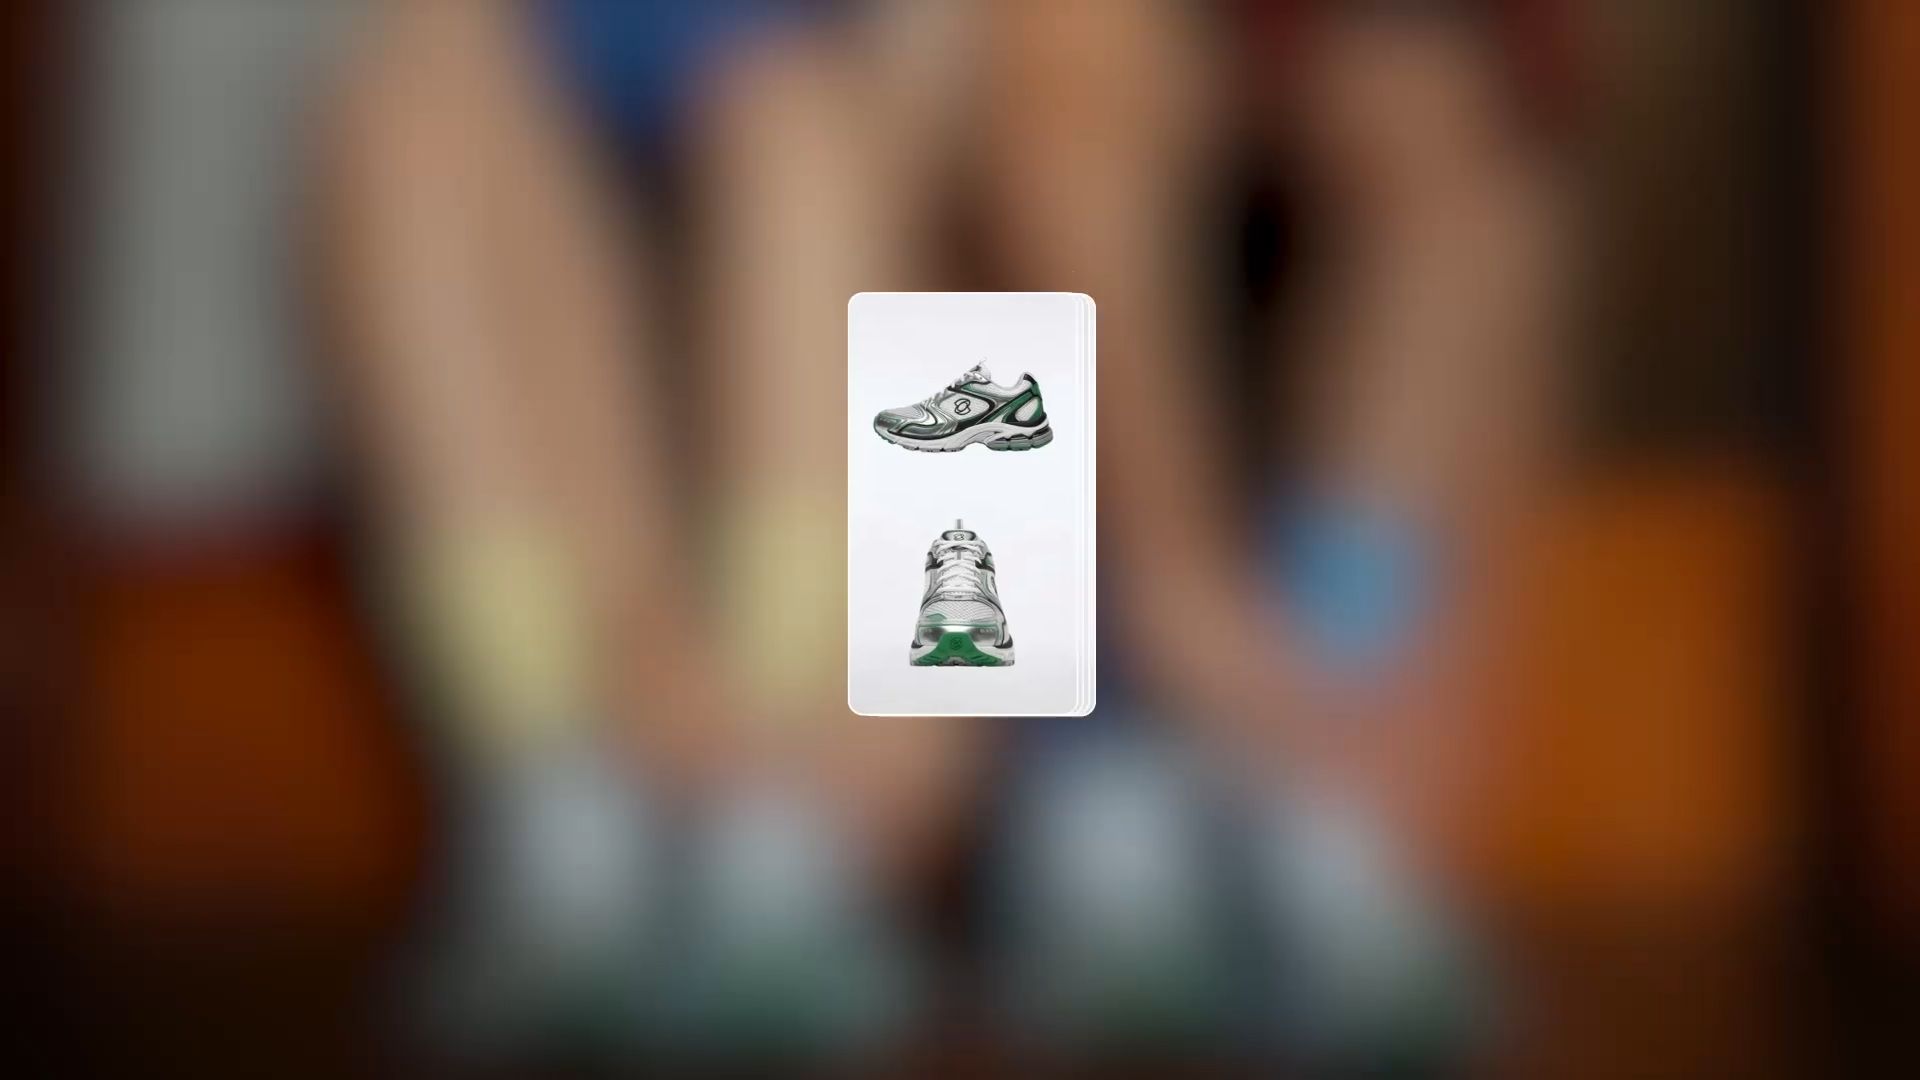
If you already know how you want your shot to look at the beginning, middle, and end, you can use Kling 4.0 to place up to 10 images at key points along your video's timeline. Use these images to plan how the framing and visual composition change throughout your video, then describe the camera's movement, direction, and pacing in text prompts to guide the motion between these visual moments.
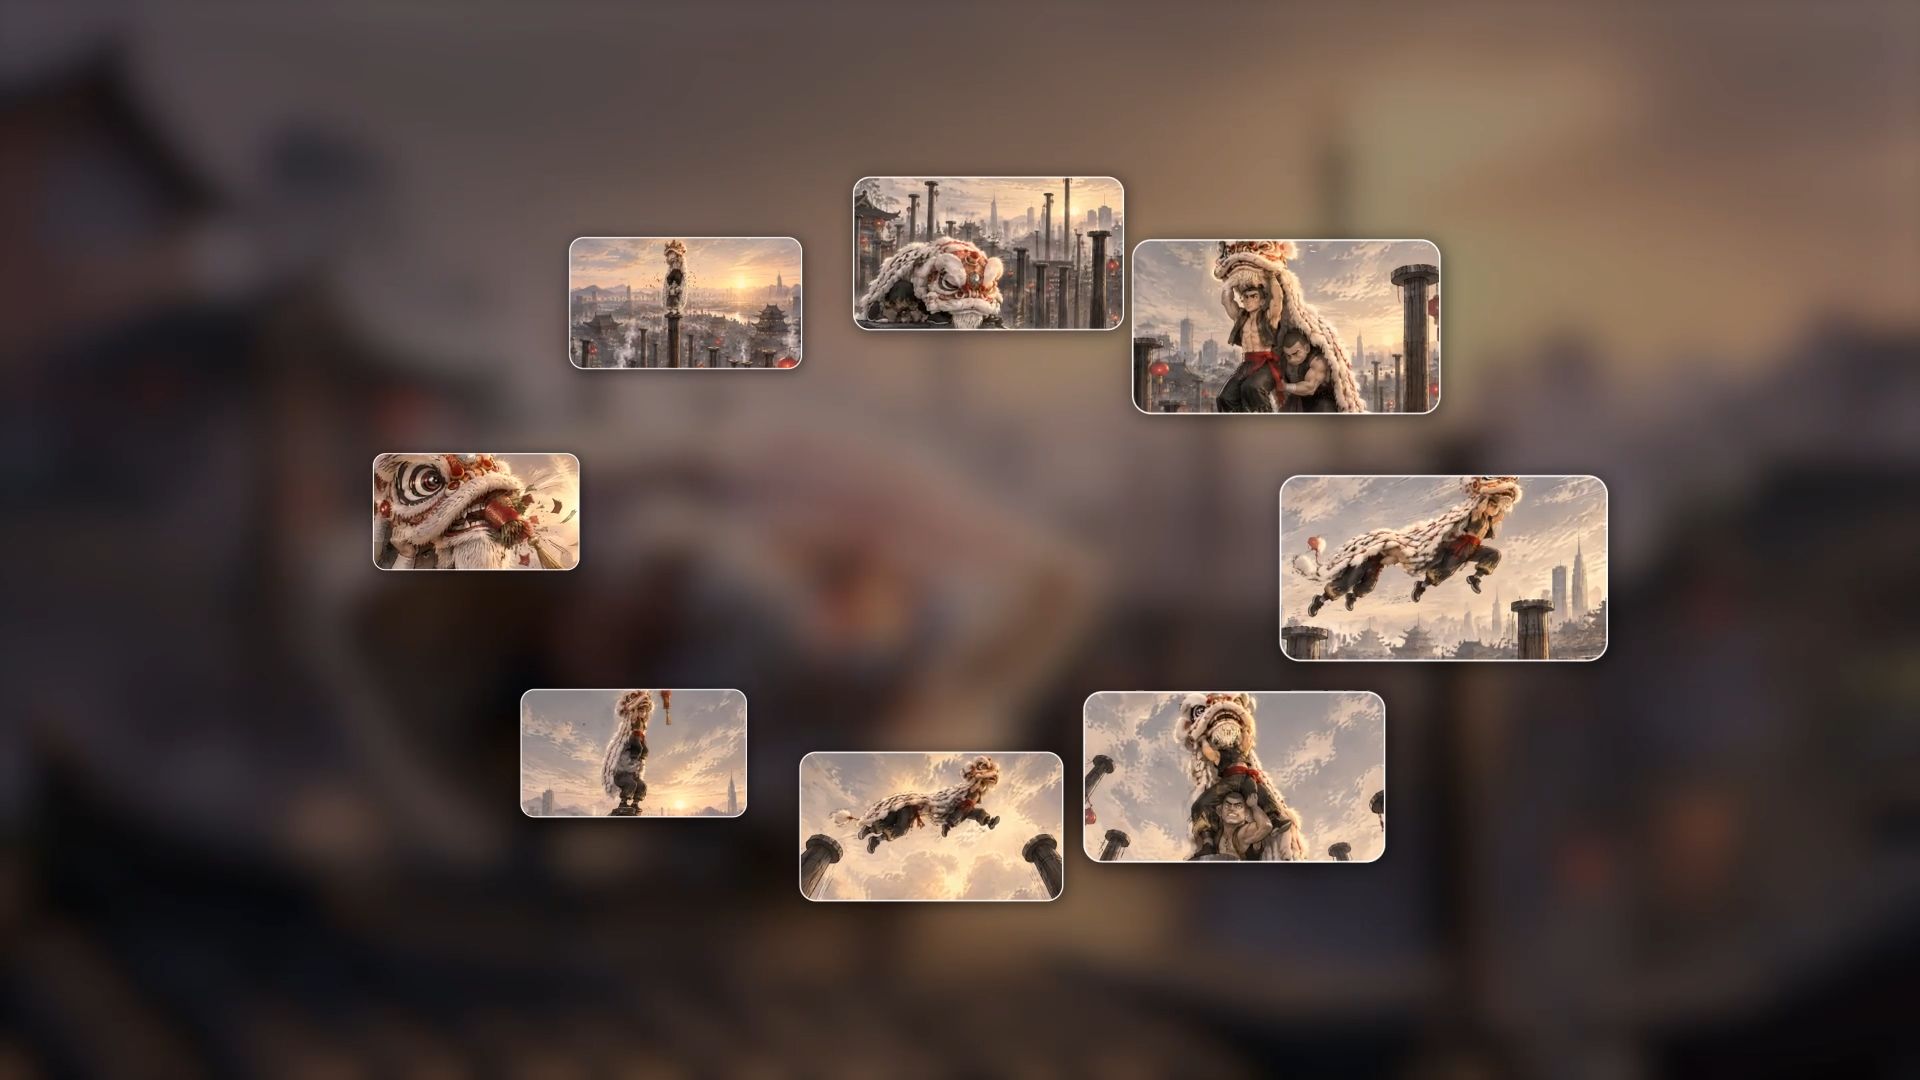
For example, when creating a Chinese New Year lion dance video, you can start with a wide shot of the city at sunset to establish the setting, move to a medium shot to capture the energetic lion dance performance, and gradually push in to a close-up of the lion's head to highlight its intricate design and festive red decorations. You can also use prompts to specify the camera's direction, speed, and pacing, guiding smooth transitions between these visual moments.
This approach lets you plan your opening composition, intermediate visual changes, and final framing more clearly, so you can align your camera movements with the story's pacing and emotional tone.
Recreate Camera Paths With Reference Videos
If you've seen a tracking shot, dolly shot, or camera orbit you'd like to recreate, you can use Kling 4.0's Omni Reference to upload the reference video along with images of the characters, products, or settings you want to feature. You can combine up to 15 reference assets per generation, including images, videos, Elements, and Voice Profiles, with separate limits for each type. Use the video to guide camera paths and shot pacing, while images help you define your new subjects and environments.
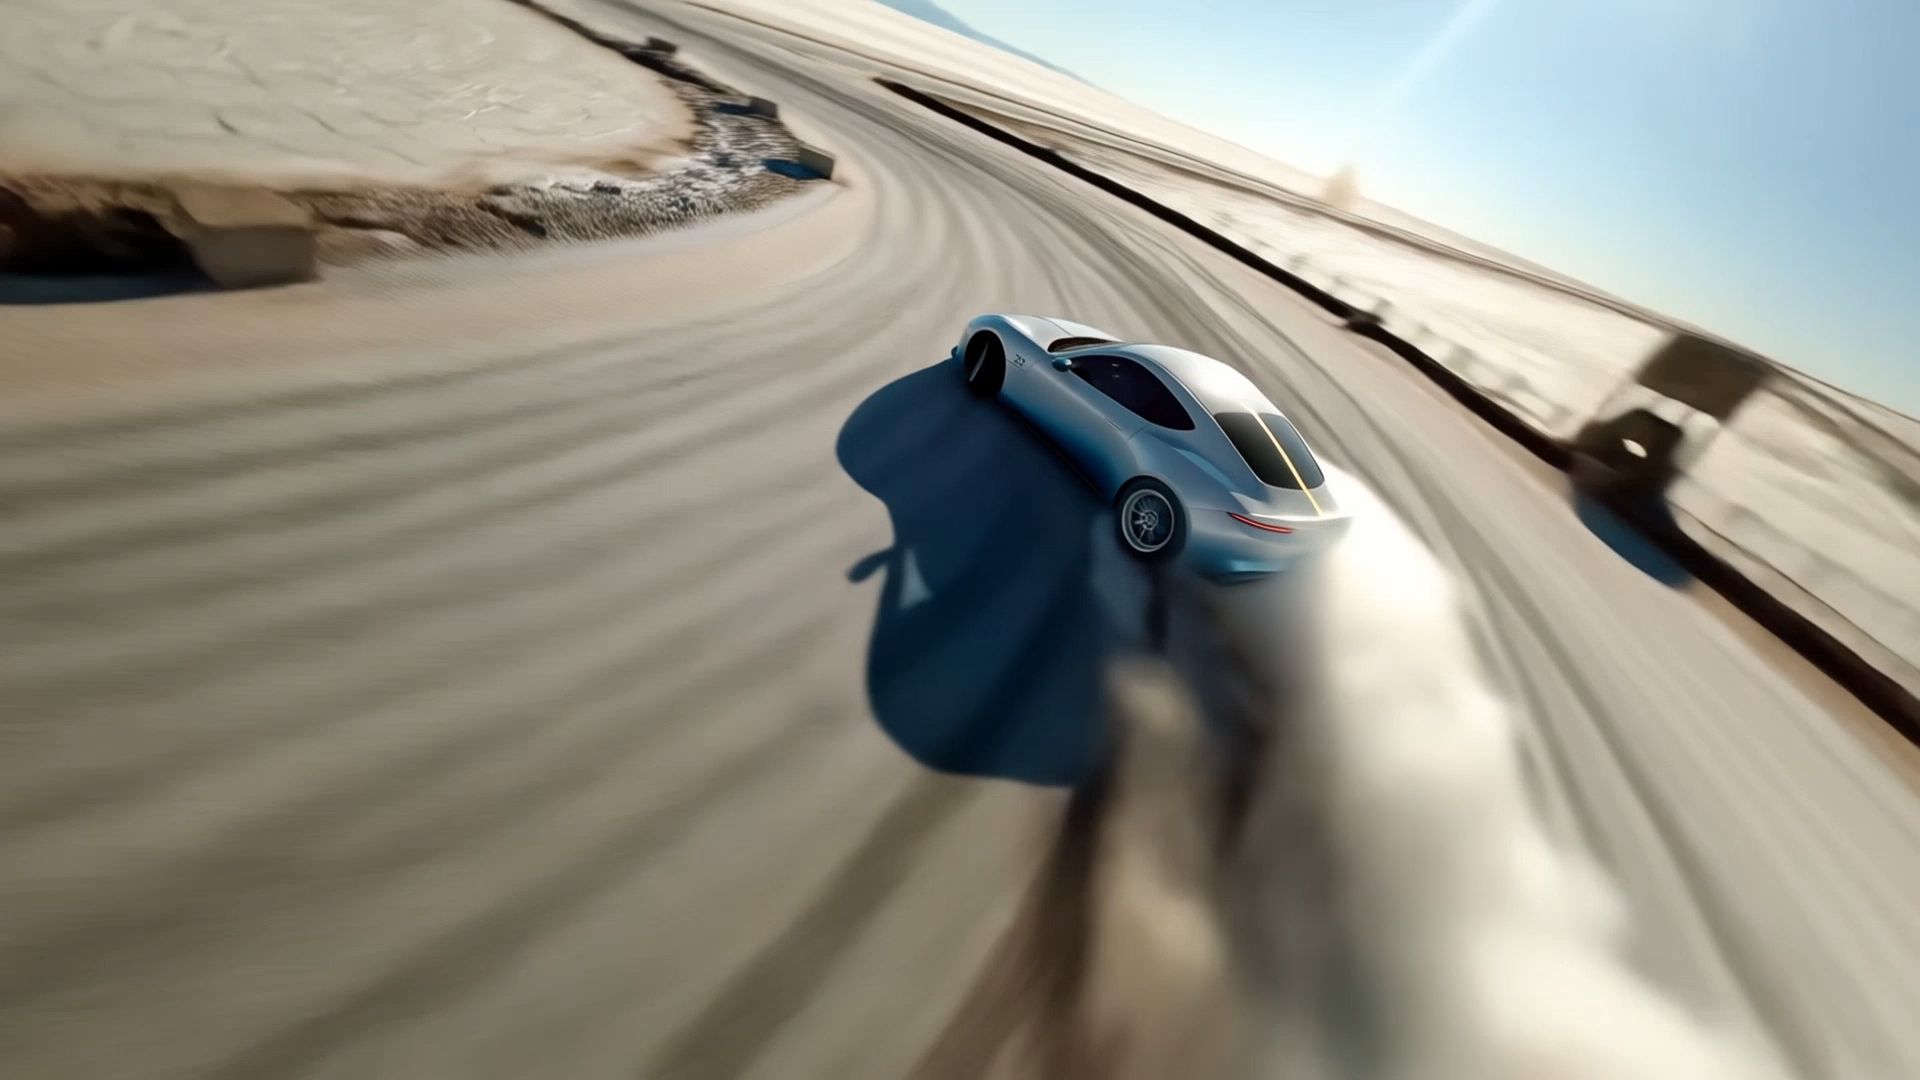
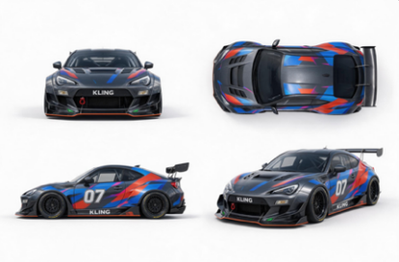
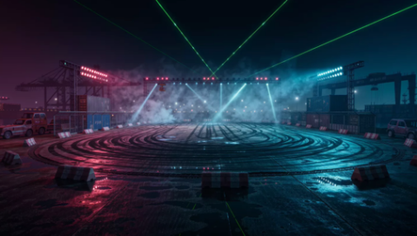
For example, when creating a race car commercial, you can upload a video of a car speeding around a racetrack to reference its camera movements and fast-paced action. Then, add images showing your new race car from multiple angles, along with an image of a futuristic, neon-lit racetrack. By specifying the video as your camera movement reference and the images as your car and background references, you can recreate similar camera movements in a new racing scene with a dynamic, cinematic look.
Reference Video | Reference Image 1 | Reference Image 2 |
 |
|
|
| Prompt: Use @Video 1 as the reference for camera movements and shot pacing. Replace the Element with the car from @Image 1 and the background with @Image 2. | ||
Generated Video | ||
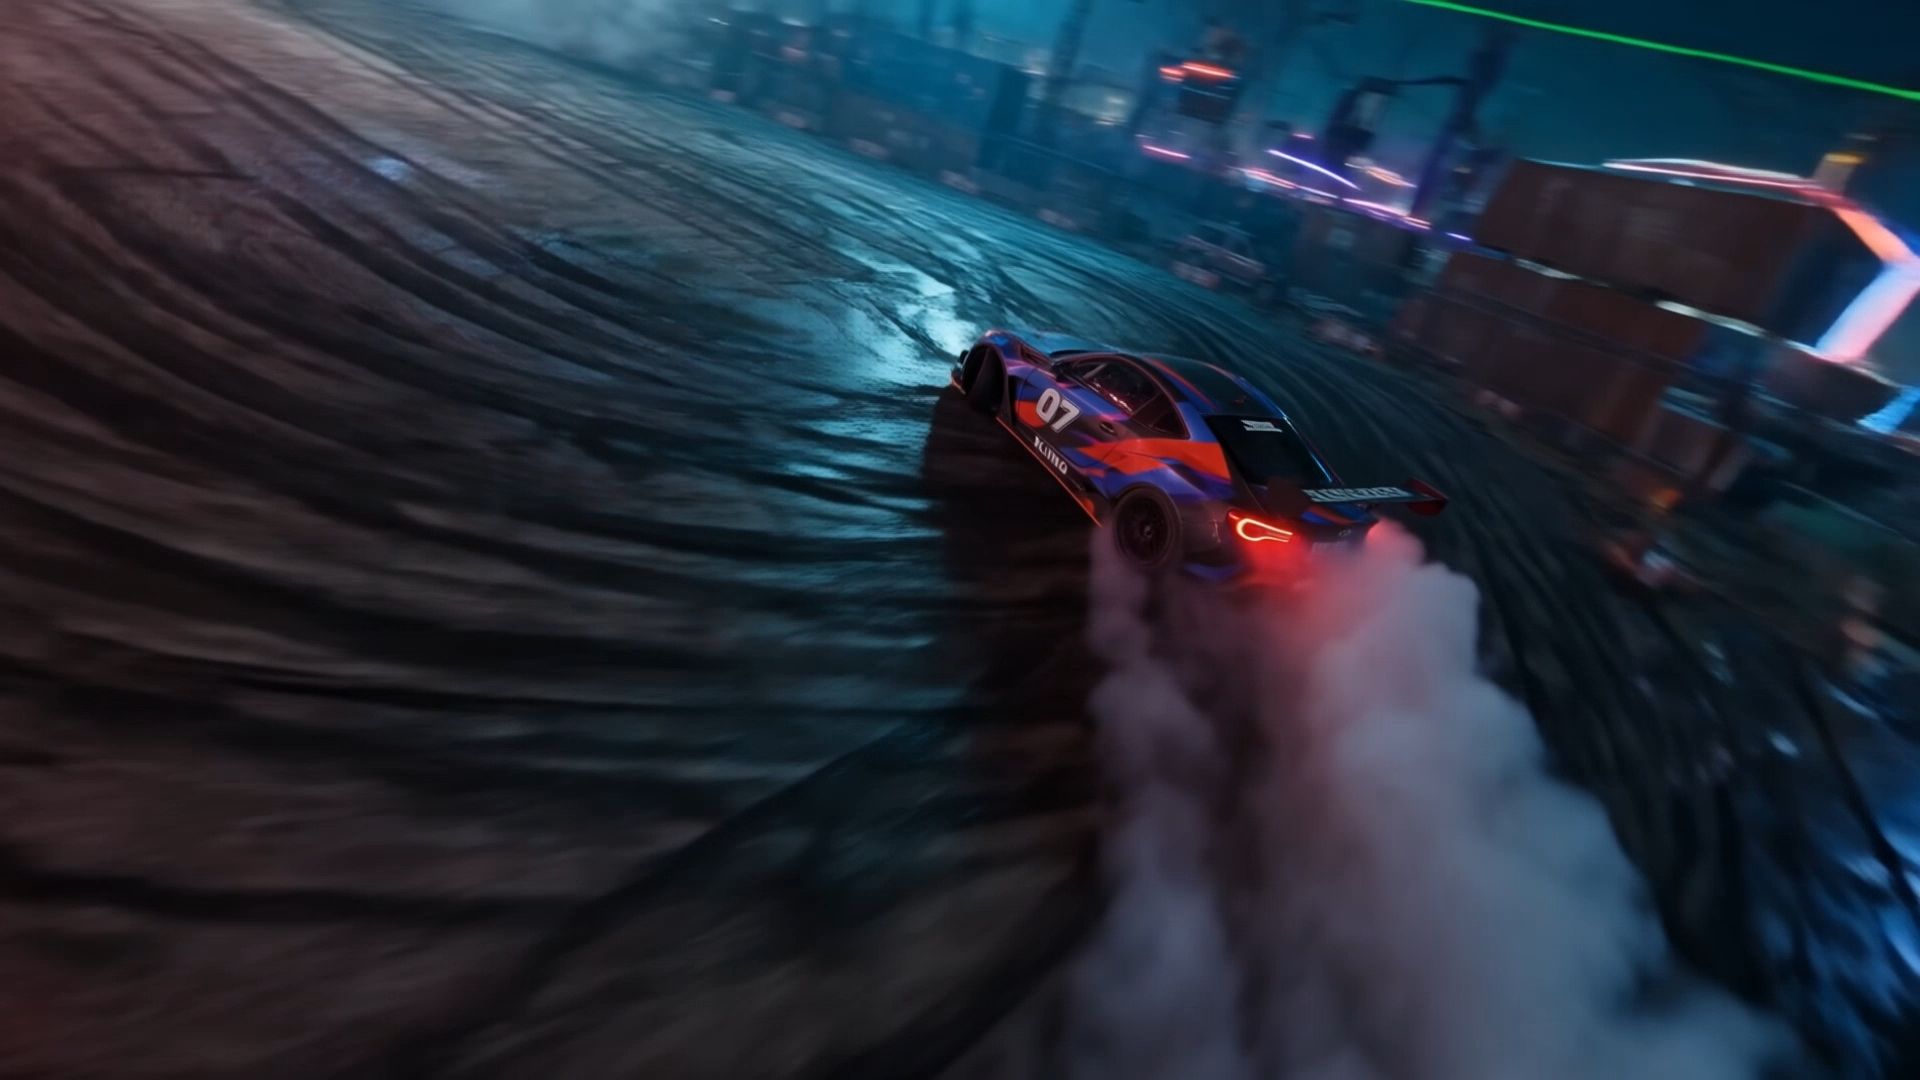 | ||
Whether you're creating car commercials, product showcases, or cinematic short films, you can draw inspiration from existing camera movements and combine them with new visual references to explore different creative possibilities.
How to Create Camera Movements With Kling AI
Ready to explore cinematic camera movements? Follow these three steps to create a 15-second action sequence featuring a high-speed car chase, dynamic tracking shots, whip pans, and handheld camera movements. You'll learn how to prepare reference materials, guide complex camera movements with prompts, and refine the final result.
Step 1. Choose Your Starting Materials
Open Kling AI's Video Generation workspace and select Kling 4.0. In Omni Reference, you can add images, Elements, or reference videos to define characters and settings or guide camera paths and shot pacing. If you don't have any reference materials, simply start with a text prompt describing your subject, scene, camera movement, direction, and pacing. Kling 4.0 also supports text-to-video generation without uploaded assets.
Step 2. Describe Your Camera Movement
Write a prompt describing your scene, subject actions, and desired camera movements. Specify the types of movement, such as tracking shots, whip pans, or pull-outs, along with their direction, speed, and framing. If you've uploaded reference materials, use @ references to clarify each asset's role. For complex sequences, you can divide the video into timed sections, describing how camera movements, subject actions, and shot pacing change throughout the scene.
Step 3. Generate, Review, and Refine
Choose your video duration, aspect ratio, and available output resolution, then click Generate. Kling 4.0 supports 3–30 seconds per generation, allowing you to create continuous camera movements or dynamic sequences with multiple shots. For the car chase example below, select 15 seconds.
Multi-Character Reference | Generated Video |
| 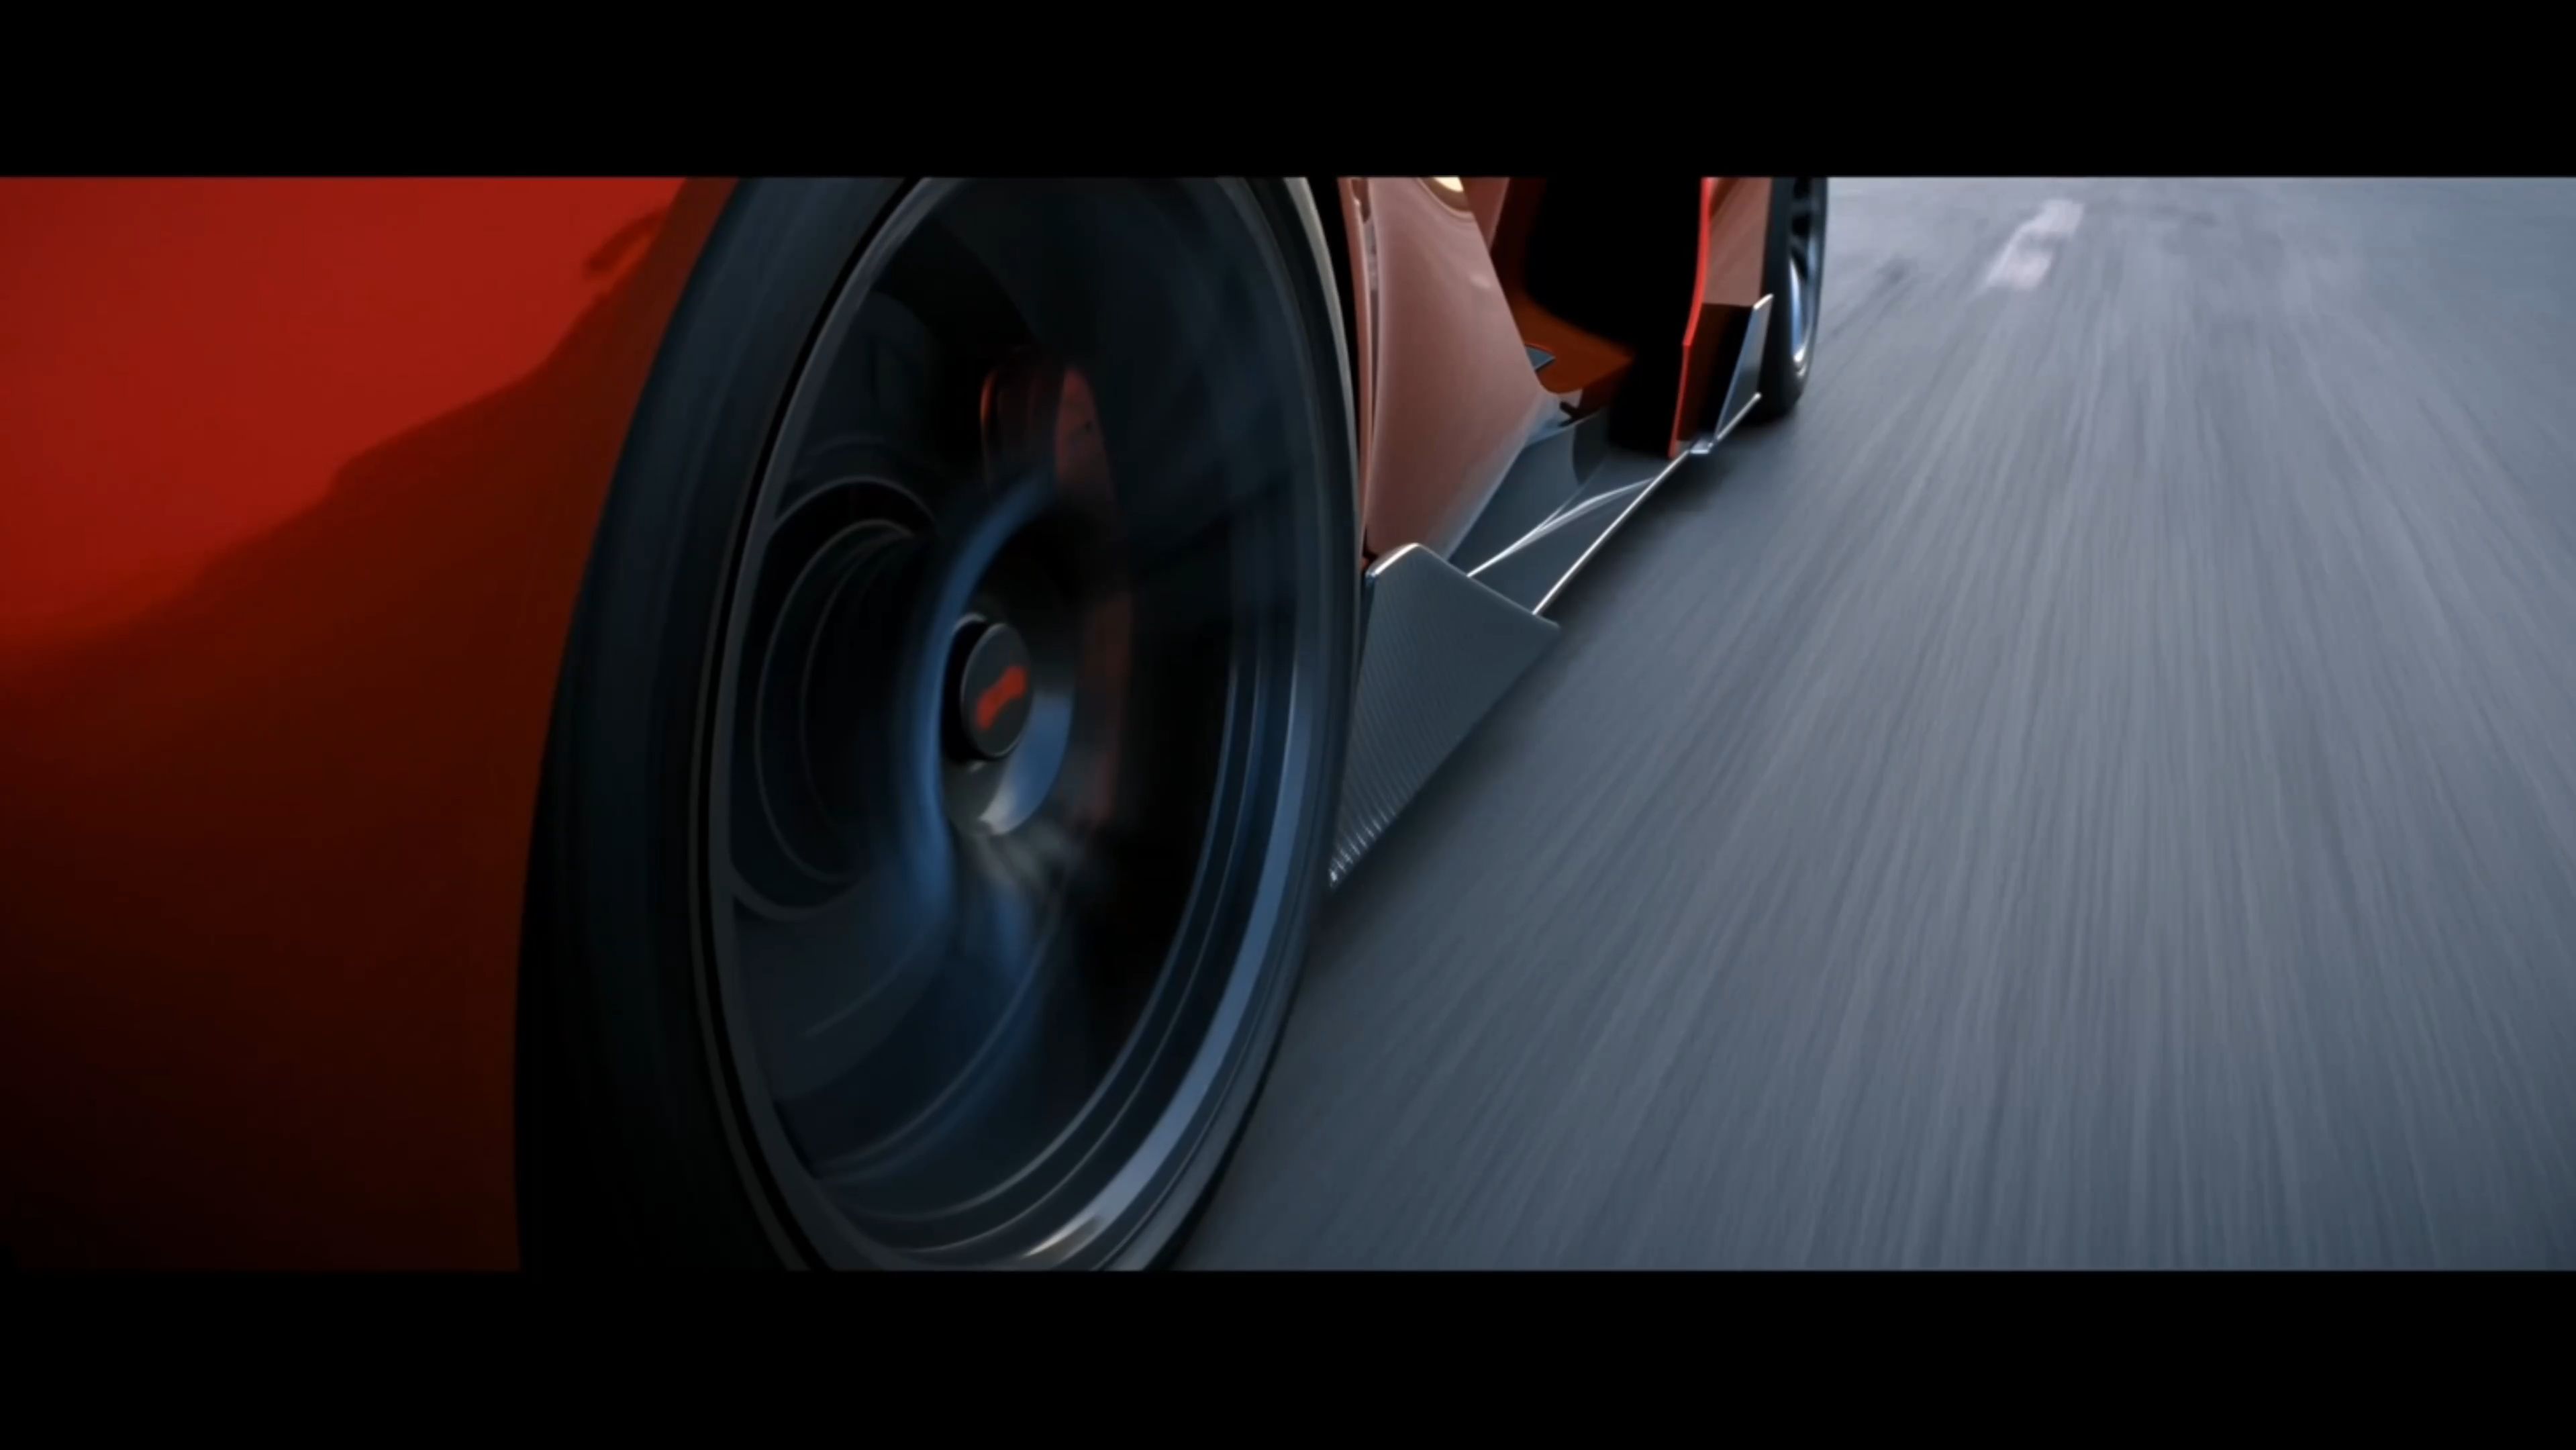 |
Prompt: 【Overall Style】 15 seconds, realistic live-action cinematic quality. A coastal city street at dusk connects to a staged banquet scene. Natural handheld cinematography with noticeable vertical movement from footsteps, subtle irregular shake, and framing corrections. Whip pans follow vehicle and character movements, producing brief motion blur before settling back on the target. Movement is intense during the car chase and running sequences, then gradually slows during the banquet sequence. Characters have slight perspiration, loose strands of hair, and natural clothing wrinkles. Road surfaces, clothing, and equipment show realistic signs of use. Natural colors create visual contrast between the red sports car, flames, and the warm tones of the banquet. 【Characters and Vehicles】 Male Actor: Around 30 years old, with short dark hair, light stubble, and a lean, athletic build. While driving and rolling on the ground, he wears a complete spy-action outfit: A fitted dark charcoal-gray tactical top with a closed neckline; Matching tactical trousers; Black leather ankle boots. The outer costume has tear-away seams designed for quick changes on set. The top opens along the center front and both sides, while the trousers open along the outer seams of both legs. A white shirt, black bow tie, and dark navy dress trousers are already worn underneath the outer costume. When the outer costume remains intact, he clearly appears in the dark tactical outfit. Two additional crew members help him put on the suit jacket later. The hems of the navy dress trousers cover the shafts of the black ankle boots. The actor's face, hairstyle, and physique must remain consistent throughout. Sports Car: An original red concept sports car with a low, rounded wedge-shaped body, a short front end, a curved cockpit, and wide rear wheel arches. The front features a continuous horizontal white light bar. The rear has three small circular taillights on each side. The center of the hood is uninterrupted, smooth red paint. The dark gray wheels have plain metal center caps. The center of the steering wheel has a solid black leather surface. The driver's side window is open. The car's overall shape and lighting design must remain consistent across all shots. Motorcycle Camera Operator: Wearing dark workwear and a protective helmet, he stands alone on both stunt footpegs of a dark blue sport motorcycle, with his hips higher than the seat. He holds a camera on his shoulder with both hands, leaving the handlebars unoccupied. He controls the motorcycle using his legs and center of gravity, compensating for bumps with his upper body. The camera is aimed at the sports car's driver. During the reveal, his full standing posture, both feet, the motorcycle, and the camera must all be clearly visible. Director: In his forties, with some gray hair and naturally textured facial features. He wears a worn-in, short dark brown jacket over a beige crew-neck T-shirt, paired with dark straight-leg trousers. He holds a digital stopwatch, actively turning his body and gaze to follow the filming action. A script supervisor, camera assistants, and lighting crew stand nearby. People and equipment in the foreground, beside him, and in the distance create layered depth. Wardrobe Crew: Six crew members in ordinary on-set workwear. The first four, two on the left and two on the right, pull open and remove the outer tactical costume. The remaining two unfold and help him put on the dark navy suit jacket. Each person performs a clearly defined action. After removing a garment, the corresponding crew member holds it in their hands. Female Companion: Wearing a champagne-gold evening gown and holding her own champagne flute. She stands a few steps inside the banquet entrance. Waiter: Standing to one side of the entrance, holding a tray of champagne flutes for the male actor to pick one up as he passes. 【Shots and Actions】 00:00–00:03 | Five Rapid Cuts During the Car Chase Tire close-up: The rear tire grips the road as the red sports car accelerates. Foot close-up: The actor's black leather boot presses down on the accelerator. Eye close-up: The actor quickly assesses the traffic ahead, his face vibrating with the movement of the car. Hand close-up: Both hands turn the steering wheel decisively. Slightly wider side shot: The sports car squeezes past an adjacent vehicle, rapidly closing the gap before pulling away again. The first four shots are brief and punchy. Let the final shot run slightly longer to clearly establish the car weaving through traffic. 00:03–00:09 | Pull Out of the Car, Reveal the Camera Operator, Whip Pan to the Director Film the driver from near the passenger seat. The camera moves through the open driver's side window, fully exits the car, and continues pulling outward. Establish a wide exterior side view: The red sports car and dark blue motorcycle travel side by side. The camera operator is fully visible from head to toe, standing alone with the camera on his shoulder, aimed directly at the driver. The sports car steers around a vehicle ahead. The motorcycle leans into the turn in sync, then returns to parallel alignment. The camera naturally bobs with the speed and road bumps. As the vehicles pass the director's working area, the camera whips toward the roadside. A camera assistant's shoulder briefly sweeps through the foreground before the camera settles into an oblique medium close-up of the director. The director leans forward, his gaze tracking the sports car. A script supervisor takes notes beside him, while lighting crew and equipment in the distance create a deep, layered production-set background. He gestures forward and shouts: “Stay with it! Keep going!” The entire line must be delivered while the director is on screen. 00:09–00:12 | Sports Car Explosion Cut to a wider tracking shot alongside the sports car. A missile with a visible flaming trail enters from the rear left and clearly strikes the rear of the car. A flash erupts at the point of impact, followed immediately by an explosion at the rear of the vehicle. Flames, black smoke, and debris expand outward. The car body is thrown upward while continuing its momentum toward the right. The handheld camera jolts briefly from the impact. 00:12–00:14 | The Actor Rolls into Frame from the Left Cut to the ground near the adjacent film set. Wearing the complete dark tactical outfit, the actor rolls close to the ground into frame from the left, moving toward the center. Burning flames and rising smoke remain visible in the rear left. Orange light sweeps across his left shoulder, the side of his face, and the ground. He finishes in a heroic kneeling pose, with one knee on the ground and one hand braced against the ground. His entire body remains visible, and his clothes are covered in dust. The camera briefly dips with his landing, then readjusts to find the actor. 00:14–00:15 | Facial Close-Up Leading into the Run Cut to the actor's face. He exhales, with sweat and dust visible on his face and flickering firelight on his left side. He raises his eyes and locks his gaze on something ahead. His shoulders lift, and his body begins to launch into a run. The handheld camera makes small natural movements and quickly rises with him as he gets up, transitioning into the running sequence. | |
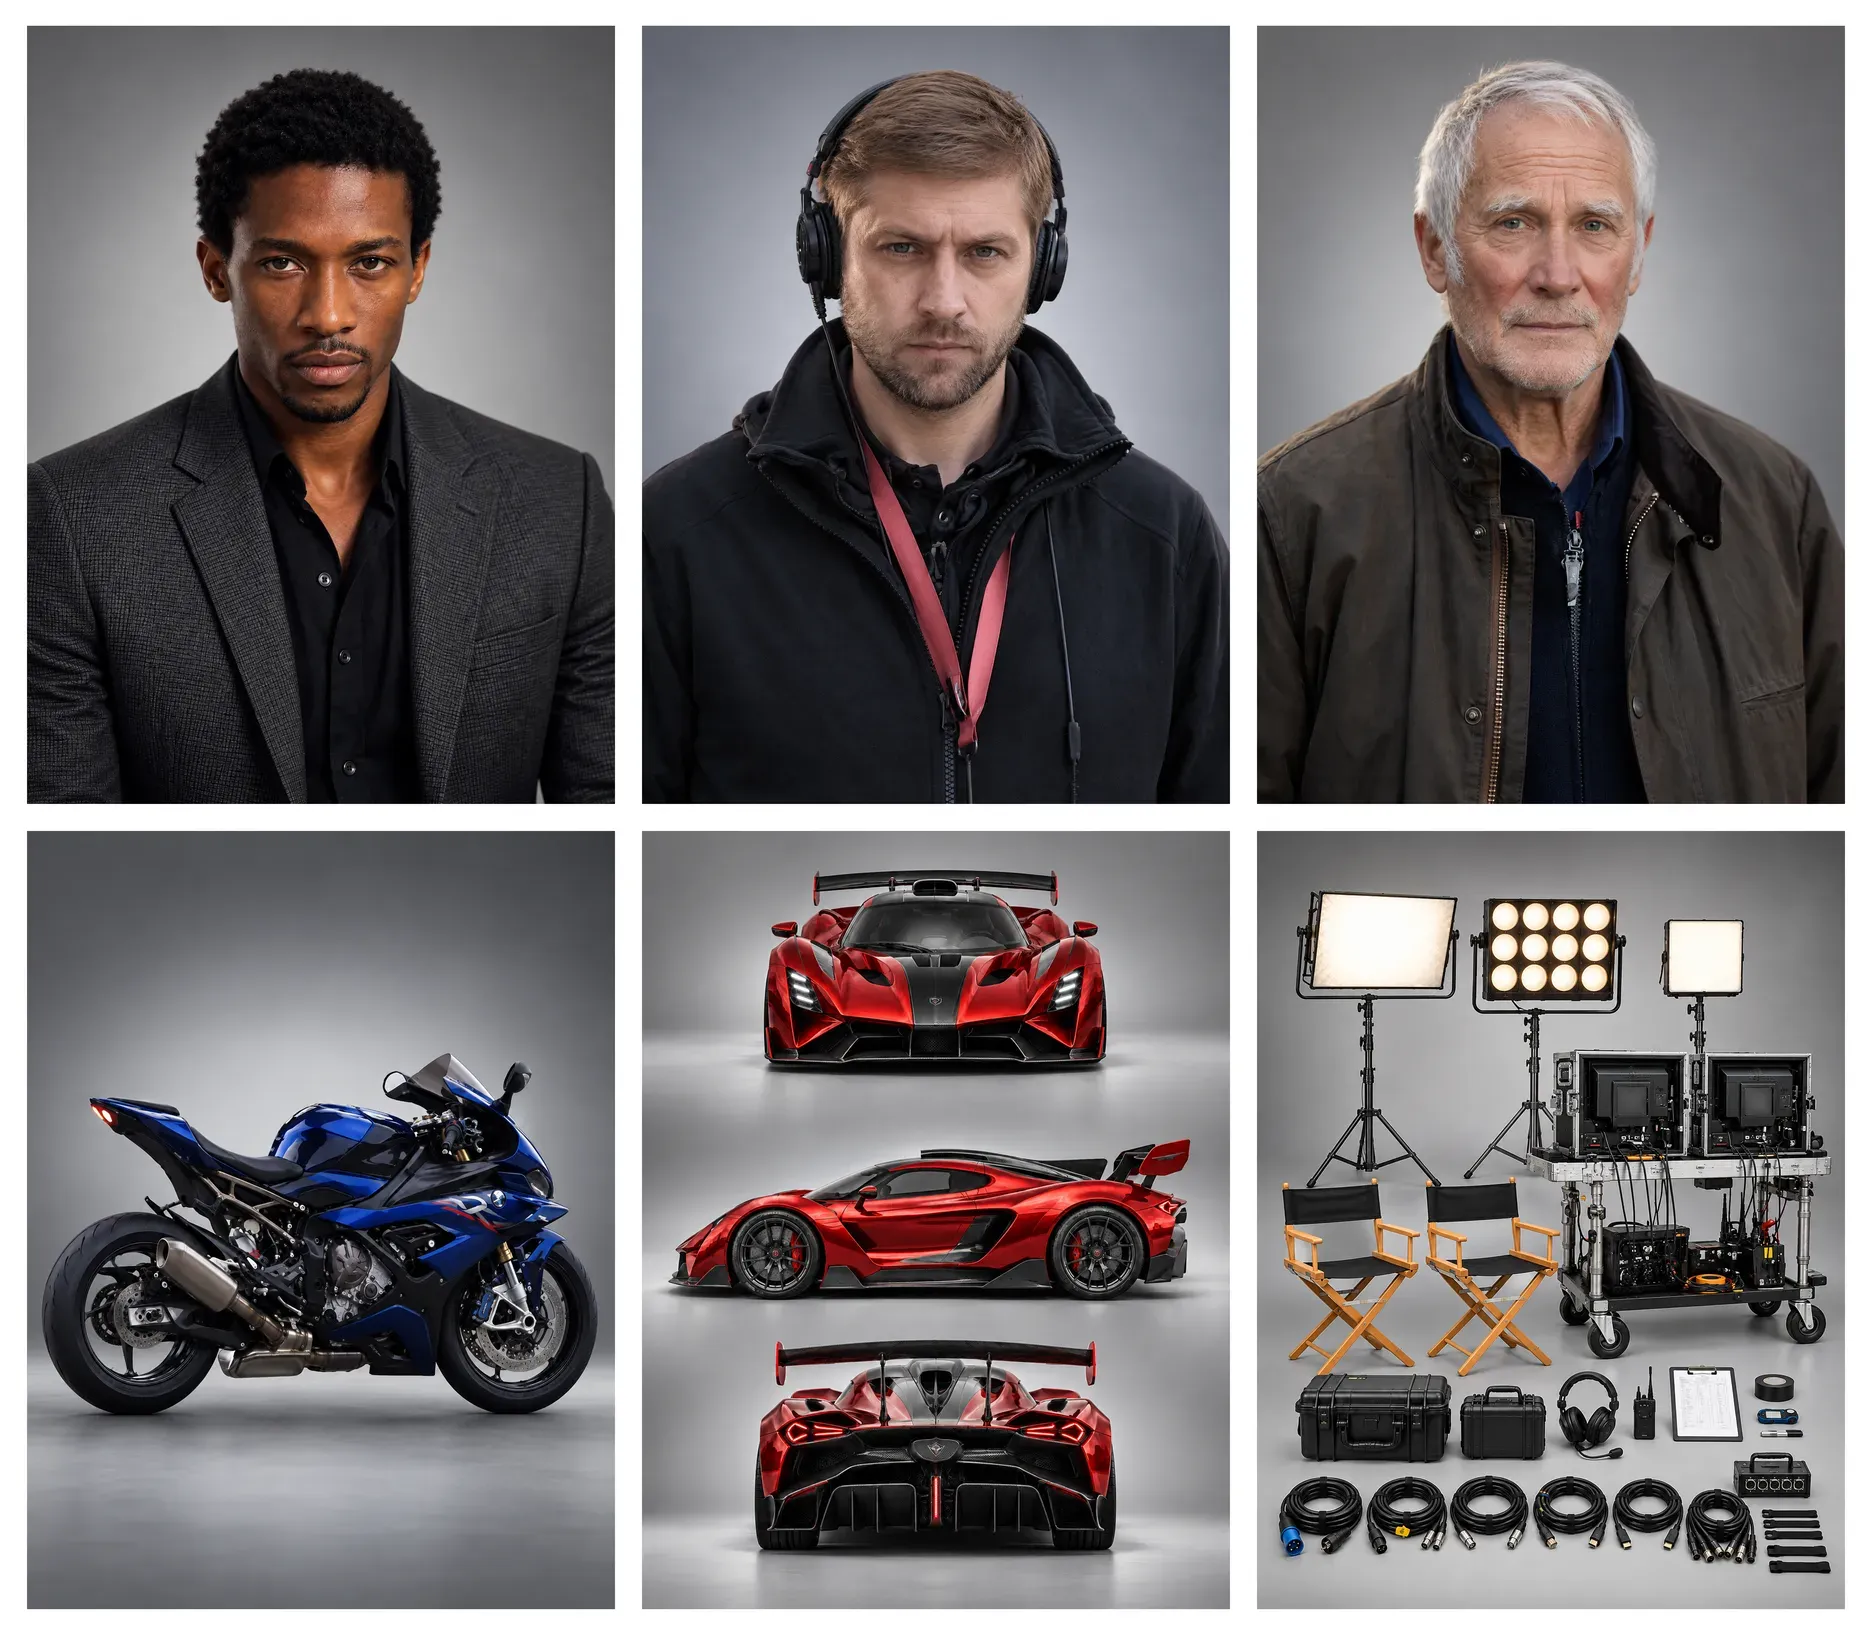
As you review your generated video, focus on these four areas:
- Camera Path: Does the camera follow the intended movements, from pulling out of the car to the whip pan toward the director and the tracking shot during the explosion?
- Subject and Framing: Do the actor, sports car, and other subjects maintain consistent appearances and proportions across different shots? Are key subjects properly framed?
- Visual Stability: Do the handheld camera movements, rapid turns, and explosion reactions look natural? Are there any unwanted distortions, abrupt visual jumps, or unnatural background changes?
- Shot Pacing: Do the rapid cuts, camera transitions, and changes in movement speed follow the intended 15-second sequence? Does each shot connect naturally with the action?
If the result doesn't match your vision, refine the camera directions, framing, movement speed, or timing in your prompt. Generate another version and compare the results.
The End
Every camera movement should serve the story, whether it reveals a hidden detail, builds tension, or draws viewers closer to a character. With Kling 4.0, you can combine text prompts, keyframe images, and video references to guide camera movements and storytelling. Whether you're creating movie trailers, animated videos, or commercials, you can bring your creative vision to life with more expressive and cinematic camera work.
FAQs
Why Do Guides List Different Numbers of Basic Camera Movements?
Guides count camera moves differently because they group related techniques in different ways. Some list push-ins and pull-outs separately, while others group both under dolly. A longer list might also count combinations such as the dolly zoom as separate techniques.
Which Camera Movements Should Beginners Learn First?
Start with pan, tilt, and dolly. Practice a pan to connect your subject with the surrounding space, a tilt to emphasize vertical scale above or below it, and a dolly to see how physical camera movement changes perspective. Try each move on its own so you can see what it adds to the shot.
How Do You Describe Camera Movement in a Shot List?
Name the move, describe its direction or speed, and note where the framing starts and ends. For example, “Slow push-in from a medium shot to a close-up as the sprinter looks toward the track” tells the crew how the camera moves and when the close-up should land.
What Is the Difference Between a Dolly Shot and a Zoom Shot?
A dolly shot physically moves the camera toward or away from a subject, changing perspective and the relationship between foreground and background. A zoom shot changes focal length to adjust framing without moving the camera. Use a dolly to create a sense of movement through space, or a zoom to draw attention to details from a fixed position.
When Should I Use a Whip Pan?
Use a whip pan when you want to shift viewers' attention quickly between subjects or add energy to a scene. The rapid camera rotation creates motion blur, which can also help hide a cut between shots. For a smoother transition, match the movement direction and blur across both shots during editing.