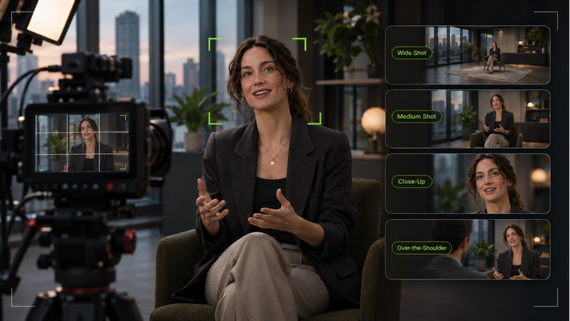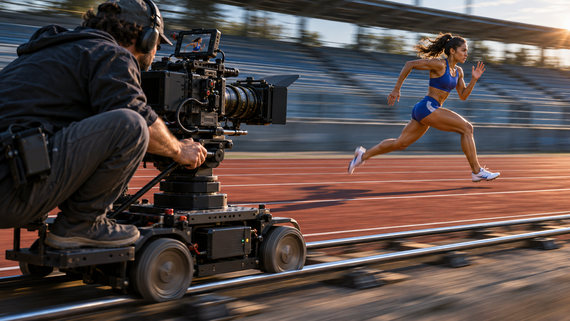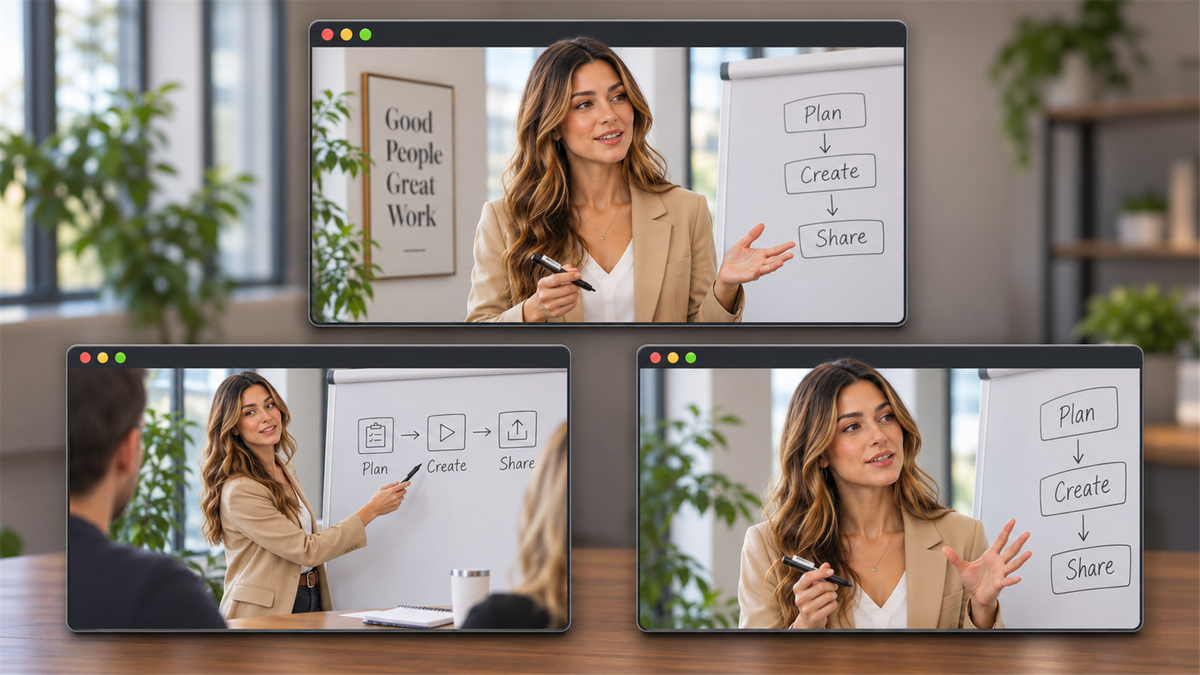
A how-to video answers a practical question by showing the process. The format you choose and the views you include shape how easily someone follows along. Here is how to plan and produce a useful tutorial, including where Kling AI helps develop instructional footage.
What Is a How-To Video?
A how-to video shows someone how to complete a task through an ordered visual explanation. It introduces the intended result, demonstrates the actions, and shows what successful completion looks like.
With how-to videos, viewers pause, replay, and follow at their own pace. Teams and customers also get a shared explanation to return to when they need it.
How-To Video Types and Examples
How-to videos come in different formats depending on the task and what viewers need to learn. Here are some common how-to video examples and the approaches used to create them.
Format | Best for | Example | Production Approach |
Screen walkthrough | Software tasks | How to create a chart in a spreadsheet | Record the interface, cursor movements, and relevant controls. |
Physical demonstration | Hands-on techniques or objects | How to assemble a desk lamp | Film the setup, key actions, and close-up views of important details. |
Short lesson or training video | One question or connected tasks | How to receive and label inventory during employee training | Organize footage into focused, replayable sections with clear instructions. |
To create a how-to video, consider what viewers need to see at each stage. Screen recordings capture software steps, while filmed demonstrations show hands-on tasks. However, some processes or concepts are difficult to explain with recorded footage alone. Additional scenes, alternative camera angles, or animations can help make these explanations clearer and easier to follow.
Create and Refine Tutorial Demonstrations with AI
A good how-to video helps viewers understand every step, not just the final result. While screen recordings and filmed demonstrations are useful for showing real procedures, some lessons also benefit from AI-generated scenes, close-ups, or animations that make difficult actions and concepts easier to explain.
At Kling AI, we help creators produce tutorial videos with Kling 4.0, our video generation and editing model. By combining written instructions and visual references, you can create instructional scenes with consistent subjects, controlled camera views, and native audio. Here's how these capabilities can help you create clearer demonstrations and bring individual scenes together into a complete tutorial.

Plan Clear Steps with Prompts and Keyframes
A good how-to video should show each action in the right order and highlight the details viewers need to follow. With Kling 4.0's enhanced prompt understanding, you can describe the starting setup, individual actions, camera angles, close-ups, and expected results. Whether you're creating a simple demonstration or a more detailed instructional sequence, prompts help guide how each step appears on screen.
Kling 4.0 also supports video generation from 3 to 30 seconds. You can set up to 10 keyframe images to guide important moments, such as the initial setup, intermediate steps, and completed result. By combining detailed prompts with keyframe images, you can create more structured instructional scenes that make each action easier to understand.

Keep Demonstrations Consistent with Omni Reference
When a tutorial includes several scenes, maintaining consistent presenters, products, and working environments helps viewers follow the instructions without confusion. The movements shown should also remain connected to the intended demonstration.
Kling 4.0's Omni Reference supports up to 15 combined reference assets, including images, videos, Elements, and voice references. You can use images or Elements to maintain recognizable subjects and objects, while reference videos help guide actions, camera movements, and pacing. For example, you can reference an existing product demonstration to guide how a technique is performed while using your own product images to maintain its appearance across different instructional scenes.

Add Spoken Instructions to Your Tutorial
Visual demonstrations show viewers what to do, while spoken instructions explain why each action matters and what to pay attention to. Clear narration is especially helpful for product tutorials, training videos, and lessons involving several connected steps.
Kling 4.0 supports native audio generation, allowing you to include spoken explanations, dialogue, and relevant sounds alongside the visuals. You can specify the speaker, language, tone, and speaking pace in your prompt. The model supports nine languages and improved lip synchronization for on-screen presenters. This makes it easier to create instructional scenes for different audiences while keeping narration connected to the demonstration.
Refine Individual Scenes and Assemble Your Tutorial
Even a well-planned tutorial may need adjustments. A background element might distract from an important action, a camera angle may not show enough detail, or one step may need a clearer visual explanation.
With Kling 4.0's AI video editing capabilities, you can use prompts and references to adjust subjects, backgrounds, camera views, and other visual details in existing footage. You can also generate replacement scenes when needed. Once your clips are ready, add them from your generation history to Kling AI's Timeline to arrange the sequence, refine transitions, and build a longer tutorial. Review the completed video to ensure every action is accurate and easy to follow.
Create the Tutorial's Demonstration Scenes with Kling AI
Once you've planned your lesson, you can turn your script into video with Kling AI. Whether you're working from a detailed script or a simple step-by-step outline, Kling 4.0 helps you create instructional scenes using written prompts and visual references. The following three steps show you how to add reference materials, describe each demonstration, and generate and assemble your tutorial clips.
Step 1: Add Your Demonstration References
Open Video Generation in Kling AI, select Kling 4.0, and choose Omni Reference. Upload images of your presenter, products, tools, or working environment. You can also add reference videos or Elements to guide specific actions and maintain consistency across scenes. If you don't have reference materials, you can start with a text prompt instead.
Step 2: Describe the Actions and Teaching Steps
Write a prompt describing what your tutorial should demonstrate. You can use @ to reference uploaded materials and specify how each should be used. Outline the starting setup, actions in order, and expected result. Include camera angles, close-ups, and important visual details to help viewers follow each step. You can also add spoken instructions or dialogue when needed.
Step 3: Generate, Review, and Assemble Your Tutorial
Choose your video duration, aspect ratio, and output quality, then generate the video. Preview the result to check that the actions, visual details, and narration match your instructions. Refine or regenerate scenes if needed. To combine multiple clips, right-click a video in your generation history and select “Add to Timeline.” Open “Timeline” in the top-right corner to arrange clips, adjust the sequence, and export your completed tutorial.
Reference Image | Generated Result |
| 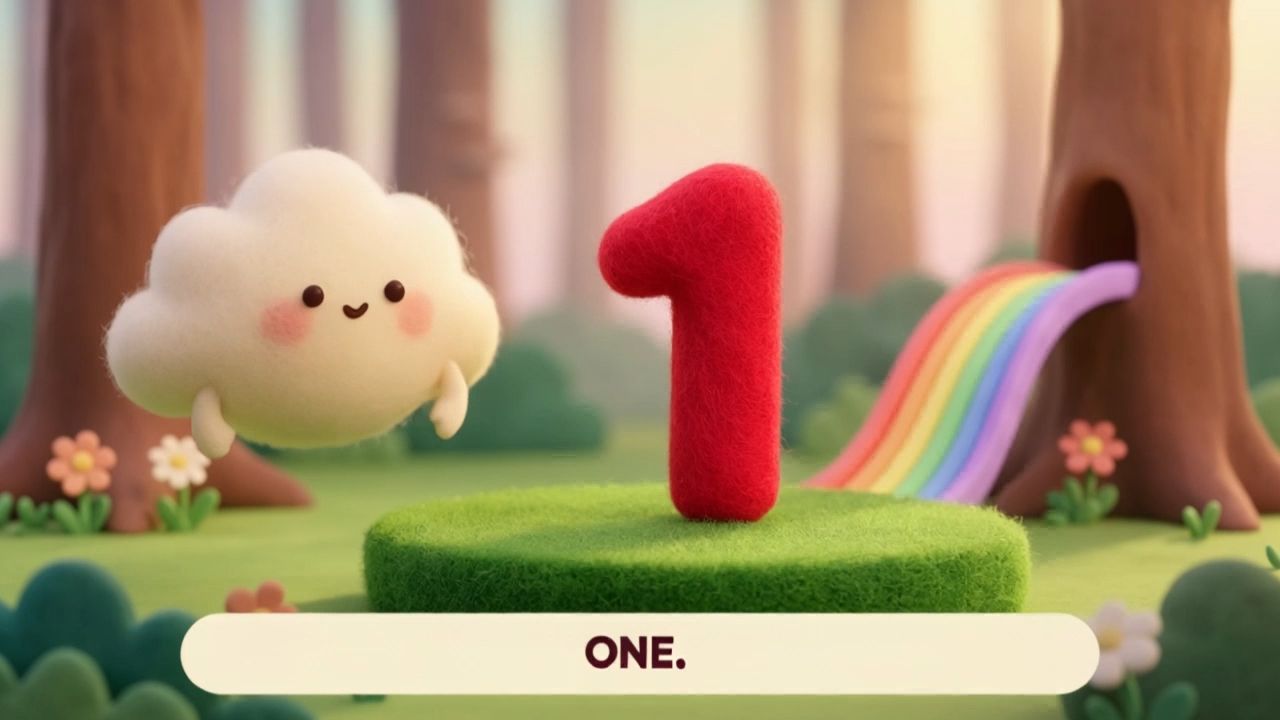 |
Prompt: Create a 15-second, 16:9 animated counting lesson. Use @Image1 only for its clay-and-felt materials, pastel forest palette, and warm lighting. Design a cream cloud teacher and introduce two small yellow chicks only when teaching two. Keep the teacher, forest classroom, and lighting consistent across five shots. Show a red 1 with one apple first; then an amber 2 with two chicks; then a green 3 with three blue stars; then a blue 4 with four purple blocks. Let each quantity finish appearing before the next cut. End with the teacher reviewing the count and celebrating. Use gentle camera movement and clear views of the active number and objects. Add simple, readable on-screen labels on cream panels near the bottom to reinforce each quantity. | |

Tips for Clearer Instructional Videos
Use the Same Names Throughout the Lesson
Choose a clear name for each tool, part, or control and use it consistently in speech and on-screen labels. A sudden switch between two names makes learners wonder whether they have missed a new item. Introduce unfamiliar terms when the relevant object first appears, then keep the wording steady.
Check Text at the Final Viewing Size
Text should remain clear and readable on the screens your audience uses. Keep step labels and captions concise, choose legible fonts, and maintain sufficient contrast between the text and background. Preview the finished video at its intended viewing size to ensure instructions are easy to read and do not cover important actions.
Make Individual Steps Easy to Find
Use short section labels and a consistent visual pattern to help viewers return to the part they need. For longer lessons, add a step list or chapter markers when publishing. Someone revisiting one action should be able to locate it quickly without watching the whole introduction again.
Test the Lesson with a First-Time Viewer
Ask someone unfamiliar with the task to follow the rough cut. Notice where they pause, rewind, or ask what happened. Those moments show where a closer view, a missing transition, or a simpler explanation would help. Make the revision at that point, keeping the rest of the lesson moving.
The End
A good how-to video gives every scene a clear purpose. Define the outcome, show each action, and give viewers enough time to understand the result before moving forward. With Kling AI, you can combine detailed prompts, visual references, and narration to create clearer instructional footage, then refine and assemble your clips into a complete tutorial. Beyond how-to videos, you can also use Kling AI to create UGC videos, promotional videos, and animated videos for a wide range of creative and communication needs.
FAQs
What Is the Easiest Way to Record a Video?
For a physical demonstration, your phone's built-in camera is a simple place to start. For a software task, a screen recorder captures the interface directly. Choose the method that makes the important action easiest to see. A stable setup and one clearly defined task keep the first recording manageable without adding unnecessary equipment.
How Do I Record a Video on My Phone?
Open your phone's camera app, select Video, and choose portrait or landscape orientation for the destination. Frame the subject, check focus and lighting, then tap Record. Keep the phone supported during the take. Stop recording when the action is complete, review the clip, and trim the beginning or end as needed.
Is Videography Hard to Learn?
The basics are approachable with regular practice. Start with framing, steady support, lighting, and focus, using a phone to record simple scenes. Review one skill at a time and notice what makes the subject easier to see. More advanced camera movement and editing take longer, but a clear tutorial does not require mastering everything first.
How to Make Training Videos for a Team?
Start with the task an employee needs to perform and the result that demonstrates completion. Break the lesson into short sections with consistent terminology and visible checkpoints. Kling AI helps develop instructional scenes using shared character, object, and setting references. Review the assembled lesson with someone who performs the task and someone learning it.
How Do You Make Your First YouTube Video?
Choose one topic and the result your viewer should get, then outline a short introduction and the main sections. Record the footage, edit it into a clear sequence, and review the framing and pacing. Upload through YouTube Studio, add a descriptive title and thumbnail, choose the visibility settings, and publish when the video is ready.