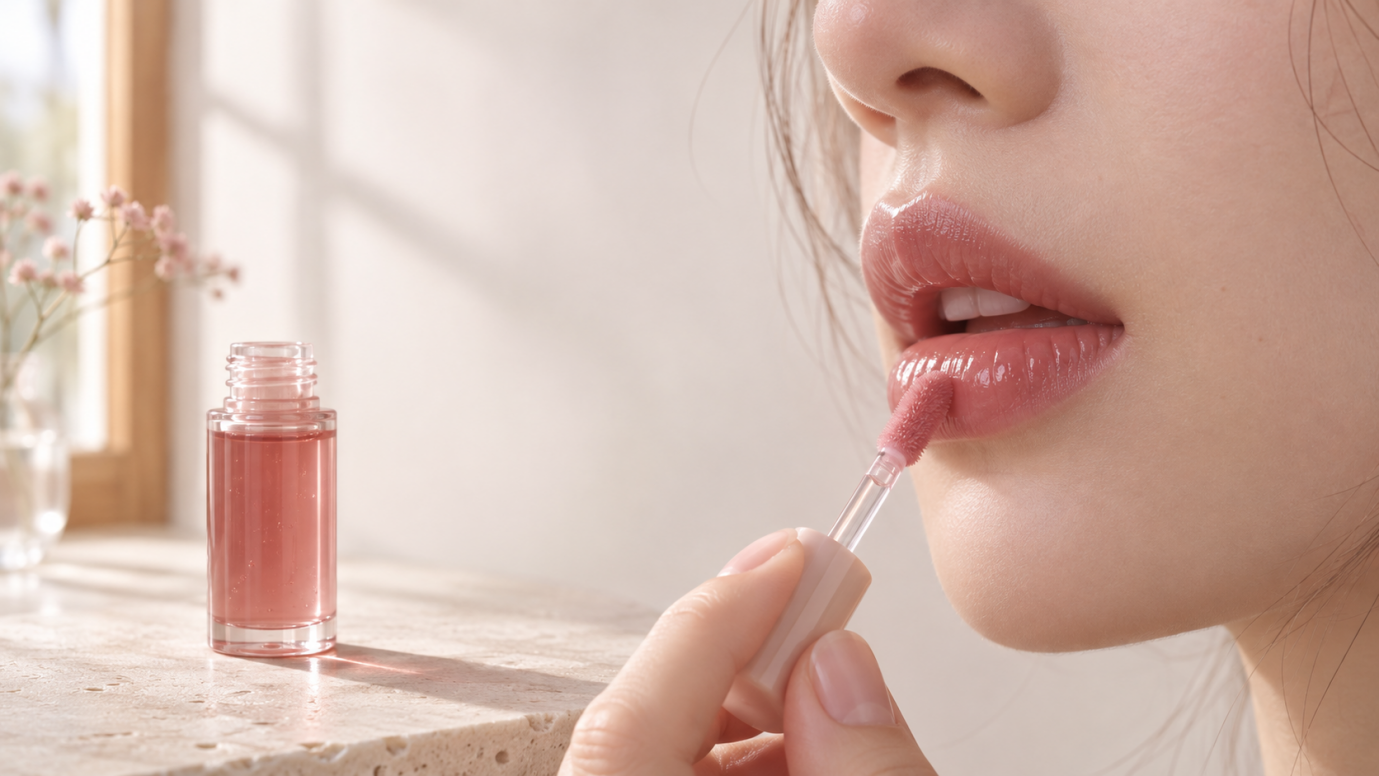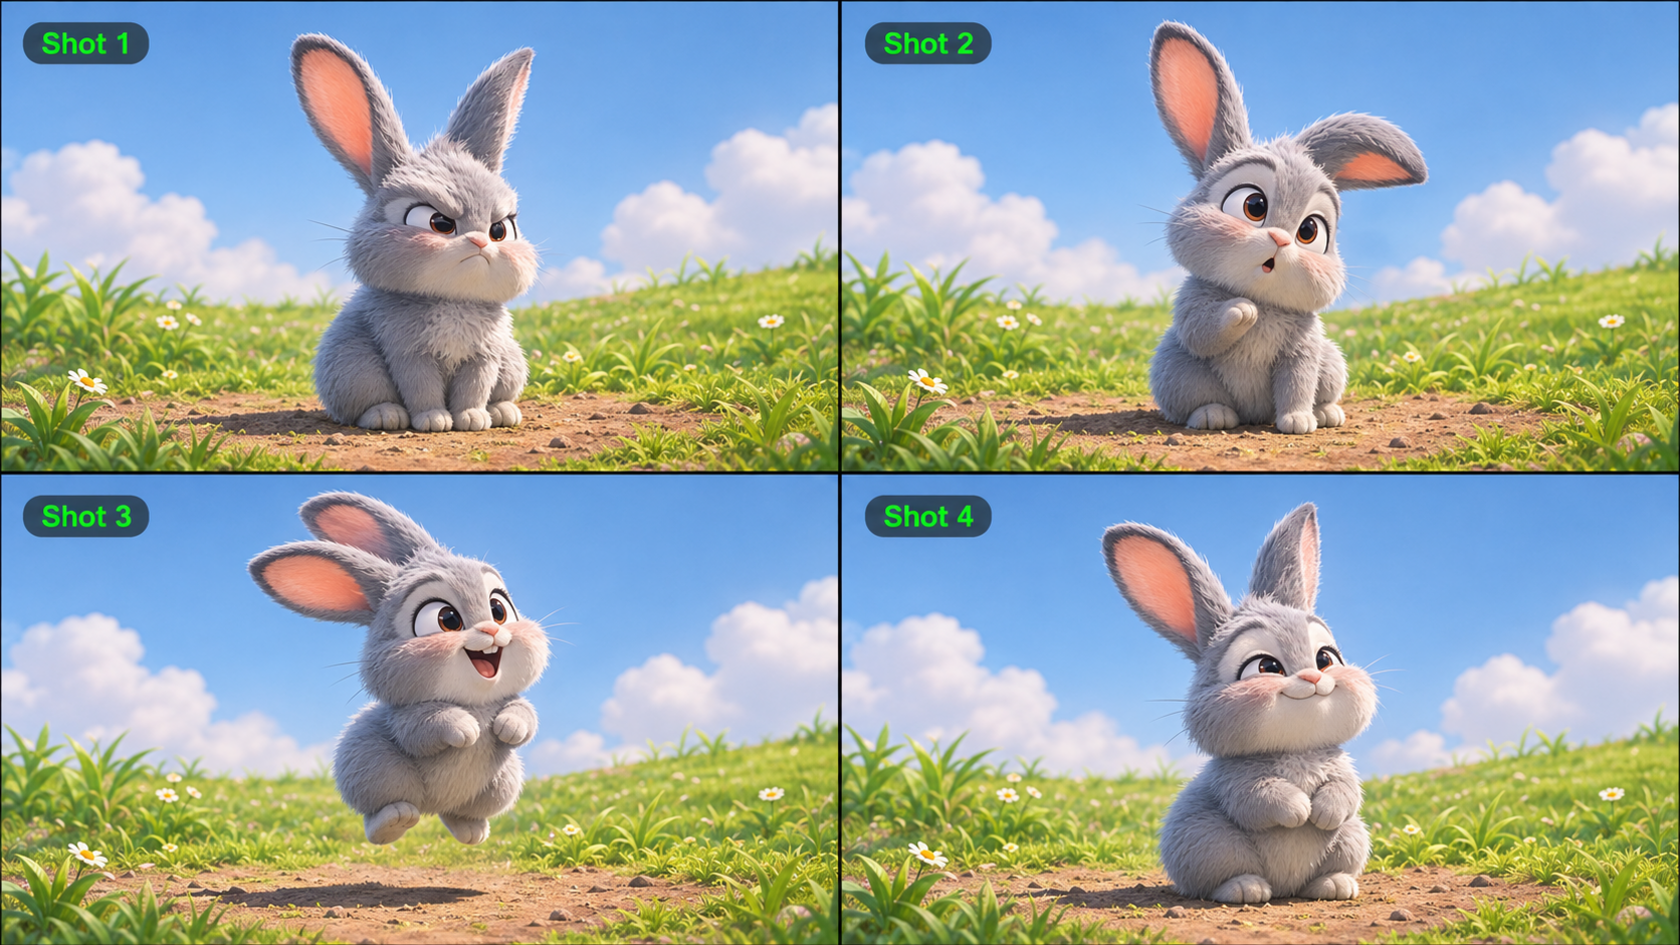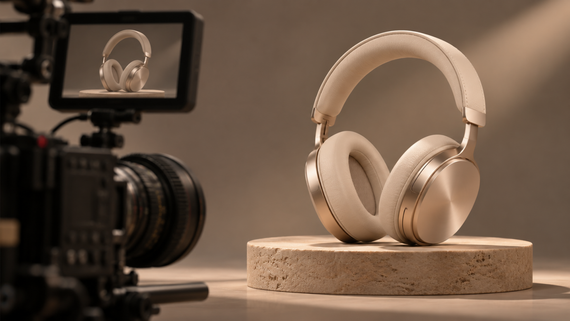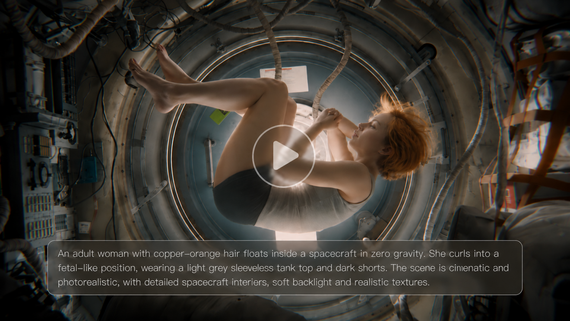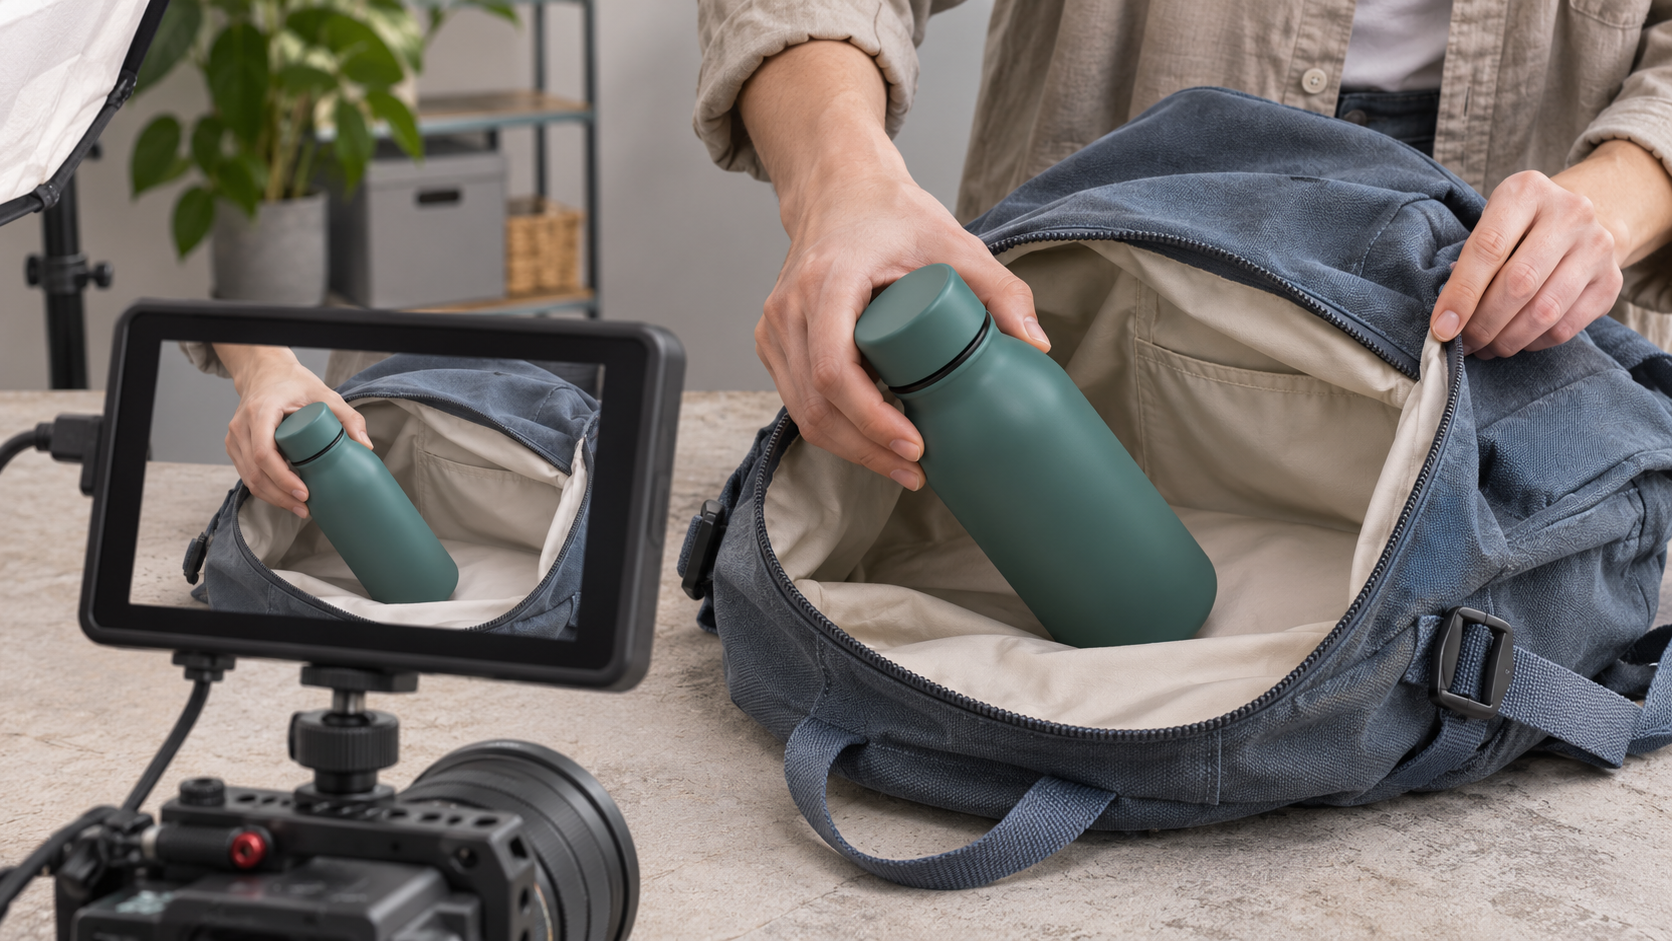
A water bottle tips over in a crowded bag. When it opens, the lining is dry. A product demonstration makes the benefit visible. For software, it could show a calendar conflict fixed in one click. AI tools make product demo videos easier to create. This guide covers demo types, examples, video briefs, and AI-assisted production.
What Is a Product Demonstration?
A product demonstration, often called a product demo, is a marketing and sales technique that shows potential buyers a product’s features, how it works, and the value it delivers in a real task. Seeing the workflow and the outcome helps buyers judge whether the product fits their needs and feel more confident about taking the next step.
Why Product Demonstrations Matter
A product demonstration lets you answer objections that a product page may leave open. For example, a fixed-camera shot of a robot vacuum passing over spilled cereal lets shoppers see how much it picks up in one pass. Choose what to demonstrate based on the question that might stop a buyer from trying the product.
Types of Product Demonstrations and When to Use Them
Choose a format based on how much the customer needs to see or try.
Format | When to use it |
Live demo | Answer buyer questions in real time, such as on a sales call, in a retail store, or at a trade show. |
Recorded video | Show the product quickly on a product page, in a social ad, or in a follow-up email. |
Interactive walkthrough | Let software buyers click through one guided task at their own pace. |
Sandbox demo | Let buyers explore several workflows in a test environment. |
Where AI Can Help With Product Demo Videos
Traditional product demo videos often require physical locations, lighting setups, presenters, and repeated takes. Showing the same product in several environments can mean additional travel, equipment, and reshoots, especially when a brand needs multiple versions of the same campaign. AI video tools can help teams explore visual concepts, generate supporting scenes, and adjust backgrounds or camera movements without organizing a new shoot for every variation.
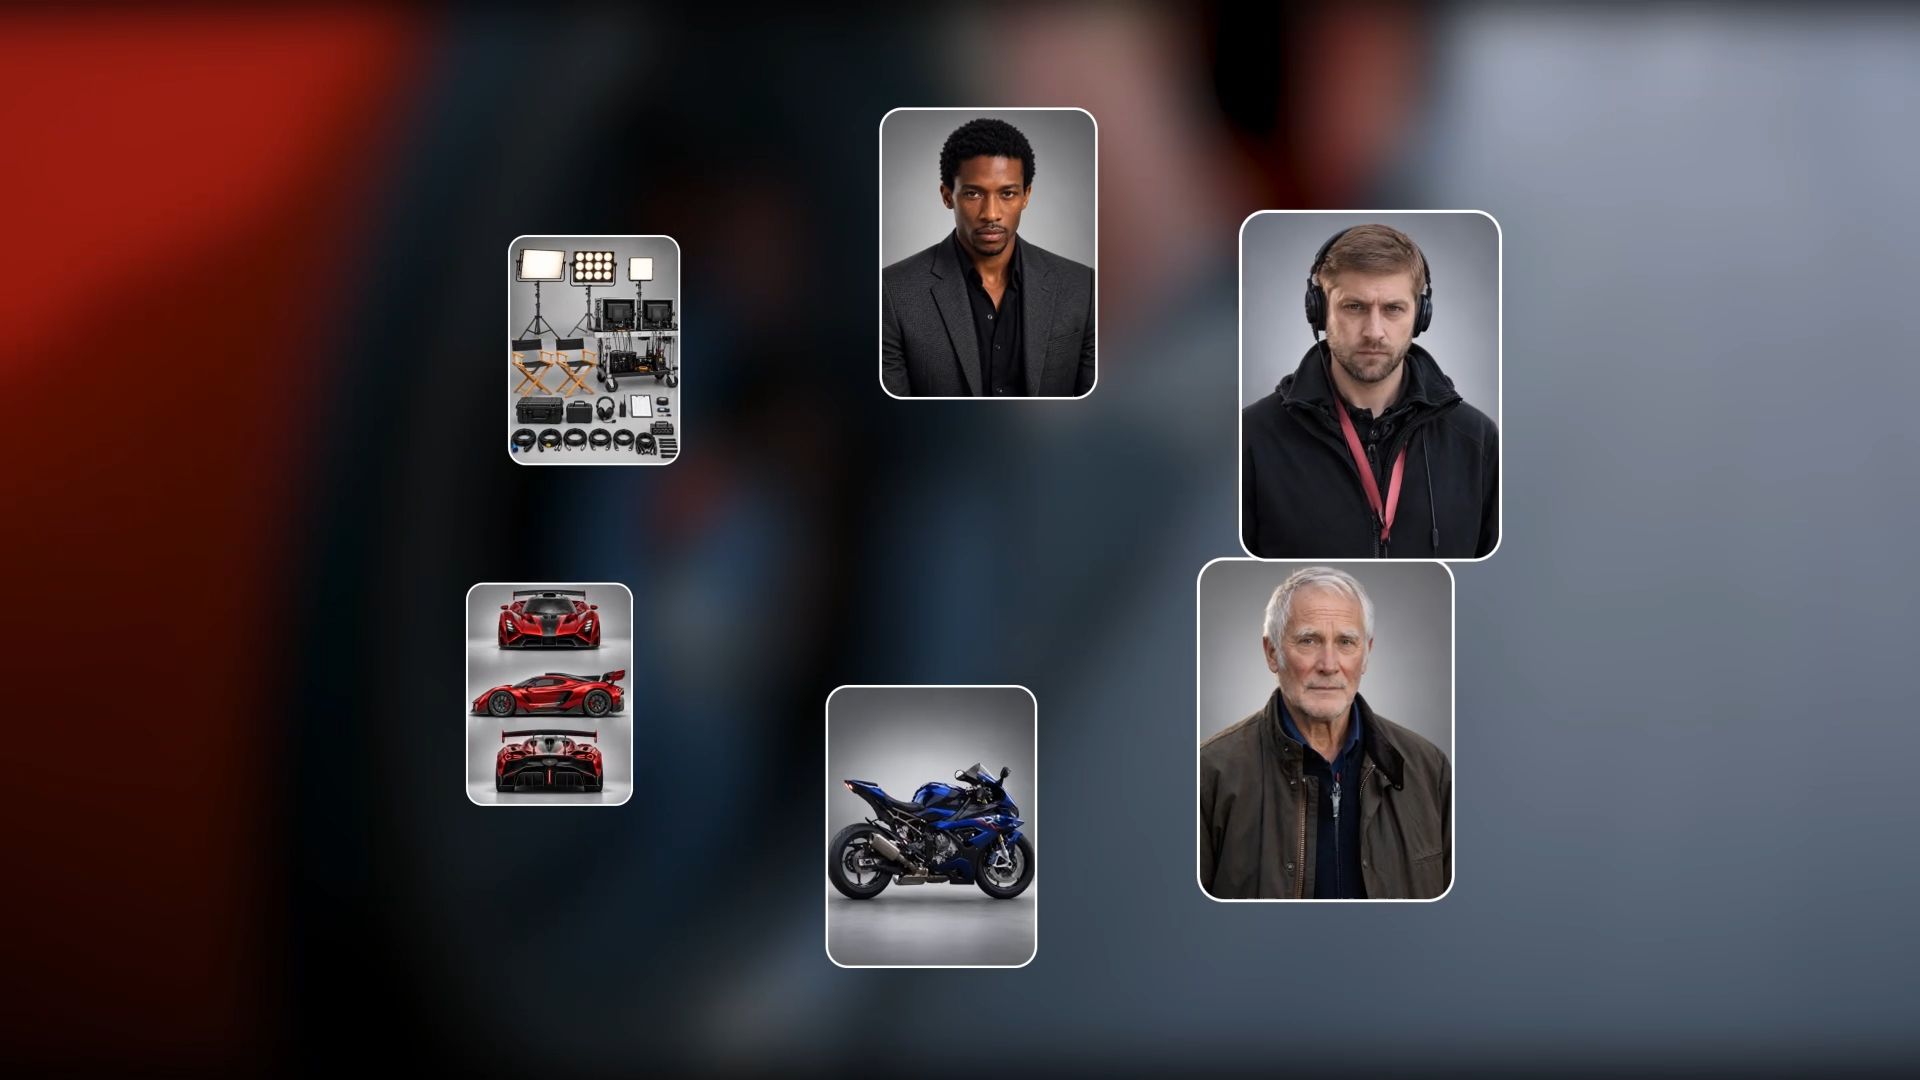
At Kling AI, we offer AI tools for image and video generation and editing. Our video model, Kling 4.0, uses Omni Reference to combine product images, scene assets, and video references for greater creative control. With more stable complex motion, creative recreation, and up to 30 seconds of video generation, creators can develop dynamic product demos while reducing repetitive production work. Here are the key ways Kling 4.0 can support the process.
Keep Products Consistent Across Different Scenes
A brand may need to show the same pair of wireless earbuds at home, during a commute, and at the gym. Filming each location separately takes time, while changes in the product's appearance between scenes can weaken brand consistency. With Kling 4.0's Omni Reference, you can combine product images or a reusable product Element with different scene references to help maintain a consistent product appearance. You can also create background images with Kling IMAGE 3.0 Omni before using them in video generation.
If a presenter appears across multiple scenes, you can create a character Element and bind the desired voice when setting it up. Reusing that Element in Kling 4.0 helps maintain both the presenter's appearance and voice across different scenes.

Show Product Features in a Clear Sequence
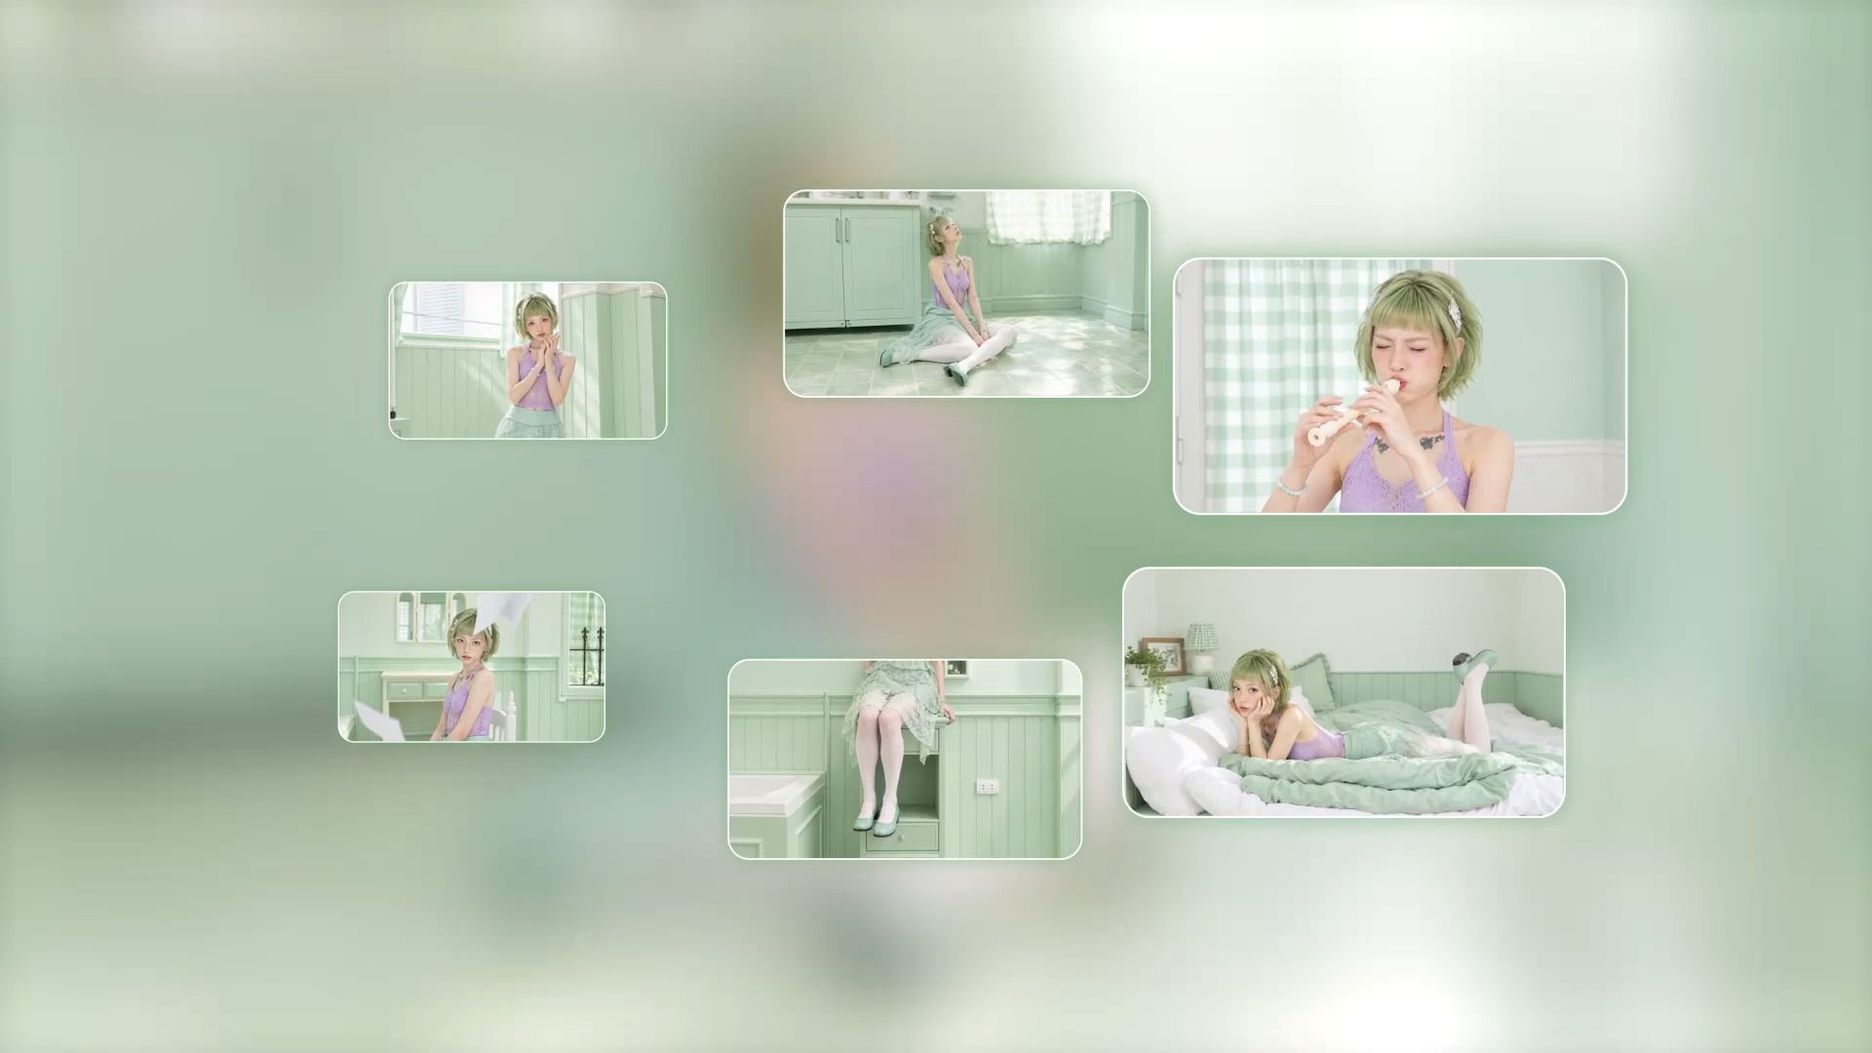
When several product features need to be shown in a short video, rapid close-ups can make it difficult for viewers to understand how they connect. Kling 4.0 supports up to 30 seconds of video generation, providing more room for continuous storytelling. You can also use up to 10 images as keyframes to guide important moments and control how each feature is revealed. Combined with stronger prompt understanding and creative expansion, these capabilities help you create smoother, more complete product demos that clearly demonstrate key features or usage steps.
Adapt Reference Videos into Your Own Product Demo
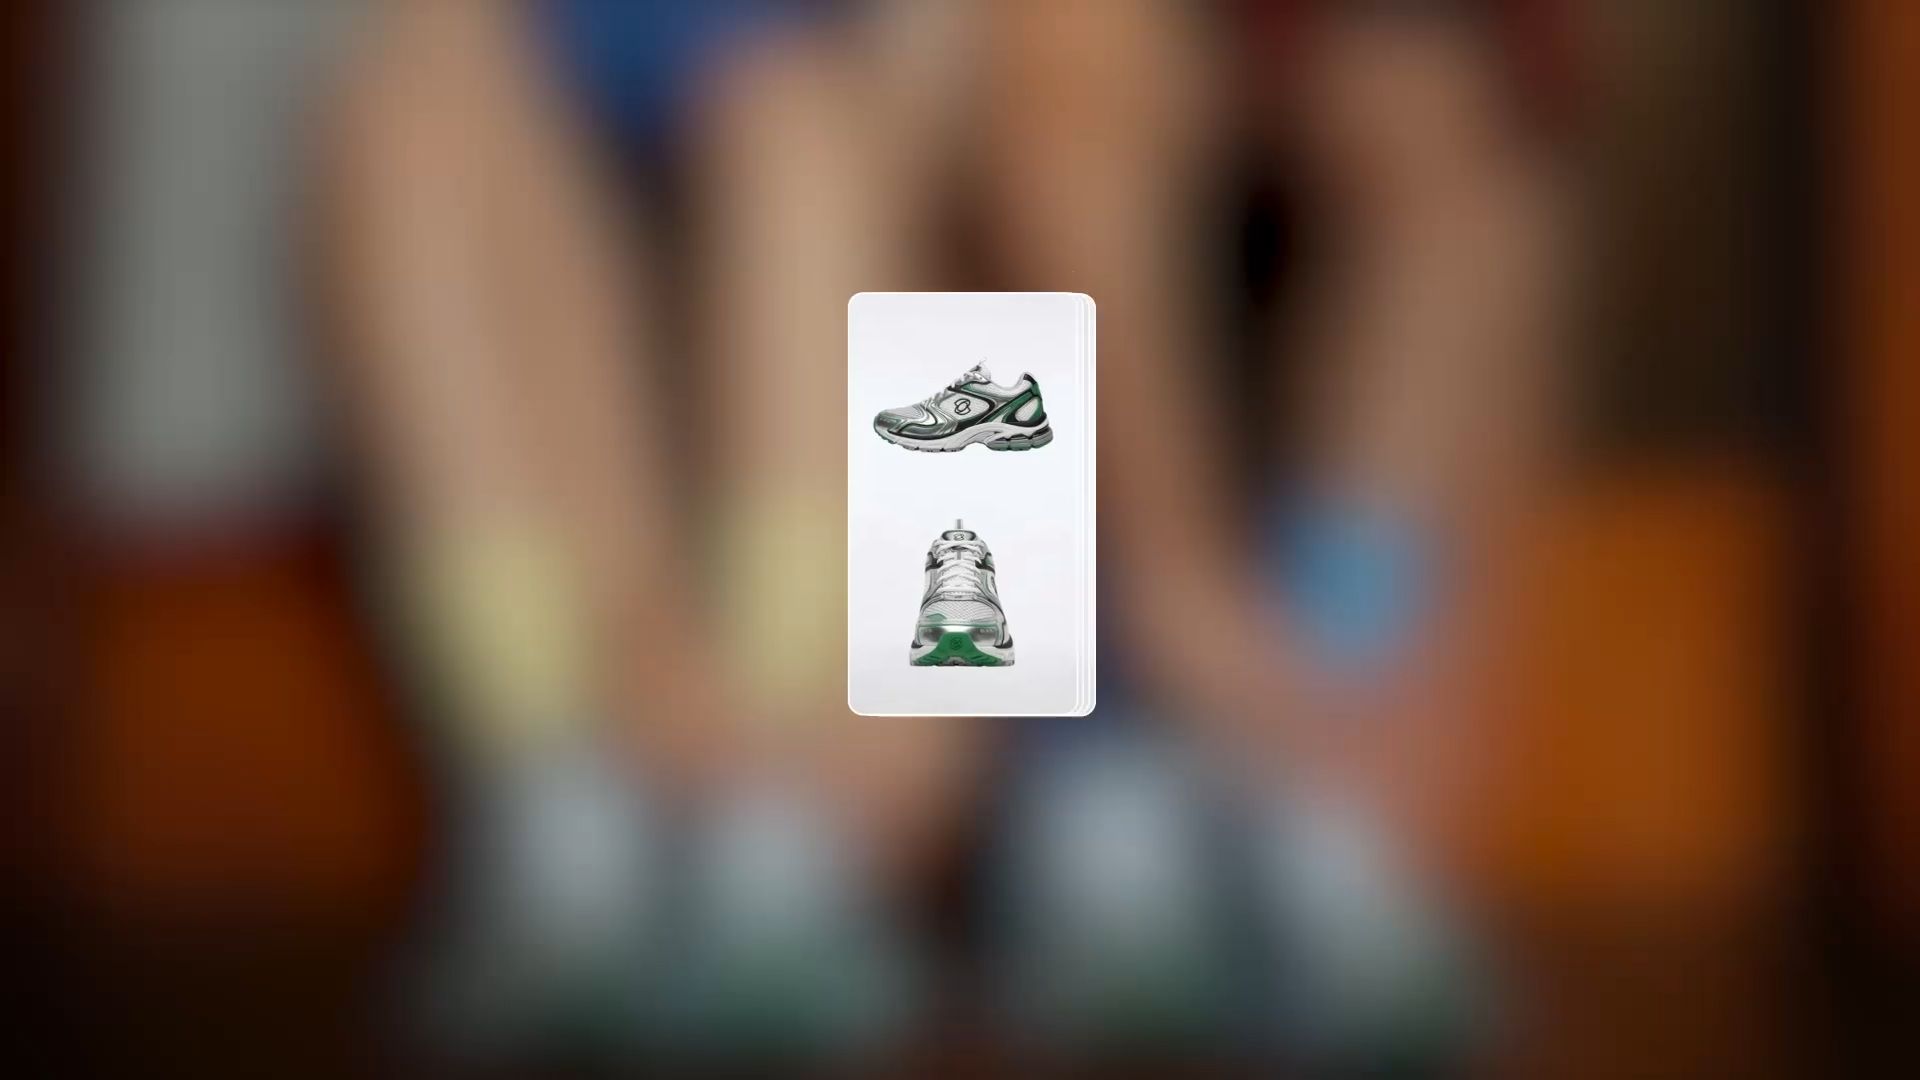
Have a reference ad that gets the pacing right? With Kling 4.0's Omni Reference, use a video you have permission to reference to guide the shot rhythm, camera path, or product reveal, while product photos define your own item's appearance. For example, you could adapt the camera movement of a consumer electronics showcase to highlight your own device, without planning every shot from scratch. Review the generated footage to ensure the product details remain accurate.
Keep Fast Product Reveals Easy to Follow
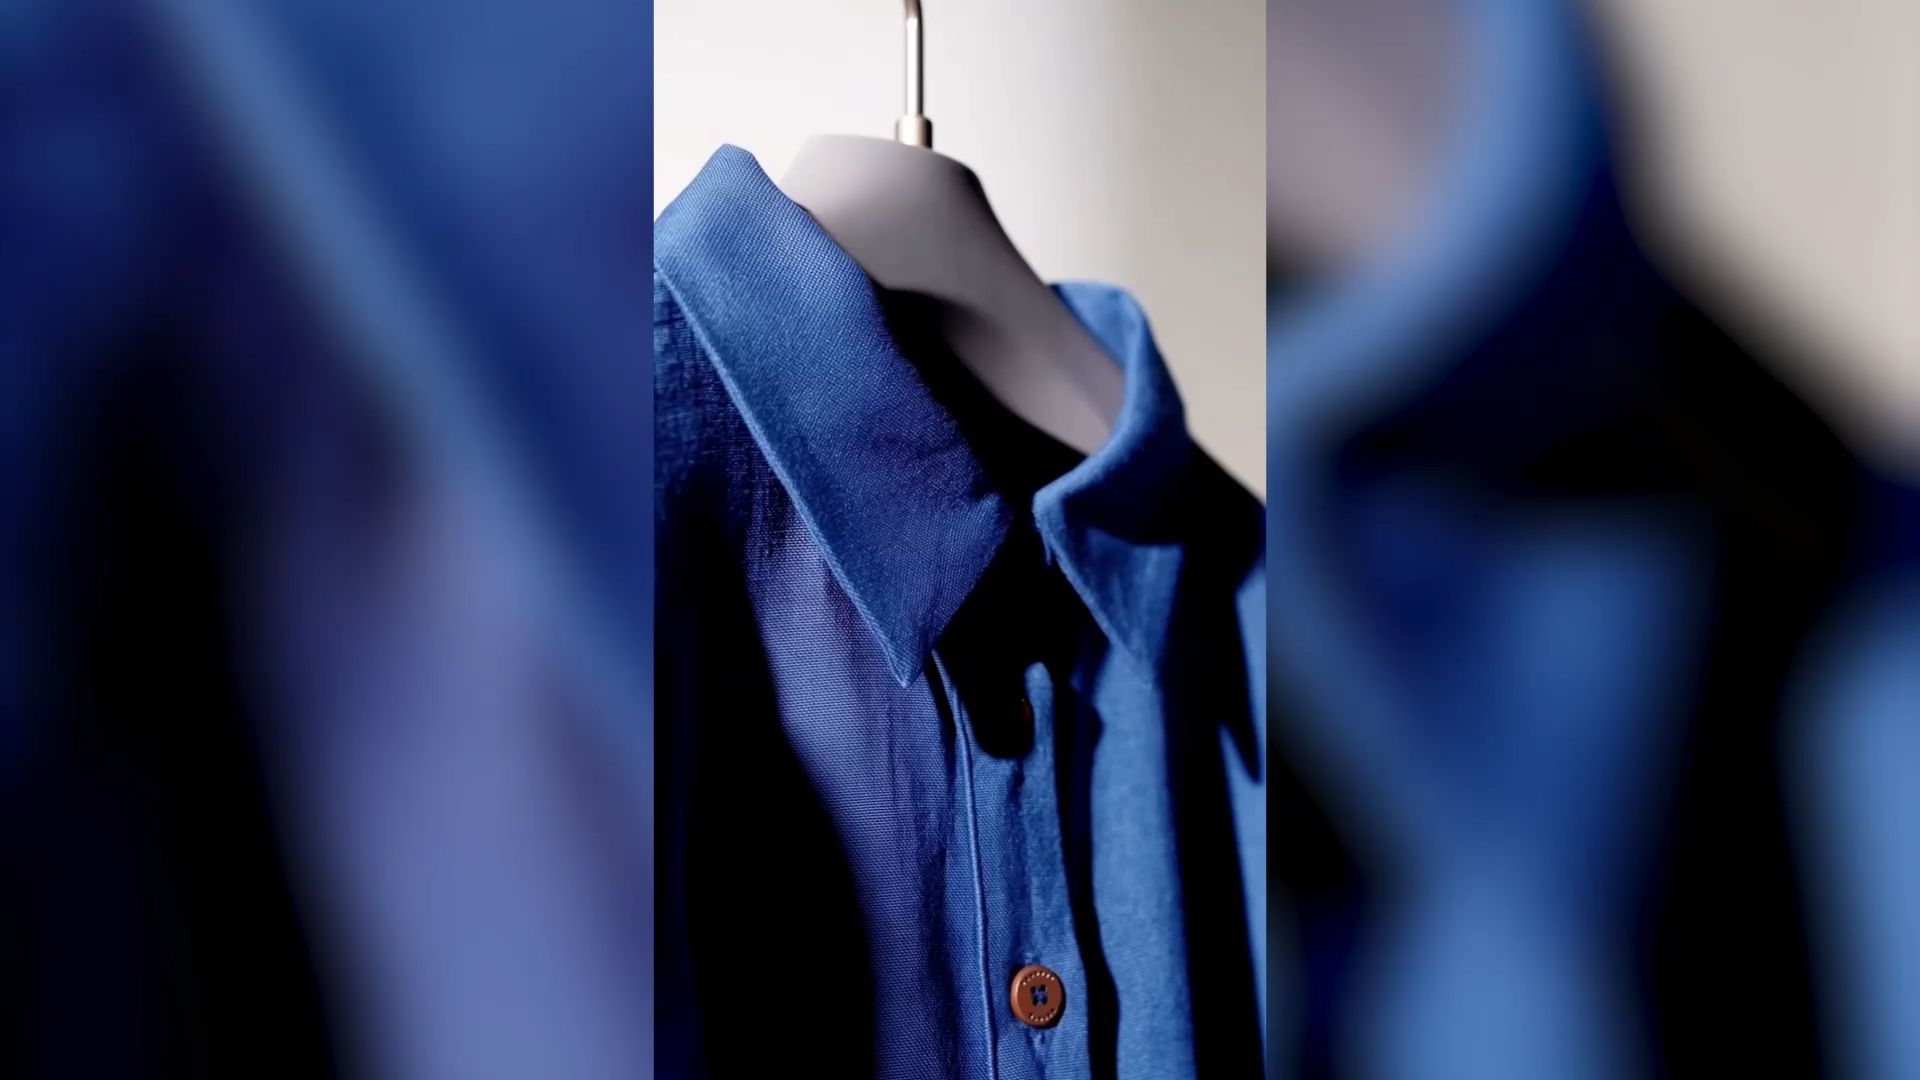
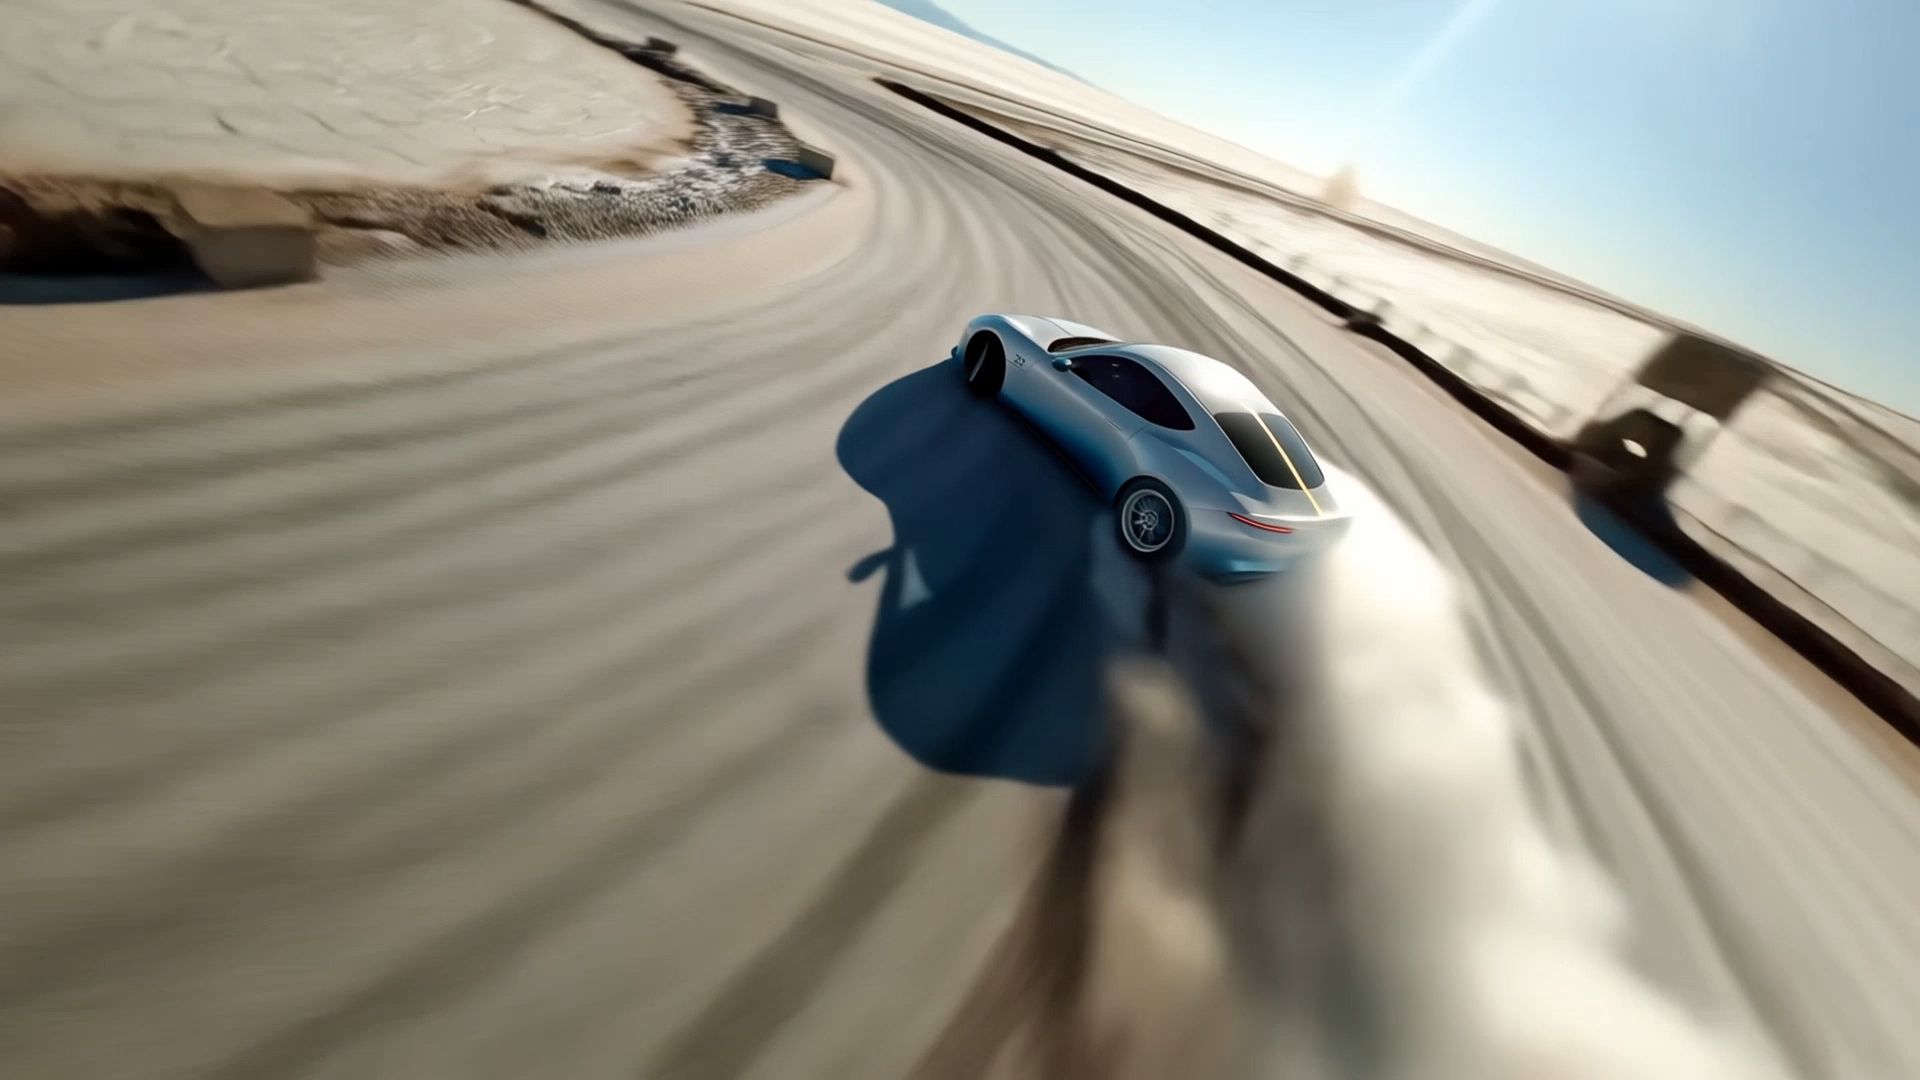
When a moving product changes direction, the camera has to keep up. If the framing lags or swings too far, viewers can lose sight of the action at the moment they most need to see it. Kling 4.0 can generate more stable high-speed tracking and orbit shots as the camera viewpoint shifts. That gives creators more room to follow the product through a turn and keep its direction clear throughout the shot.
Product Demonstration Examples and How to Create One
What Effective Product Demonstrations Show
A strong product demonstration shows more than a list of features. It helps viewers understand a real customer problem, see the product being used, and evaluate the result. The following product demonstration examples show how this works for physical products and software.
Physical Product Demo: Using a Label Maker on a Curved Jar
Show a person entering "Flour" on a handheld label maker, printing the label, and applying it to a curved glass jar. Hold on the finished jar so viewers can see whether the text is readable and the label sits flat against the surface. This demonstrates both the product's operation and the practical result.
SaaS Product Demo: Creating and Sending an Invoice
Record the actual software workflow, from entering customer details and adding invoice items to reviewing and sending the invoice. Show the final confirmation on screen so viewers can understand the process and see that the task has been completed.
Plan and Shoot Your Demo
The pantry jar example gives us a practical starting point for a product demonstration video. Use the one-page brief and script below to show shoppers how a handheld label maker prints a neat, readable label for a curved glass jar.
1. Write a One-Page Video Brief
Here’s how to write a video brief for a product demo. Define the result first, then identify the action that produces it. Use these nine fields to define the scope of the video before writing the script.
Brief field | Label maker example |
Audience | Home organizers shopping for a handheld label maker |
Goal | Show how to print and apply a readable label on a curved jar |
Product or feature | Handheld label maker and clear adhesive tape |
Customer problem | Unlabeled pantry jars look identical, and crooked or blurry labels ruin the look |
Key action | Type “Flour,” print the label, and press it smoothly onto the curved glass |
Visible result | The finished “Flour” label sits flat and reads clearly on the jar |
Visual style | AI-generated pantry opener paired with close-up hands-on footage |
Format | Horizontal video for a product page |
Call to action | Shop the label maker |
2. Pair the Script With a Shot List
Turn your video brief into a script and shot list so each message has a clear visual purpose. Plan what viewers need to see at every stage, from introducing the customer problem and demonstrating the product to showing the final result. Specify the camera angles, on-screen actions, and narration needed for each part. The example below shows how to pair each line of the script with a corresponding shot.
Narration | On screen |
| “[The Problem] Unlabeled jars make dry ingredients easy to mix up.” | Pan across matching glass jars on a pantry shelf. |
| “[Product in Use] Type the ingredient name and press Print.” | Show a close-up of fingers typing “Flour” on the label maker and printing the strip. |
| “Press the label onto the curved jar.” | Smooth the adhesive label across the glass in one motion. |
| “[The Result] The label sits flat, and you can read it at a glance.” | Hold on a close-up of the finished “Flour” label sitting flat on the curved glass. |
3. Prepare Real Product Footage and Reference Assets
Prepare the actual product and record the key steps of its operation. For the label maker example, capture the process of entering text, printing the label, and applying it to the glass jar. Use even lighting to keep the product and its details visible. You can also take reference photos from different angles to support AI-generated scenes later. Authentic footage helps make the demonstration credible and gives viewers a clearer understanding of how the product works.
How to Create Product Demo Scenes With Kling 4.0
Step 1. Upload Your References
Open Video Generation and select Kling 4.0. In Omni Reference, add the assets needed for your video. Product photos can guide the product's shape and surface texture, environment images can define the setting, and reference videos can guide movements and actions.
Step 2. Write a Prompt That Matches Your References
Describe the subject, setting, action, and camera movement. If you added references, identify each one and specify its role, such as which image defines the product, which image establishes the background, and which clip guides the movement. Describe what the viewer sees at the start, what the camera reveals, and what remains in view at the end.
Step 3. Generate, Check, and Refine
Choose the video duration, aspect ratio, and output quality, then click Generate. Review the clip to check whether the product's appearance, key details, and camera movements match your references. If the results need improvement, adjust your prompt or reference assets and generate another version.
Reference Video | Reference Image 1 | Reference Image 2 |
 |
|
|
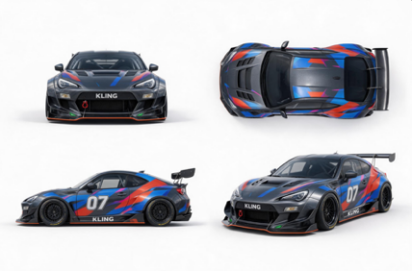
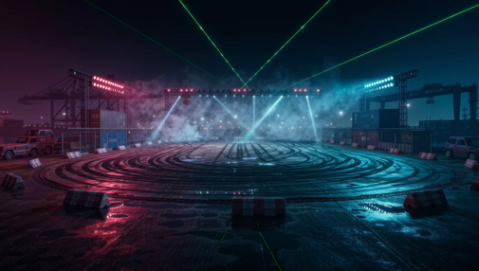
| Prompt: Use @Video 1 as the reference for camera movements and shot pacing. Replace the Element with the car from @Image 1 and the background with @Image 2. | ||
Output | ||
 | ||
The End
An effective product demonstration video starts with a clear customer need and shows how the product delivers real value. Plan your shots around key actions and results, capture authentic product footage, and use Kling 4.0 to create supporting scenes, explore different settings, and bring your ideas to life with greater creative control. Beyond product demos, Kling AI also helps you create video ads, UGC videos, and ai clip videos. Whatever you're creating, focus on clear storytelling and visuals that make your message memorable.
FAQs
What’s Another Word for Product Demonstration?
“Product demo” is the usual short form. “Walkthrough” works well for a guided software task, while “product showcase” suits a video that highlights appearance or features. If you’re labeling a button, use “Watch a demo” for a video and “Try a demo” when people can interact with a sample workflow. That wording tells the viewer what to expect after clicking.
What Should You Send After a Live Product Demo?
Send a short recap of the workflow you covered, a link to the recording or relevant clip, and answers to any open questions. If you agreed on a trial or a second call, include the next step in the same message.
How Long Should a Product Demonstration Video Be?
There’s no universal runtime. Test your first cut with someone who hasn’t used the product. If they have to replay a step to understand it, give that shot more time. If they can explain the outcome before the video ends, see whether you can cut to the call to action sooner.
Can a Product Demonstration Video Work Without Sound?
Yes. Caption any narration that carries instructions, and place short text labels next to the controls or steps viewers need to notice. Watch the export muted to make sure someone can follow the sequence and read the result.
Is a Product Demonstration the Same as a Product Sample?
A sample lets customers try a portion or version of the product themselves. A demonstration lets them observe it in use. At a trade show, you could show how a coffee machine works, then offer a sample of the coffee it makes.