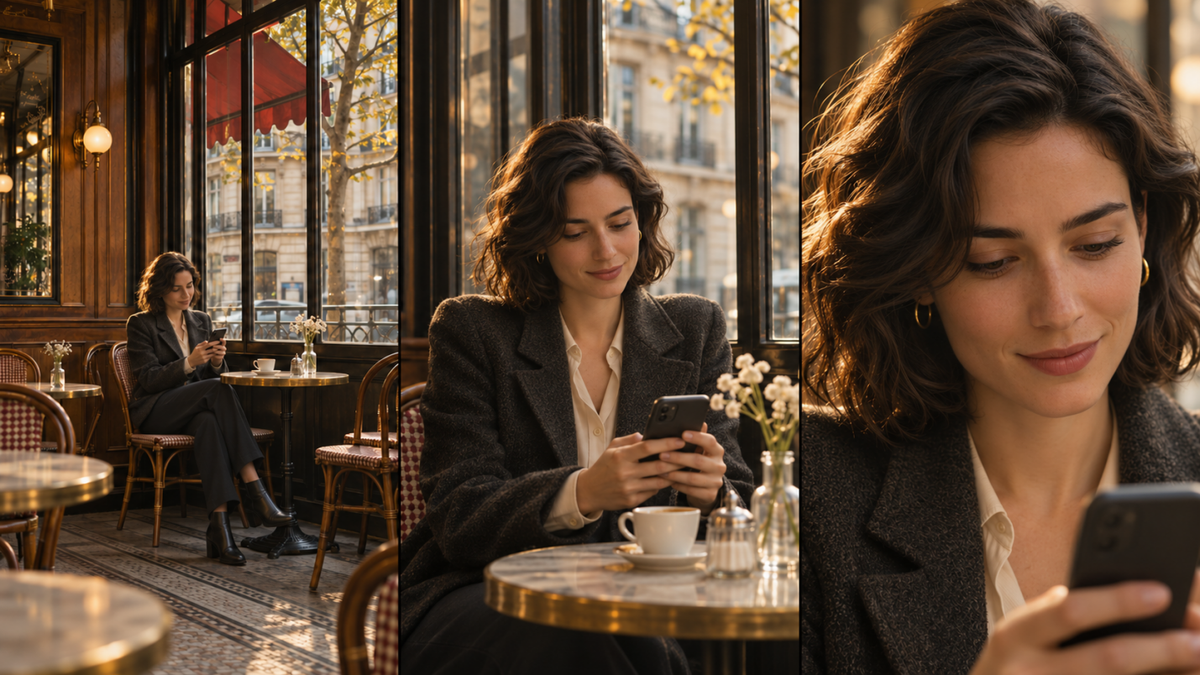
A wide shot can make a character look small against a busy city background. Move closer, and a subtle facial expression becomes the focus. Shot sizes determine what the viewer is going to see, how much of the context they get, and the overall feel of the scene. This guide looks at eight of the most common framings, when to use them, and how to put them together in an AI video.
What Is Shot Size in Filmmaking?
Shot sizes are a way of describing how much of the subject and its environment is actually in the frame. They're often identified by reference to the subject's own body proportions (knees, waist, shoulders, face). The same applies when you're shooting a product, an animal or a landscape. The apparent shot size depends on the composition, which can change with camera distance, lens choice, or cropping.
8 Common Shot Sizes in Film and Video
The following shot size chart covers the eight most commonly used framings, from the widest shot to the smallest detail. Each one has a different purpose, whether you’re establishing a location, following an action, or emphasizing a reaction.
Shot Size | What the Frame Shows | Best Use | Prompt Phrasing |
Extreme Wide Shot (EWS) | Small subject within a vast setting | Establish location or scale | Extreme wide shot of a hiker in a mountain valley |
Wide Shot (WS) | Complete subject plus substantial surroundings | Show spatial relationships | Wide shot of a woman crossing a café |
Full Shot (FS) | Person framed head to toe, more tightly | Body movement and costume | Full shot of a dancer onstage |
Medium Wide Shot (MWS) | Person roughly knees or thighs upward | Gestures and group activity | Medium wide shot of two colleagues |
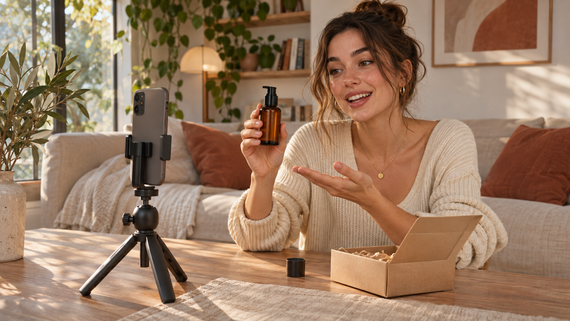
Medium Shot (MS) | Person roughly waist upward | Conversation and explanation | Medium shot of a presenter |
Medium Close-Up (MCU) | Person roughly chest/shoulders upward | Subtle reactions and interviews | Medium close-up showing a reaction |
Close-Up (CU) | Face or object detail fills frame | Emotion or product feature | Close-up of a surprised face |
Extreme Close-Up (ECU) | Tiny detail fills frame | Strong emphasis | Extreme close-up of a hand pressing a button |
A full shot generally keeps the whole person in frame, and a wide shot will give you more of the setting. You may also see a medium wide shot (sometimes referred to as a medium long shot or a three-quarter shot), depending on the production guide.
As AI video tools evolve, creators can explore cinematic scenes without filming every shot, saving time and production costs. Shot-size principles apply to AI filmmaking, too. At Kling AI, we provide tools for generating and editing images and videos. Our latest video generation and editing model, Kling 4.0, supports prompts up to 8,000 tokens and up to 10 keyframe images to help shape framing, camera movement, and story beats. It also improves stability during large-scale action and complex camera moves, helping maintain clear framing as the camera pushes from a wide shot into a close-up, follows moving subjects, or pulls back to reveal the setting. With up to 30 seconds of video generation, you can build more complete shot sequences. Even without a background in shot sizing, you can use video references in Omni Reference to guide shot composition, camera work, and narrative pacing—adapting established creative approaches without planning every shot from scratch.
Shot Size vs. Camera Angle vs. Camera Movement
Shot size, camera angle, and camera movement all affect a scene in different ways. A close-up is about how much of the subject is in the frame, a low angle is about the point of view, and a slow push-in is about the movement of the camera.
Term | What It Controls | Example |
Shot Size | Subject scale in the image | Close-up of a face |
Camera Angle | Viewing position or direction | Low-angle view |
Camera Movement | Camera path through the shot | Slow push-in |
Planning camera framing becomes more challenging when you’ve got moving subjects in the scene or a number of changes in shot size. You have to think about how the subject, the camera angle, and the composition all work together across the sequence. If you’ve thought about those things in advance, it’s a lot easier to keep the action clear as you’re changing the framing.
How to Choose and Combine Shot Sizes
Good shot sizing begins with what the audience needs to see. If the location matters, give viewers enough space to understand the setting. If a character's reaction drives the moment, move closer. The goal isn't to use every shot size, but to choose the framing that best serves the scene.
Match Shot Sizes to Storytelling Goals
Storytelling Goal | Recommended Frame |
Establish a location | Extreme Wide Shot or Wide Shot |
Show physical movement | Extreme Wide Shot or Wide Shot |
Follow dialogue | Medium Shot or Medium Close-Up |
Emphasize a reaction | Close-Up |
Reveal a small clue | Extreme Close-Up |
See How a Change of Shot Size Alters a Scene
Imagine an employee receiving unexpected news over the phone. A wide shot places her among her colleagues, a medium shot captures her hand hovering over the keyboard, and a close-up reveals her facial expression. An extreme close-up could draw attention to her eyes.
How AI Helps Turn Shot Size Plans Into Videos
Once you've chosen the shot sizes for your scene, the next step is turning those compositions into moving images. AI video generation makes this process more efficient. With Kling 4.0, you can take three approaches: use prompts to describe shot sizes and transitions, guide key compositions with keyframe images, or upload an existing video as a reference to recreate its shot structure, camera movements, and narrative pacing with your own creative elements. You can also combine all three approaches for greater creative control over your shot sequence.
Direct Shot Sizes and Transitions with Prompts
With Kling 4.0, you can guide shot sizes and transitions through prompts, whether you start with a simple idea or a carefully refined description. Supporting up to 8,000 tokens of input, Kling 4.0 can expand and refine creative instructions with a director's eye, helping develop shot compositions, camera movements, and narrative pacing.
For greater control, describe how much of the subject appears in each frame, when to switch between wide shots, medium shots, and close-ups, and how the camera should move between them. You can also specify shot duration and emotional intent to give each framing a clear storytelling purpose. Kling 4.0's improved stability during complex camera movements further helps maintain visual coherence as shot sizes change.
Prompt: Wide-to-Close Cinematic Sequence Create a 15-second cinematic scene on a misty train platform at dawn. 0–5s: Begin with a wide shot showing a young woman standing alone on the platform, surrounded by soft morning fog. Slowly push the camera forward to establish the atmosphere. 5–10s: Cut to a medium shot as she takes a folded letter from her coat pocket and opens it. Use a gentle tracking movement to follow her actions. 10–15s: Transition to a close-up of her face as she reads the letter. Her expression gradually shifts from uncertainty to a quiet smile. Maintain consistent character appearance, natural lighting, and smooth camera movement throughout the sequence. |
Guide Shot Compositions with Keyframe Images
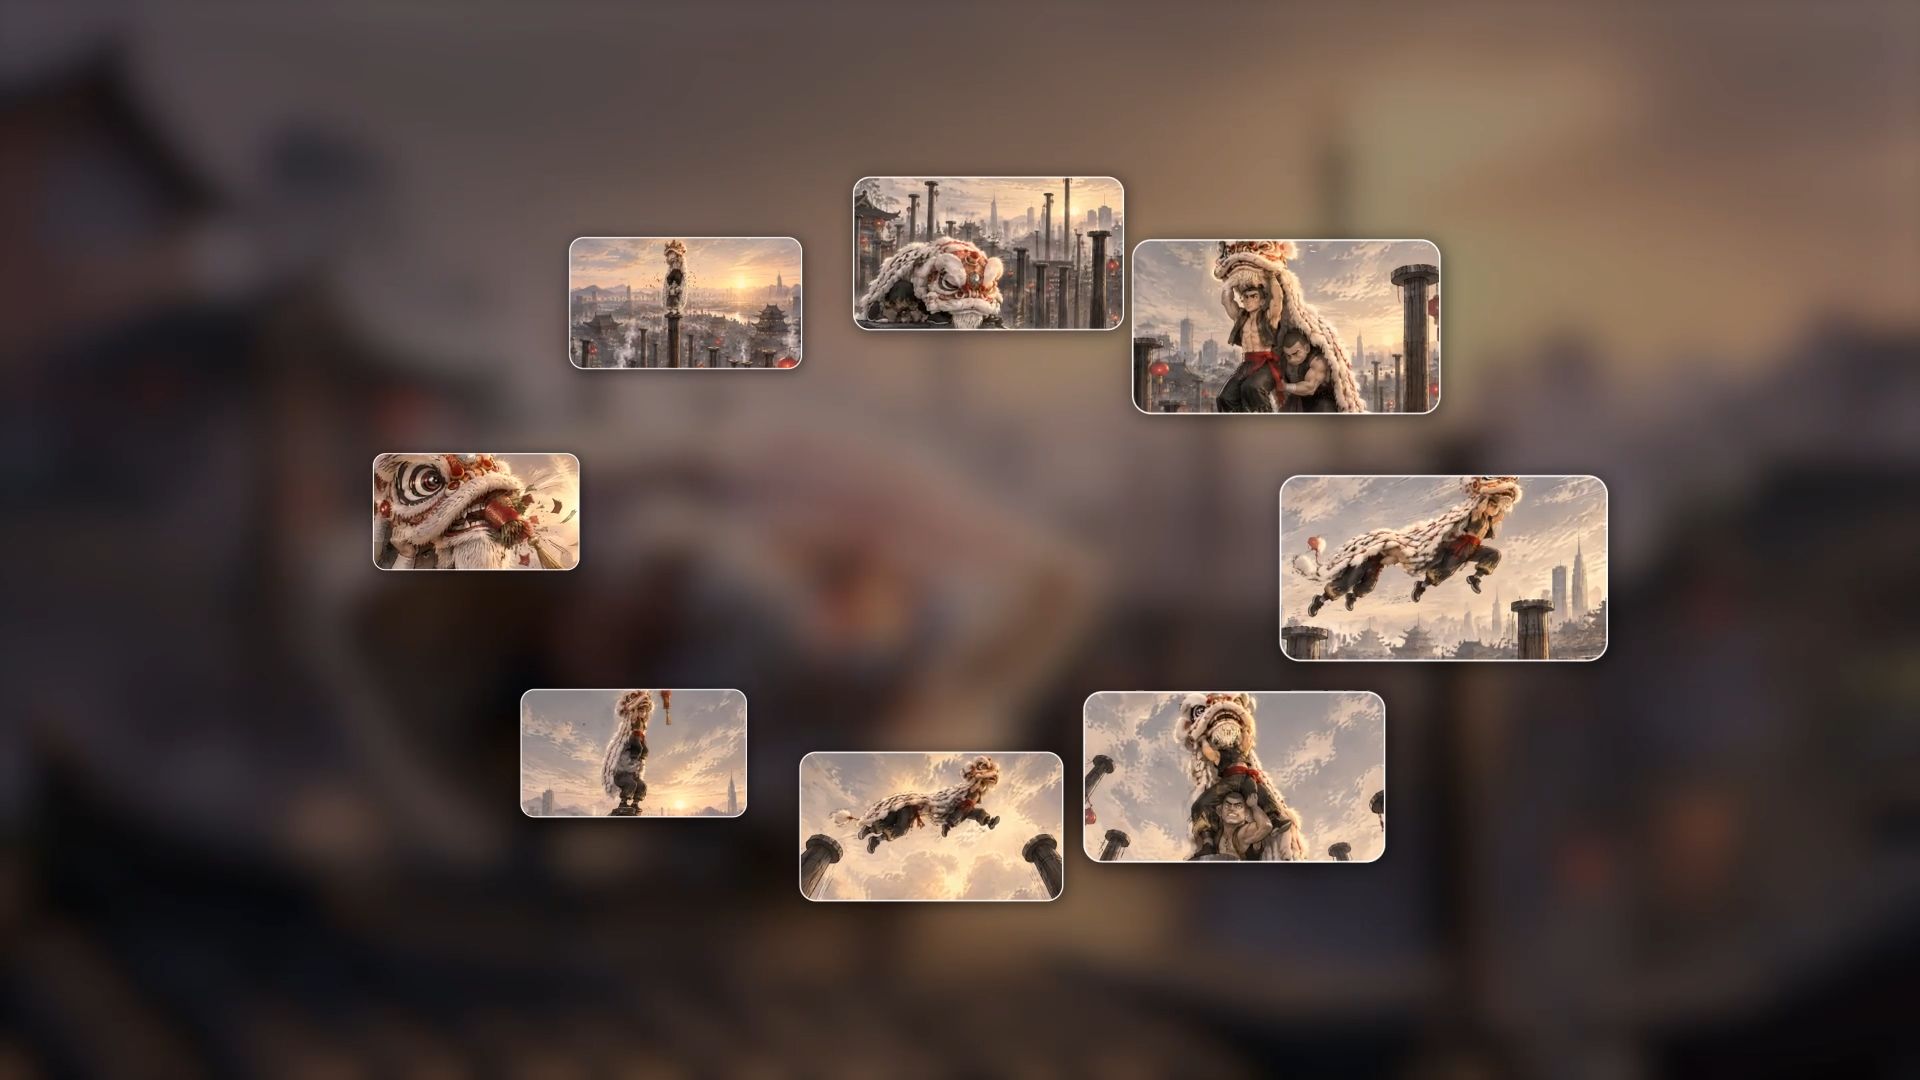
If you already have specific compositions in mind, you can use up to 10 images as keyframes within Kling 4.0's Omni Reference. These images help define important visual moments, such as an opening wide shot, a medium close-up capturing a character's expression, or a detail shot highlighting a specific action. Combined with prompts, keyframe references can guide the progression between different shot sizes and help maintain visual continuity.

Recreate Shot Sequences with Video References
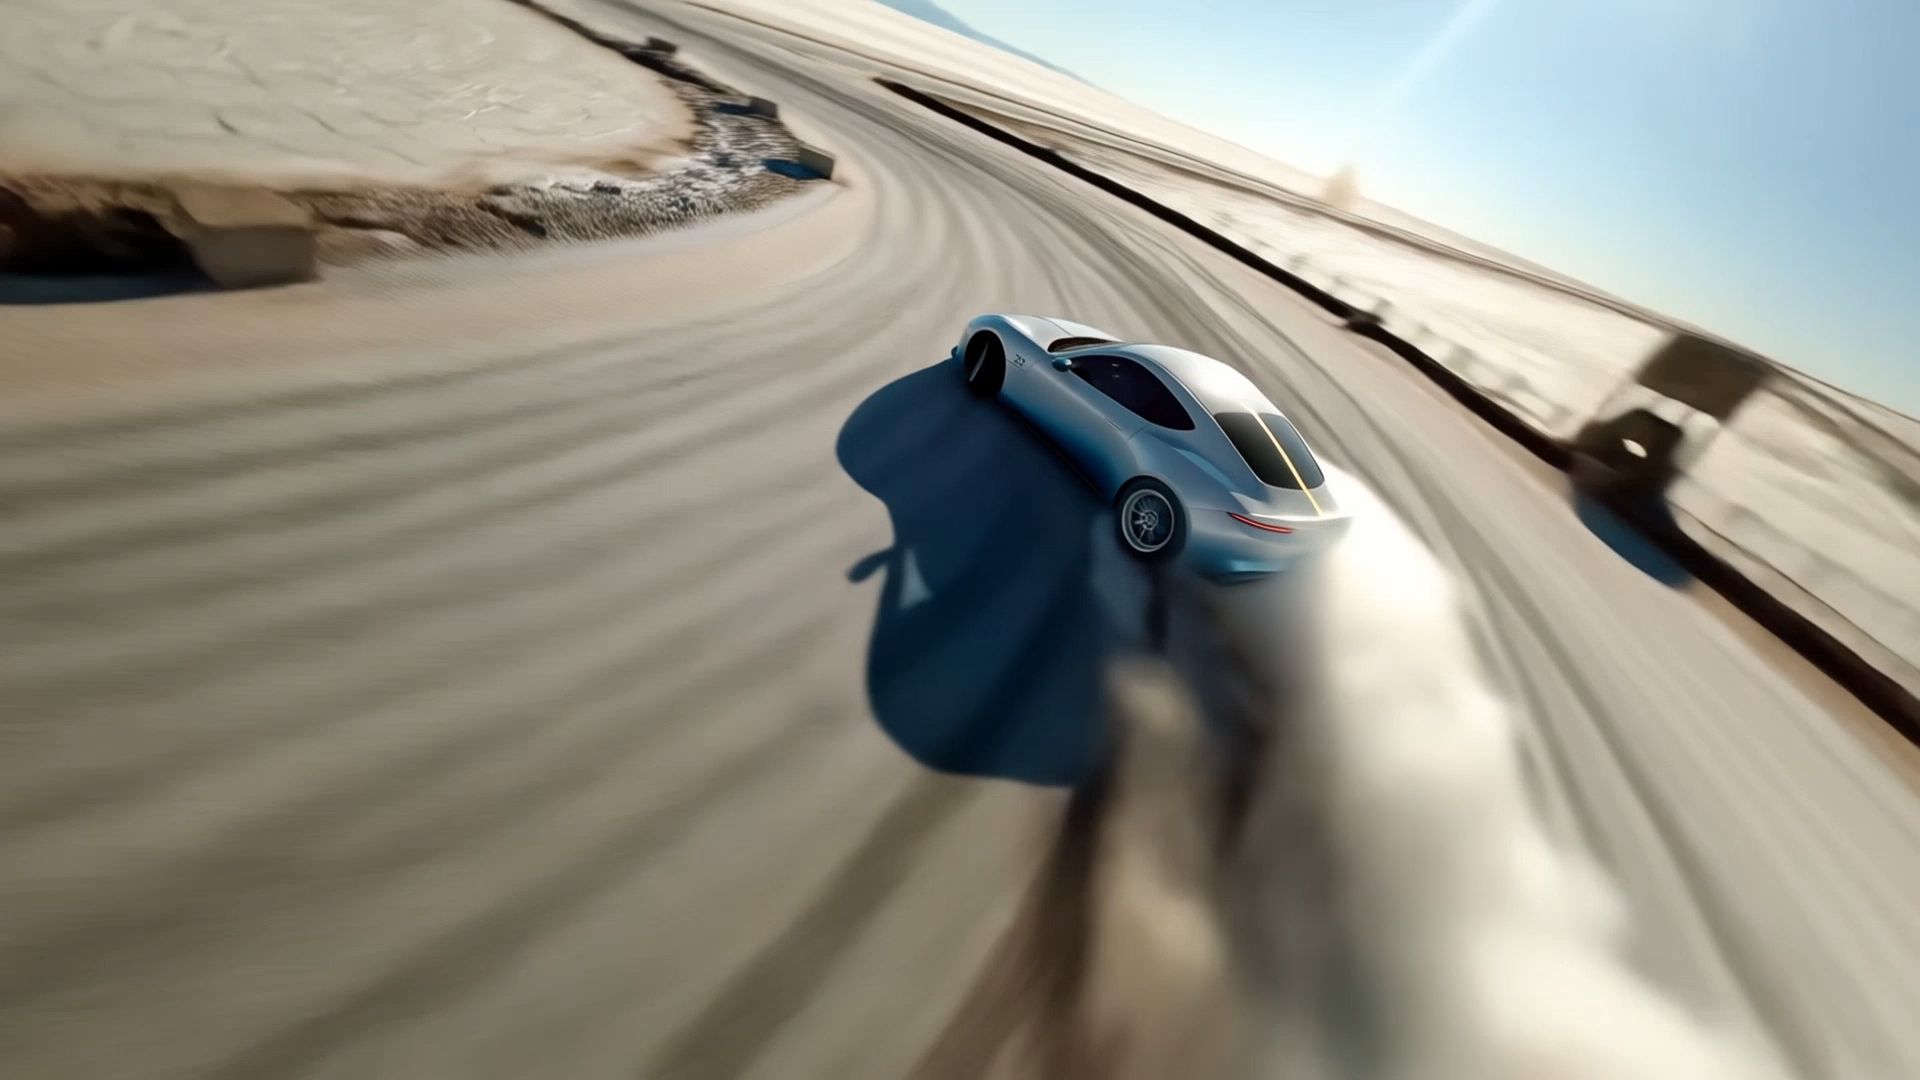
You don't need to plan every shot from scratch. With Kling 4.0's Omni Reference, you can upload an existing video to guide shot composition, camera movement, and narrative pacing. You can also combine video references with images or Elements to introduce your own characters, products, and settings while maintaining visual consistency across different shot sizes.
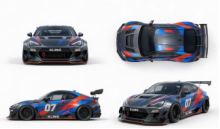
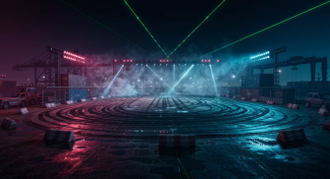
Reference Image 1 | Reference Image 2 | Reference Video |
|
|  |
Generated Video | ||
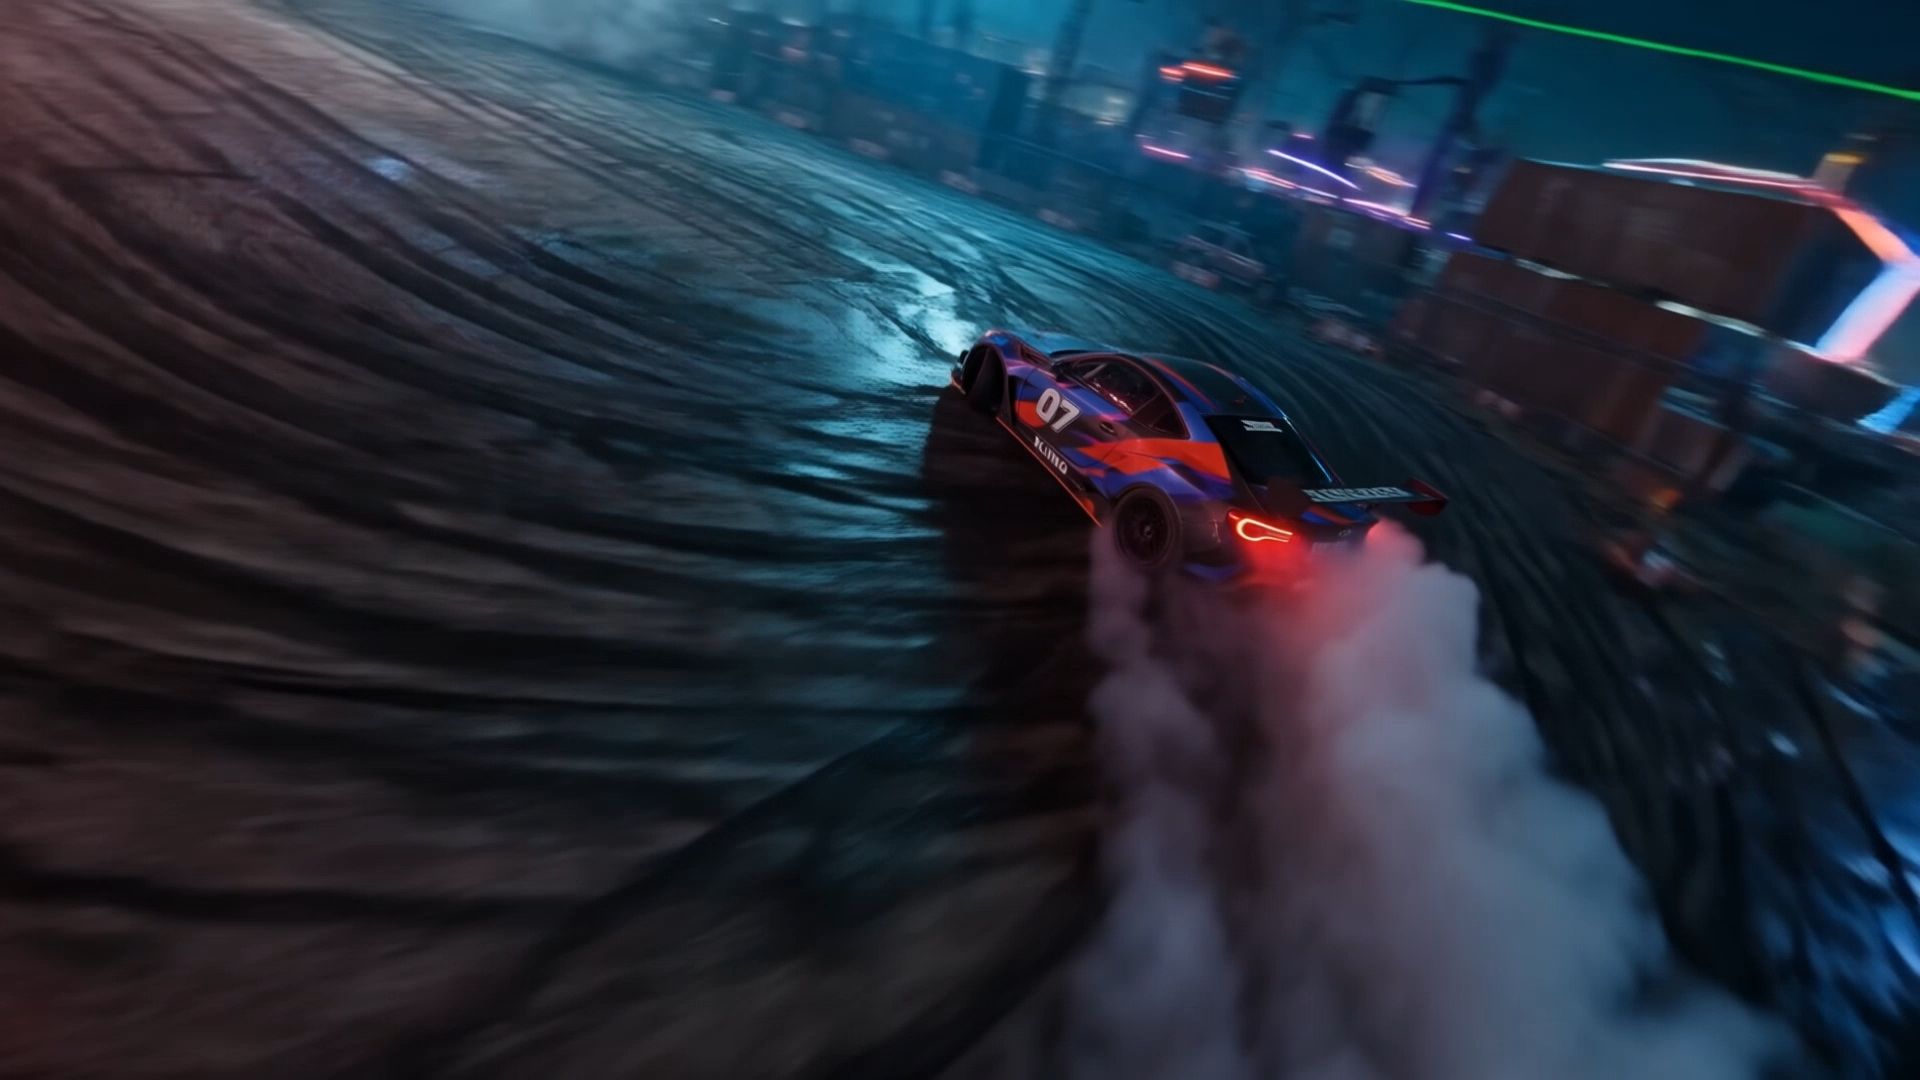 | ||
| Prompt: Use @Video 1 as the reference for camera movements and shot pacing. Replace the Element with the car from @Image 1 and the background with @Image 2. | ||
How to Create a Shot Sequence with Kling AI
Once you know what shot sizes you need for your scene you can feed that plan into Kling AI. Start by choosing your references, describing the framing, and reviewing how the shots work together.
Step 1. Upload Your Reference Materials
Open Kling AI's Video Generation workspace and select Kling 4.0. Start by uploading any images or videos you want to use as references. Choose materials that clearly show the character, setting, or movement you want to preserve. If you don't have reference assets, you can also begin with text-to-video and describe your scene directly.
Step 2. Describe the Shot Sizes and Camera Movement
Write a prompt that covers the subject, starting frame, action, and transitions. If you've uploaded references, explain the role of each asset using labels such as @Image1 or @Video1. For a multi-shot sequence, explain when the camera should move closer, pull back, or cut to another composition.
Step 3. Generate, Review, and Refine Your Shot Sequence
Choose your video duration, aspect ratio and available generation settings and generate. Look at the result to see whether the shot sizes, camera moves and transitions are in line with your plan. If a close-up comes in too early or the framing changes in an unanticipated way, then refine the prompt or keyframe timing and generate again. Once you're satisfied with the sequence, then download your video.
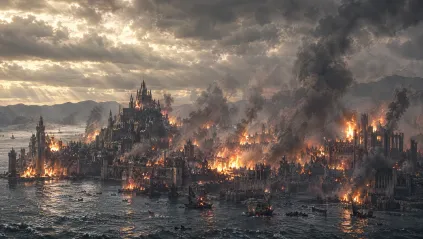
Keyframe Image 1 | Keyframe Image 2 | Generated Video |
|
| 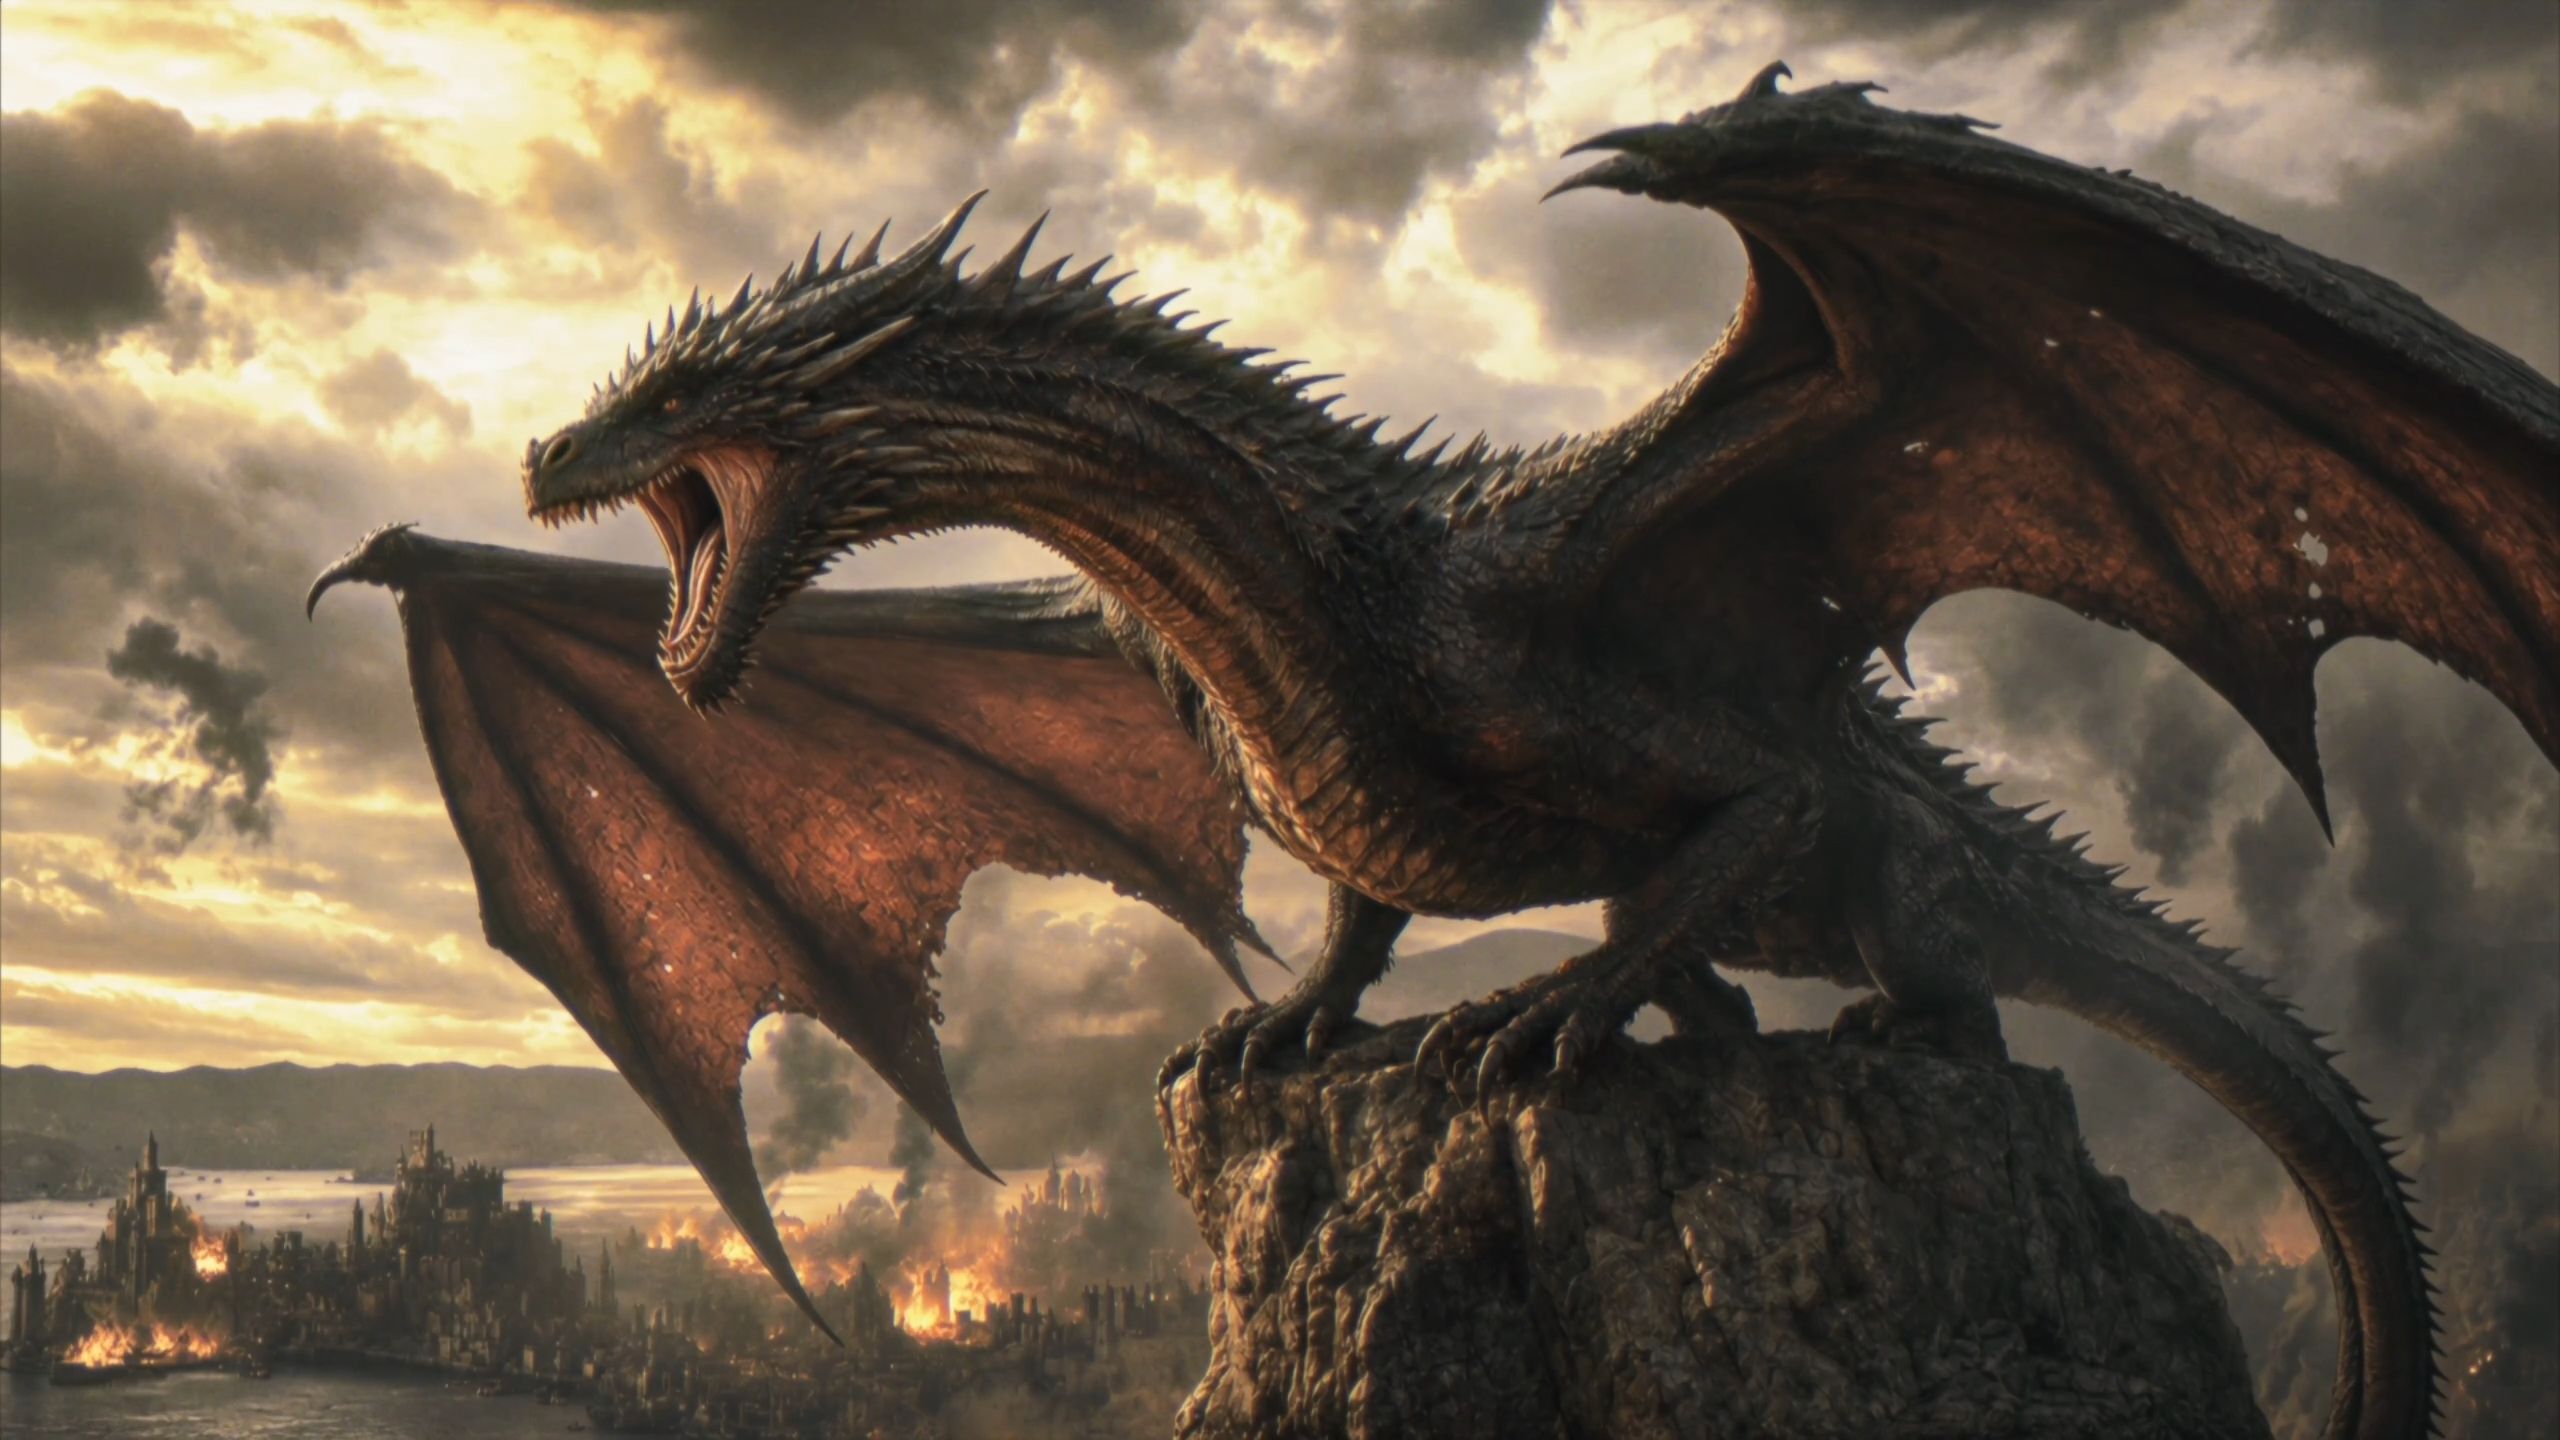 |
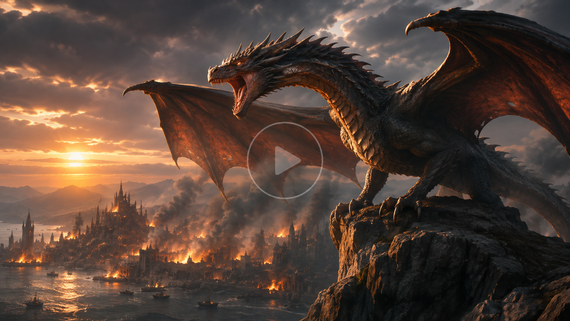
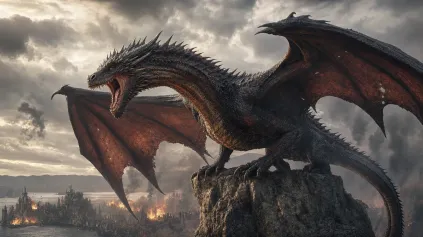
Prompt: 1. SCENE CONTEXT: EXACTLY 1 DRAGON — NO DUPLICATES. A 30-second, six-shot dark-fantasy action sequence. A colossal dragon roars, launches from a mountain pinnacle, accelerates toward a burning coastal city, dives between its towers and performs a devastating aerial fire attack. Epic scale, very fast pacing, real-time motion. 2. ACTIVE REFERENCES: controls the burning coastal city, Gothic architecture, harbour, mountain horizon, existing fires, smoke columns, storm clouds and lightning. Controls the dragon’s identity, black-grey scales, red-brown wing membranes, horns, dorsal spines, four legs, two wings, long tail and opening rocky pinnacle. 3. LOCATION MAP: The pinnacle overlooks the coastal city. The harbour lies screen-left, the central castle lies ahead, and the densest burning district lies centre-right. Direction of travel always runs from the mountain toward the city centre. Cameras remain behind, below or on the dragon’s left side without reversing the travel axis. 4. FIRST FRAME AND SPATIAL BLOCKING: The dragon is already crouched on the pinnacle, wings spread, hind legs compressed and head aimed toward the city. Its jaws open for one roar. Fires flicker below; connected smoke columns bend with the wind and the entire storm ceiling visibly moves. 5. FORMAT MODE: Six shots with hard cuts: SHOT 1 — 0.0–4.0s: roar and launch. SHOT 2 — 4.0–9.0s: high-speed pursuit toward the harbour. SHOT 3 — 9.0–13.5s: low flight across the water toward the city. SHOT 4 — 13.5–19.0s: first fire attack between towers. SHOT 5 — 19.0–25.0s: banking pursuit and sweeping fire attack. SHOT 6 — 25.0–30.0s: dragon climbs above the burning city. Cuts are motivated by wing wipes, smoke wipes and close architectural passes. No fades or dissolves. 6. OPTICS SHOT: 1: 24mm, 74° horizontal FOV, low-angle environmental wide. SHOT 2: 18mm, 90° FOV, rear pursuit perspective. SHOT 3: 24mm, 74° FOV, low water-level chase. SHOT 4: 28mm, 65° FOV, roof-height tracking. SHOT 5: 24mm, 74° FOV, close side-rear pursuit. SHOT 6: 18mm, 90° FOV, monumental aerial wide.Moderate-deep focus. Strong natural motion blur on wing tips, water, smoke, embers and nearby buildings. 7. CAMERA: All cameras have obvious physical handheld instability. SHOT 1 rapidly tilts upward as the dragon launches; wing pressure violently jolts the operator. SHOT 2 follows 12 metres behind the tail with intense wind buffeting and rapid vertical vibration. SHOT 3 races just above the water behind the dragon; waves and burning boats whip past the frame edges. SHOT 4 tracks through the street canyon at roof height. SHOT 5 follows the dragon through a hard bank, nearly losing framing as towers pass dangerously close. SHOT 6 pursues upward, then settles into a wide view of the devastated city. No smooth floating or mechanically perfect movement. 8. ACTION TIMING: 0.0–0.8s: The dragon releases one thunderous roar, neck extended and eyes fixed on the city.0.8–2.0s: Hind legs drive into the pinnacle; claws fracture the rock.2.0–4.0s: The dragon launches and performs two powerful wing strokes. Dust and stone explode backward.4.0–6.5s: Hard cut behind the dragon already accelerating at high speed.6.5–9.0s: It folds its legs beneath its body and dives toward the harbour. Smoke streams across its wings.9.0–11.5s: The dragon skims rapidly above rough water. Wing tips nearly touch the waves.11.5–13.5s: It passes burning ships and climbs over the sea wall. A tower wipes across the lens.13.5–15.0s: Hard cut inside the city. The dragon bursts through smoke between Gothic towers.15.0–19.0s: It releases one continuous orange-white fire jet, sweeping across the left row of rooftops while maintaining full speed.19.0–21.5s: The dragon snaps into a hard right bank around the central tower; the tail swings with delayed inertia.21.5–25.0s: Its connected fire stream sweeps across the avenue and strikes the right-side tower. Burning masonry and embers fall behind it.25.0–27.0s: The dragon stops breathing fire, beats its wings powerfully and climbs above the rooftops.27.0–30.0s: It ascends into the storm light and glides over the burning city. The camera widens to reveal spreading flames, smoke columns and the harbour below. 9. PHYSICS: The dragon has immense believable mass despite its speed. Wing strokes originate in the shoulders; membranes stretch under aerodynamic load. The torso, legs and tail react with delayed inertia. Wing wakes tear openings through smoke, disturb water and buffet nearby fires. Fire emerges only from the open mouth as a pressure-driven stream with a white-hot core, orange turbulent edges and visible heat distortion. Buildings ignite progressively at visible impact points. Debris follows gravity and the dragon’s wake. 10. LIGHTING: Cold storm daylight enters from upper-left. Existing fires provide orange underlight beneath the dragon. The fire stream becomes a moving motivated key light, casting travelling highlights over scales, towers and smoke. Sunbeams break through the clouds during the final climb. Preserve detail in the flame core and keep the dragon’s silhouette readable. 11. AUDIO: No dialogue. Synchronized dragon roar, claw scraping, rock fracture, leather-wing thunder, violent wind, wave impacts, burning ships, collapsing masonry, ember hiss and pressurised fire blasts. Epic original score: rapid war drums, low brass ostinato and urgent strings begin immediately. Wordless low choir enters at launch. Percussion accelerates during the chase. Full orchestra strikes with each fire attack, then expands into a dark triumphant finale during the ascent. Roar, wings and fire remain louder than the music. 12. CHARACTER ACTING: The dragon acts with focused predatory intent. Its eyes remain locked on its flight path and successive building targets. During acceleration, its head lowers and shoulders drive aggressively. Inside the city, the neck deliberately guides the fire stream while the tail controls each bank. In the final shot, its chest opens and posture changes from attacking aggression to airborne dominance. 13. STYLE: Grand apocalyptic dark-fantasy cinema, aggressive pursuit photography, monumental scale and battlefield energy. Charcoal and storm blue occupy 60% of the palette, smoke-brown stone 30%, and fire orange 10%. Weathered 35mm film texture with old-photograph softness, organic grain and no digital sharpening. 14. QUALITY: Consistent dragon identity and anatomy through every cut: one head, two wings, four legs and one tail. Stable city architecture, coherent wing cycles, attached mouth fire, volumetric smoke and physically connected destruction. Natural fast-motion blur without ghost copies, anatomy mutation or detached flames. 15. POSITIVE CONSTRAINTS: Exactly one dragon remains visible throughout the sequence. It launches before 2 seconds, reaches the harbour by 9 seconds, enters the city at 13.5 seconds and completes two fast fire-attack passes before climbing away. Every shot preserves the mountain-to-city direction. Strong camera shake communicates extreme speed while the dragon remains readable. City fires continuously emit smoke, clouds visibly travel across the sky, and new destruction appears only where the connected fire stream strikes. | ||
Common Shot Size Mistakes and How to Fix Them
Even a carefully planned sequence can feel awkward when framing choices interrupt the action. Check these common issues before finalizing your footage.
Common Mistake | Better Approach |
One frame size for every beat | Change size when viewers need new information |
Two near-identical adjacent framings | Make the difference in scale or viewpoint clear |
Close-ups used too often | Reserve them for important faces or details |
Missing continuity between cuts | Check screen direction, subject placement, and action |
The End
Shot sizes help you decide how close viewers should feel to a subject and how much of the surrounding world they need to see. Start with the story, choose the framing that supports each moment, and let the camera move only when it adds meaning.
With Kling AI, you can bring these creative decisions to life through prompts, keyframe images, and video references, then refine how different shots connect as your scene takes shape. Whether you're developing cinematic scenes, producing commercial videos, or creating animated stories, thoughtful shot sizing helps you build more engaging visual narratives.
FAQs
What Are the 7 Types of Shots?
Not every filmmaking guide agrees on how to organize shot sizes. Some list seven basic types, while others include eight or more. The gap usually comes down to how they group things like full shots and medium wide shots. Treat these classifications as helpful reference points, not rigid rules. When in doubt, a storyboard can pin down the exact framing you're after.
What Is a Cowboy Shot?
A cowboy shot frames a person from around mid-thigh upward. The term comes from Western films, where this composition could show an actor's face, hands, and holster at once. Today, it is useful when a scene needs gestures and movement without showing the full body.
What Shot Size Is Best for Dialogue?
Medium shots and medium close-ups are common choices for dialogue because they capture facial expressions while preserving some body language. In a two-person conversation, a two-shot can establish the characters' positions, while over-the-shoulder shots and close-ups highlight individual reactions. The framing you choose will be dictated by the emotion of the exchange and you'll need to keep your eyelines and screen direction consistent when you're cutting between the two speakers.
Does Cropping a Video Change Its Shot Size?
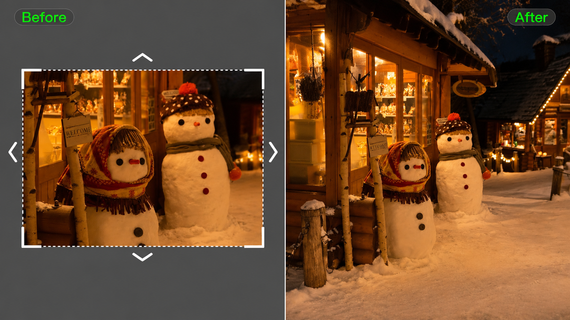
Yes. Cropping a medium shot can make it look like a medium close-up, because the subject occupies more of the visible image. Cropping cannot recreate a different camera perspective, however, and it removes pixels. Consider the final output size before making a tight crop.
How Do Shot Sizes Affect Editing Rhythm?
Shot sizes shape what feels urgent, open, or intimate in an edit. A fast series of close-ups can concentrate attention on details, while a longer wide shot lets viewers understand a location.